Atco jigsaw puzzle
Evening
Started rebuild of my Atco Standard, complete nut and bolt job, blasted and painted. I've been looking forward to this so took my time over everything on the disassembly, notes, videos, pics. However, pics and videos don't give sizes and my notes weren't detailed enough. So if anybodies about to embark on the same project and of course at the risk of telling grandma etc! Here's what I didn't do. I didn't measure each and every one of the 30 or so tubes that form part of the structure of the framework. I've spent nearly two days figuring out where they go. I'm convinced that in the factory they had boxes of various length tubes and built them like a jigsaw puzzle! Anyway as you can see it's assembled now, the upside to all this is that the nuts and bolt have been on and off that many times I can build the whole framework without a spanner!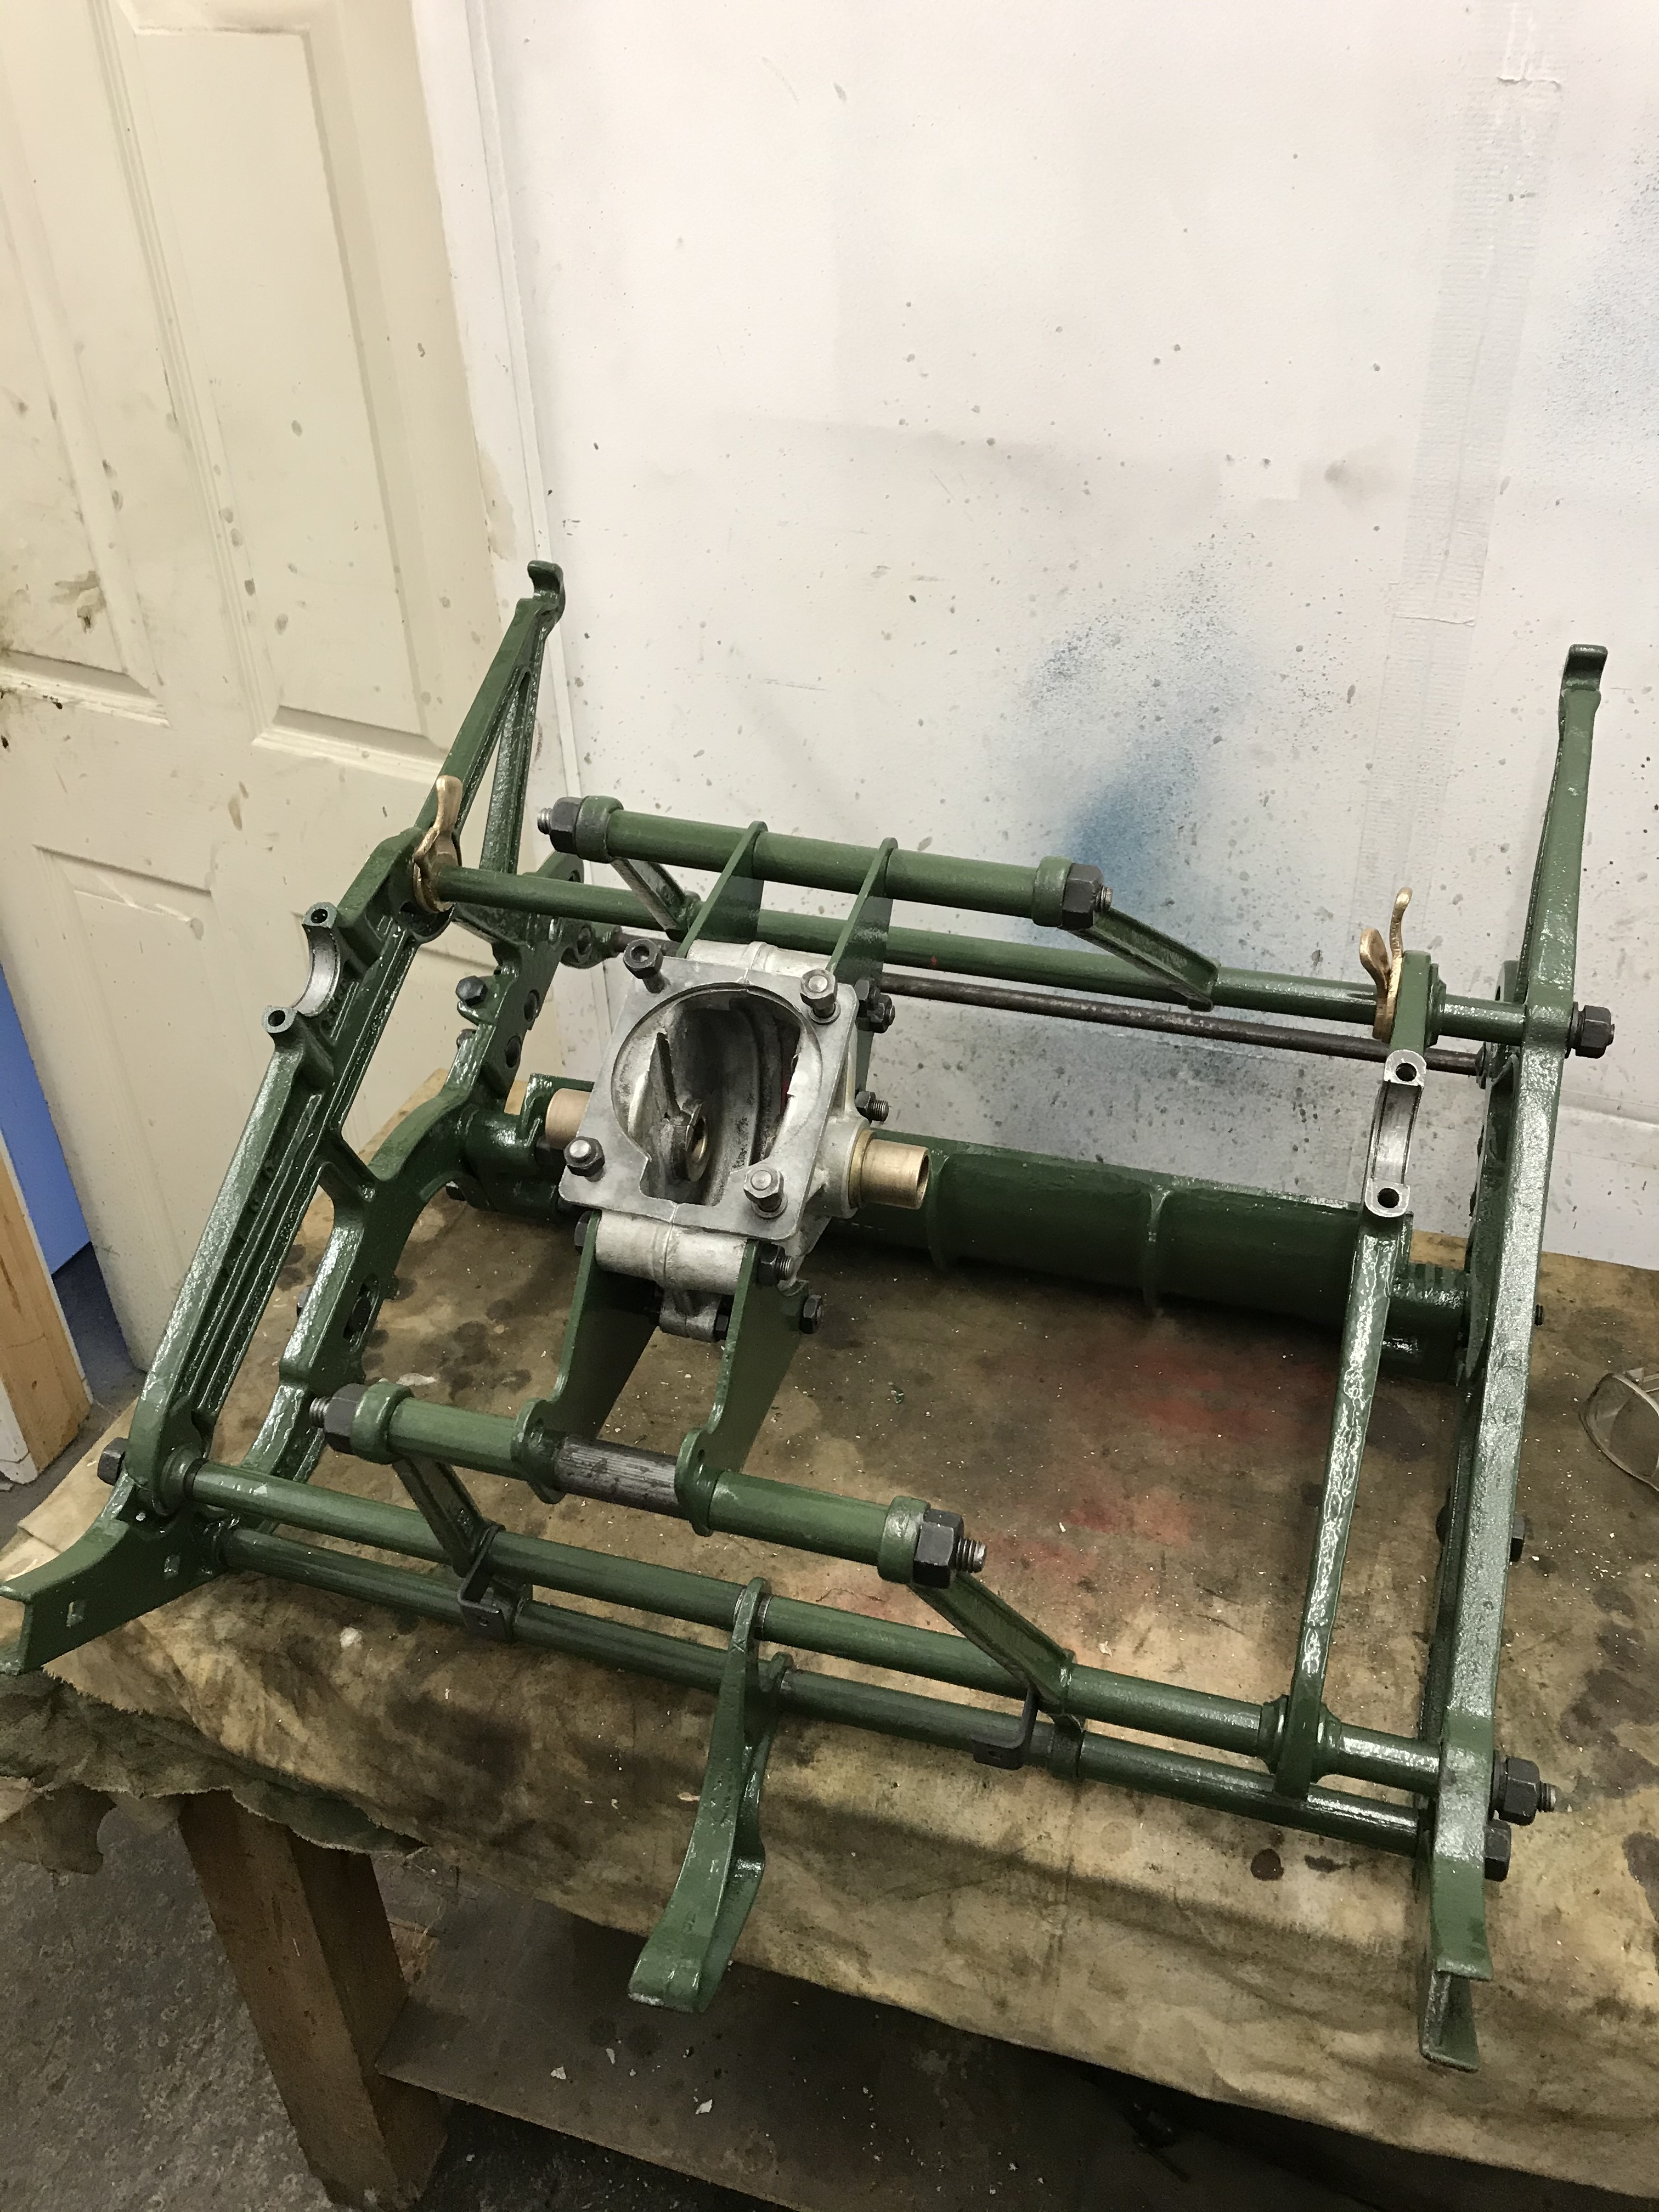
Forums

When my late business partner
When my late business partner and I started our business in 1981 we would have dozens of Suffolk and Atco cylinder mowers going through the workshop for winter servicing . Not the complete strip and paint job, but all the engines and cutting cylinders were marked to ensure that everyone got their own parts back. However in later years when our van driver had a van full of Hayter Harriers he did manage to deliver the wrong one to a customer, but fortunately it was sorted before anyone noticed.
They say every day is a
They say every day is a school day, and being new to vintage machinery I can confirm that. its the little tips I get from the forum that help. It would appear that the Atco tube 'jigsaw' has been flagged before but I hadn't seen it. I guess with so many castings involved that by nature are irregular and infact I suspect move in different climates it's probably the only way to get them together square. Another lesson I learned earlier on when doing a strip and paint job was to take the time to run a tap and die through every single nut and bolt so that you only need fingers to assemble to avoid using spanner's until the final ' nip' up. My first resto I had to almost repaint after the continuous clonking with spanner's trying to run nuts down dirty bolts.
I'm pretty certain when I did
I'm pretty certain when I did mine first I took one side frame off, then stuck all the nuts back on the rod ends. Stripped and painted the frame, then did all those tubes one at a time and put them back on the finished frame, doing the other side frame last.
Now what the hell did I put them onto if the rods were still on the other frame, I wonder?
That looks very good, BTW.
Morning
Morning
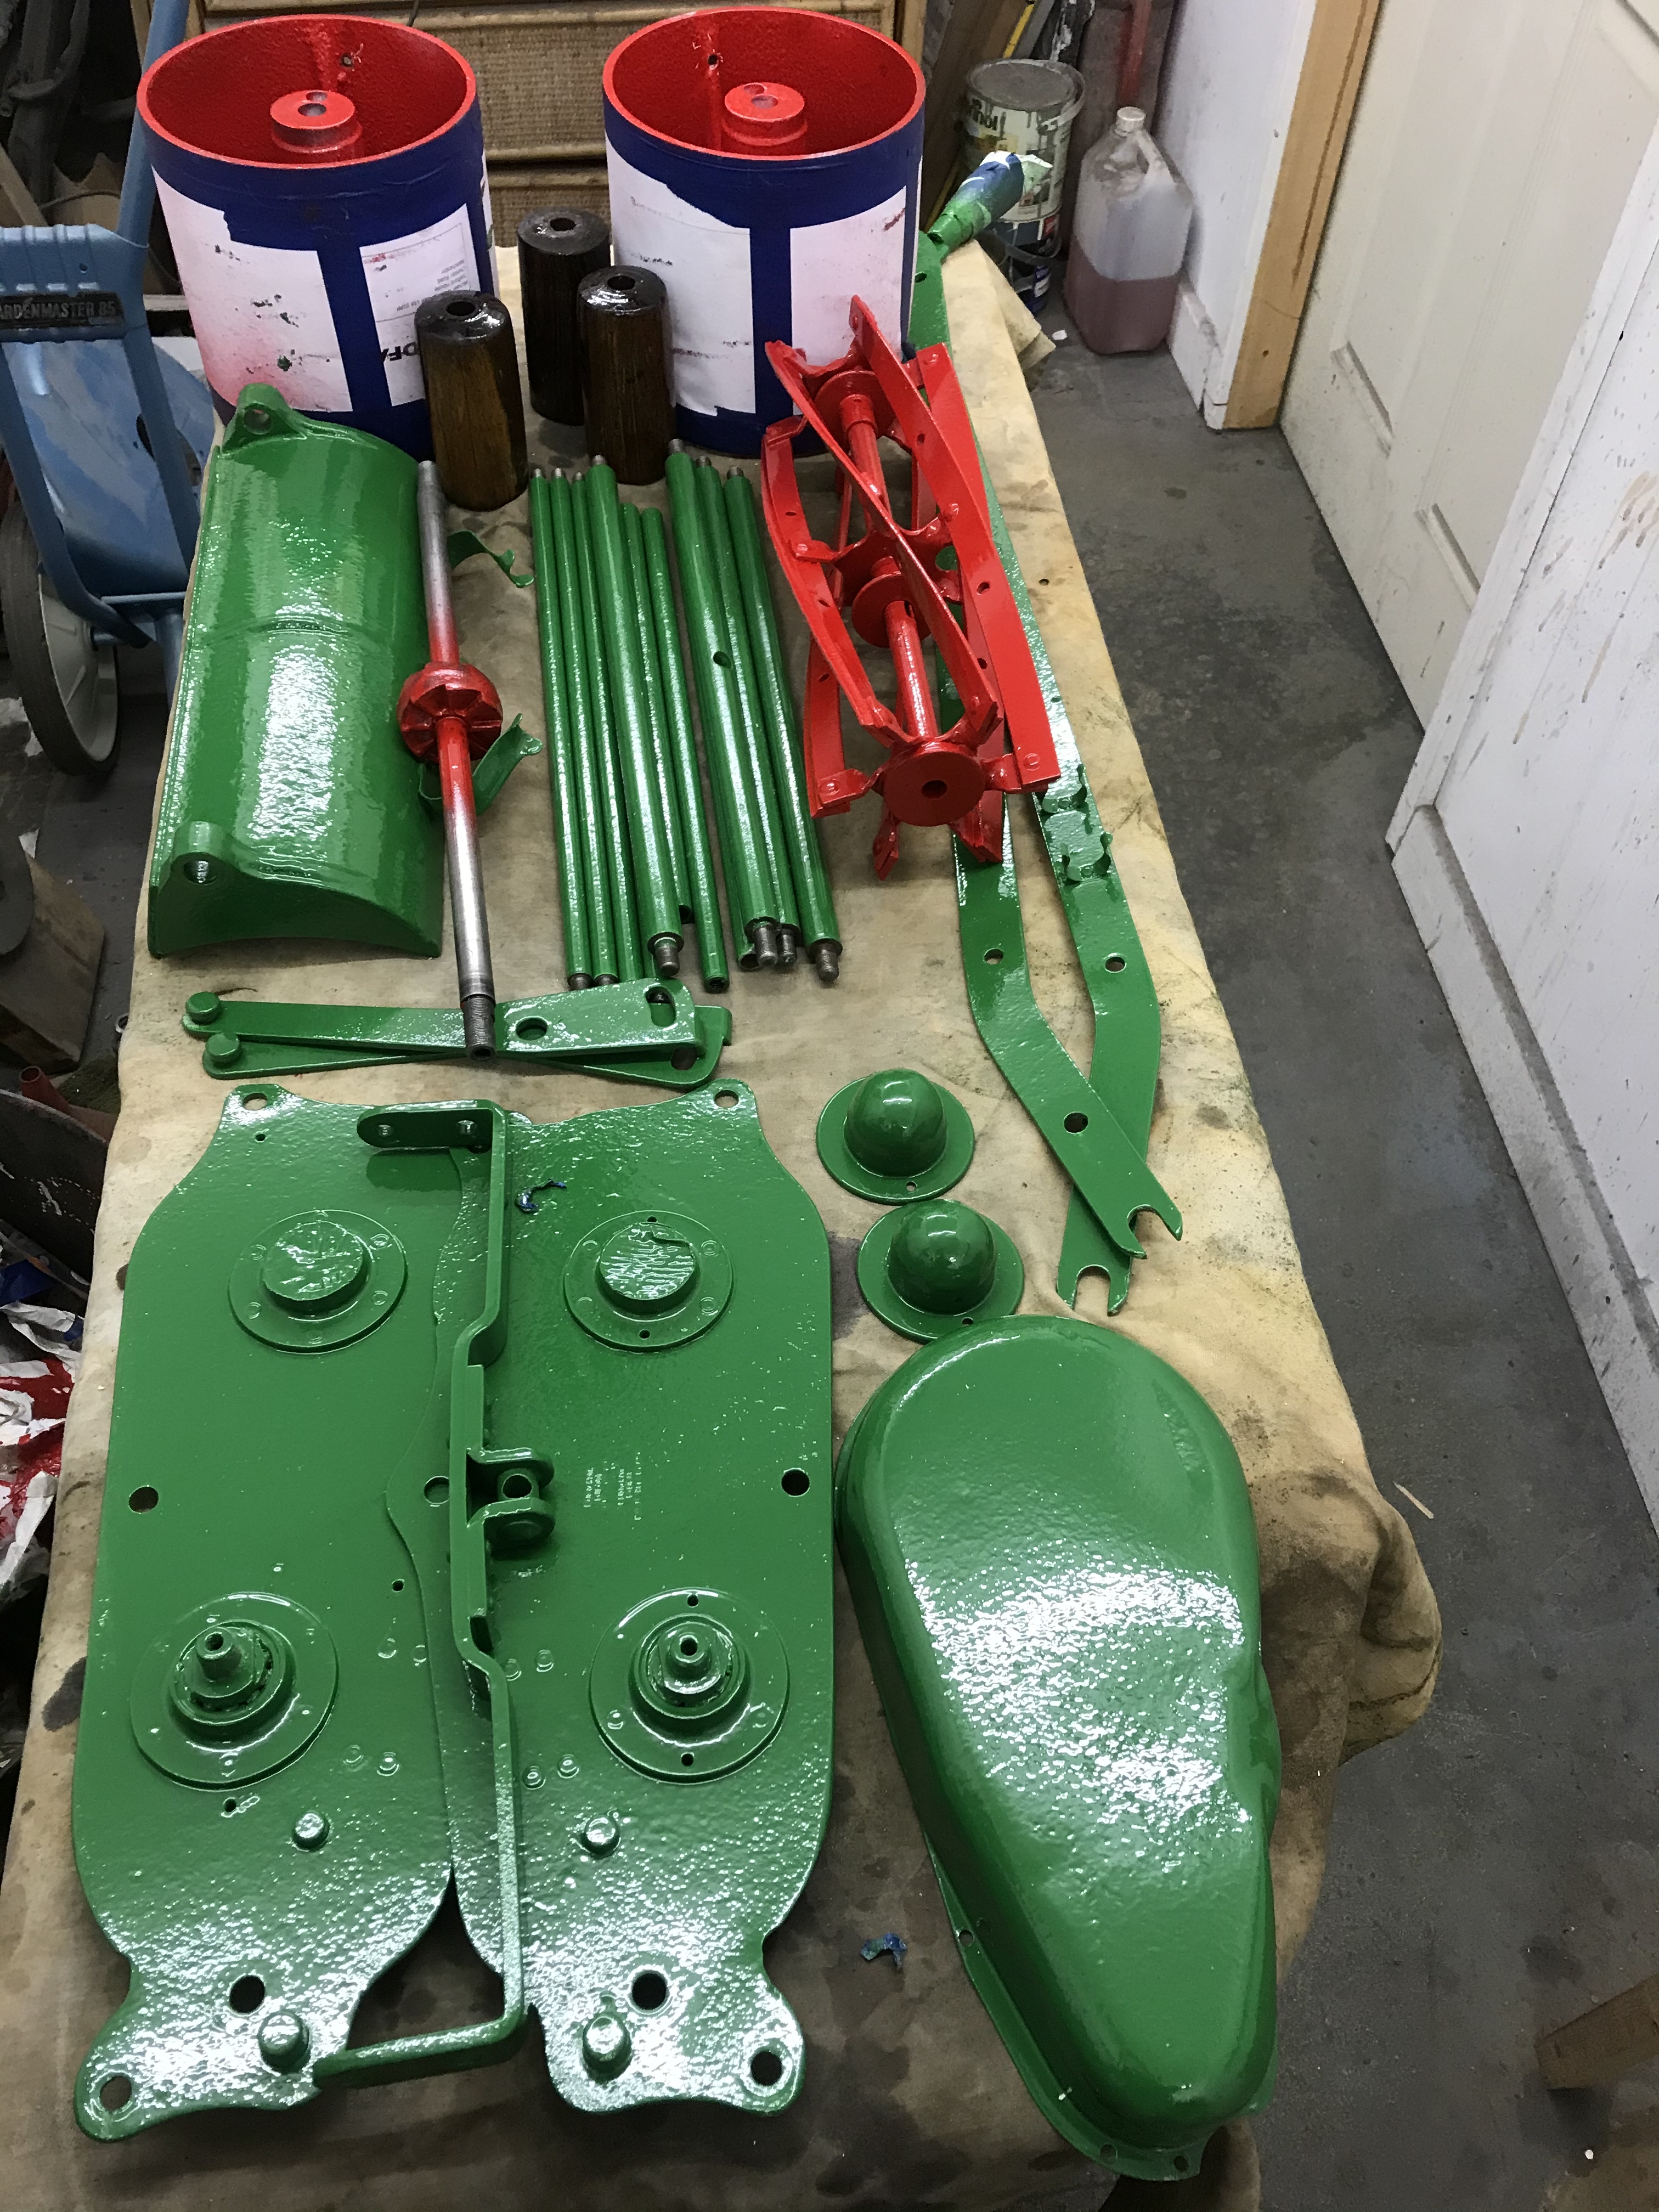
yes that would have saved me a lot of time! Unfortunately my restoration MO is different to that, I'm a do everything in stages kind of guy. Strip everything, clean everything and paint everything see pics ( different machines obviously)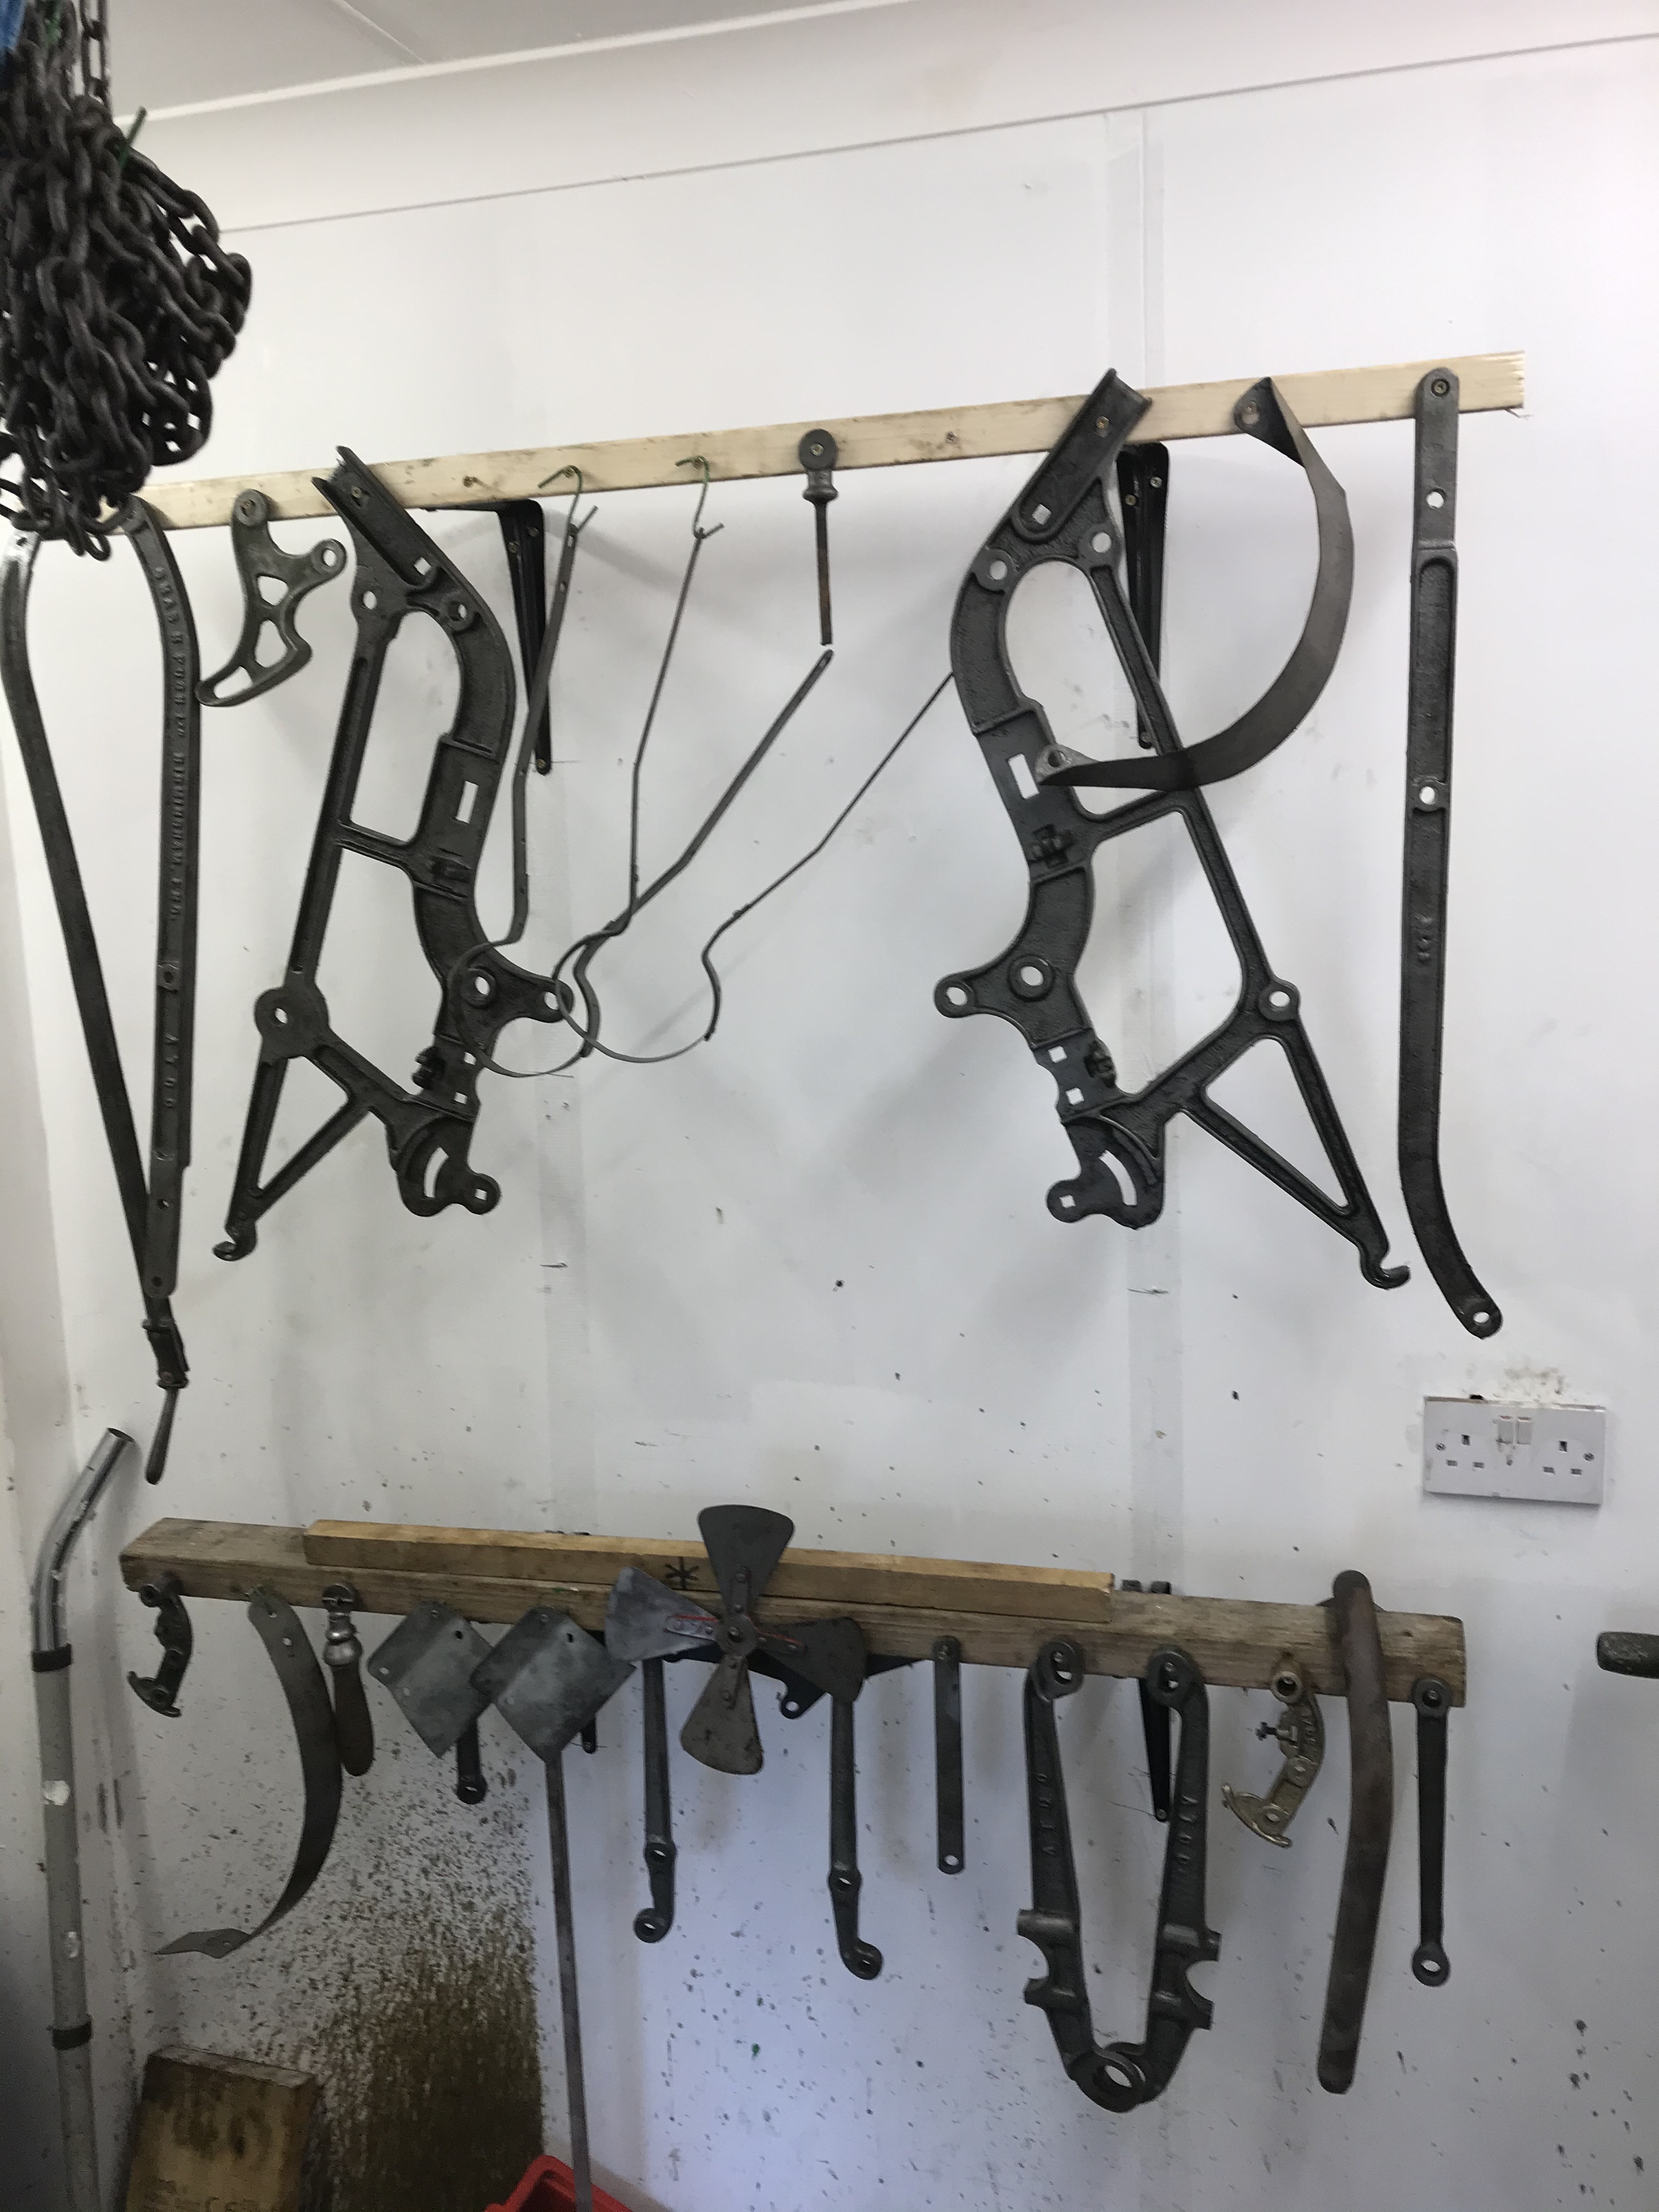
My modus operandi had a lot
My modus operandi had a lot to do with restoring it on my parent's back step, no workshop to hand!
Thankfully I had it back together when I got a job and moved away - the Qualcast 16 was in pieces when I left and between my folks moving and the friend who was going to blast them losing the side frame and the cylinder... well, I ebayed the remains years later!
Mike
Mike
Looks like you are doing a good job putting it back together.Time for a tip,looking at the frame you have got together on your bench,get a tape measure,and measure both diagonals from the inside of the frame from the two cross members front and rear which support the engine.They may look by eye to be square but if not,the whole machine will crab when in use,it will be like driving a car with bad tracking!,you may have a problem with the chains that appears unexplainable.
Kind regards
Andrew
Morning Andrew
Morning Andrew
Checked, and I'm sure more by chance than design it's absolutely cock on! I was actually thinking that all the adjusters on the machine would give a fair degree final lining up but good to know I'm starting with a square frame! Thanks for the tip.
Don't worry you will not be
Don't worry you will not be the first or the last to have this problem!
Even the Atco depots suffered with the same problem.I can remember horrendous stories about what really happened at the Atco Service depots.There was along standing joke from the Atco Service depot in Eckington Sheffield, when the mowers came in from customers at the end of the season,they would be put into a line on a long bench and totally striped serviced and re painted,ready to be shipped out the following spring. In one particular winter in the 1960's a customer had sent in their new 20 inch special for Bowling Greens,it was less than 2 months old when it went in.The following spring it got shipped back to the customer,who complained bitterly,as it had been repainted with older parts being put back on it!
Regards
Andrew
HD Trust