Anzani Lawnrider restoration
Hello all,
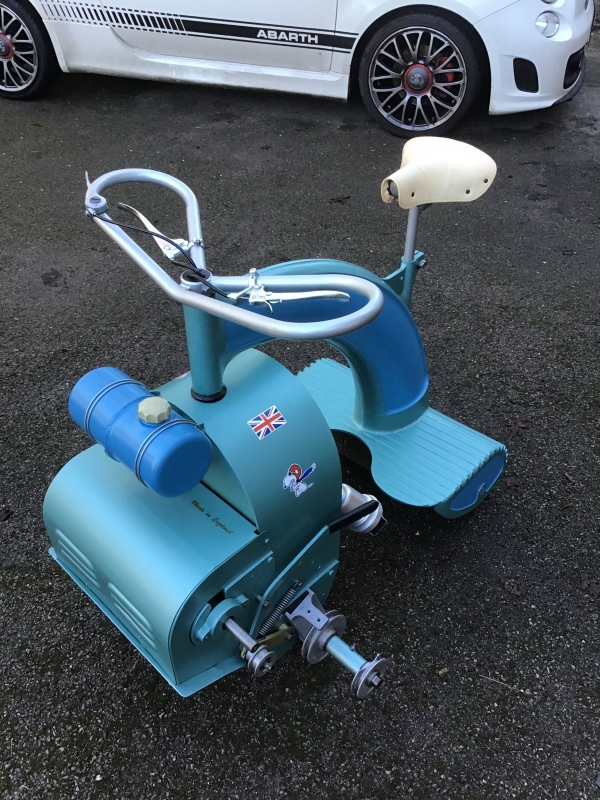
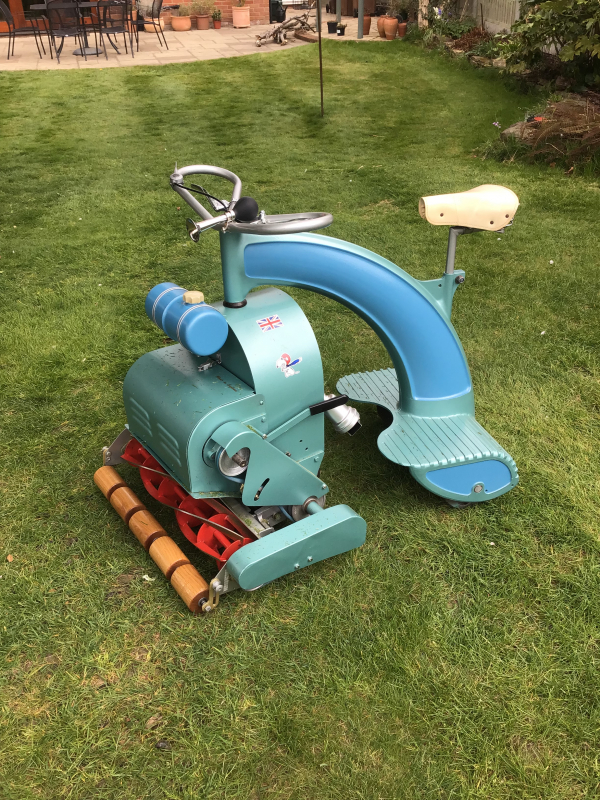
Ive posted a few times on here regarding my Lawnrider and received some great help and advice so many thanks. It now finally runs! I have yet to restore the cutter assembly, but that'll be next.
Working on the mower has been a great experience, I've learnt a lot though at times it's also been quite frustrating! Initially my plan was to preserve it. However after much research into preservation vs restoration I decided on the latter. It had quite a lot of non-original paint so I was a bit torn. I'm really pleased how it's turned out, though I realise it's not 100% accurate. Any modifications though I've tried to keep "period". The grass box I think I will preserve as it still has traces of the Anzani name visible and hasn't been painted, so is original.
So what's it had?
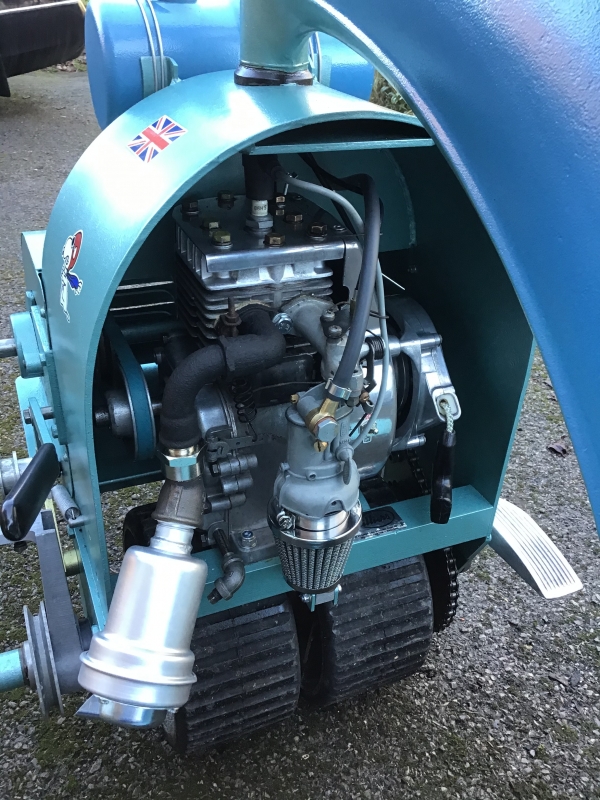
Engine: new piston rings, both crankshaft seals, all new carb jets and seals, new starter spring and rope (I retained the original handle), valve seats ground and adjusted, new crankcase and valve box seal, new spark plug and ht lead, electronic timing module, fitted a period kill switch. New head gasket. Everything cleaned and polished. Repaired a stripped exhaust bolt. I won't say how for fear of offending any engineers! New muffler to make it a bit quieter - does seem to work a little. I needed a converter piece and an angled malleable iron fitting for the muffler to fit. New air filter, the old cup was kaput and this is a period-ish replacement. Fuel tank rust treated and sealed inside with tank seal. New fuel hose and fuel cock insert.
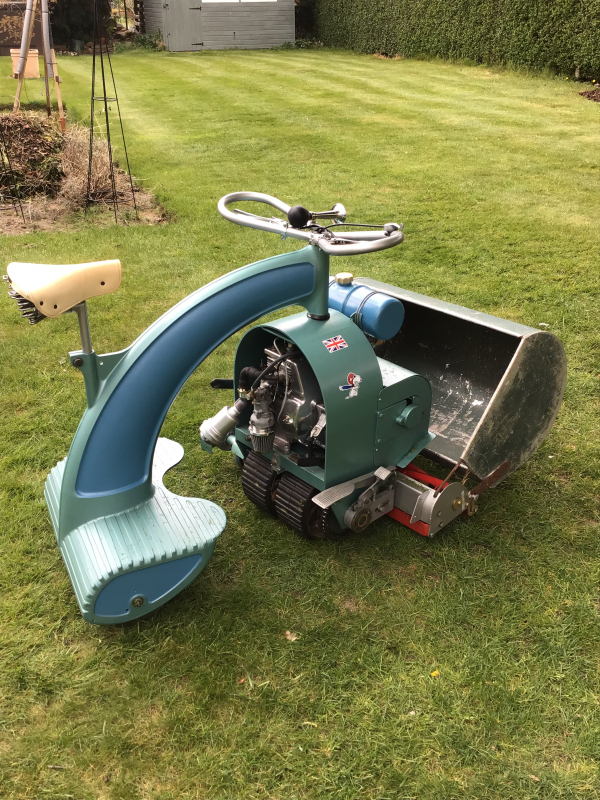
The mower: replacement period Brooks saddle, new drive bearings, all other bearings cleaned and re-greased as seem fine. Everything rust treated, treated with Dinitrol and sprayed with Paragon hammered enamel. The blue I thought was going to be much lighter but I still like it. All new cables, new v belts, new brake and clutch levers (the old ones will need a professional refurb/re-chrome at some point - I would like to reinstate them). The "gearbox" was completely rusted and seized so I took it all apart and salvaged it. It came up very well and works perfectly. A few replacement bolts, washers etc but I tried to use as many of the original ones as possible. So all rust treated and cleaned up. Replacement headstock "bung" and cutter lever grip.
I've taken pictures of all the bits at each stage to document what I've done. Now it starts and drives well, I'll set about the cutter part! I also need to replace a couple of damaged pulley wheels.
All in all its been great fun, though I hate to think what I've spent on parts, paint etc and tools! But what a thing of beauty, and hopefully it will last another 50 odd years.
One question I do have is on is it's year of manufacture if anyone knows? I believe the cutter disengagement device that it has came in 1966, but this one seems curious as the brake is not a foot brake but a lever on the bars. I've not seen another one with is arrangement. There's no evidence of drillings for the foot brake so it's not just been converted.

Forums

Wonderful
Wonderful
Hi Chris
Hi Chris
great job! I've one to restore later this year. Where did you get the saddle?
Thanks! Your advice with the
Sorry, this reply for wristpin: Thanks! Your advice with the engine was instrumental in me getting it running nicely! I did try to re-use the original filter holder with a new element but the lid was so brittle it kept cracking, so I cut off the top section and araldited it to the carb base to allow fitment of the new filter.
Thanks! The paint looks
Sorry, this reply for Lee: Thanks! The paint looks lovely in the sun, the photos don't really show it. I used Paragon paints enamel, really excellent stuff and very easy to spray. I've done the belt covers as well and so far I've used I think 6 or 7 cans.
Thanks, I've really enjoyed
Thanks, I've really enjoyed it so far! Still got the cutter assembly to do so will start on that next after a couple of (hopefully!) small jobs on my Alfa. Looking forward to trundling round the garden on it in the meantime! It's actually quite nippy!
The saddle was actually a bit of a lucky eBay find. I tried to repair the original but alas it was too far gone. The "new" one just popped up on an email search and was the closest I could find to the original. It's a Brooks. It wasn't cheap at £70 but I figured I might not see another for a while! I'm not sure how old it is, it was advertised as 1970's and the frame and cover looked almost identical to the original.
If I couldn't find a period saddle I was thinking of a modern Brooks to use in the interim. The other option could be to try one of the various vintage cycling shops. I've used Pedal Pedlar, Steel-Vintage (in Berlin) and Velo Vitality in the past if nothing turns up on eBay. The only issue might be cost as all things vintage bicycle have really gained in popularity.
Im no expert but if you need any advice when you're doing yours just let me know! Would love to see it!
Here's a few pictures of the
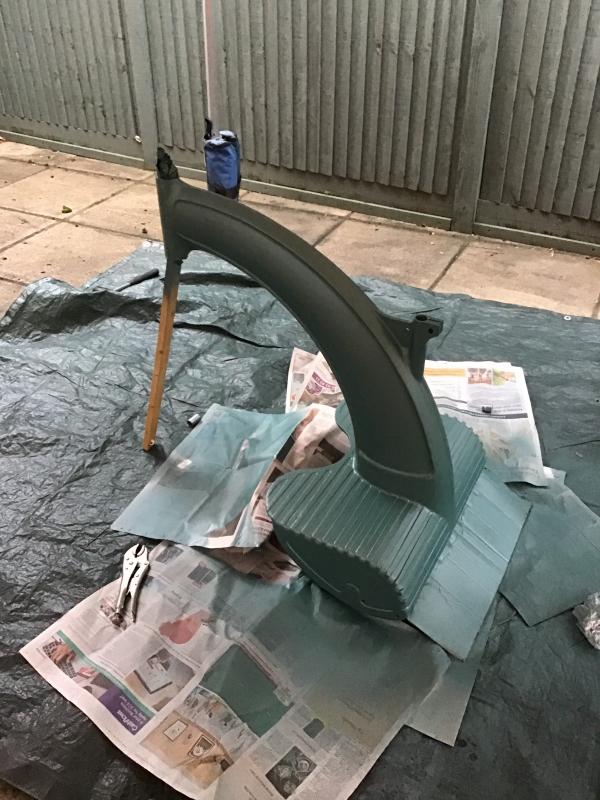
Here's a few pictures of the work in progress:
There was quite a lot of non original paint hence I decided to re-paint rather than trying to preserve.
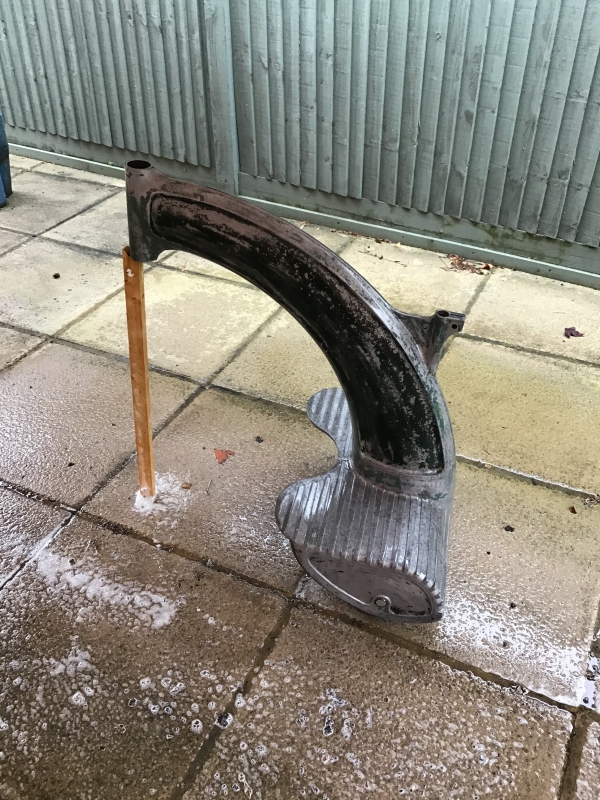
After a good sanding and degrease I sprayed the aluminium with etch primer before the enamel.
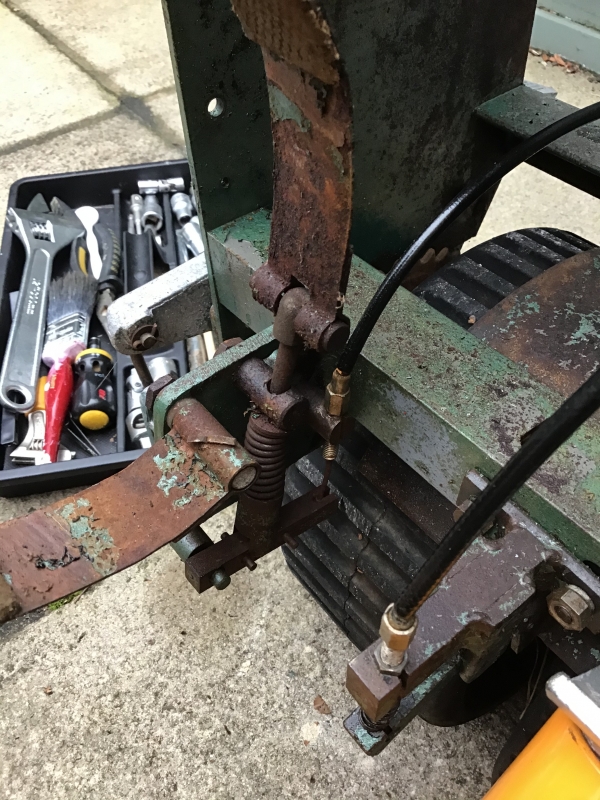
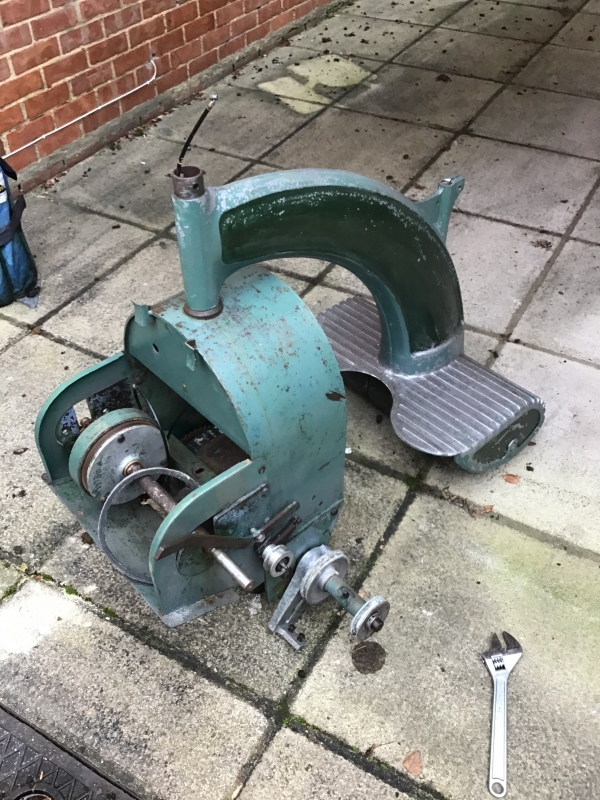
This lot above needed some heat applied to get it apart. Everything was then rust treated and wire brushed.
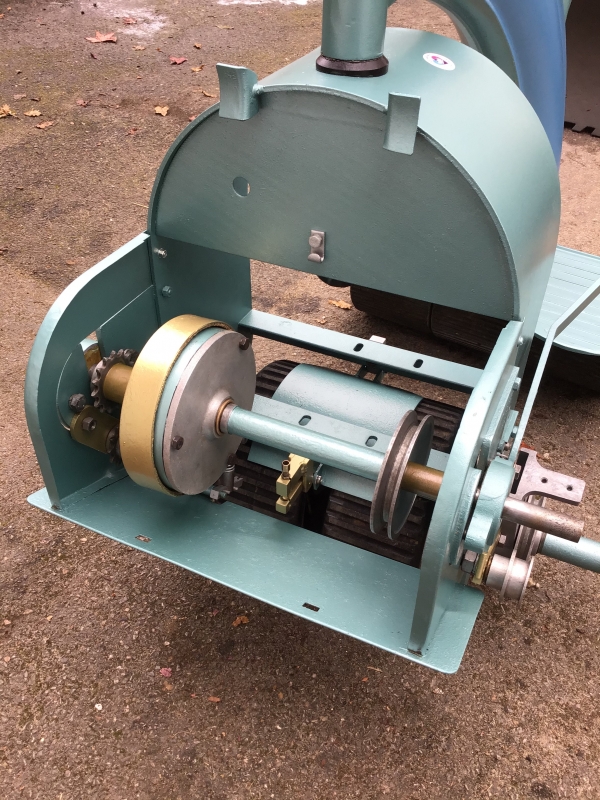
I can never resist a bit of gold hammerite! Sorry....
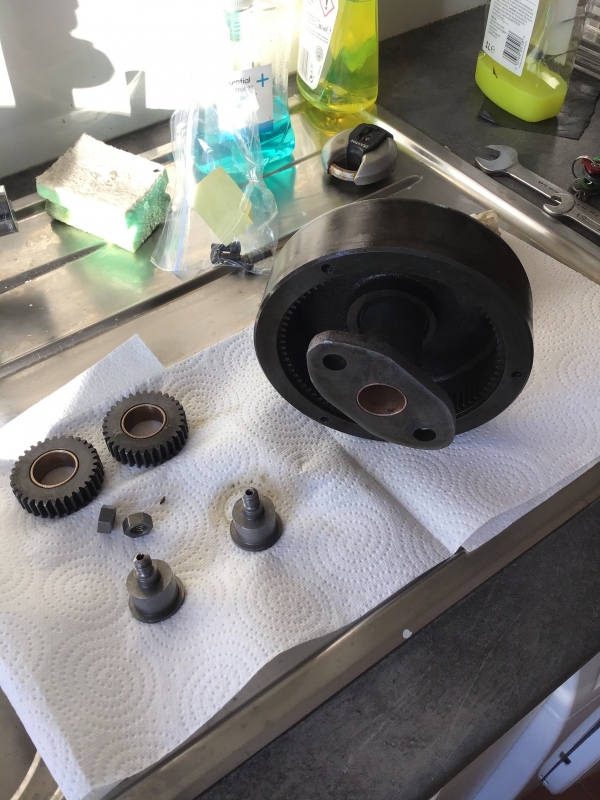
The transmission was completely rusted solid but a good soaking in hammerite rust remover liquid and POR15 metal prep then some wire brushing cleaned everything up nicely. I was worried at first it wouldn't be serviceable but it came up well.
All the steel panels I sanded, degreased then sprayed with Dinitrol RC900 before the enamel. Possibly a bit over the top but being a lifelong Alfa nut I have a mortal fear of rust! It's quite satisfying seeing the rust turn black and the epoxy coating will hopefully prevent it coming back.
If you're quick just seen
Mikehpw1, If you're quick just seen there's a similar saddle on eBay now for £25! Not quite as nice condition as mine but seems really good. With mine I had to swivel the clamp to horizontal and file the opening slightly but easy to do and fits fine.
Well after restoring the…
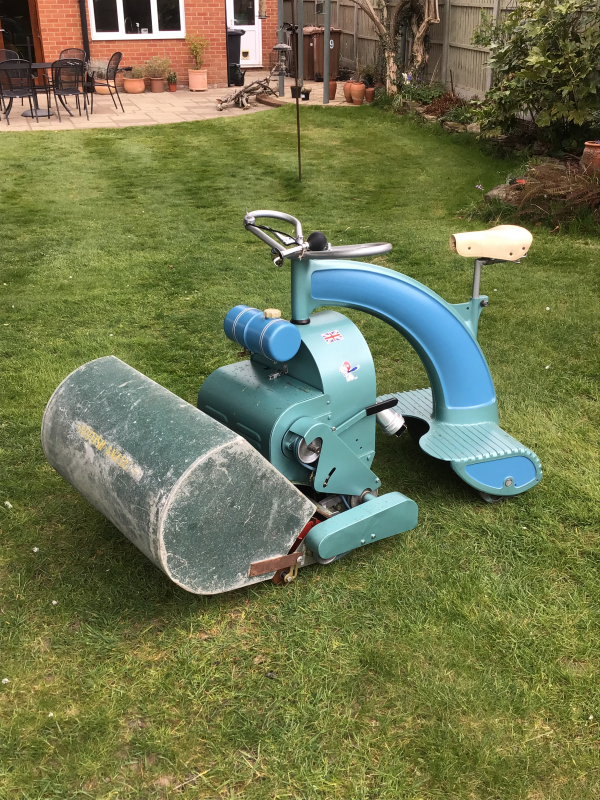
Well after restoring the cutter assembly and having the cylinder and bed knife ground i was finally able to assemble the last parts. Bit of trial and error with the v belt that takes drive from the driveshaft to the cutting assembly but got there in the end.
So after a final fettle and cylinder adjustment it was time to try it on the grass! Well it was a success! At the highest setting it’s not too low so that was a relief. Steering takes a bit of getting used to, especially tight turns while balancing the throttle. But nice to see a flurry of neatly cut grass emanating from the cylinder as I sped around the lawn!
Now I’m willing the grass to get growing so I can have another go.
I’ve not counted how much I’ve spent on it, or how many hours but it’s been thoroughly worth it, and nice to see it back in action.
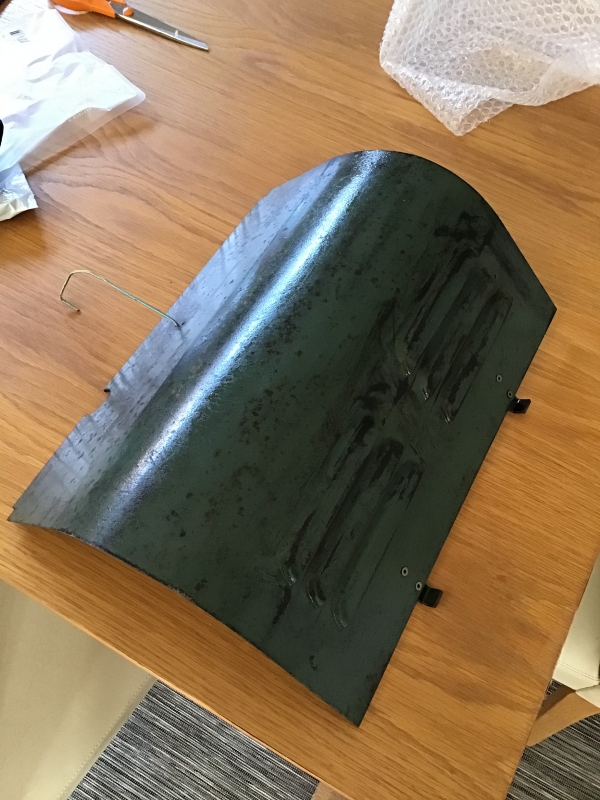
The only thing left to do is the grass box. I want to retain some of the patina of this so may paint the sides and inside, then lacquer over the front to preserve the lettering.
Beautiful job! I've never…
Beautiful job! I've never seen one before but now I dearly want one...
It was never as good as that
It was never as good as that when it left the factory! May not be original but I like the high performance air cleaner, particularly as the current generation of pattern part original elements are a fairly awful fit.