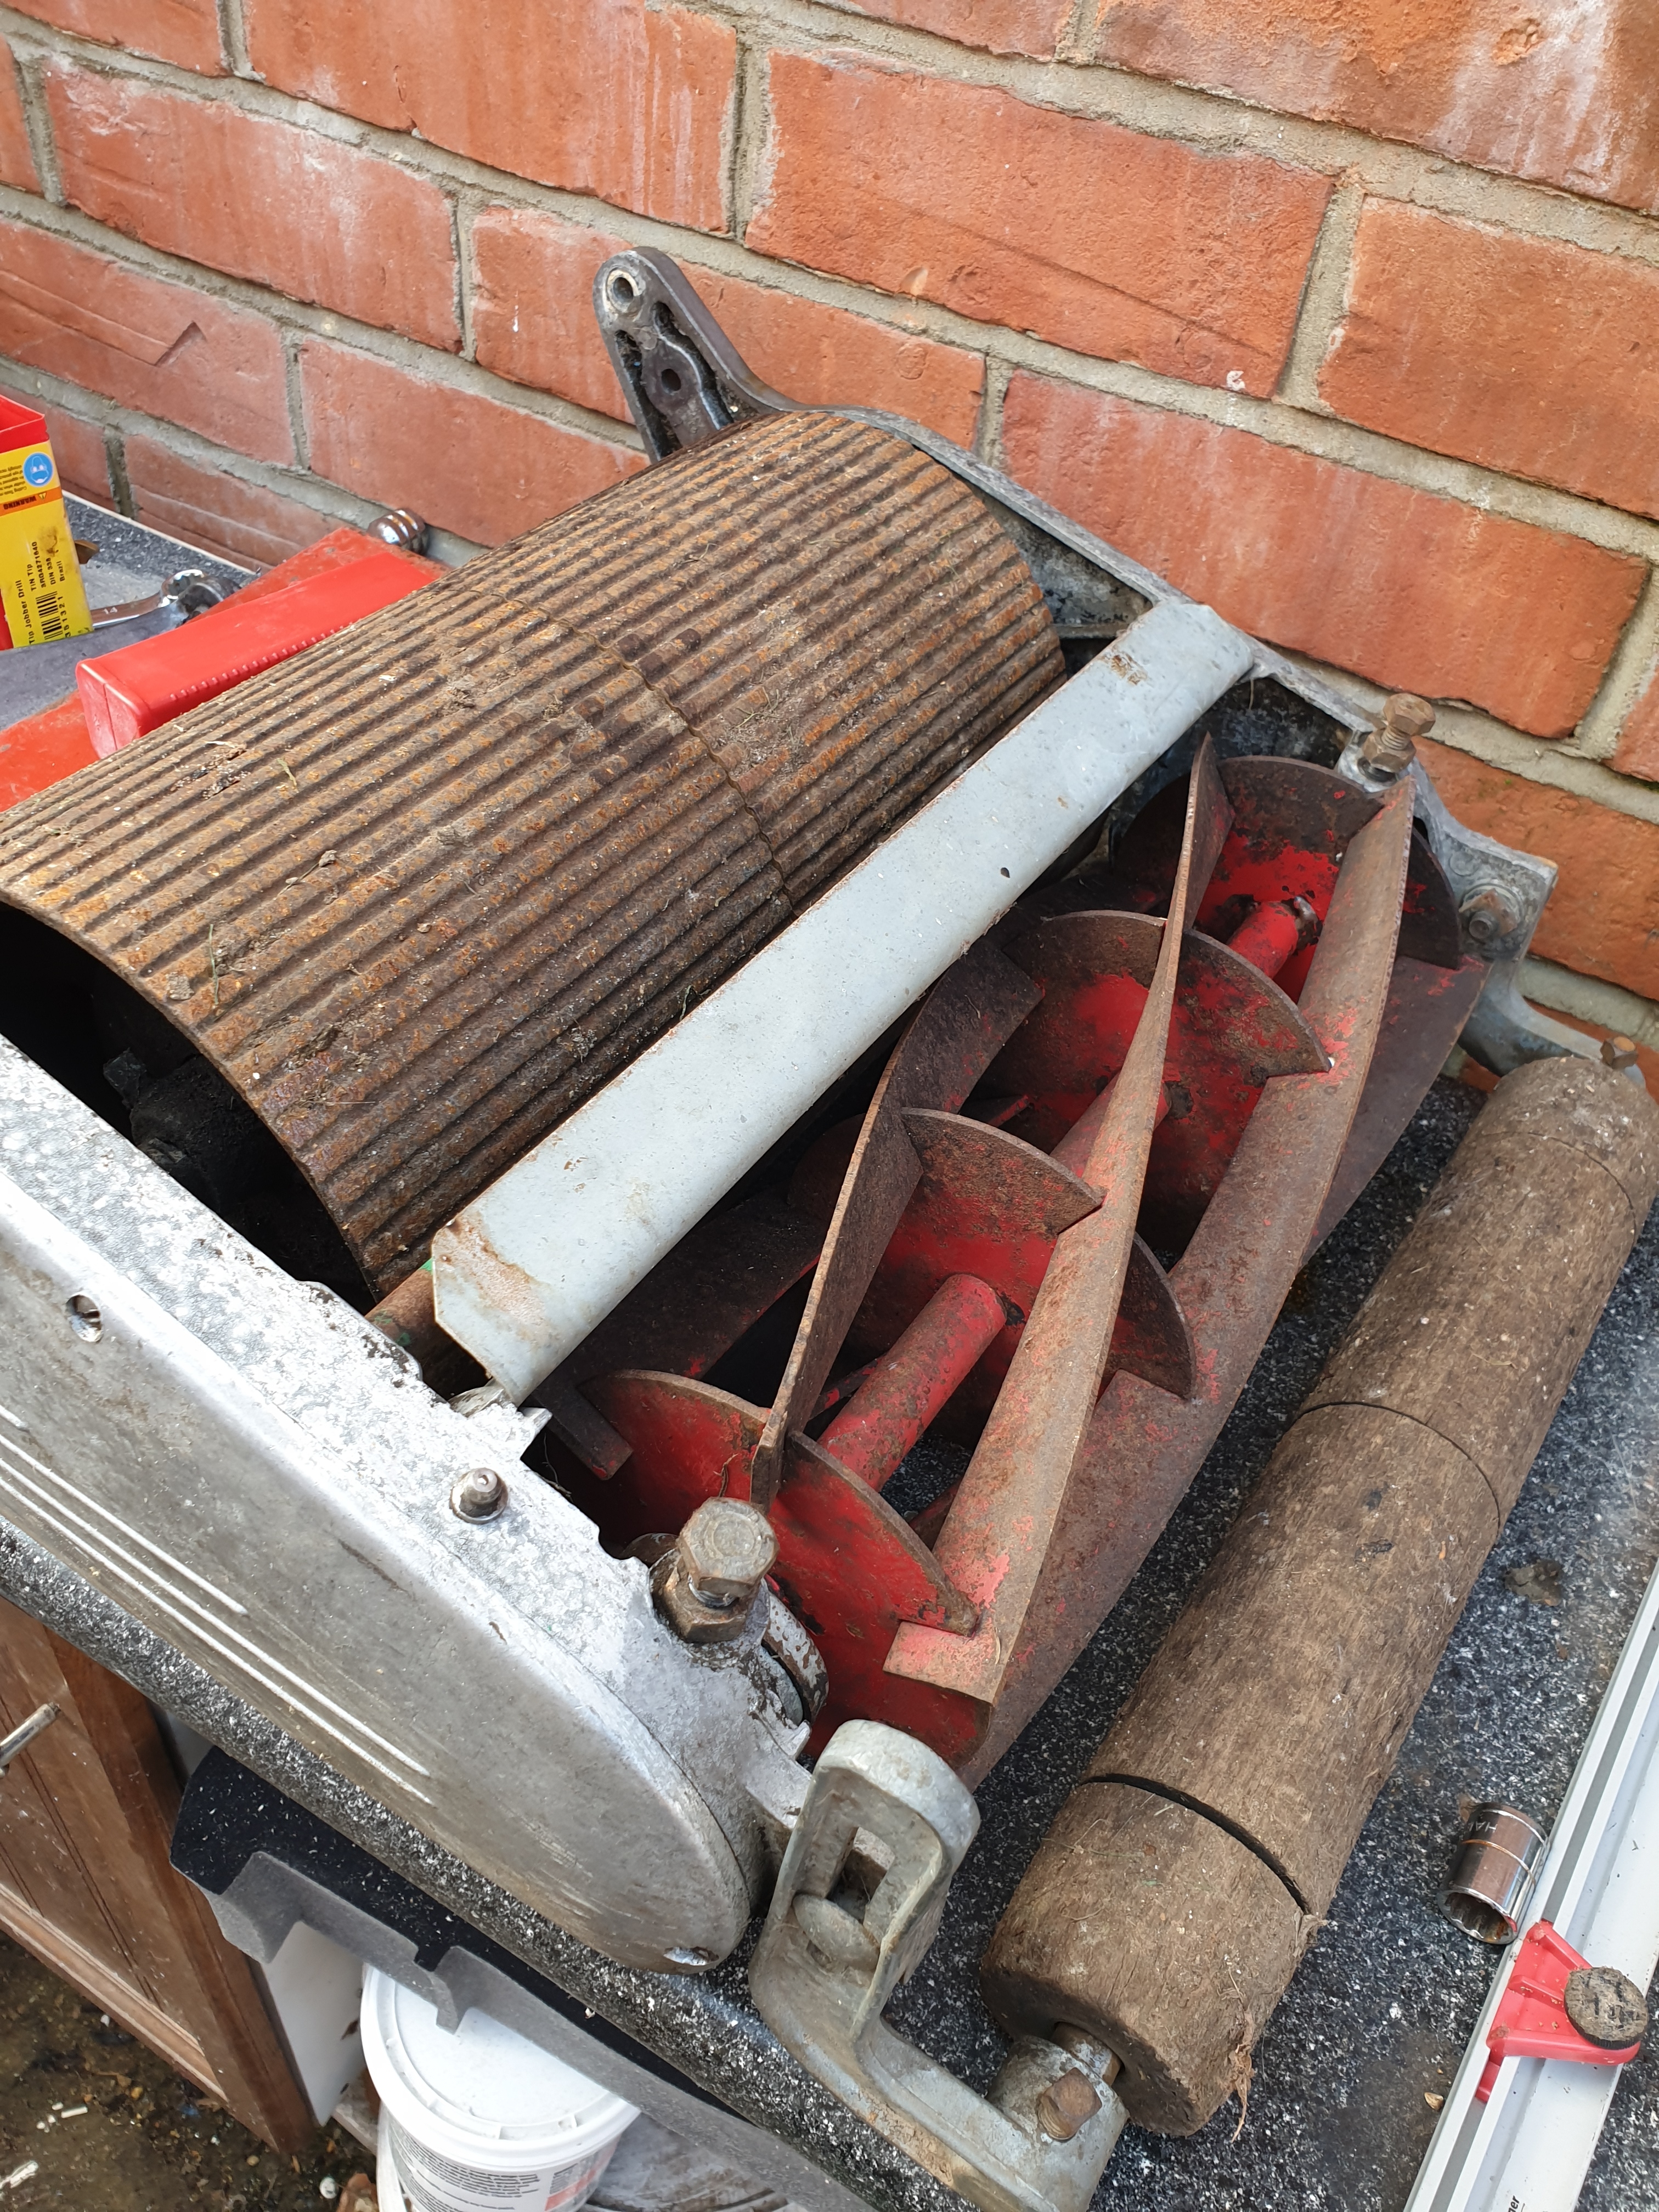
Ransomes Ajax Mk5 refurb
I have some questions as I've never restored anything before.
Do you wire brush the nuts and bolts up so they look newish again?
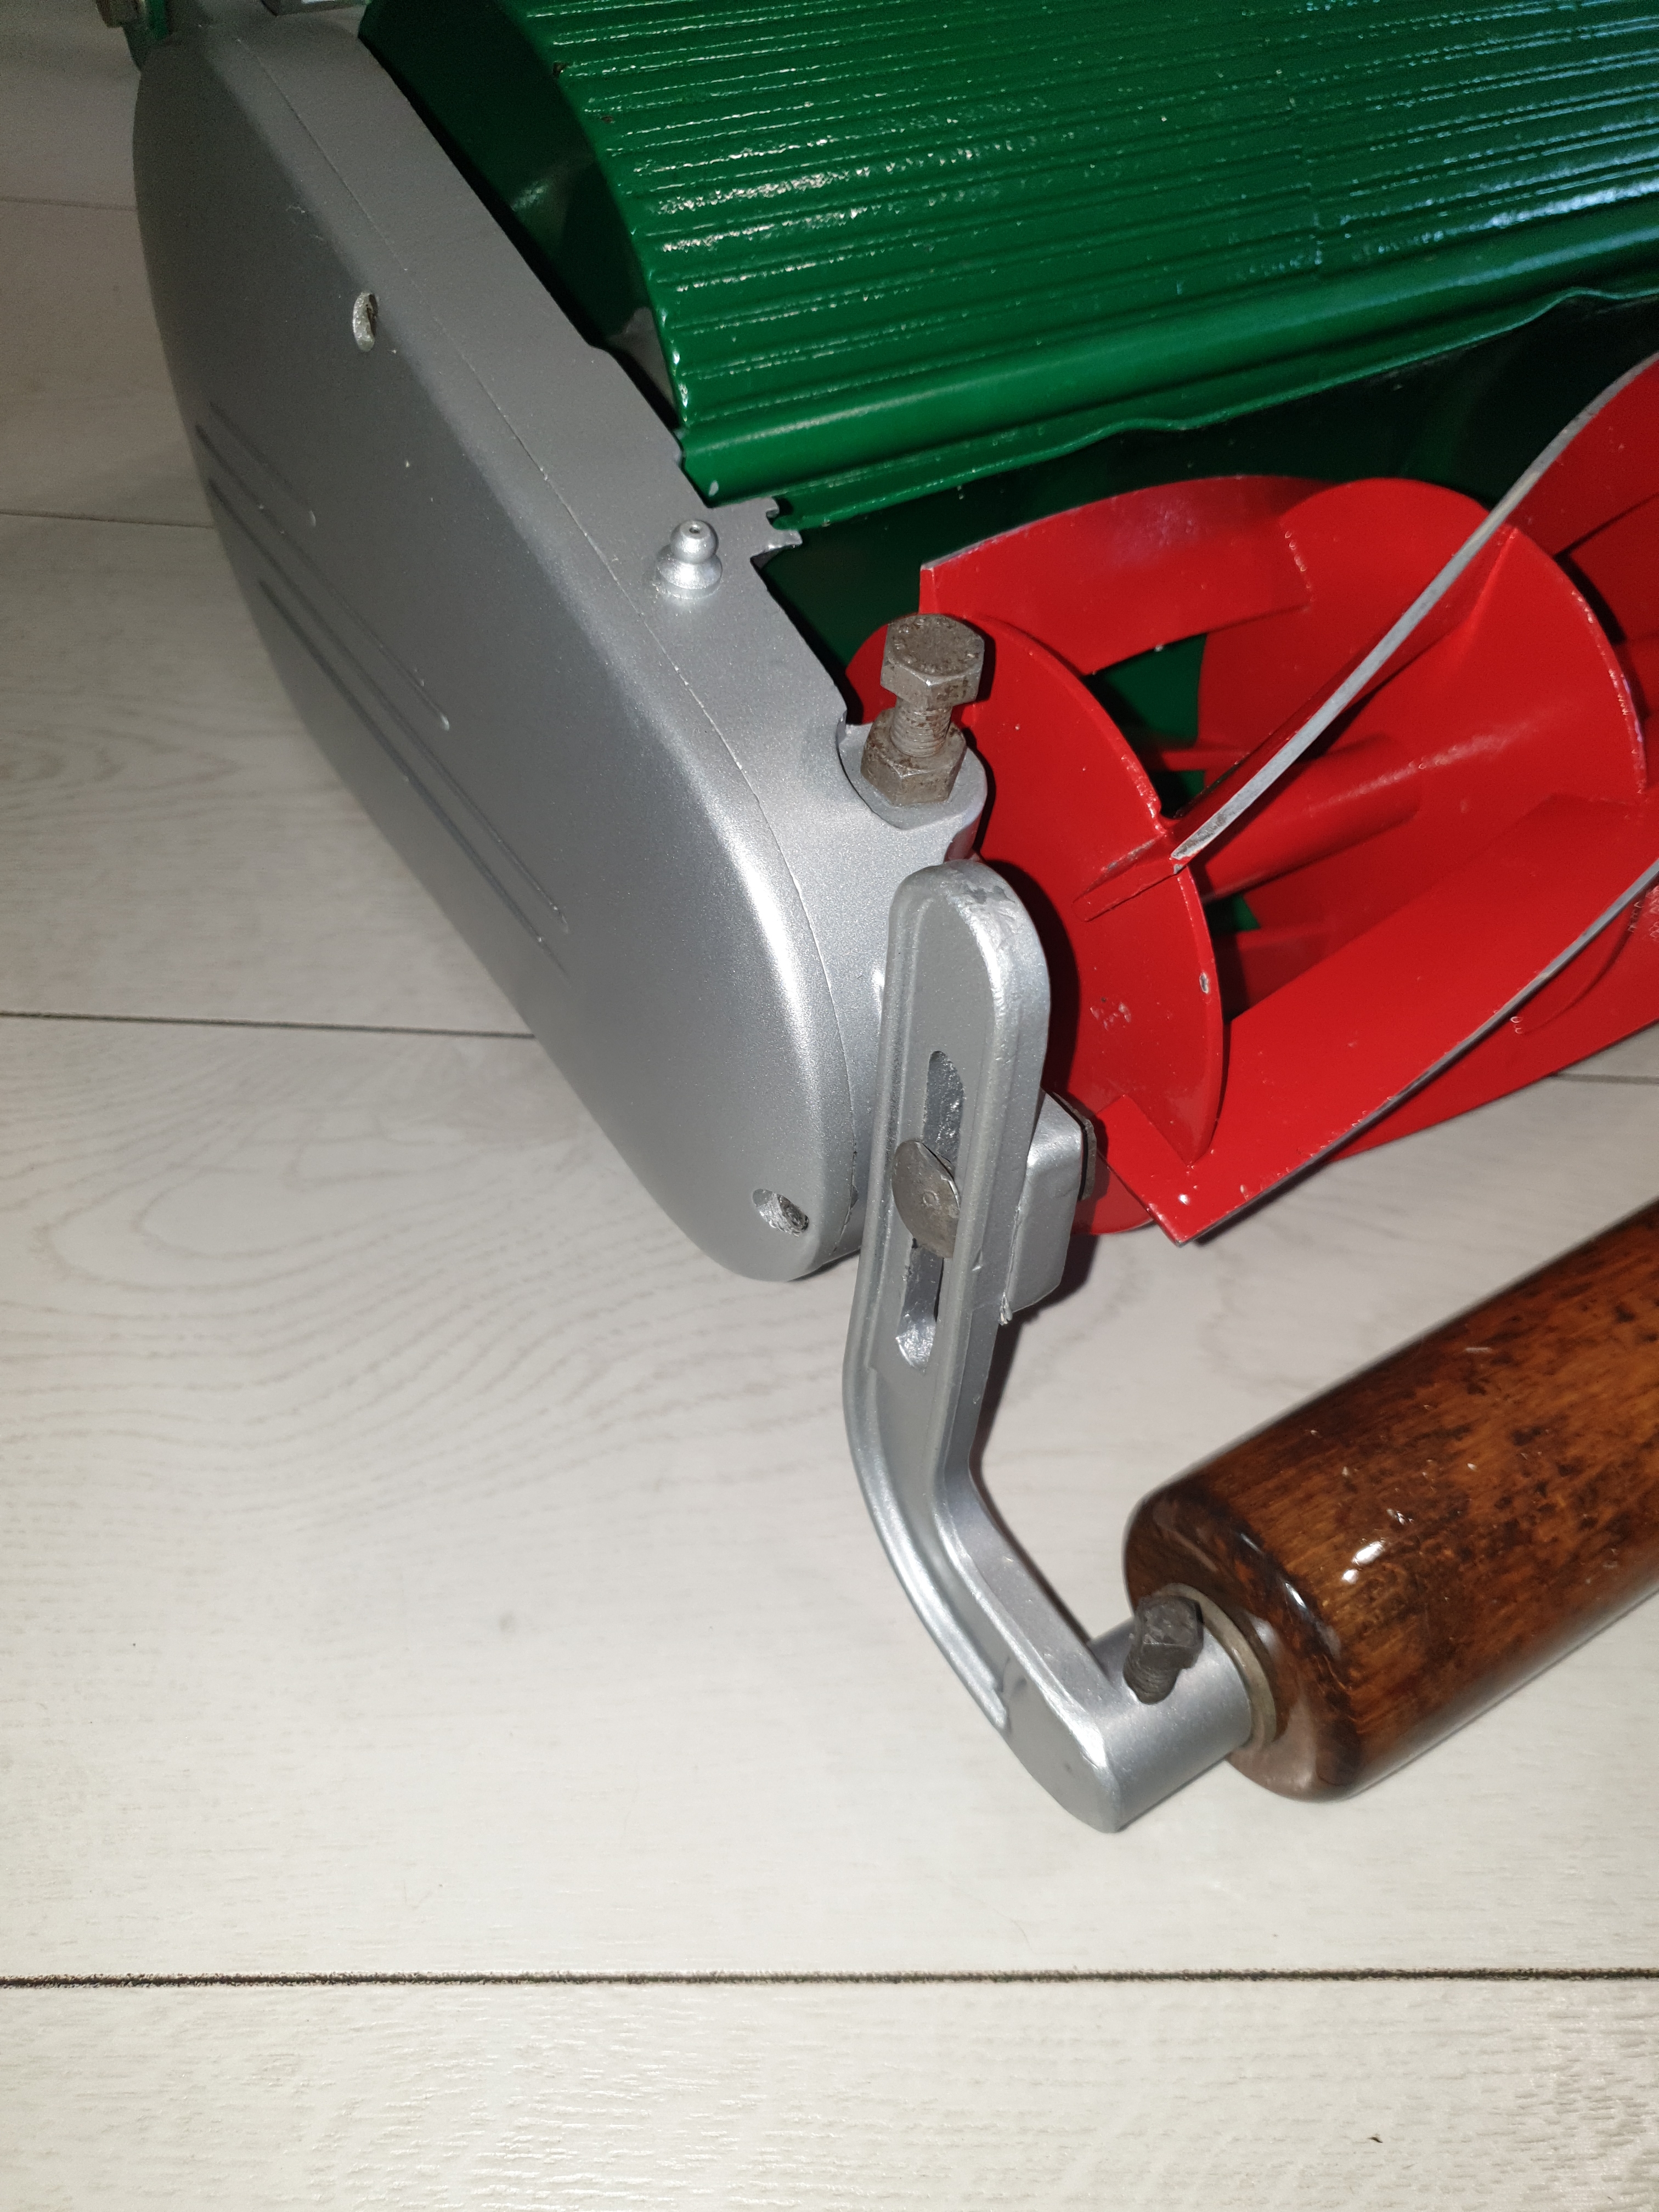
Is the silver cover supposed to be painted or an aluminium finish?
Are my selection of flappy discs good to clean up all the heavier corroded parts?
Can I refurbish the cylinder myself or is that best to be sent off and dipped?
I also need the following parts if anyone can help.
Part 50 Carriage left hand
Part 35 Setscrew scraper
Forums
I've found the roller part I
I've found the roller part I need, just need the set screw, but may just buy 2 new ones. I've not stripped it fully but will label everything in sandwich bags ( I should know better as all i watch on TV are car restoration programs)
I have metal polishing equipment albeit not professional but I can still make a mirror finish from a rusty piece of metal. I have a brand new grass collector and it doesn't look like there is any lacquer, did they use it in the old days or is the Ransomes green paint the final finish?
One last question, when I grind down all the pitted corroded parts, will metal primer and undercoat be enough before the green goes on?
All mine have painted sides.
All mine have painted sides.
Was that the factory finish
Was that the factory finish or a part of restoration? Mine looks untouched and still had green paint on the inside of the rollers, if the sides are aluminium I dont see why Ransomes would paint it.

Bear in mind that although a
Bear in mind that although a better quality machine of their day they were just a working tool and any form of bling would have been out of the question. As far as nuts and bolts and other hardware goes it would probably have been "black iron" in natural finish - no stainless, no plating and no polishing. possibly a bit of silver paint.
Patina is only original once!
Original from factory there
Original from factory there is one for sale on ebay at the moment clearly showing paint.
Original from factory there
Original from factory there is one for sale on ebay at the moment clearly showing paint.
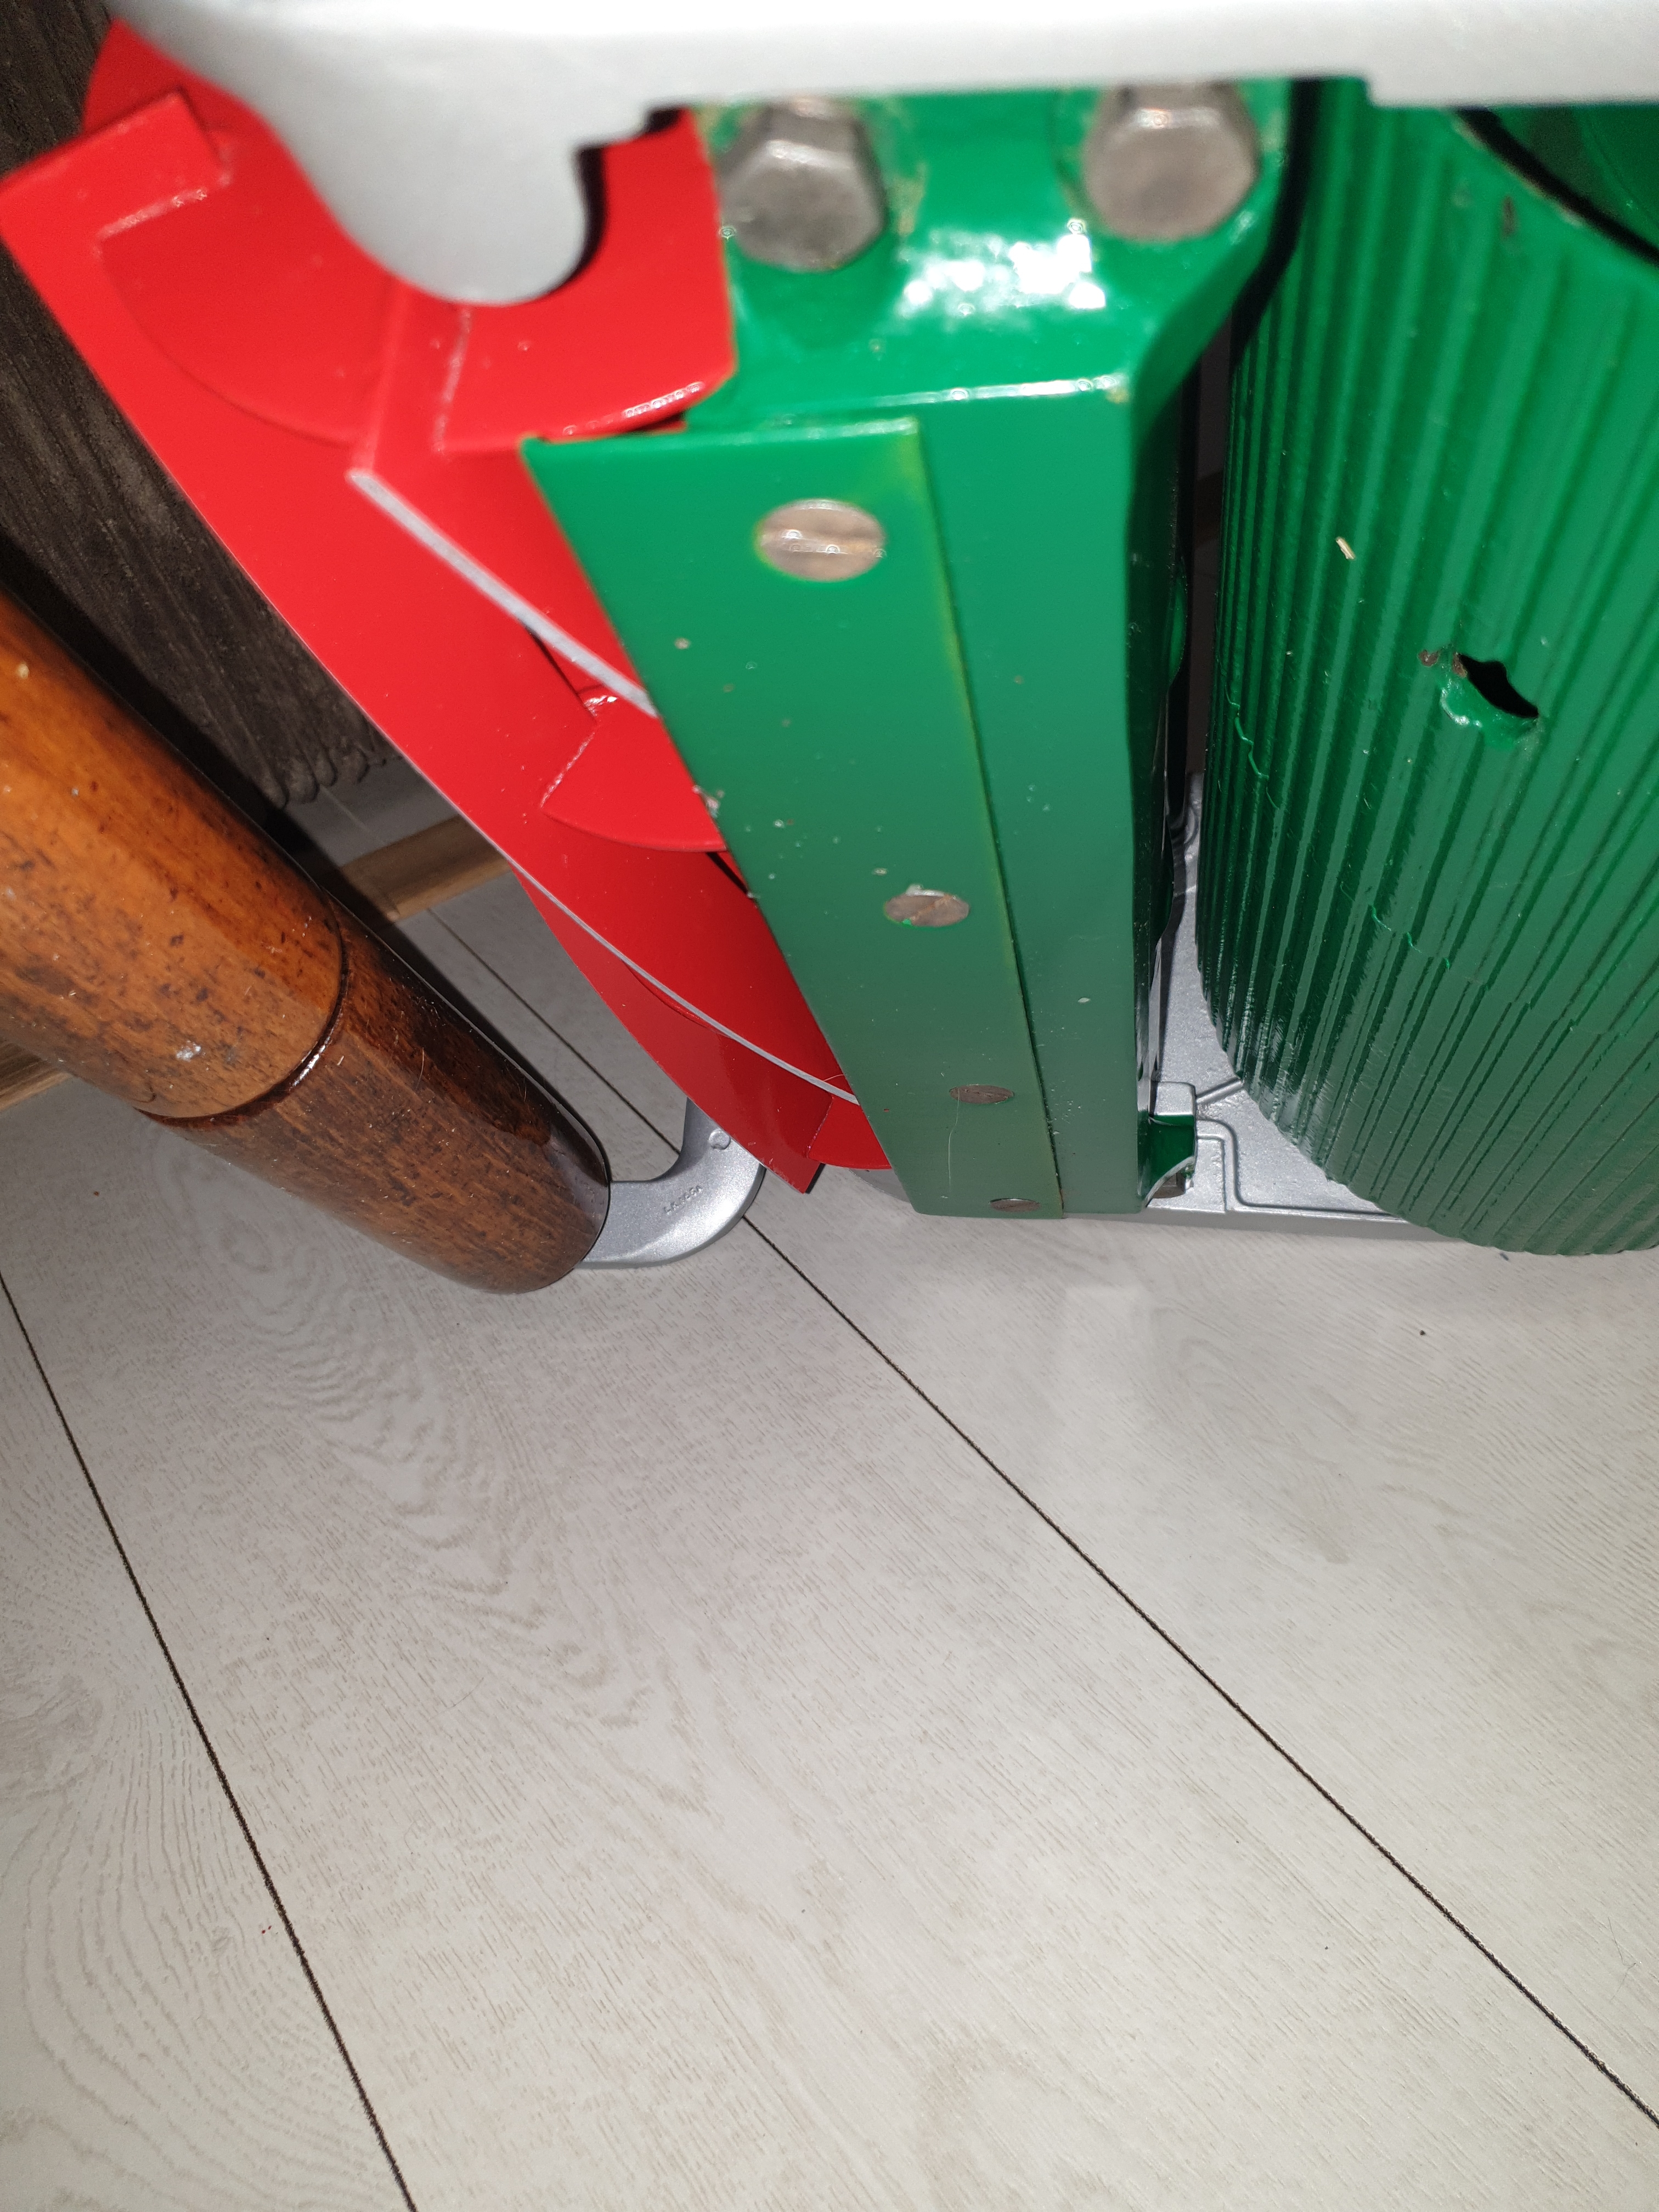
If it's the one with the "white marble" front roller , I very much doubt that the green painted side plates are original.
Edit. Second thoughts! The drive side, cover looks similar to the Anglia so were the Mk2s painted iron/steel and not alloy? One for Clive, me thinks.
Do you wire brush the nuts
Do you wire brush the nuts and bolts up so they look newish again?
Two options open to you.
1. Buy new fasteners. Readily available from sources on this website (Namrick). I use Mike Peters at www. Polished-Stainless.com also known as Surplus Supplies. Tel 01636 636735 He is always helpful, and very quick delivery. You will need to know the thread type. BSF? It is personal choice if you go this route as most modern manufactured fasteners have rounded edges and not flat surfaces as old imperial fasteners.
2. Soak the original fasteners in white wine vinegar or cider vinegar. for 2 days Its cheap from supermarkets. Afterwards use a small wire brush. It is worthwhile investing in a set of die nuts which can be used to clean threads of shafts, bolts, set screws etc, particularly if you get the bug and intend to restore multiple mowers. I use Tracey Tools Tel 01803 328603
Regarding the vinegar - I buy it in bulk from Amazon, but it is superb at getting rid of rust. I use it in a plastic garden planter and even soak larger items, such cylinder blades after paint stripping. It is apparently sold to Chinese takeaway restaurants..It is 5% acidic so is safe to get on your hands, and even after 2 weeks of soaking parts have not been eaten away...but the rust removal is effortless. I do recommend washing your hands afterwards...just to be on the safe side.
regards,
Tony
The sides see ebay
The sides see ebay
283634014056
A bit expensive I often
A bit expensive I often struggle to get £10 for a whole mower or sometimes can't give them away, there are many Ajax's out there.
Not to buy but to show paint
Not to buy but to show paint.Clive could you see if sides painted on others you have?Thanks
Rather than going the full
Rather than going the full restoration on this Ajax would I be better off using it as a learning curve for a Certes? The mowers i do will be used by myself.
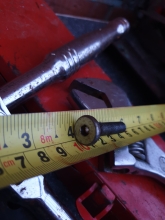
Part 35 setscrew scraper I
Part 35 setscrew scraper I cant find to replace as I have no idea what its technical name is.
Yes you do, it is a setscrew
Yes you do, it is a setscrew that holds the scraper on ;-)
A bolt is, well, a bolt that isn't threaded all the way down, a setscrew is a bolt that is threaded all the way down.
Are you sure that is the right setscrew ? (the one in the pictures), I would have expected one with a hexagon head and that appears to be one with an allen key head. The other thing to note, it will not be a metric fixing, it will probably be a BSF fixing, but may be a UNF one.
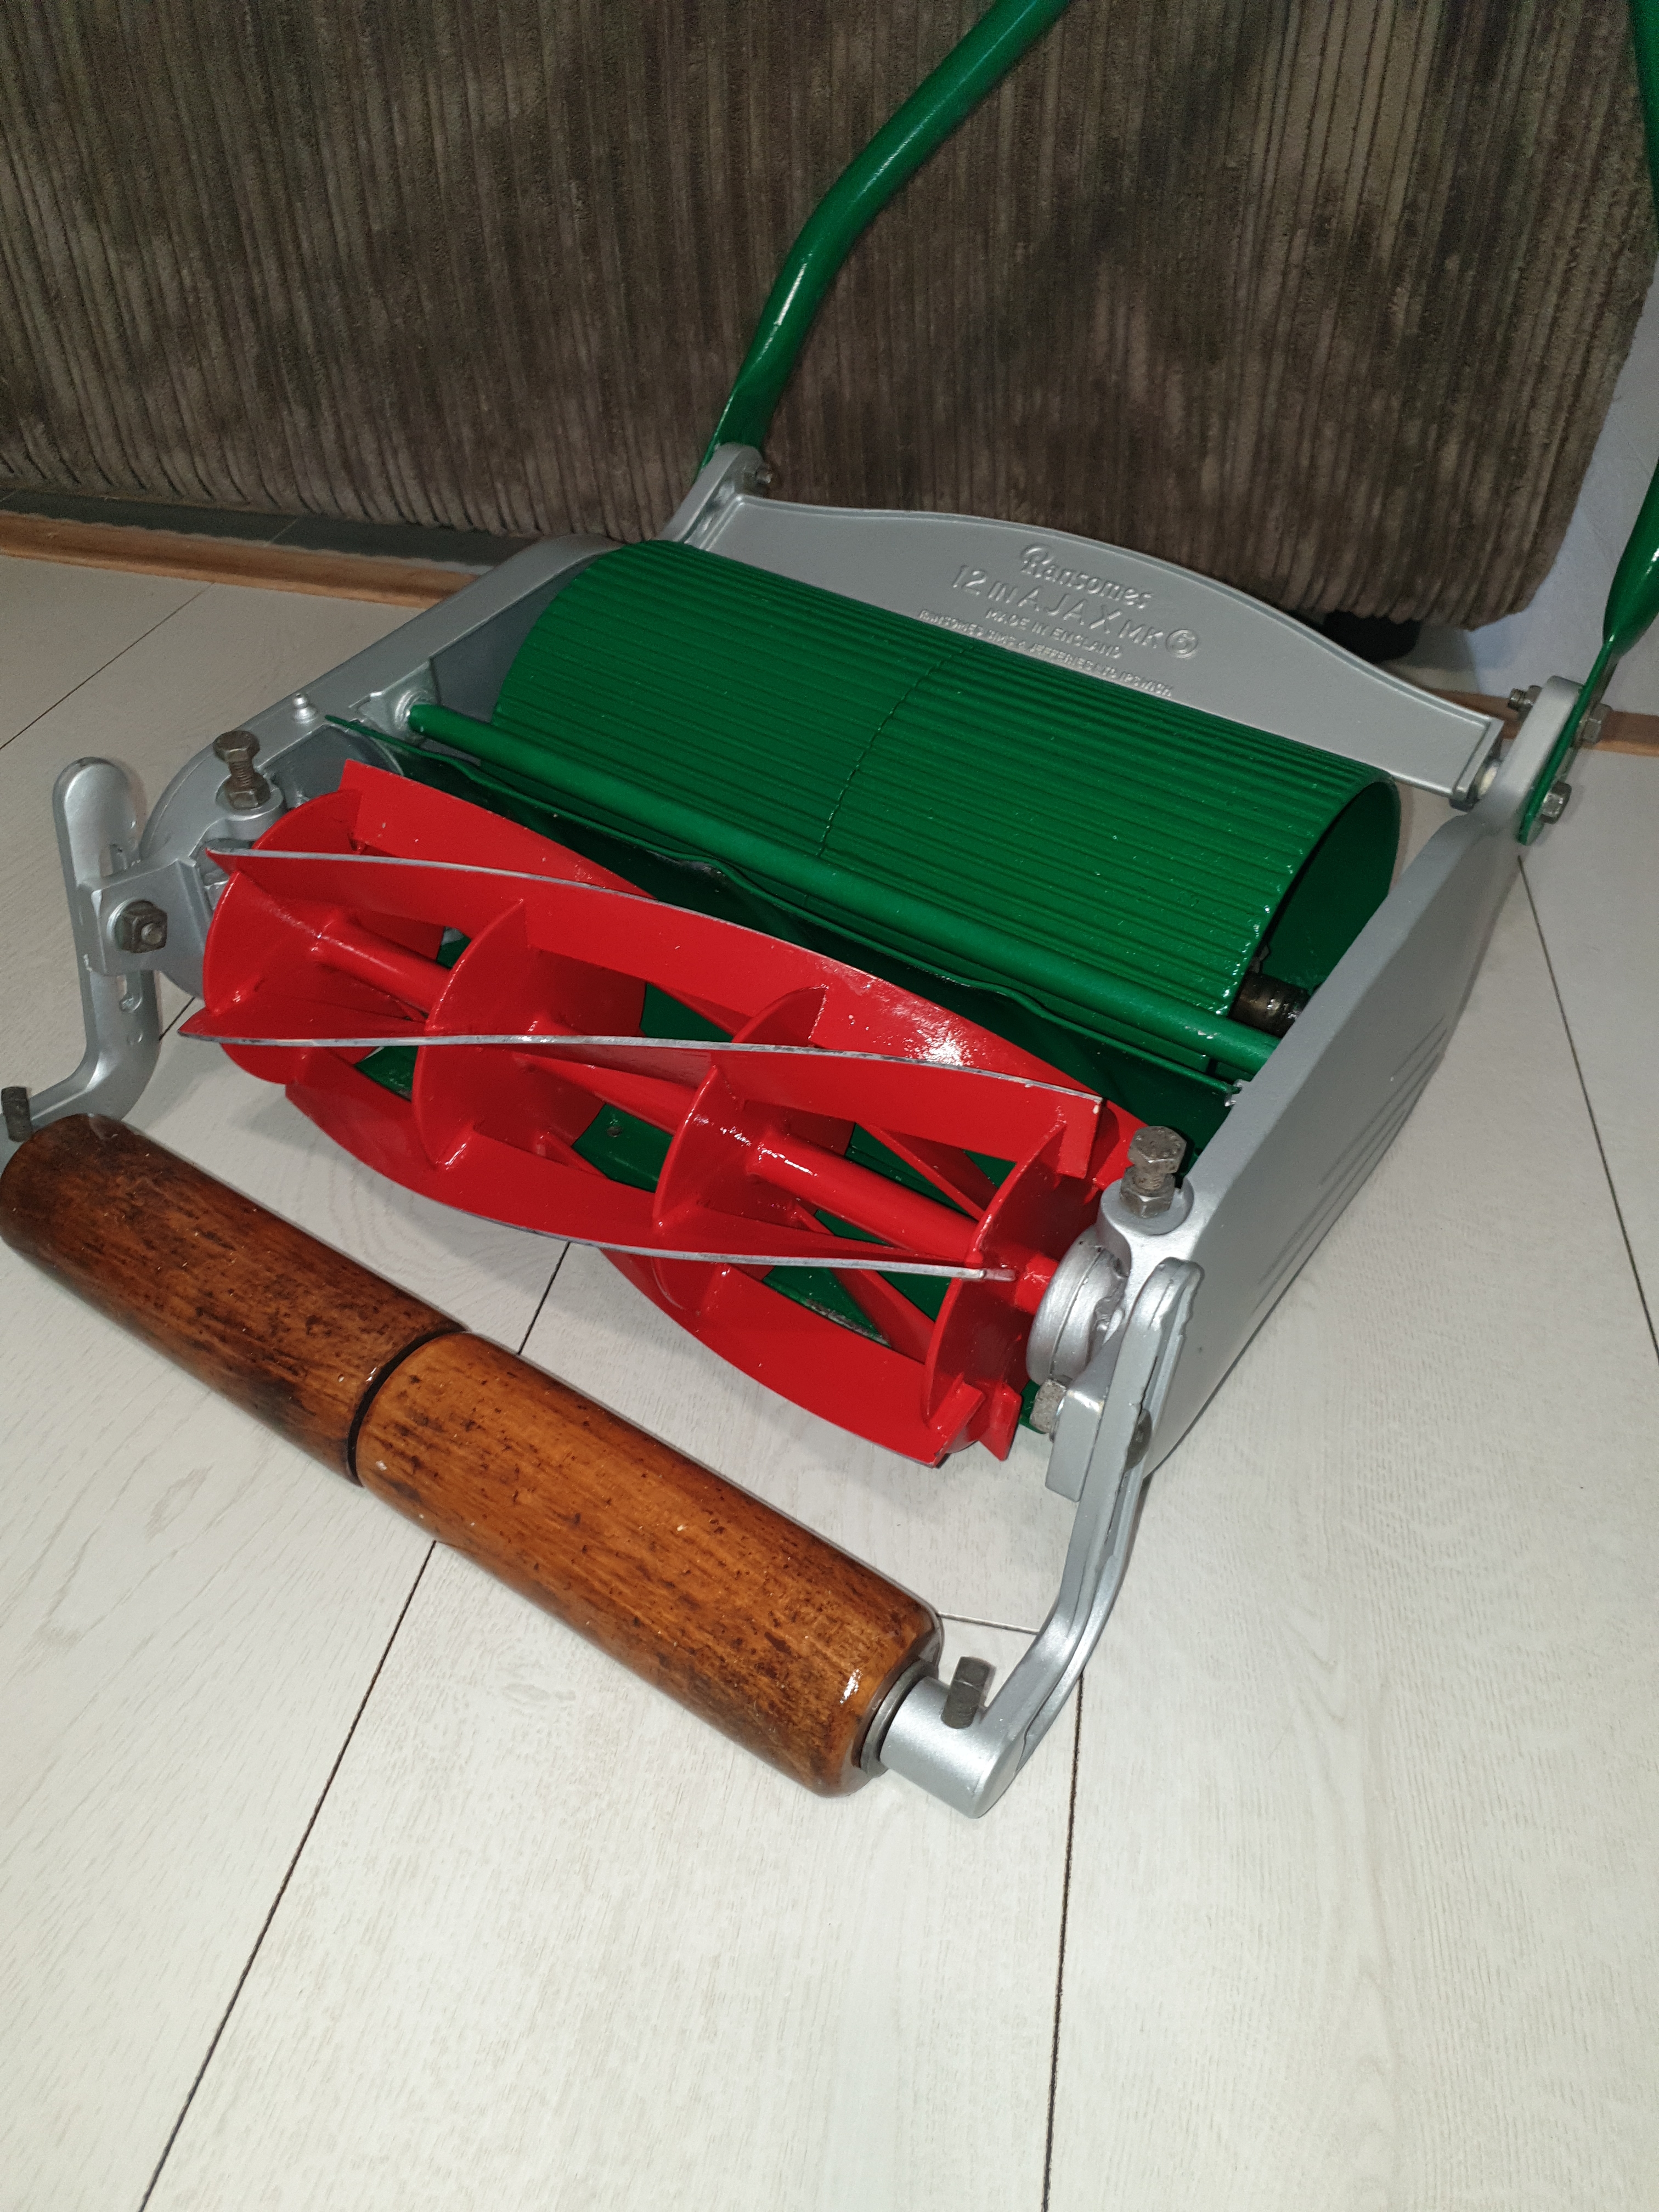
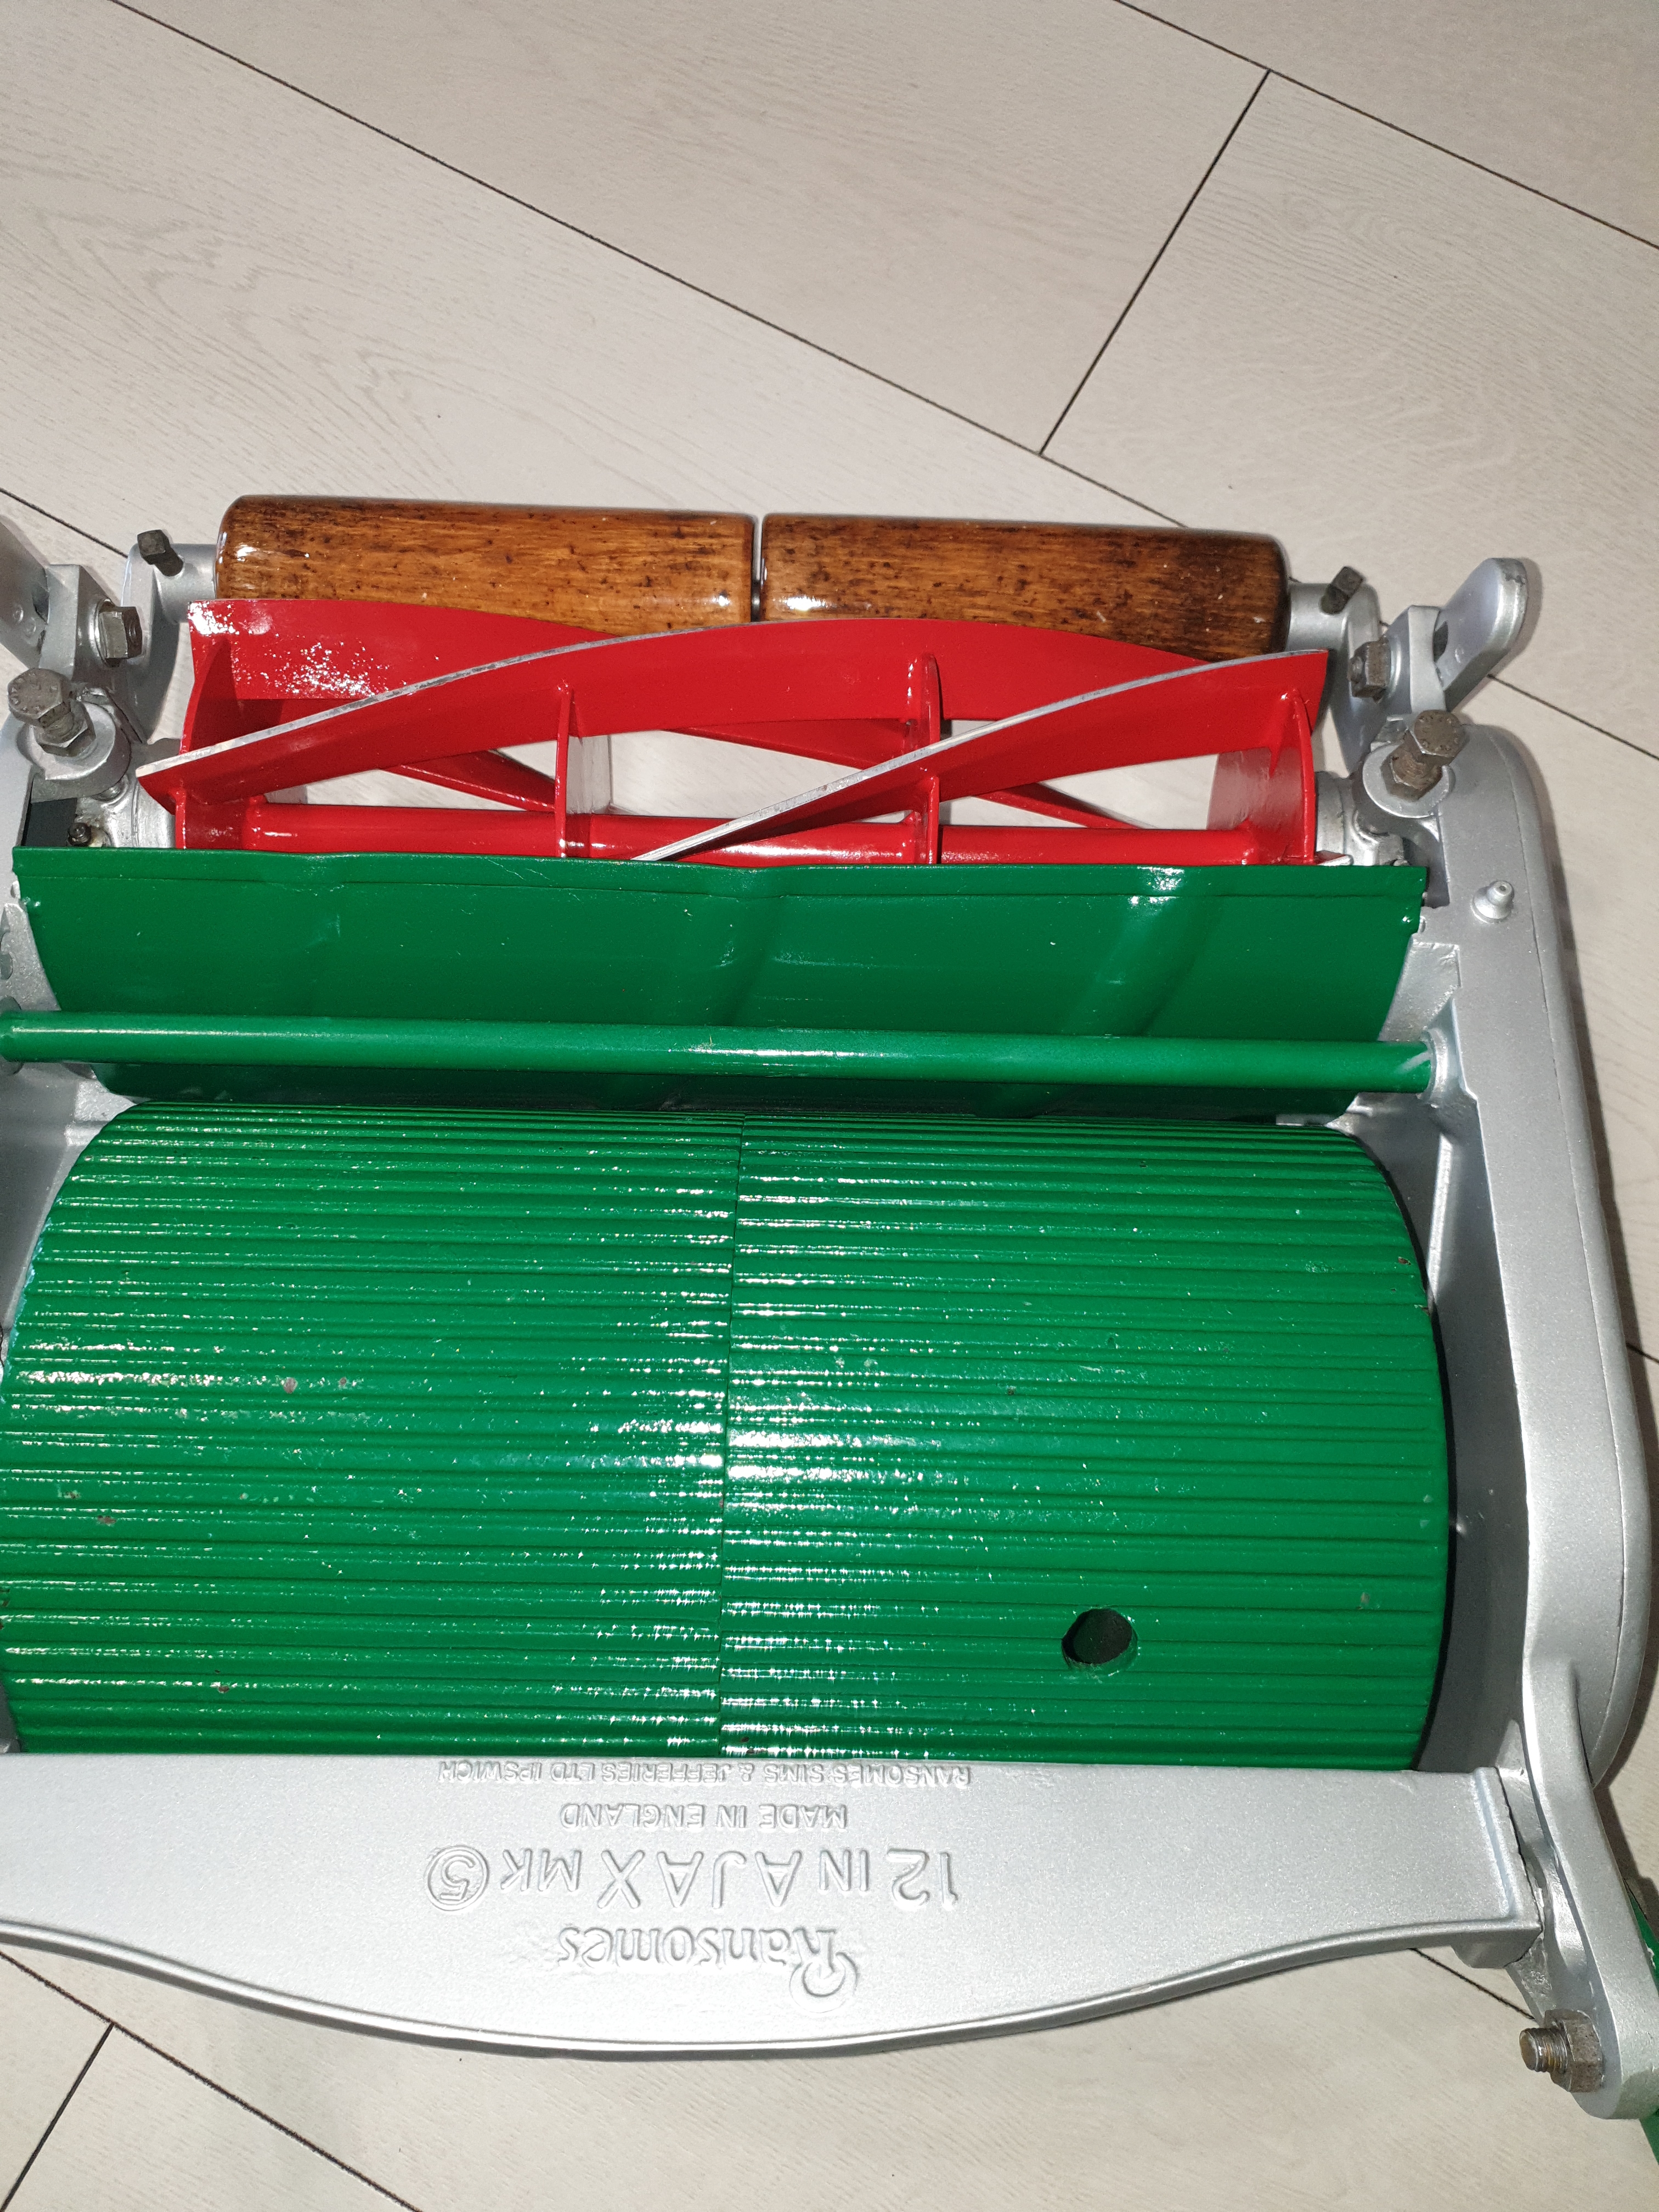
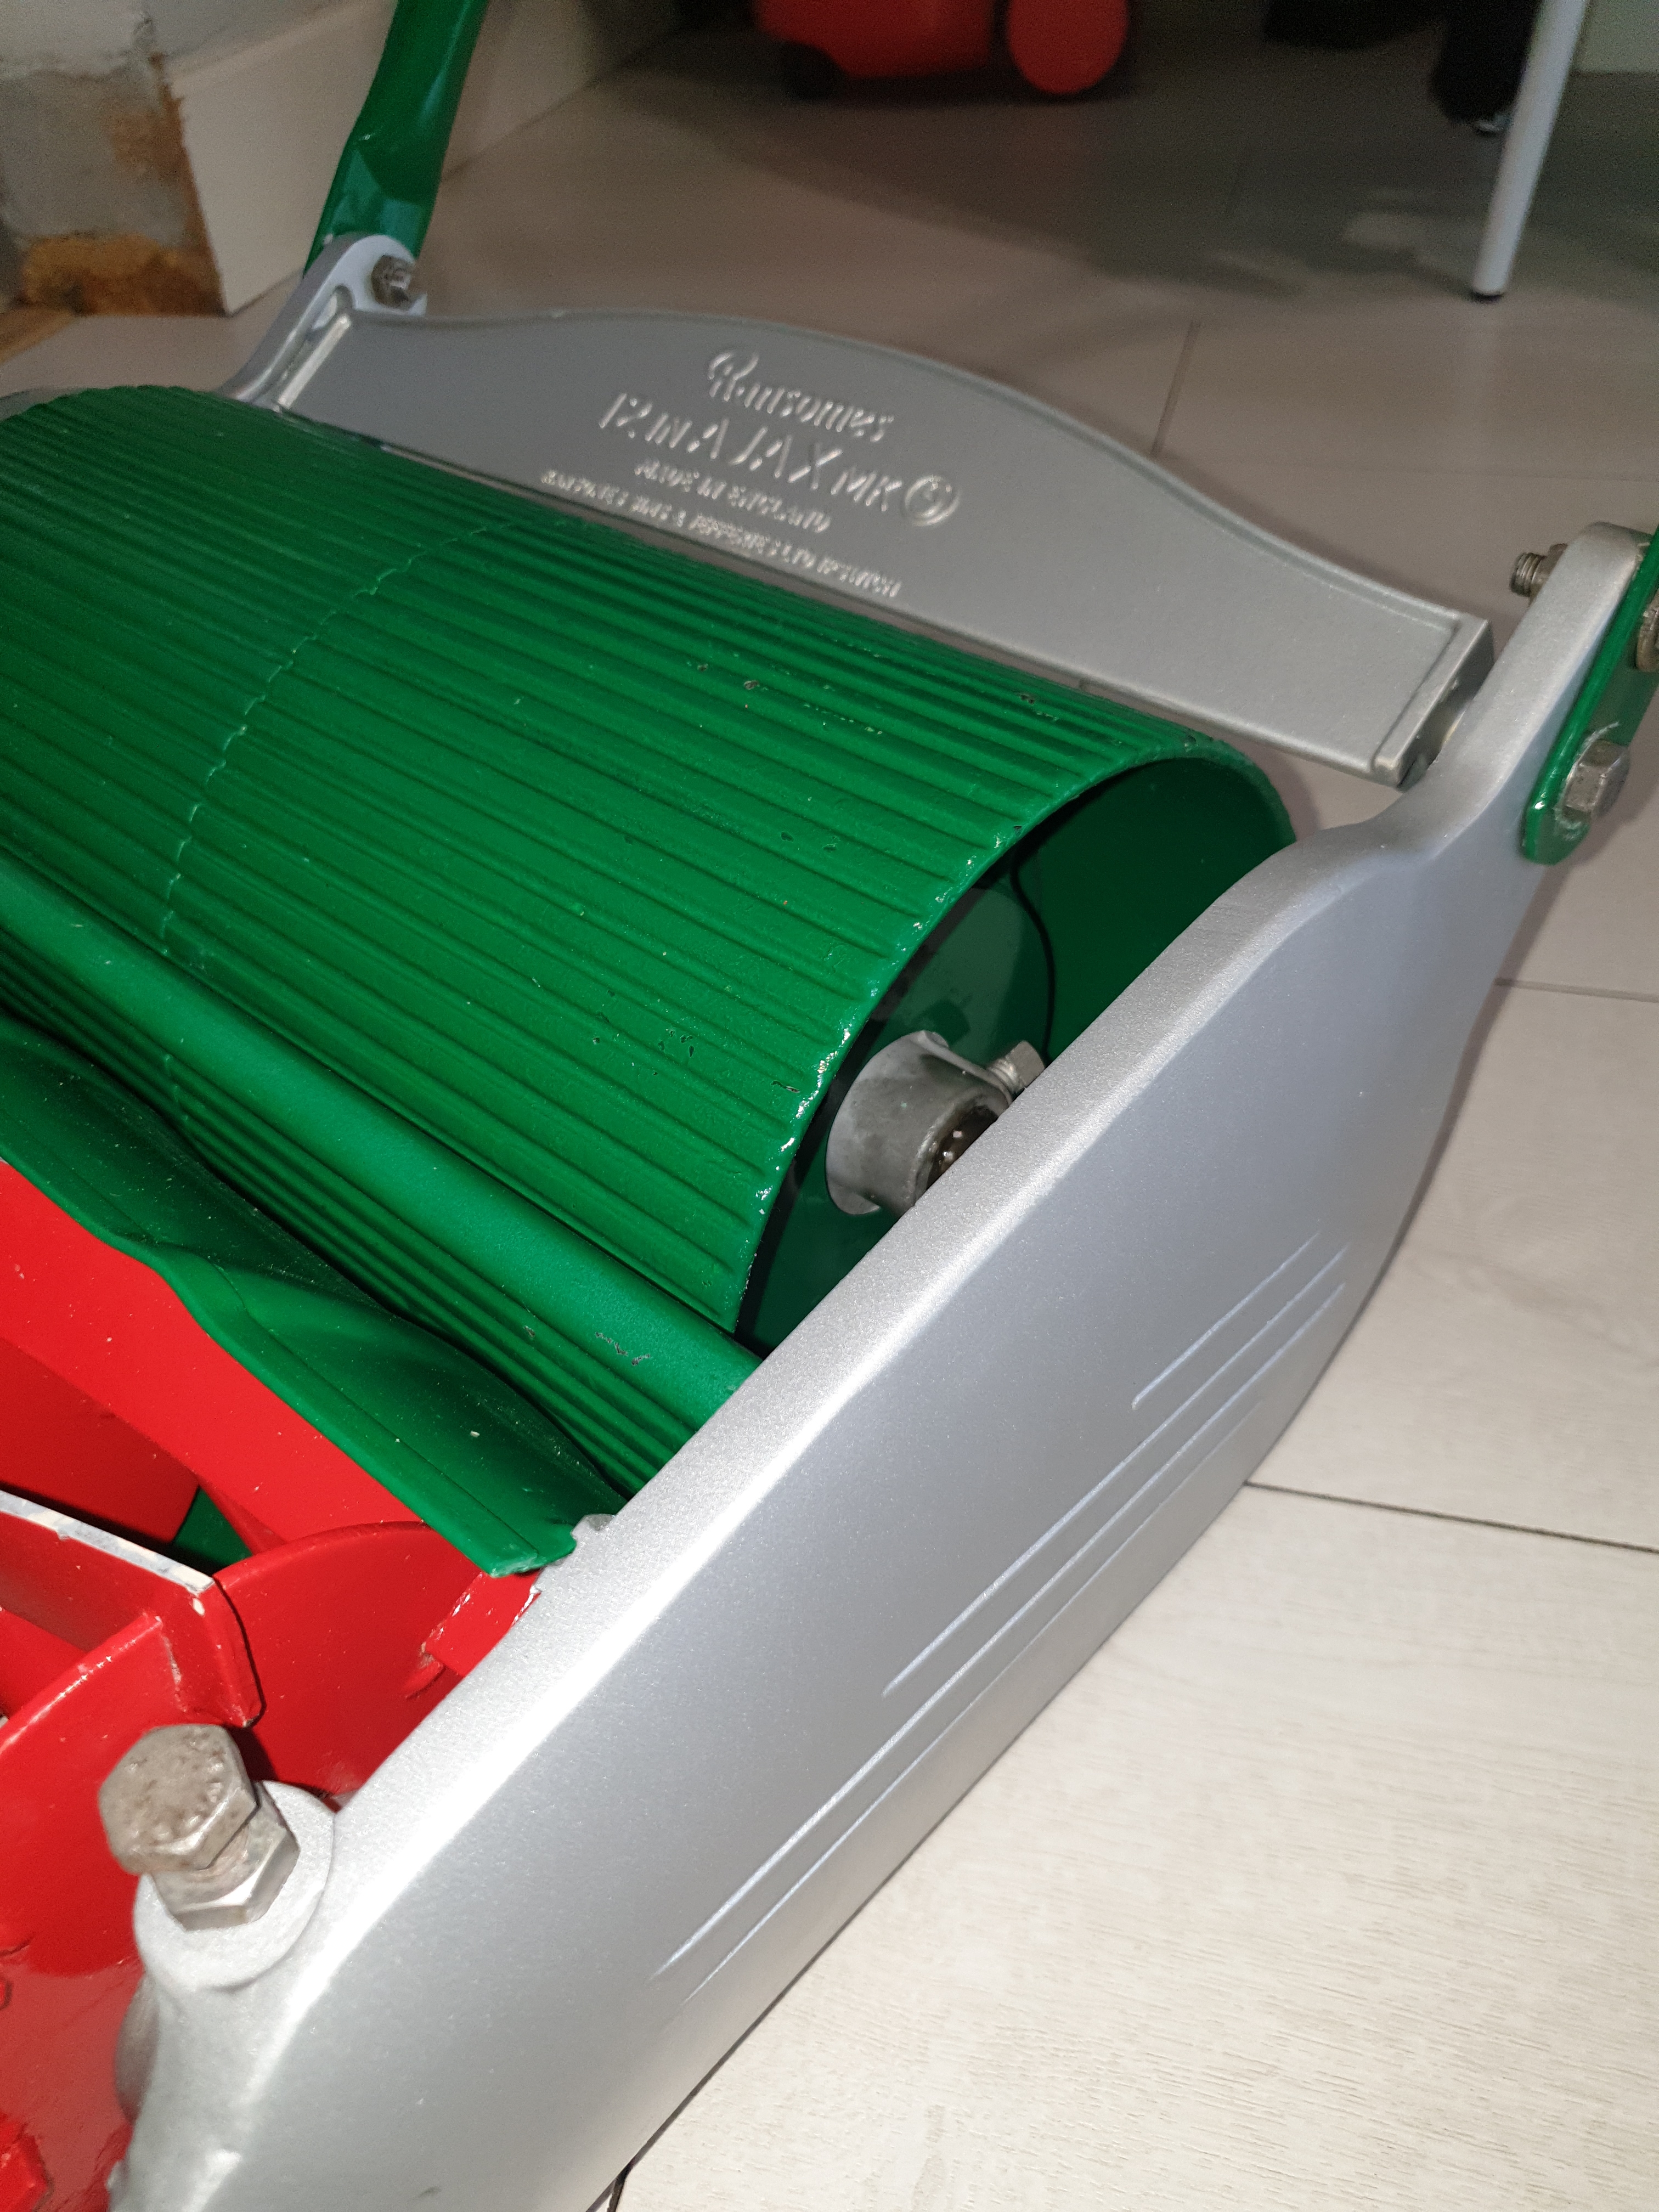
This is a picture of my mk5
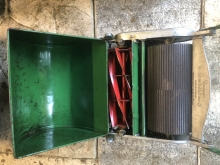 This is a picture of my mk5 Ajax. You should be able to see the original hammerite silver paint on the aluminium side plates.
Yes thats the paint that
Yes thats the paint that mines are,so must be original.
This is a picture of my mk5
This is a picture of my mk5 Ajax. You should be able to see the original hammerite silver paint on the aluminium side plates.
Yes thats the paint that mines are,so must be original.
I think that you may be going down a dangerous road with the use of "must". I have two unrestored Ajax , a Mk3 and a Mk5 and neither have any sign of hammer finish paint on the side plates . Note "hammer finish" not Hammerite which was the trade mark of the hammer finish paint sold by Finnigans of Prudoe and still is that of the AkzoNobel company who now own the brand.
Set screws. I would suggest that those socket head set screws are not original as I've never seen socket head hardware on Ajax machines. As observed by Hortimech , hex head would be more likely.
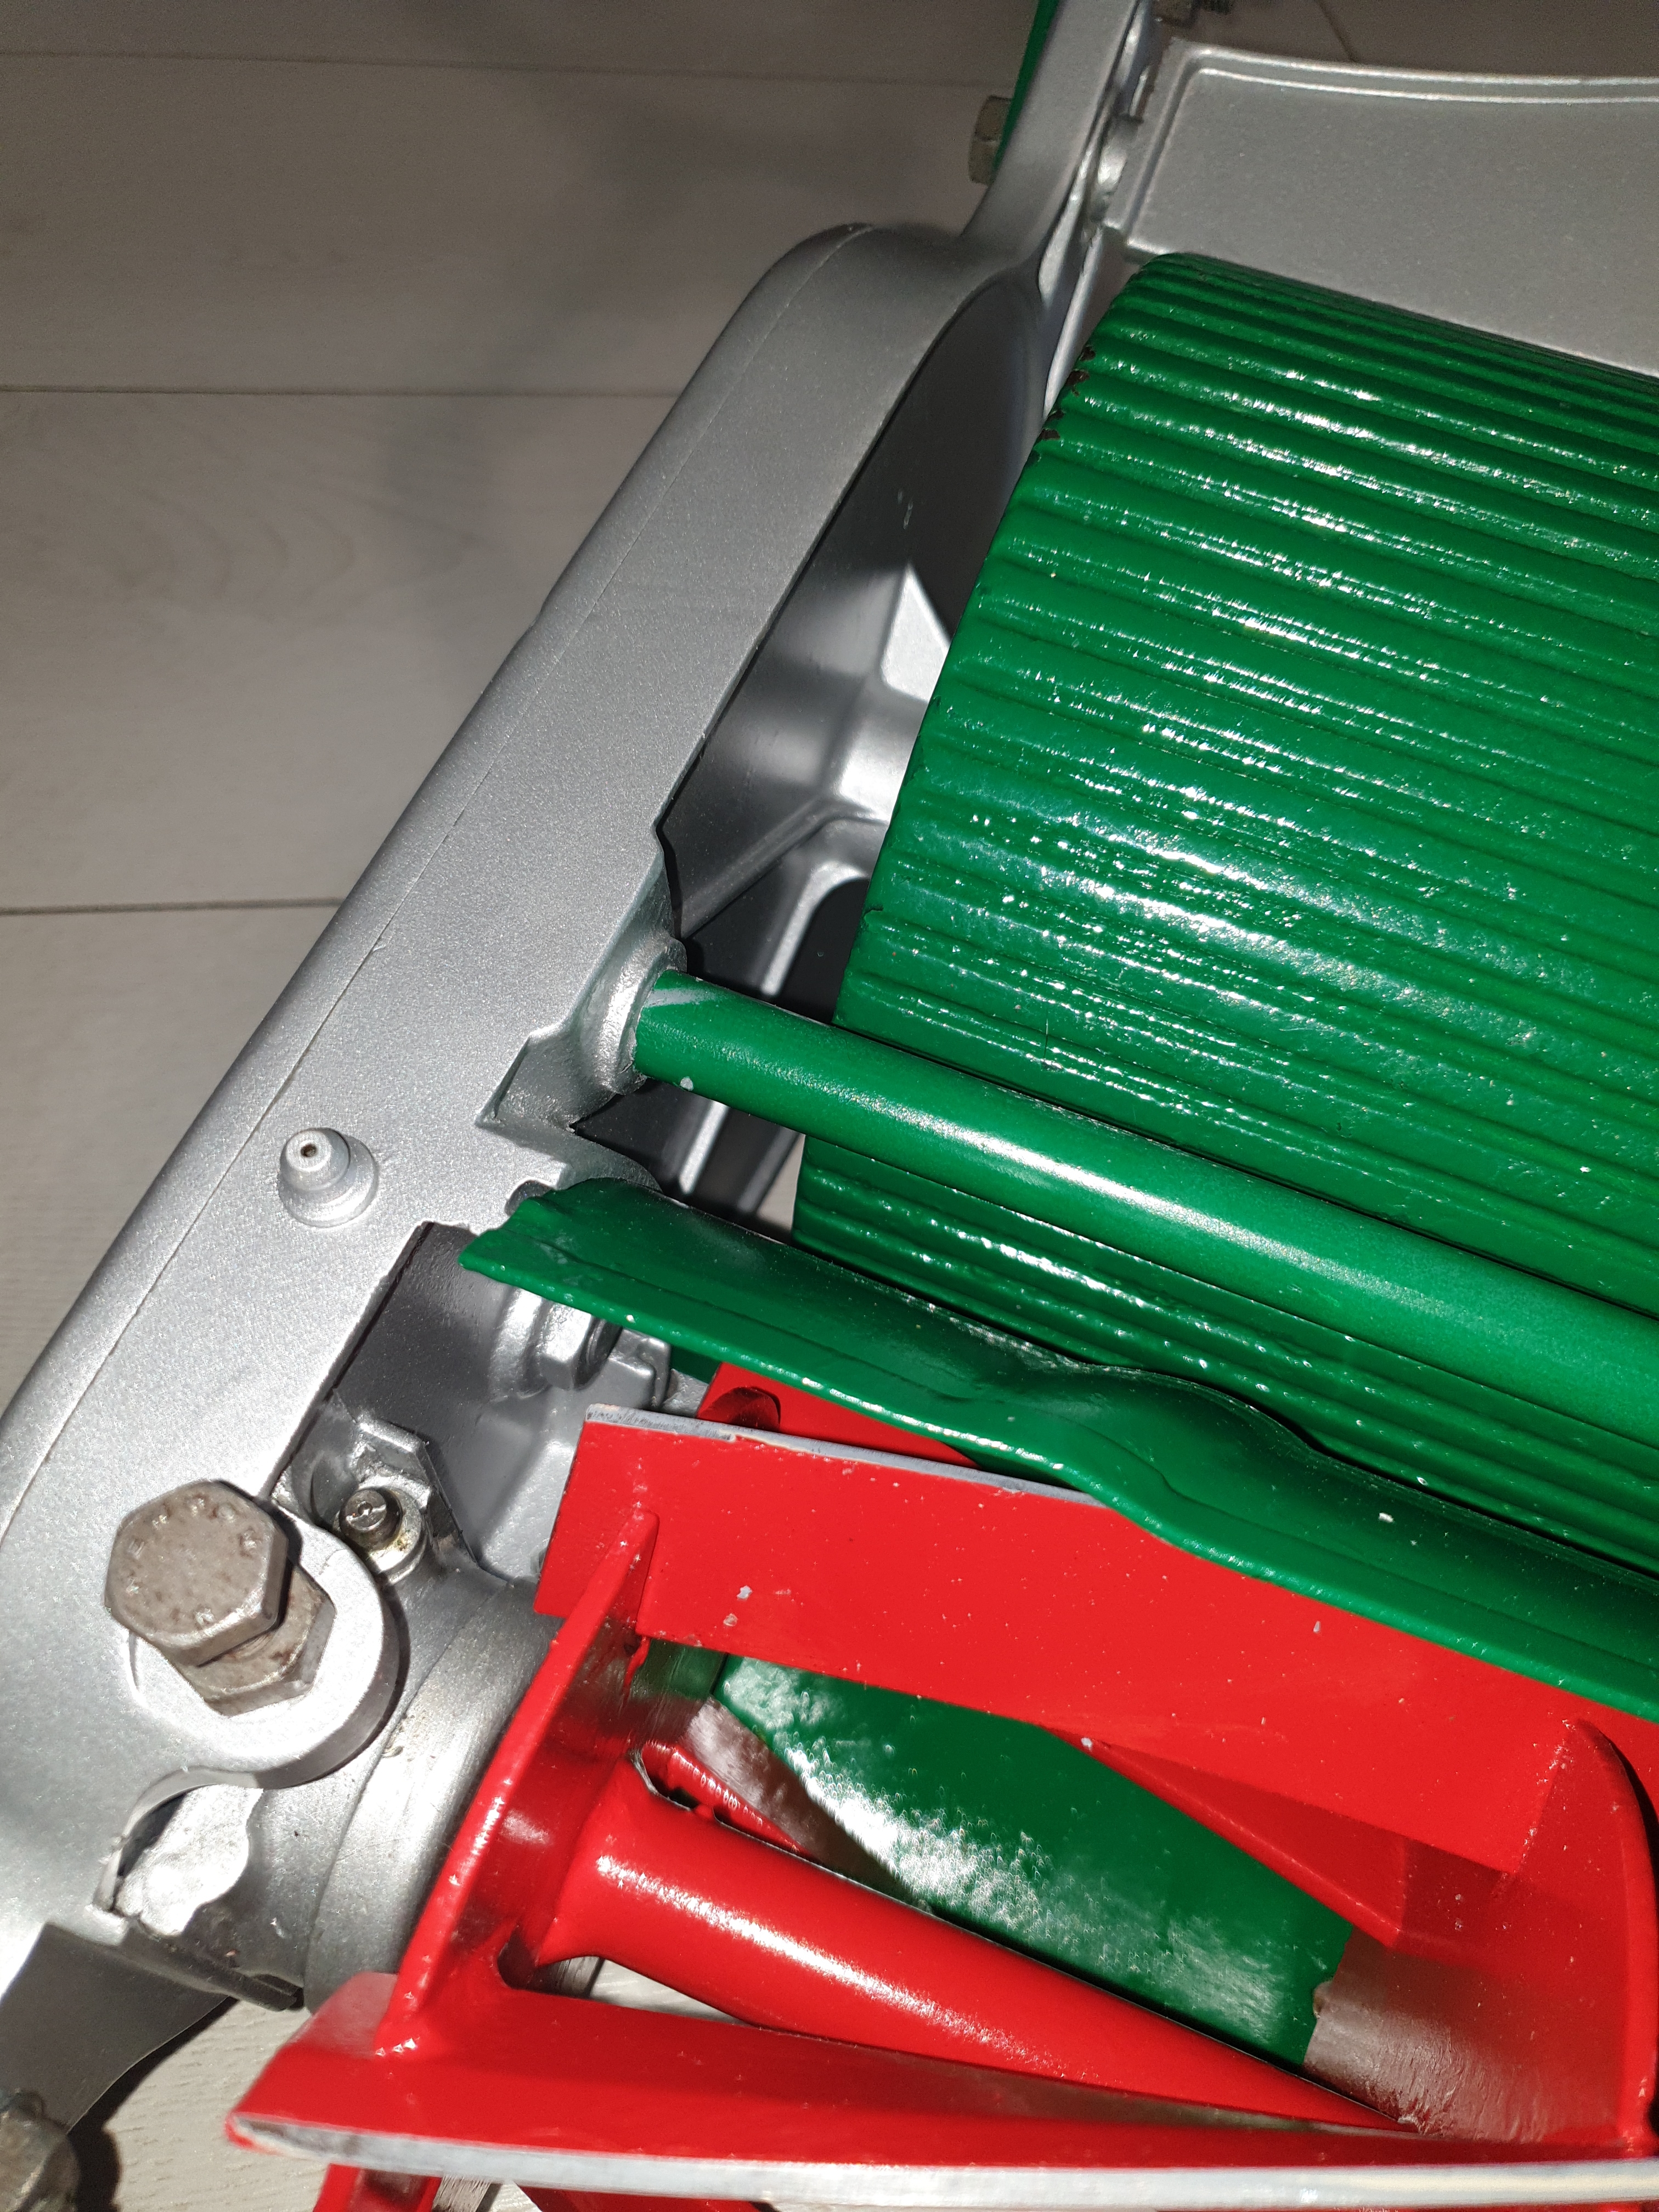
As has already been discussed, it was common practice for cutting cylinders to be stripped and repainted . We would often tidy up a used Ajax for sale by rubbing down the side plates and giving them a blow over with whatever silver paint was to hand or even just a clear lacquer. The deflector plates would also be stripped, de-rusted and repainted with whatever green or black paint was in the gun. While on the subject of deflector plates, did all genuine Ransomes ones have pressed in vertical stiffening swages ? One of my machines has, the other has not, but has a neat horizontal turned over stiffener along the top edge - original or a dealer made replacement?
You are quite right,should
You are quite right,should have said looks as though.
I did wonder about the
I did wonder about the setscrew being an alen key head on it. I also see in the last photo the roller is not painted, mine has a bit of green paint left on the inside. I prefer the un painted finish myself.
Am I safe to say that I can pretty much go for whatever colour scheme I want whether its sold on as a refurb or kept for myself? My choice would be unpainted roller and polished and lacquered sides. I also prefer the handle joiner in silver instead of red.
When I refurb a Certes it will be a personal bling model with new stainless fixings.
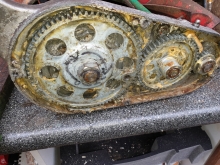
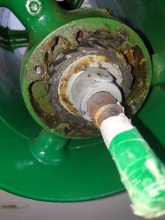
How do I remove this last cog
How do I remove this last cog? It doesn't feel as though it wants to pop off so I'm assuming it needs to be unscrewed somehow?
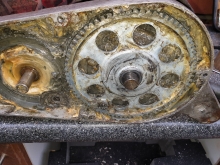
The quality was awful, here's
The quality was awful, here's another.
I found an old post on here
I found an old post on here about how to remove it. The final piece to remove is the spindle from the plate, how do I manage that?
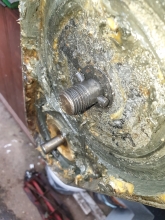
You should be able to knock
You should be able to knock or gently tap the pin through the shaft. I use a flat centre punch. Do not welly it...you are likely to burr over the end of the pin making life difficult for yourself....Once you have got movement keep tapping it all the way through the shaft until you have enough purchase on the other end to pull it out.
Erm, what could go wrong is
Erm, what could go wrong is that I sheared it. I cant for the life of me find a spare any where.
What diameter ?
What diameter ?
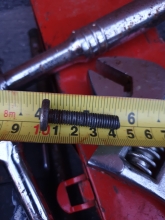
3/16 by 1 and an 1/8 to one
3/16 by 1 and an 1/8 to one and a quarter long, and now its clean I see why they call it a grooved pin. Is it necessary to have grooves if its held in 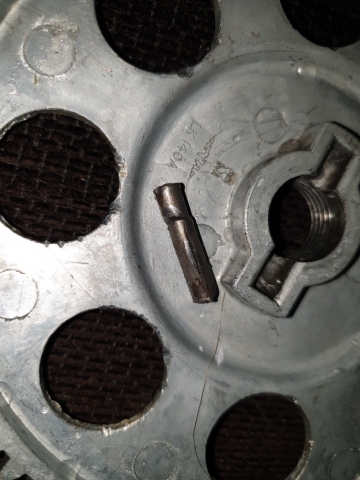 fast in the main drive cog?
Usually referred to as a
Usually referred to as a Mills pin. Sometimes they are very slightly bulged but other times look as though someone has applied a sharp cold chisel, longitudinally at the four points of the compass. Those grooves or swages supply enough friction to keep the pin in place.
You may even find that a six inch nail is the right diameter.
Thanks for that wristpin, so
Thanks for that wristpin, so it's not crucial its grooved to really secure it in place?
As the recess in the gear
As the recess in the gear wheel has closed ends the pin can’t fall out. When you find or make a pin make sure that it’s a snug fit .
I have had a search on here
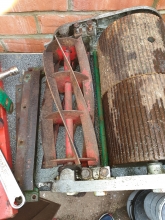
I have had a search on here and found a post kind of describing the info I'm after. I'm trying to separate the landroll and can get a 1/4 gap between the two and that's it. I dont want to force it as it feels as though there is something holding it there.
Firstly should the gears just pull out, and secondly have I missed retaining screws somewhere? Looking at the parts pdf I see a a pawl and a spring for pawl, I cant see those parts in all the old grease, would they be stopping the separation?
I managed to separate the
I managed to separate the rear roller eventually with a lot of heat and hammering. I had the same issue as the person I found in a search here, the srew to secure the pawl was not on the flat part of the spindle and had created a groove stopping removal. I'm glad I persevered as it is so smooth now and I'm now able to start to re assemble.
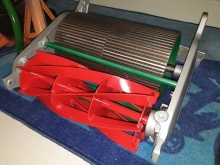
Well I am very happy with the
Well I am very happy with the result so far lol
Well done Warpa, that looks
Well done Warpa, that looks really good so far, and well done for persevering with your first restoration. I hope my Suffolk looks as good when I eventually put it back together, having never done a restoration before either!
Thank you, it is very
Thank you, it is very satisfying and will be looking for another to do. I already miss the old grease and parts that wont budge!
Hi Warpa. You are doing a
Hi Warpa. You are doing a fine job there with that Ajax! May I just ask what green paint you are using, and do you find it a good match to the original Ransomes green?
Regards,
Jon
Hi Jon, I've used Spaldings
Hi Jon, I've used Spaldings ransomes green. I'm not sure on its accuracy as a perfect match, but is I think a lovely green. I also used the same company for the cylinder red.

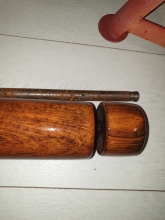
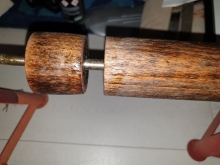
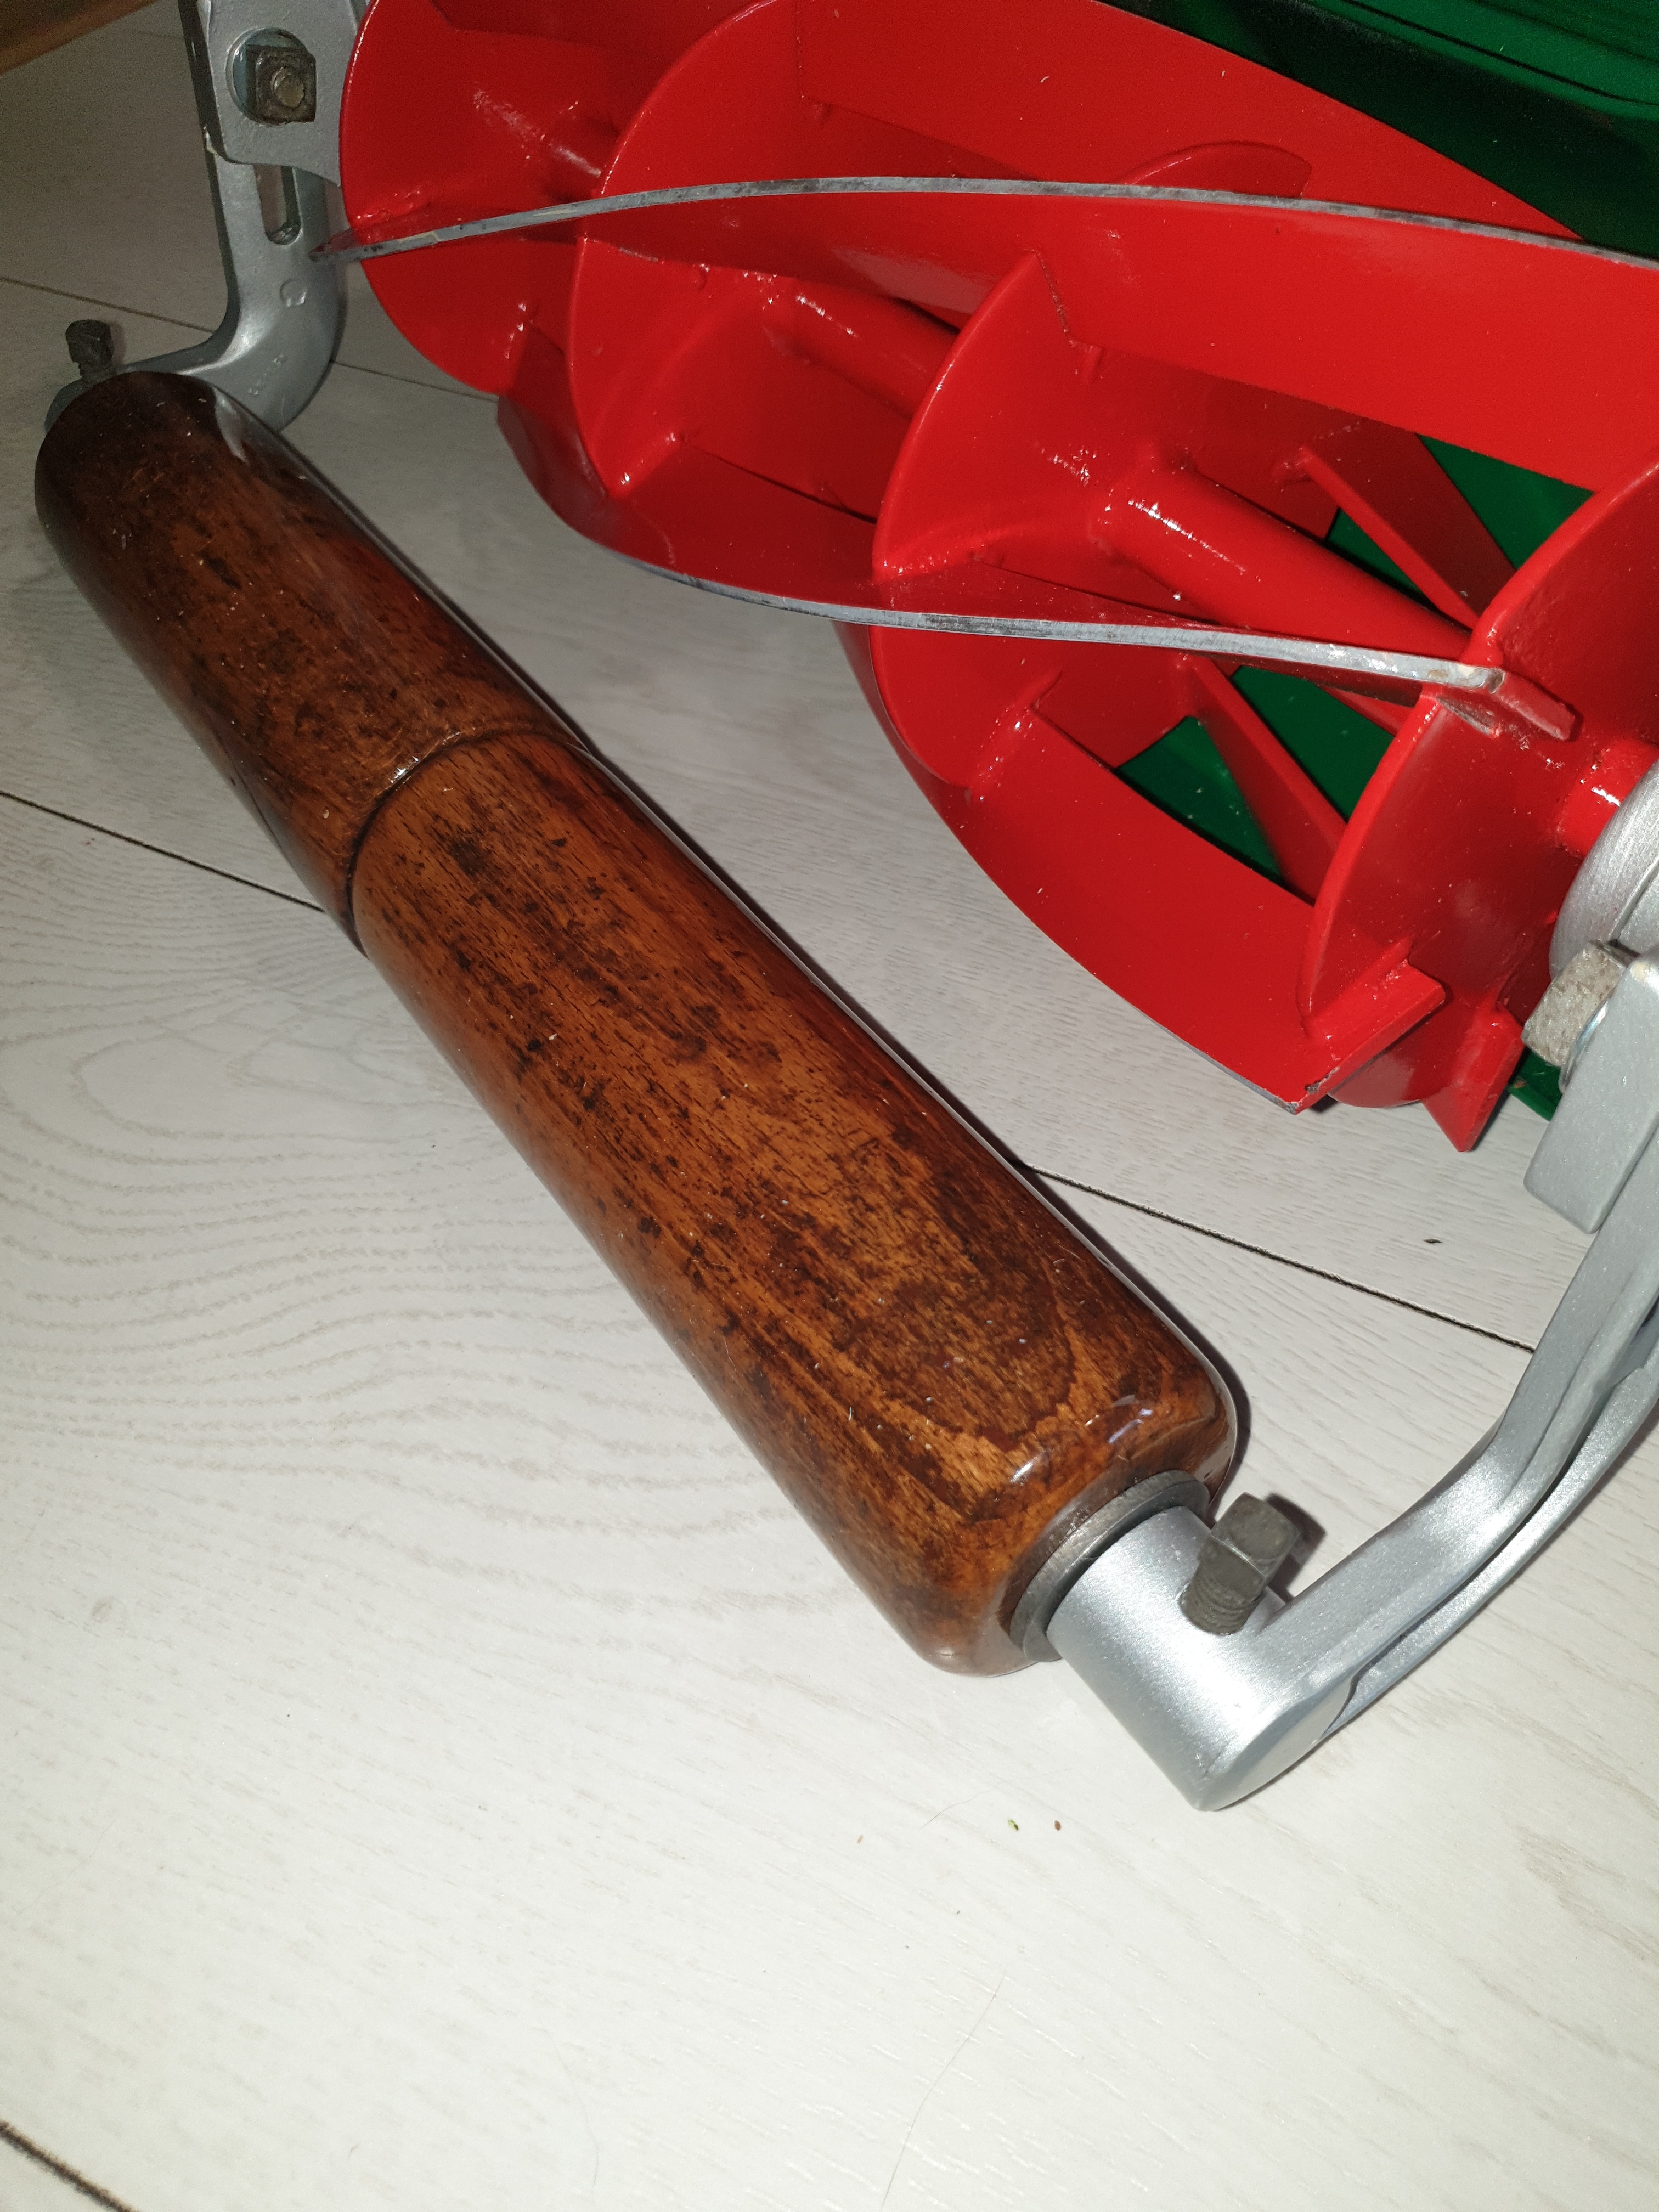
I have a front roller querie,
I have a front roller querie, I have 2 front roll spindles and the split pin holes are in different places, only by around 10mm but neither match the spacing on my rollers that came on the rusty spindle shown. Looking at the diagram it shows a washer and split pin, is this just for use when only the smaller side rollers are used for longer grass? If so what goes between all rollers to stop them keep rubbing against each other?
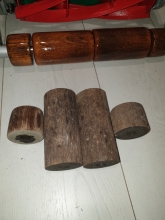
When assembled as a full set
When assembled as a full set there should be a plain steel washer between each roller - no split pin. It looks as though your small outer rollers have been cut down from longer ones . They should be cylindrical, not tapered and have a radius at both ends. Lengthwise, the small rollers should comfortably fit the space between the end bracket and the washer and split pin.
Ah I see, now that makes
Ah I see, now that makes sense. I think I'd rather keep these as they are old and not I believe a reproduction. I'm a carpenter and have never come across a wood as hard as this, it's so dence. Not sure if time has a play in it becoming harder or not.
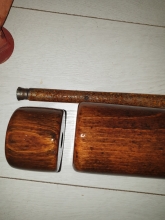
My fault, I should have paid
My fault, I should have paid more attention before refurbing the rollers. They are simply not right and not even long enough to fill the length of the spindles. Rather than buy new ones I'm going to see how the old ones come out, 1st coat of varnish on and the wood grain is not as nice as the last set, but that could be timber type difference. Another 6 coats and I'll decide.
Small roller on the left I gave a quick sand and damped down to see how the grain was.
Quick question, ive
Quick question, ive reassembled one of my Ajax and there appears to be half inch of play side to side on the rear roller.
Is that just standard play?
No, EP or even LP.
No, EP or even LP.
Bugger! Ive checked the parts
Bugger! Ive checked the parts list and that assembly video assembling the mark 3. It must be something to do with how i reasembled the rear roller, maybe the rollers are too far along the roller spindle on one side. I cant see it would make a difference, but is possible maybe.
Just re inspected and i think
Just re inspected and i think i have found the problem but not the solution. The side to side play is around 3mm not the half inch i said, it also appears to be the same amount of play i have between the 2 rollers (3mm)
If i put a packer between the rollers there is no play, what is the recomended gap?

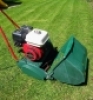
All complete.
All complete.
Very nice Warpa, been waiting
Very nice Warpa, been waiting for the finished photos, for your first resto you should be over the moon with that.
Over the last couple of months I have built this and redesigned the garden.
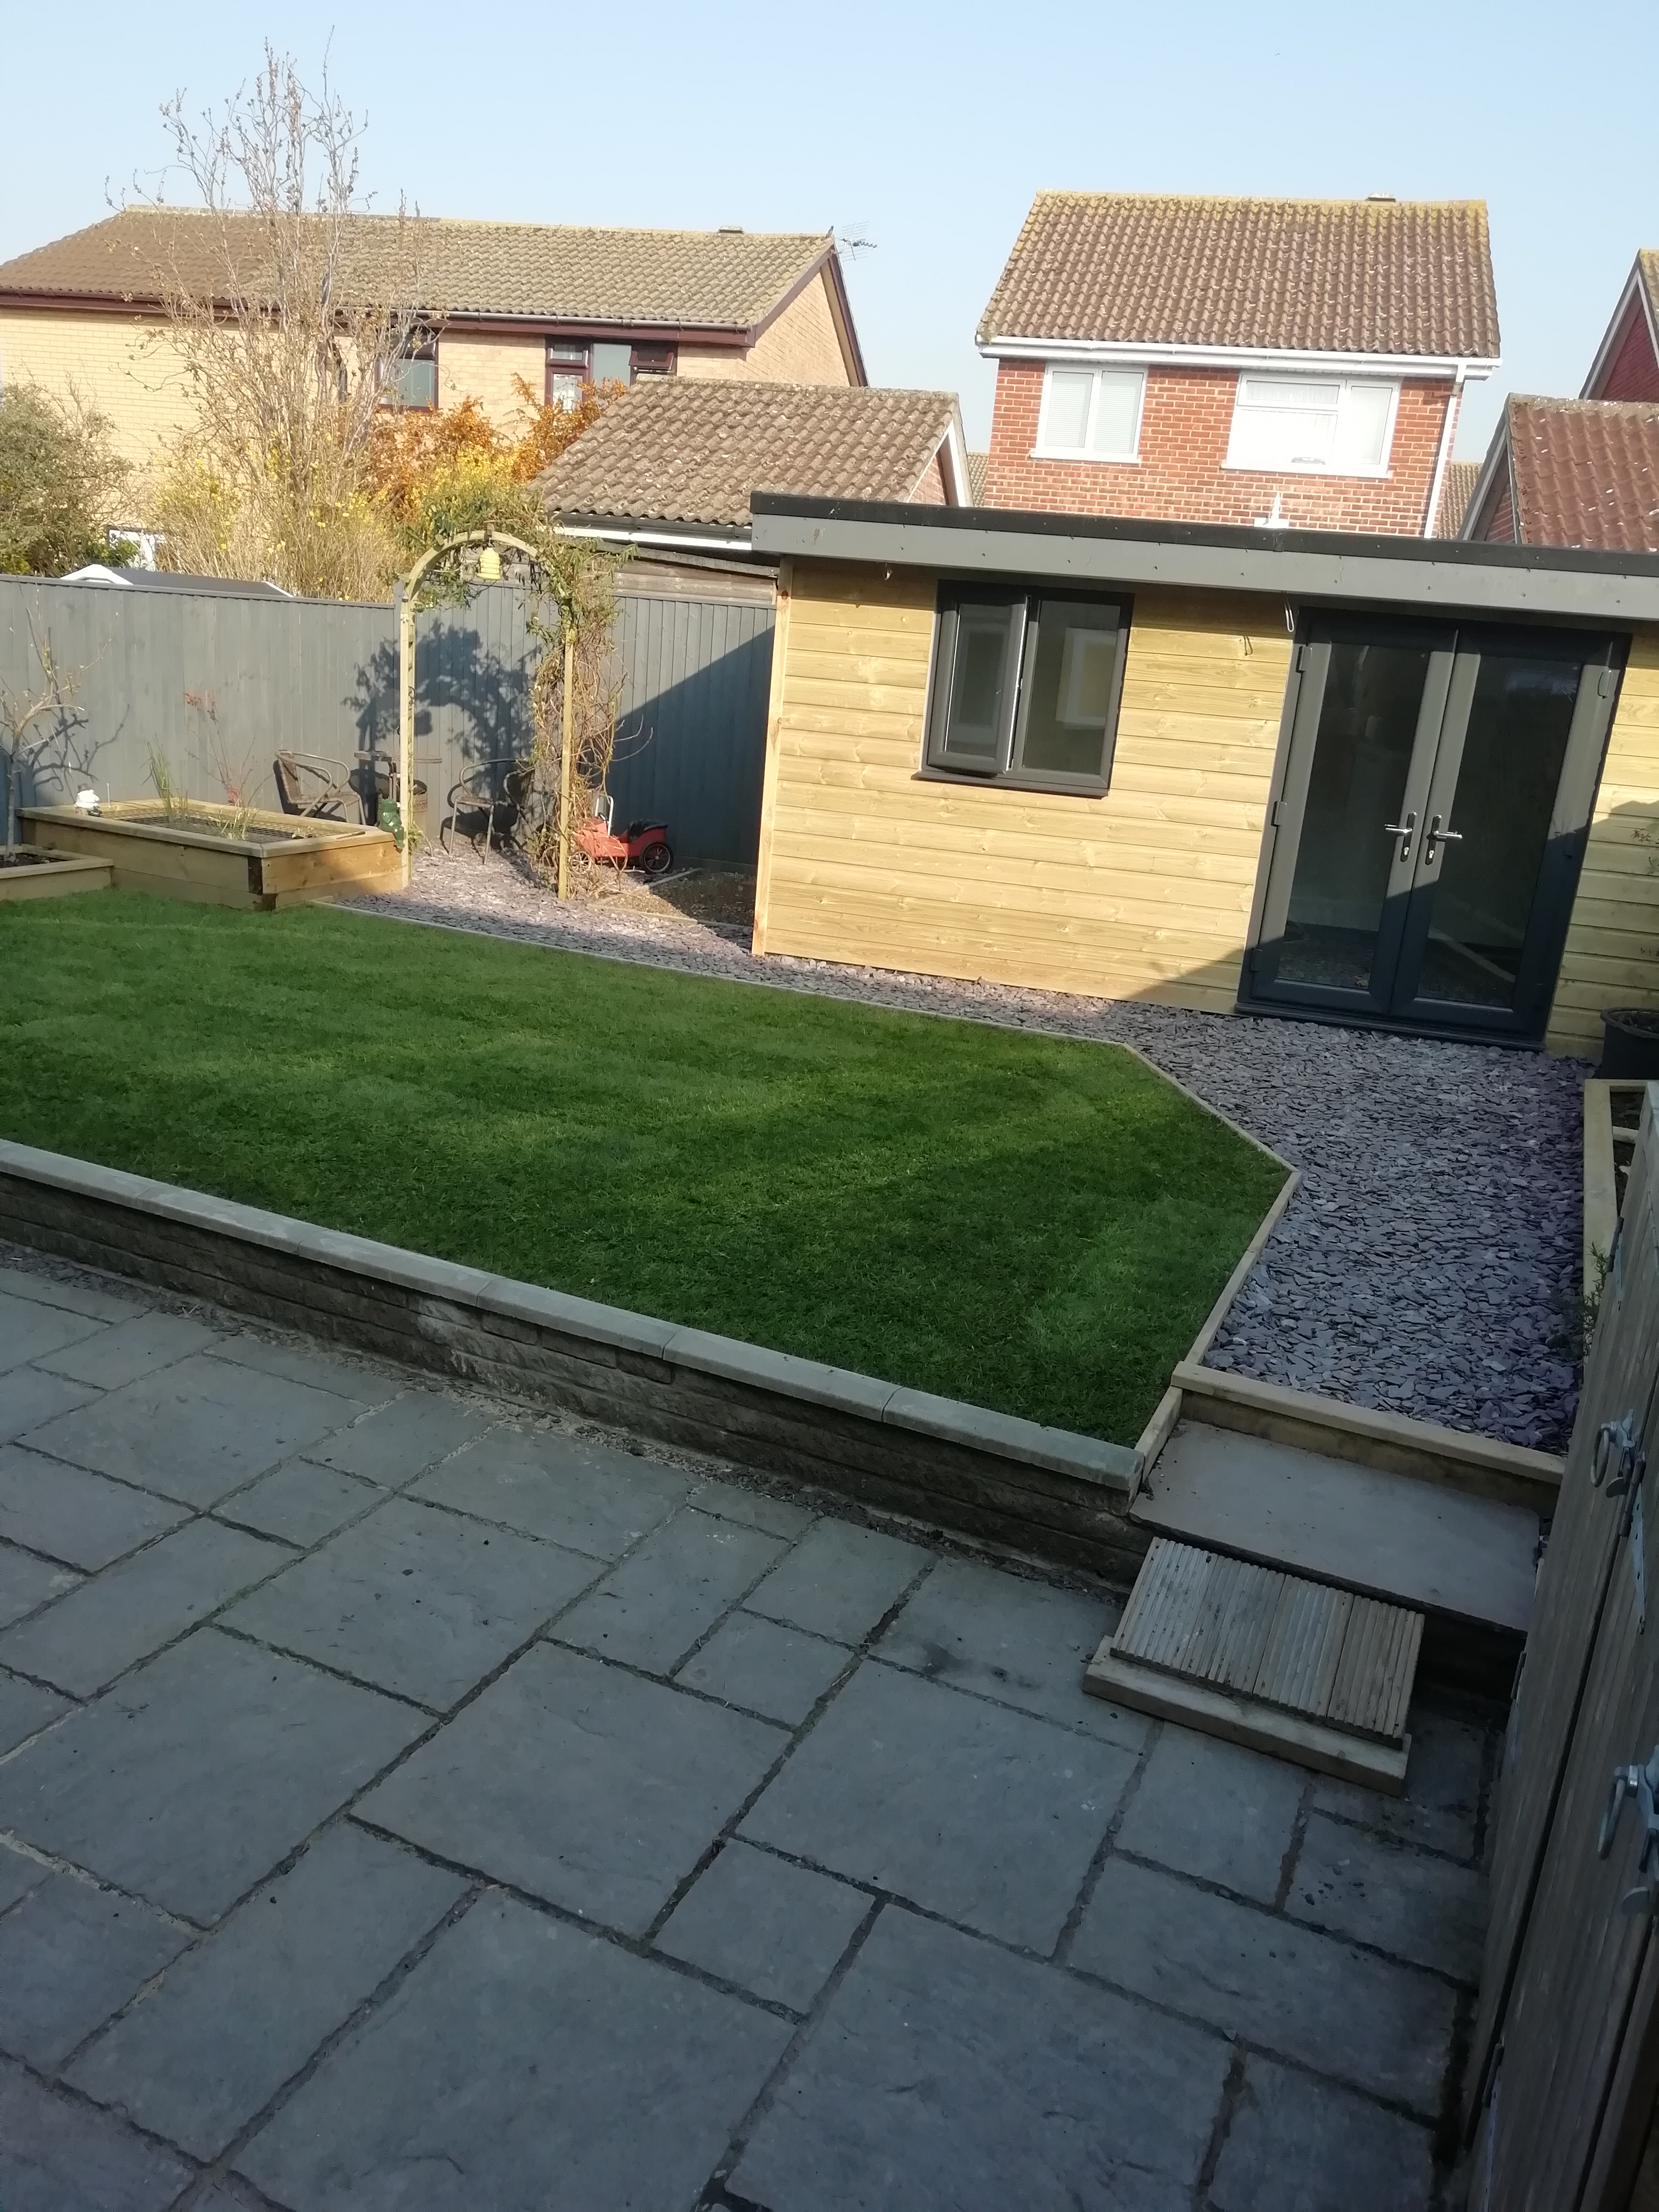
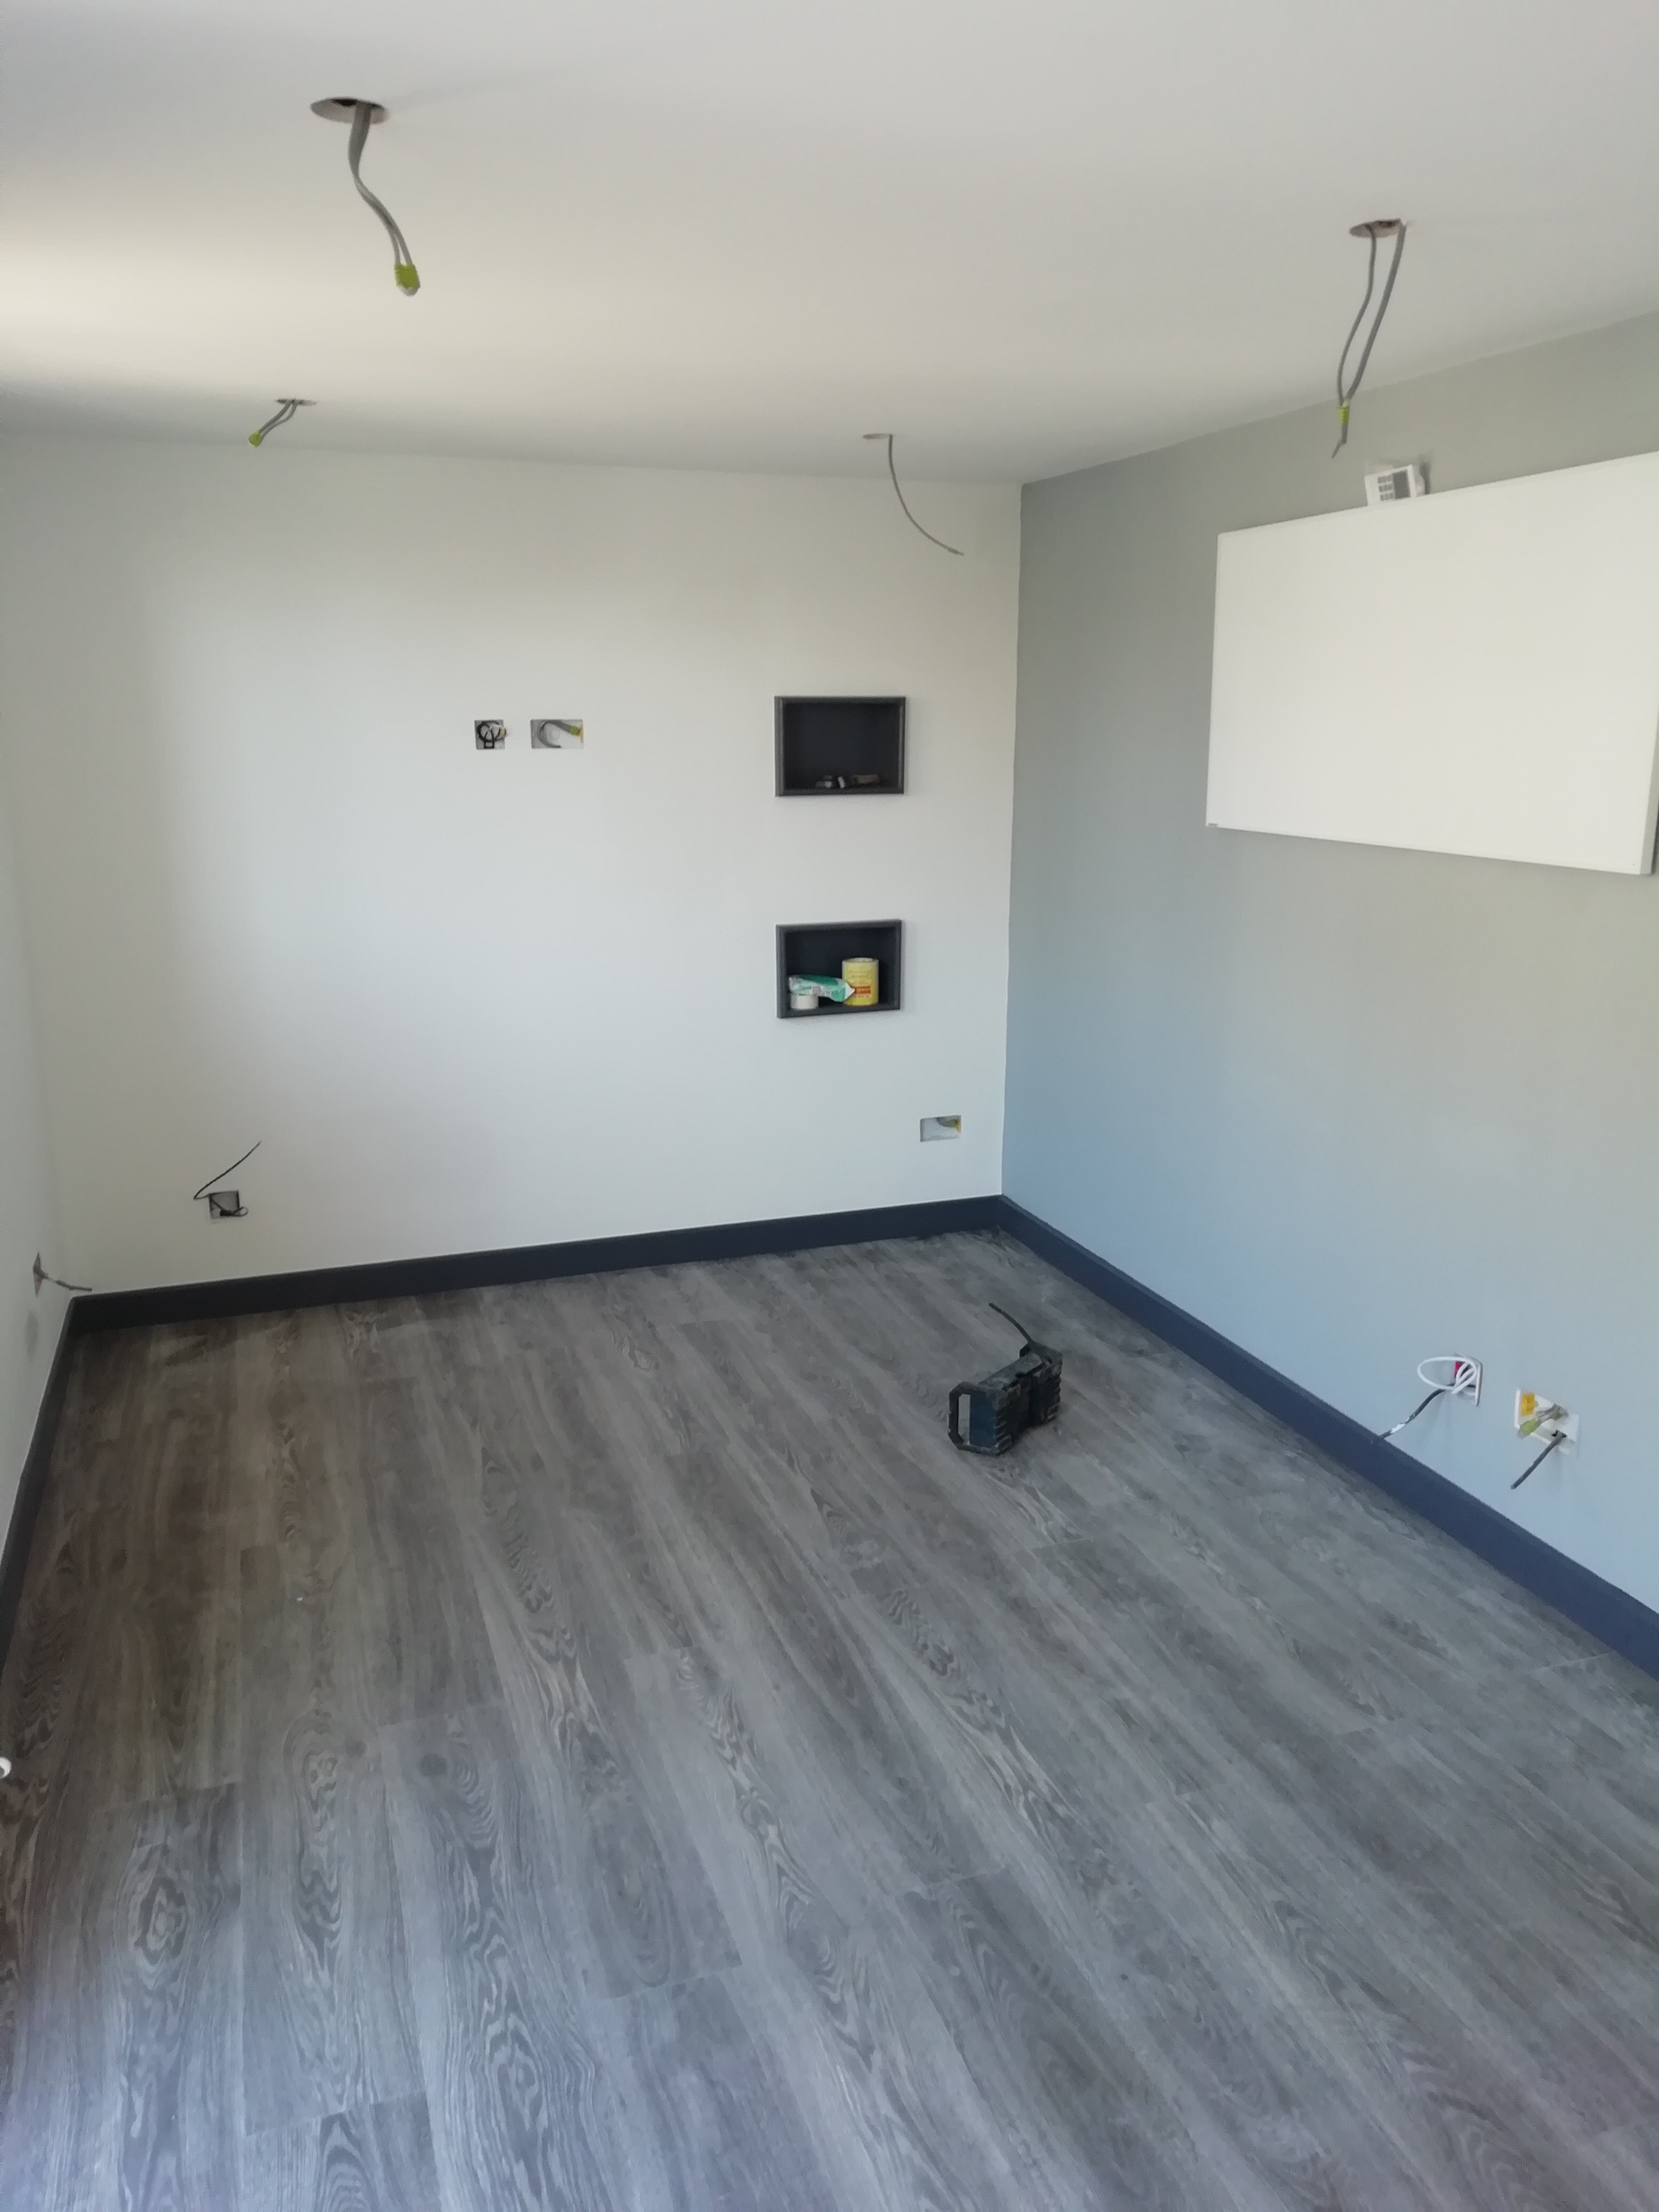
I spent quite a lot of time preparing for the quality turf I laid Friday. Sadly the building won't be used for a lawnmower display, as it's for the kids to use, but I wanted the lawn to be as flat and level as I can get it so I can use my MK1 Ajax on it.
The last chicken died in January so had a lot of work to do, and I've now had the last week to finally finish just a shed to go, clear out the garage and then I can hopefully finish the whippet that's in bits and crack on with other mowers in need of attention.
What's next for you?
Hi Warpa. I agree with Lee,
Hi Warpa. I agree with Lee, lovely job. Is it a keeper, display only or dare you use it in anger! Liking your building Lee, well smart. I could do with something similar then I could get rid of my Shoe Horn!! - Not enough Brownie Points in the kitty yet though! Cheers. Rob
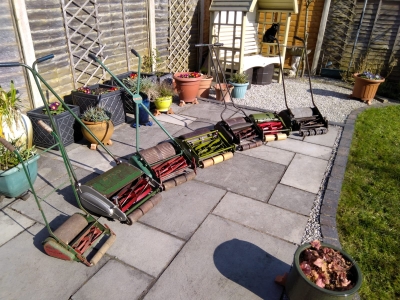
Looks like we are all getting
Looks like we are all getting on with jobs with all this time on our hands. I still have 2 more Ajax to put together when the cylinders get back from the grinder. My patina daily mower im very much looking forward to as i wont mind using it, the other will be a bit special as it has brand new oak rollers and a brand new old stock in box grass catcher. That may be too rare to ever use.
Someone gave me an old Qualcast that was next on my list, and am still looking for a Webb miniature and a greens Zephyr .
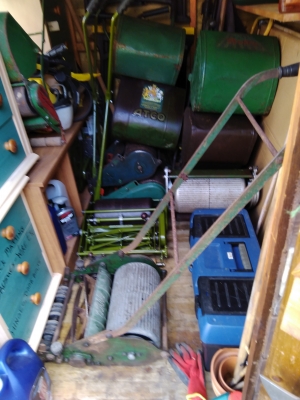
Omg, not a lot of room in
Omg, not a lot of room in there, I'm fortunate to have my collection in the garage I stole back from our rental property when is was being re-let, still with 40 mowers in there, it's still a bit tight for space.
Okay, I cannot remember ever
Okay, I cannot remember ever stripping down an Ajax rear roller, when servicing them we worked on the 'if it isn't broken, don't fix it' basis.
I have stripped down hundreds of Marquis and Auto-certes rear rollers (or landrollers as Ransome called them), and at each end of the roller there is a clamping device.
A quick check of the Ajax parts list shows something similar, but combined with each ratchet.
So try this, undo the clamping bolt on each ratchet, centre the roller halves on the shaft with a minimal gap between them, then slide each ratchet into the roller half and lock into place, this should remove your excessive end float, though you may have to make minor adjustments.
The side plates aren't
The side plates aren't painted,, I've seen them highly polished or left with a patina, I've sent some cylinders off to get media blasted, I've also used a wire wheel in a cordless drill to clean them up followed by sanding by hand, depends on the restoration and if it warrants any expenditure, for the nuts and bolts, a wire brush is fine, wire wheel on a bench grinder gives a little more control though, a flappy disc will take metal with it so be gentle if you use one, but it will sort the pitting out a little faster than sanding,( especially by hand)
Lots of mk 5s around for sale on eBay and the like, shouldn't be hard to find a doner.
What I have found on the the handful of mowers I've tidied up, you can never have enough notes, photos and little labels, it can be weeks before the mower is being put back together, especially if sourcing spare parts, or waiting for refurbished parts to be returned, it can get confusing if you have everything in one oily box...