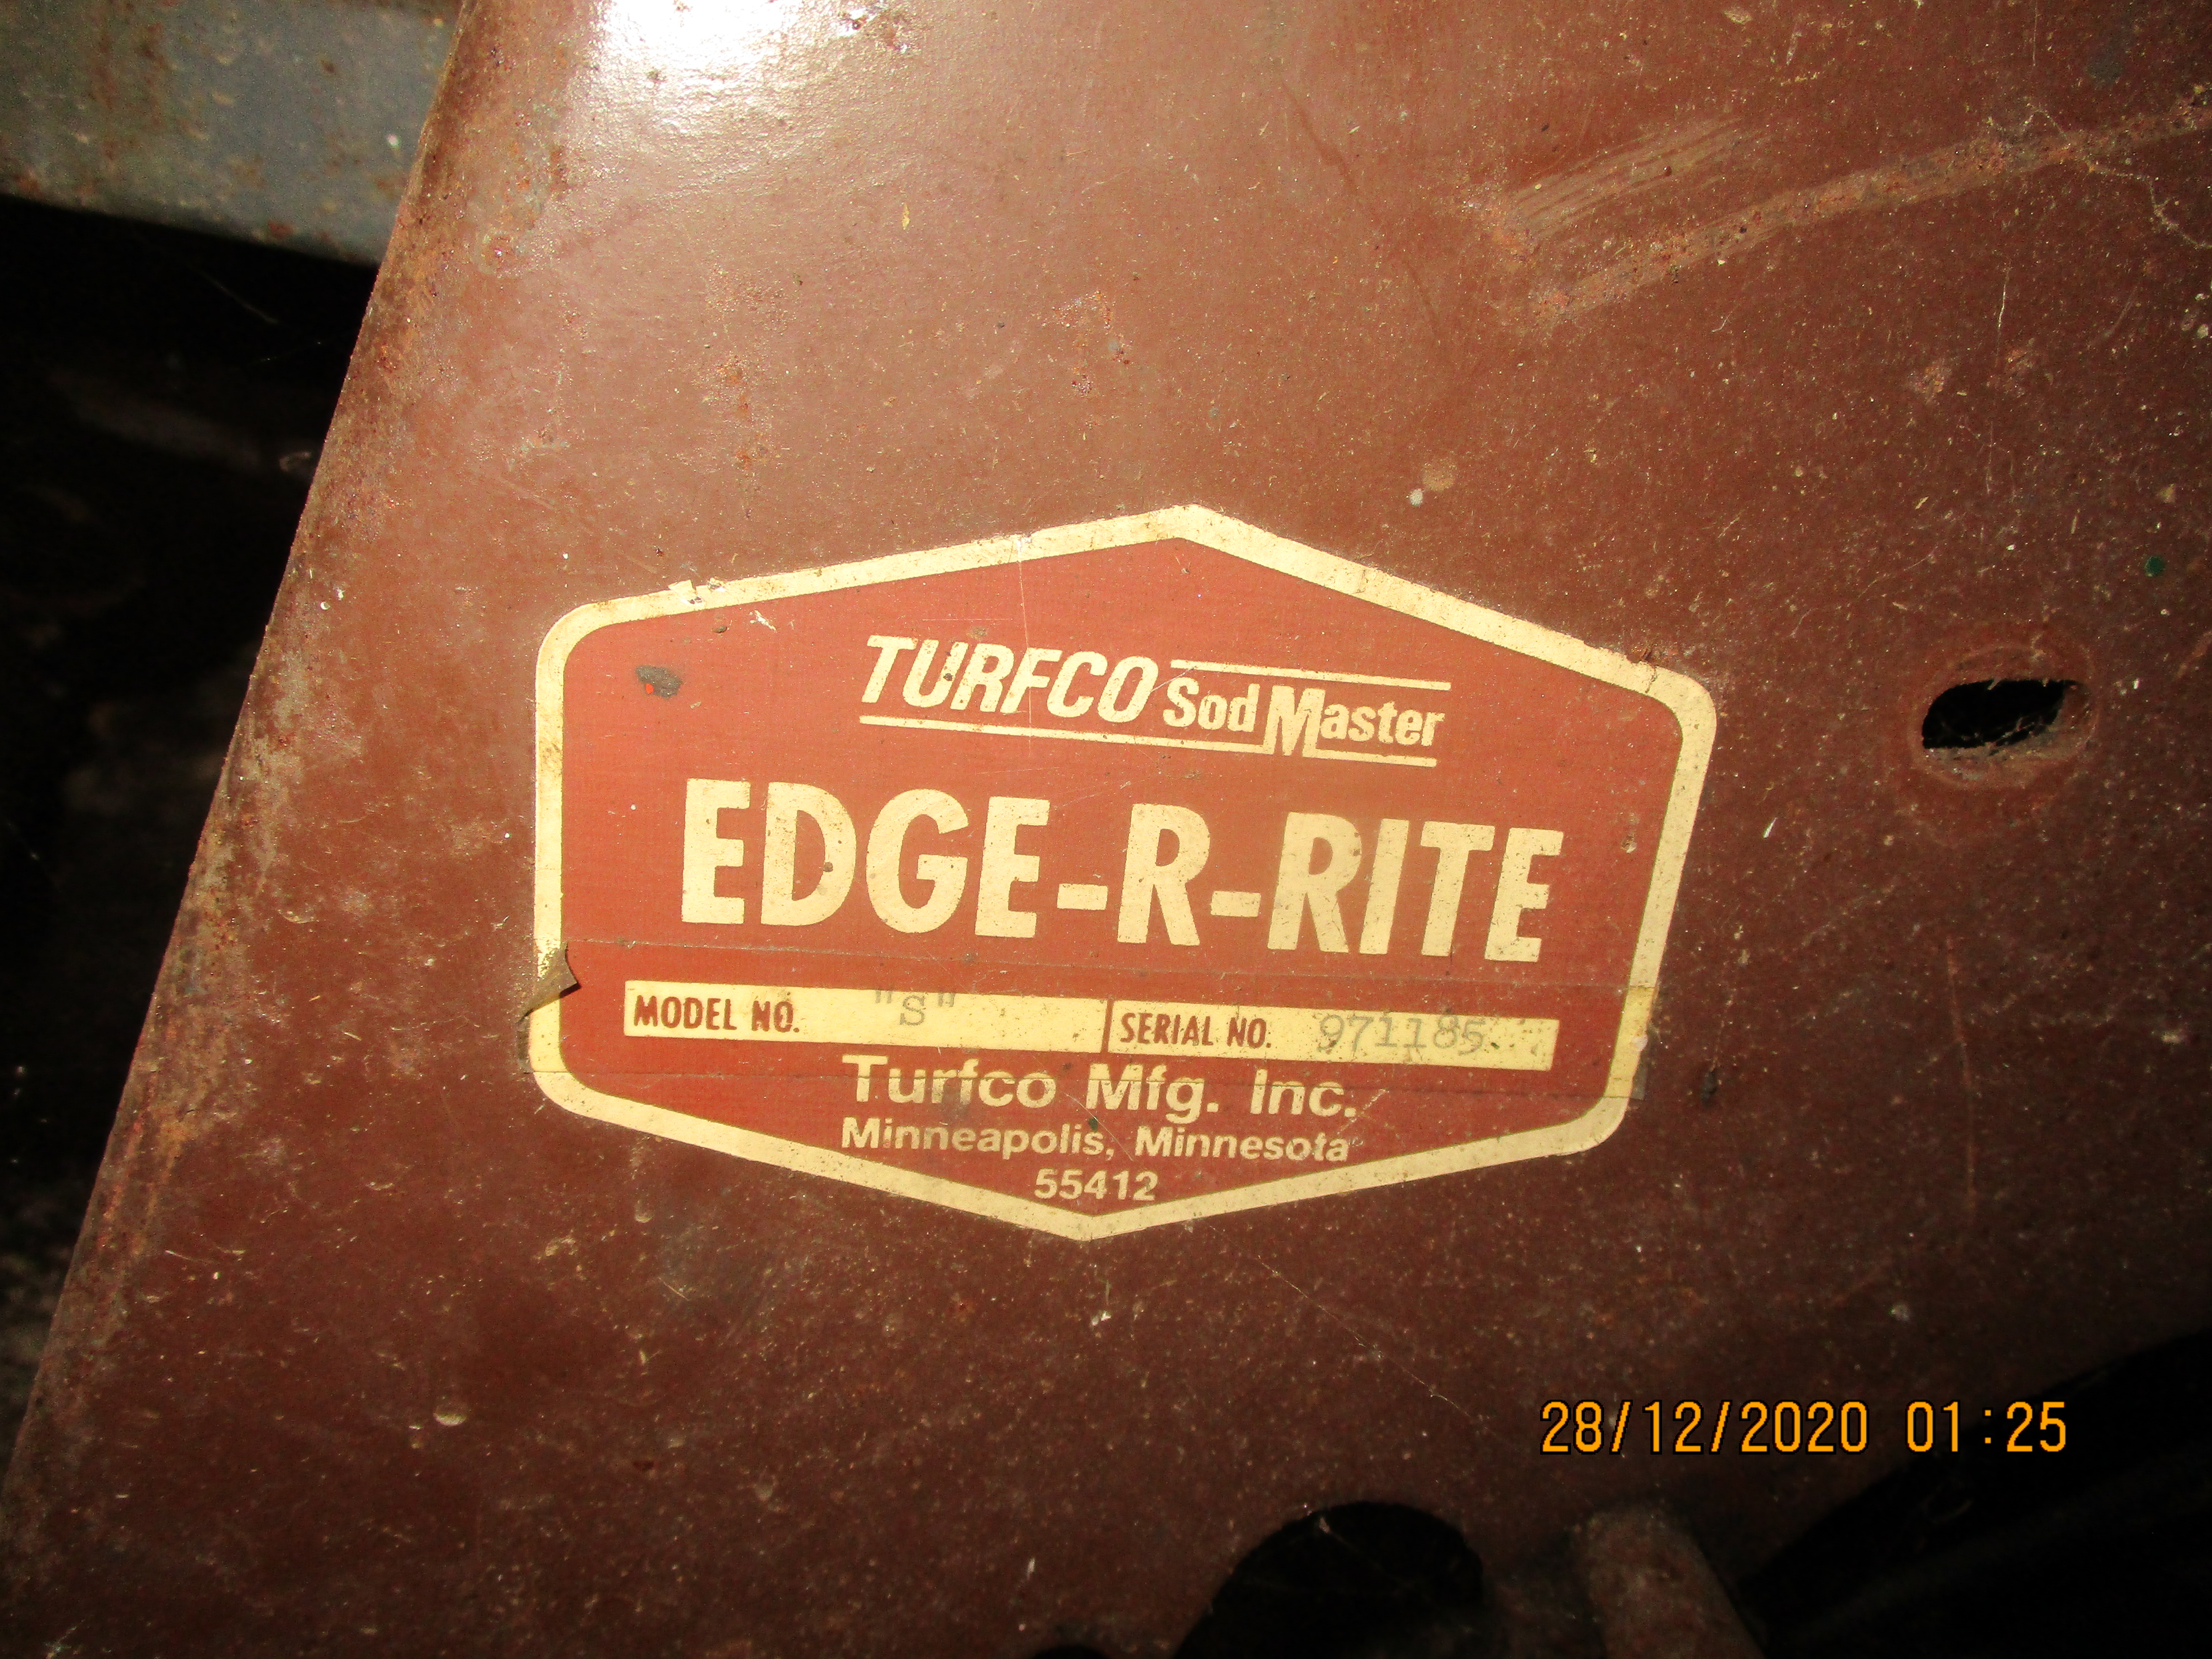
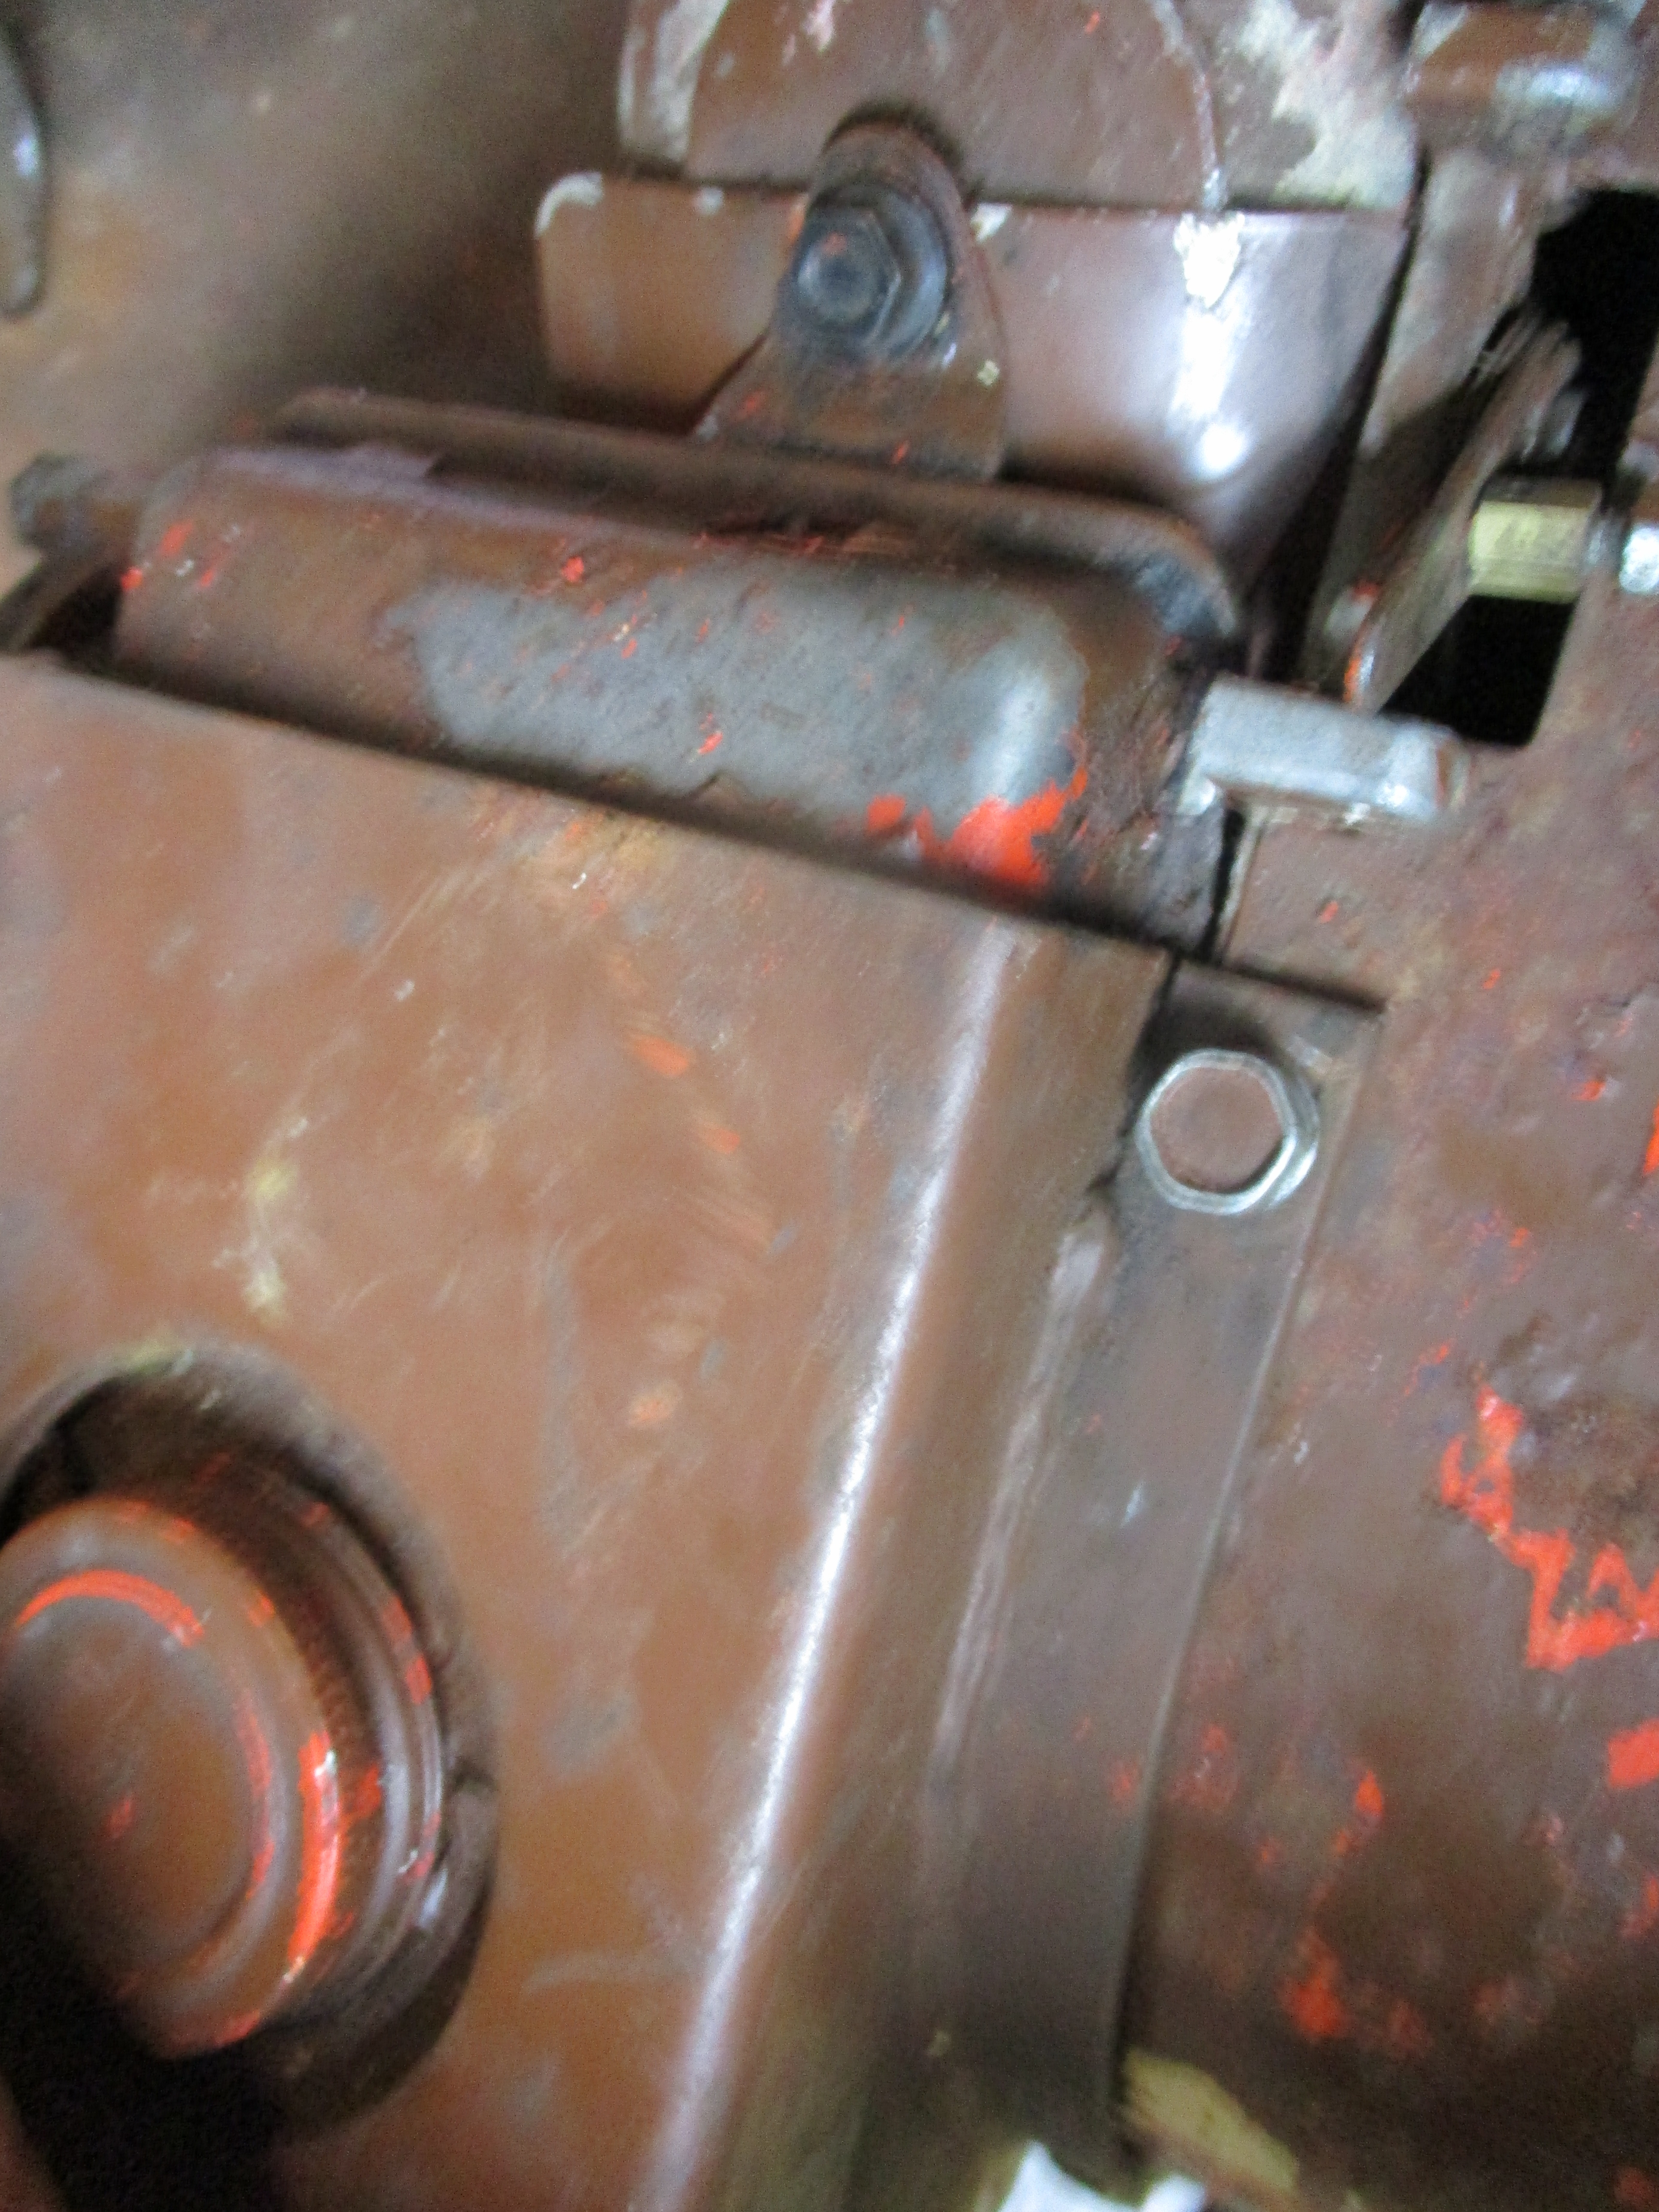
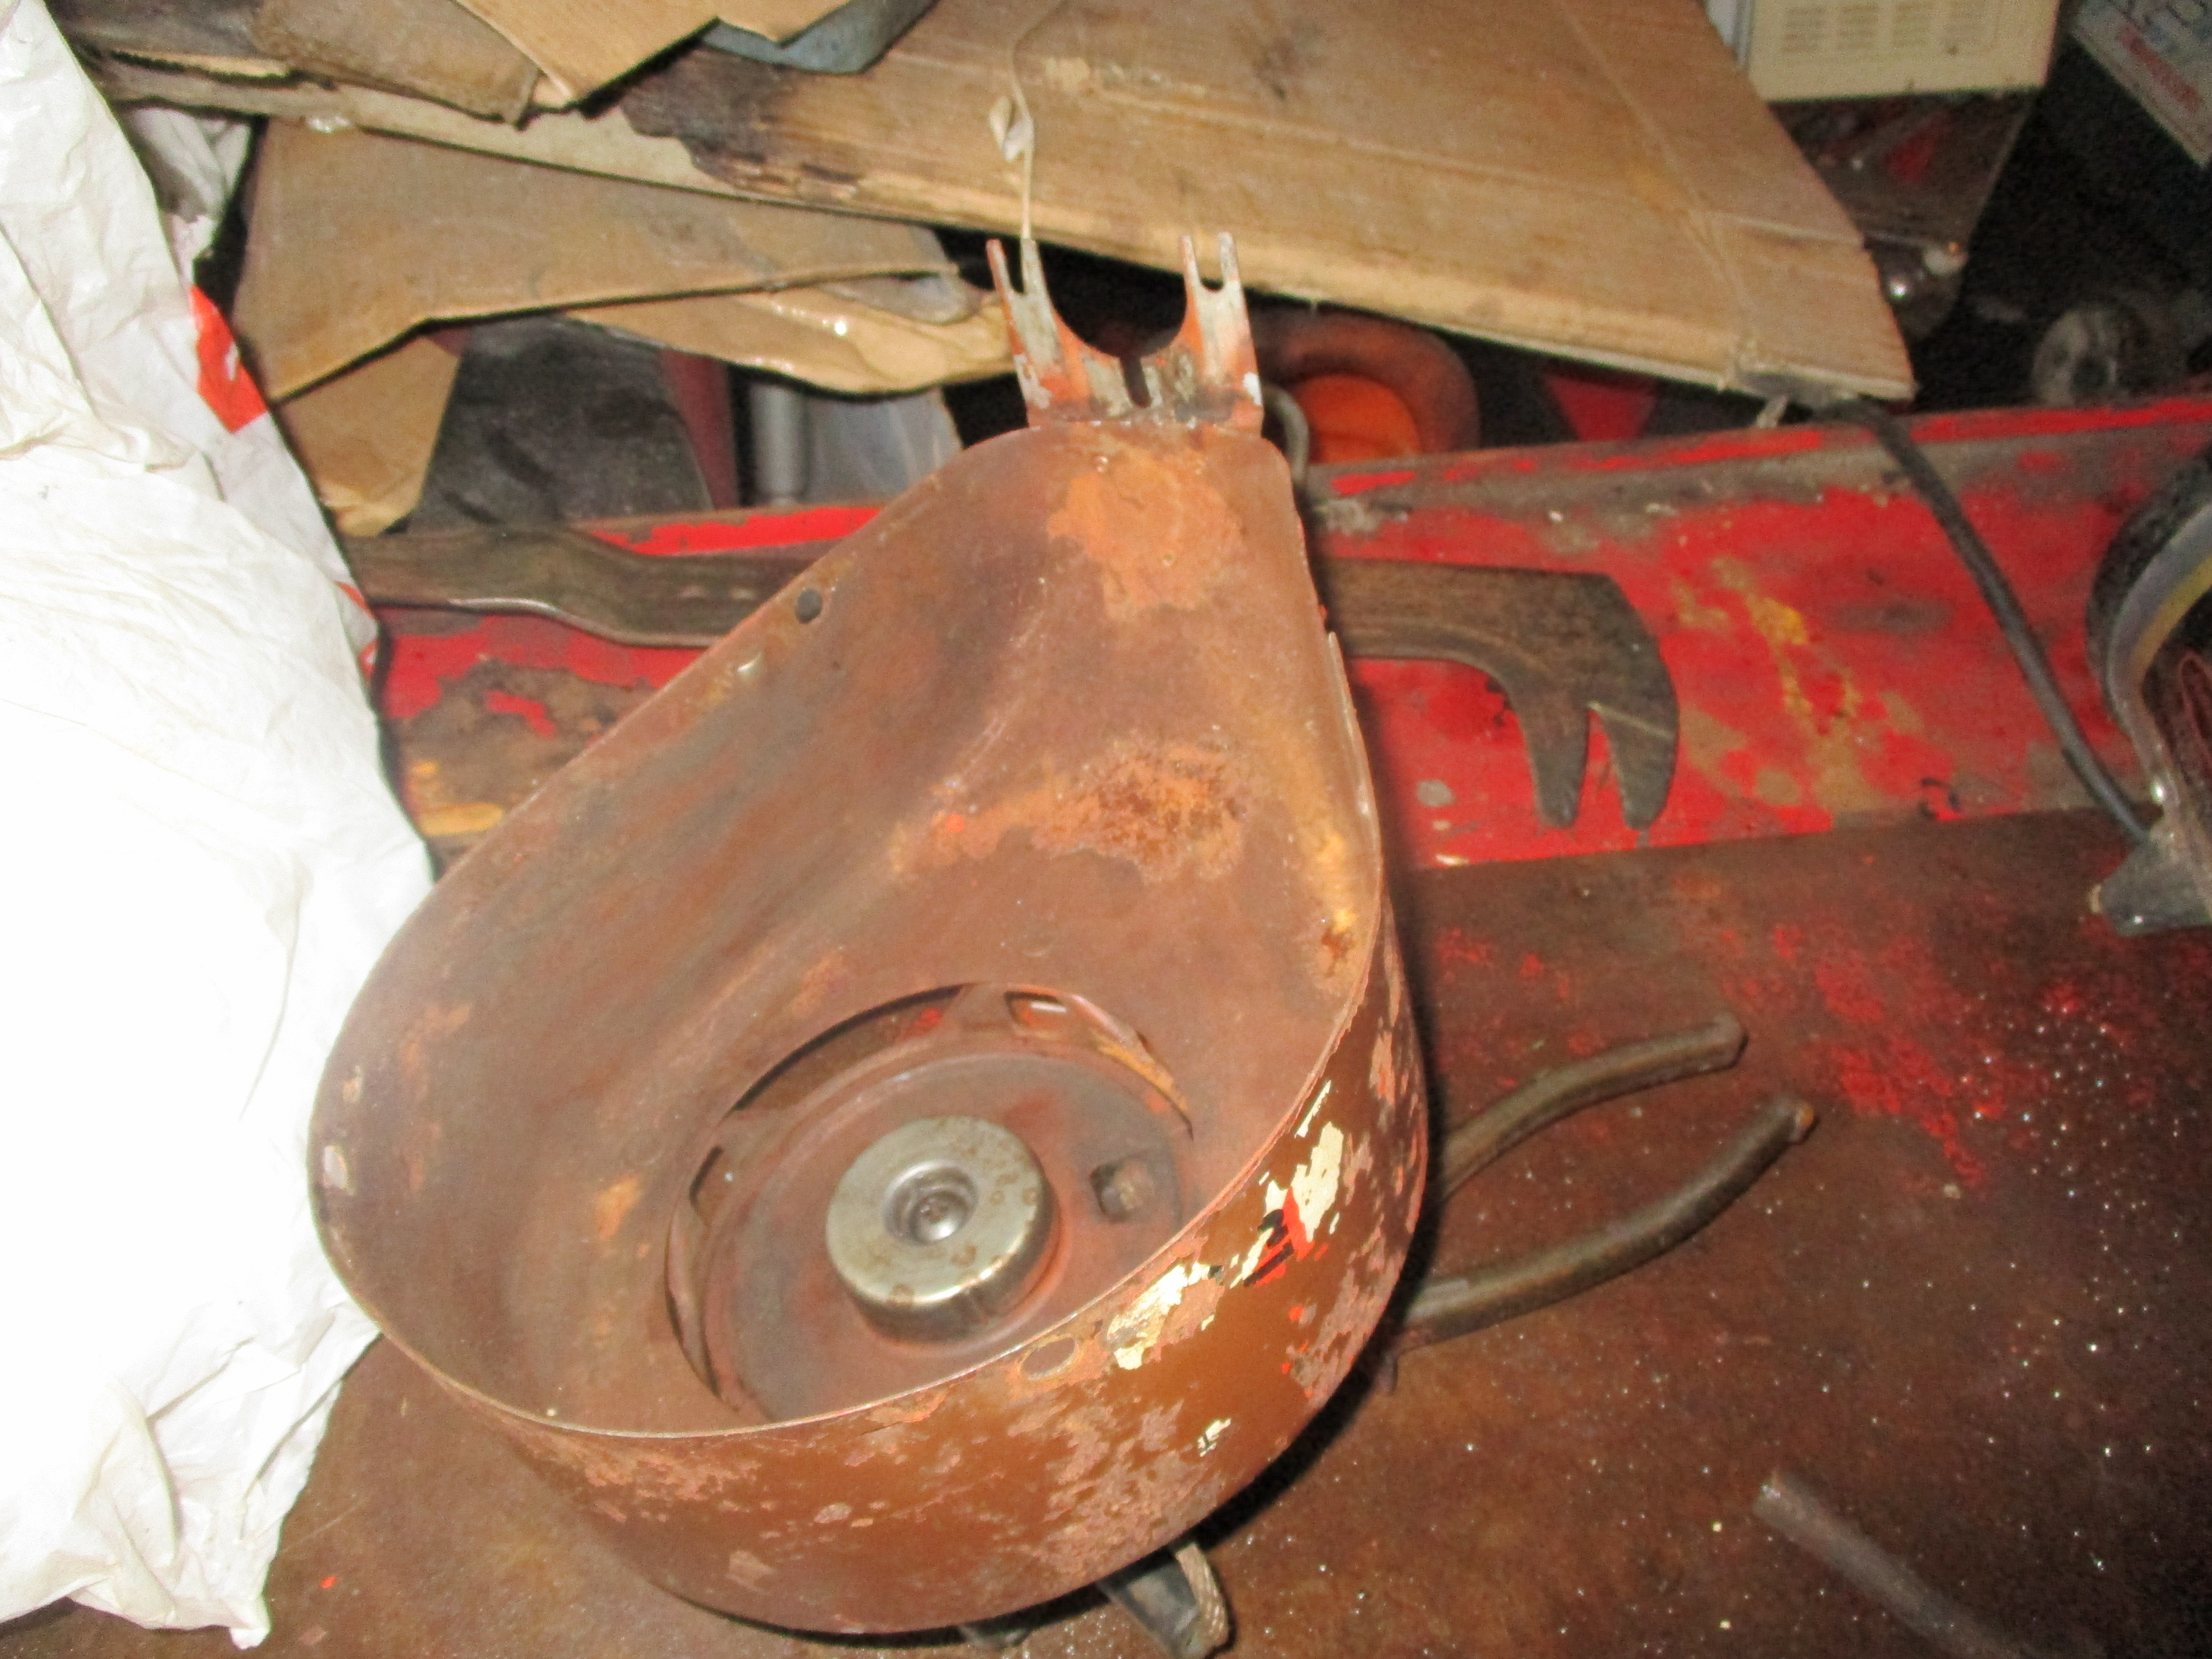
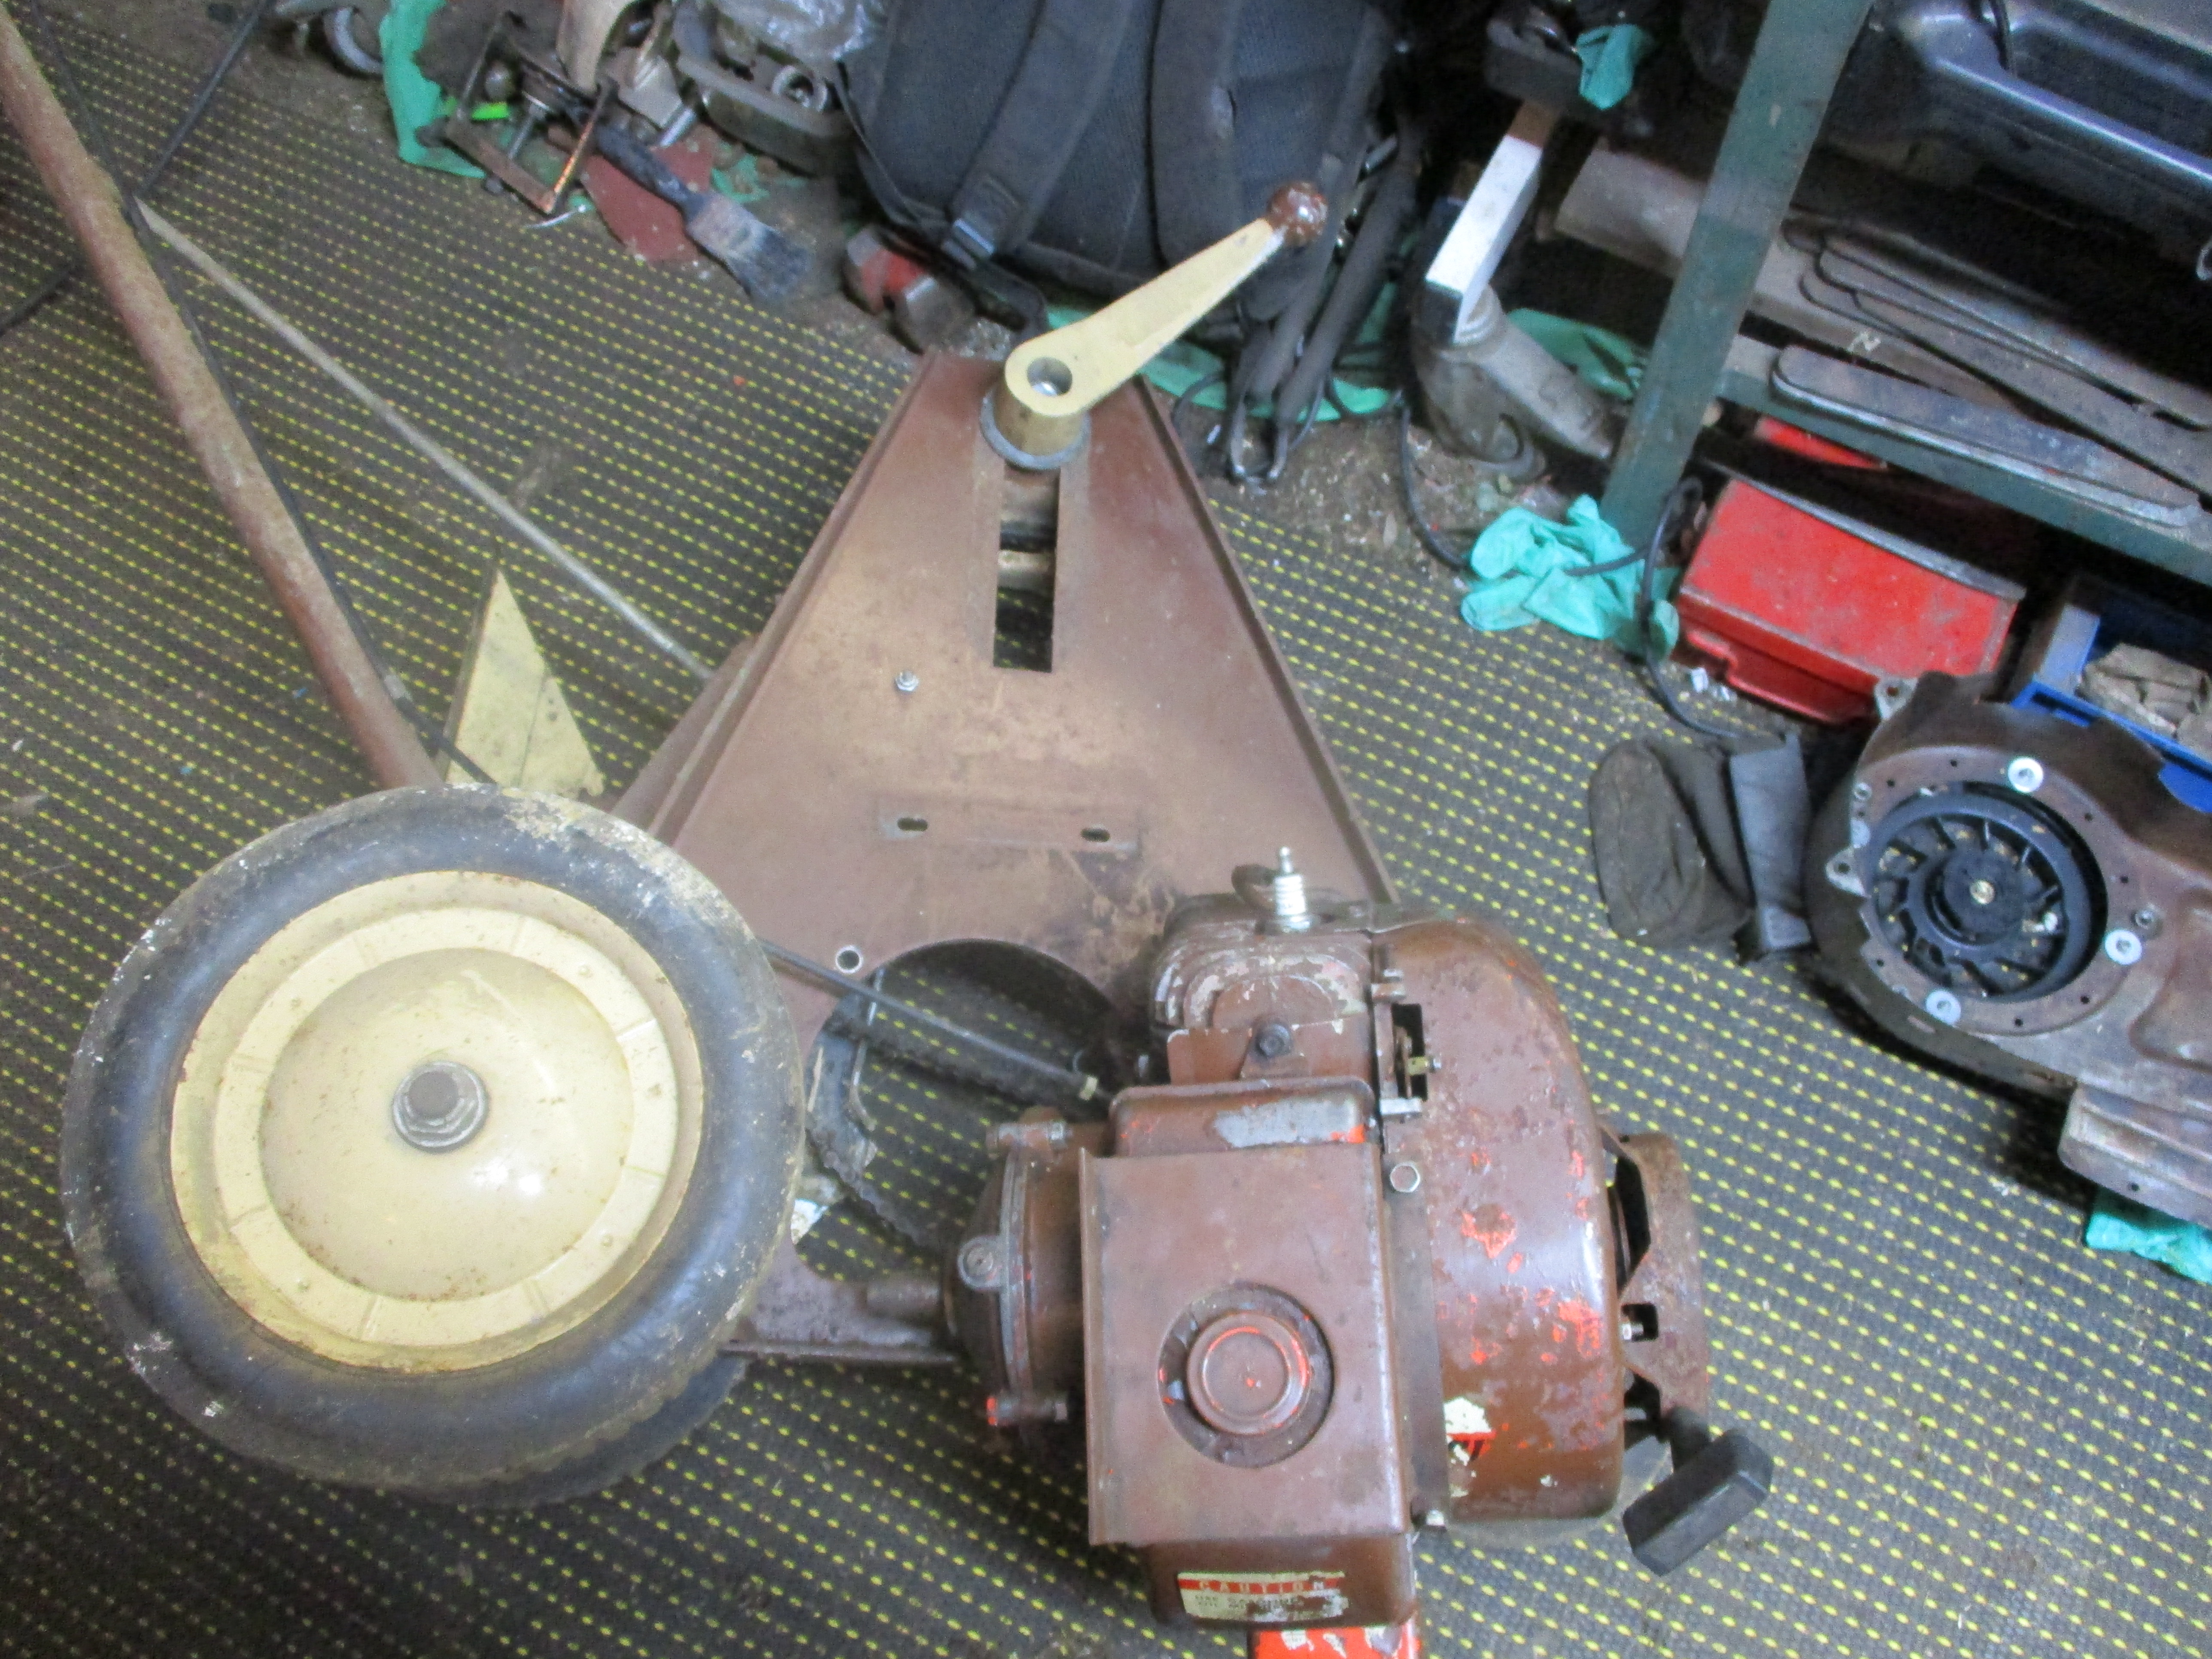
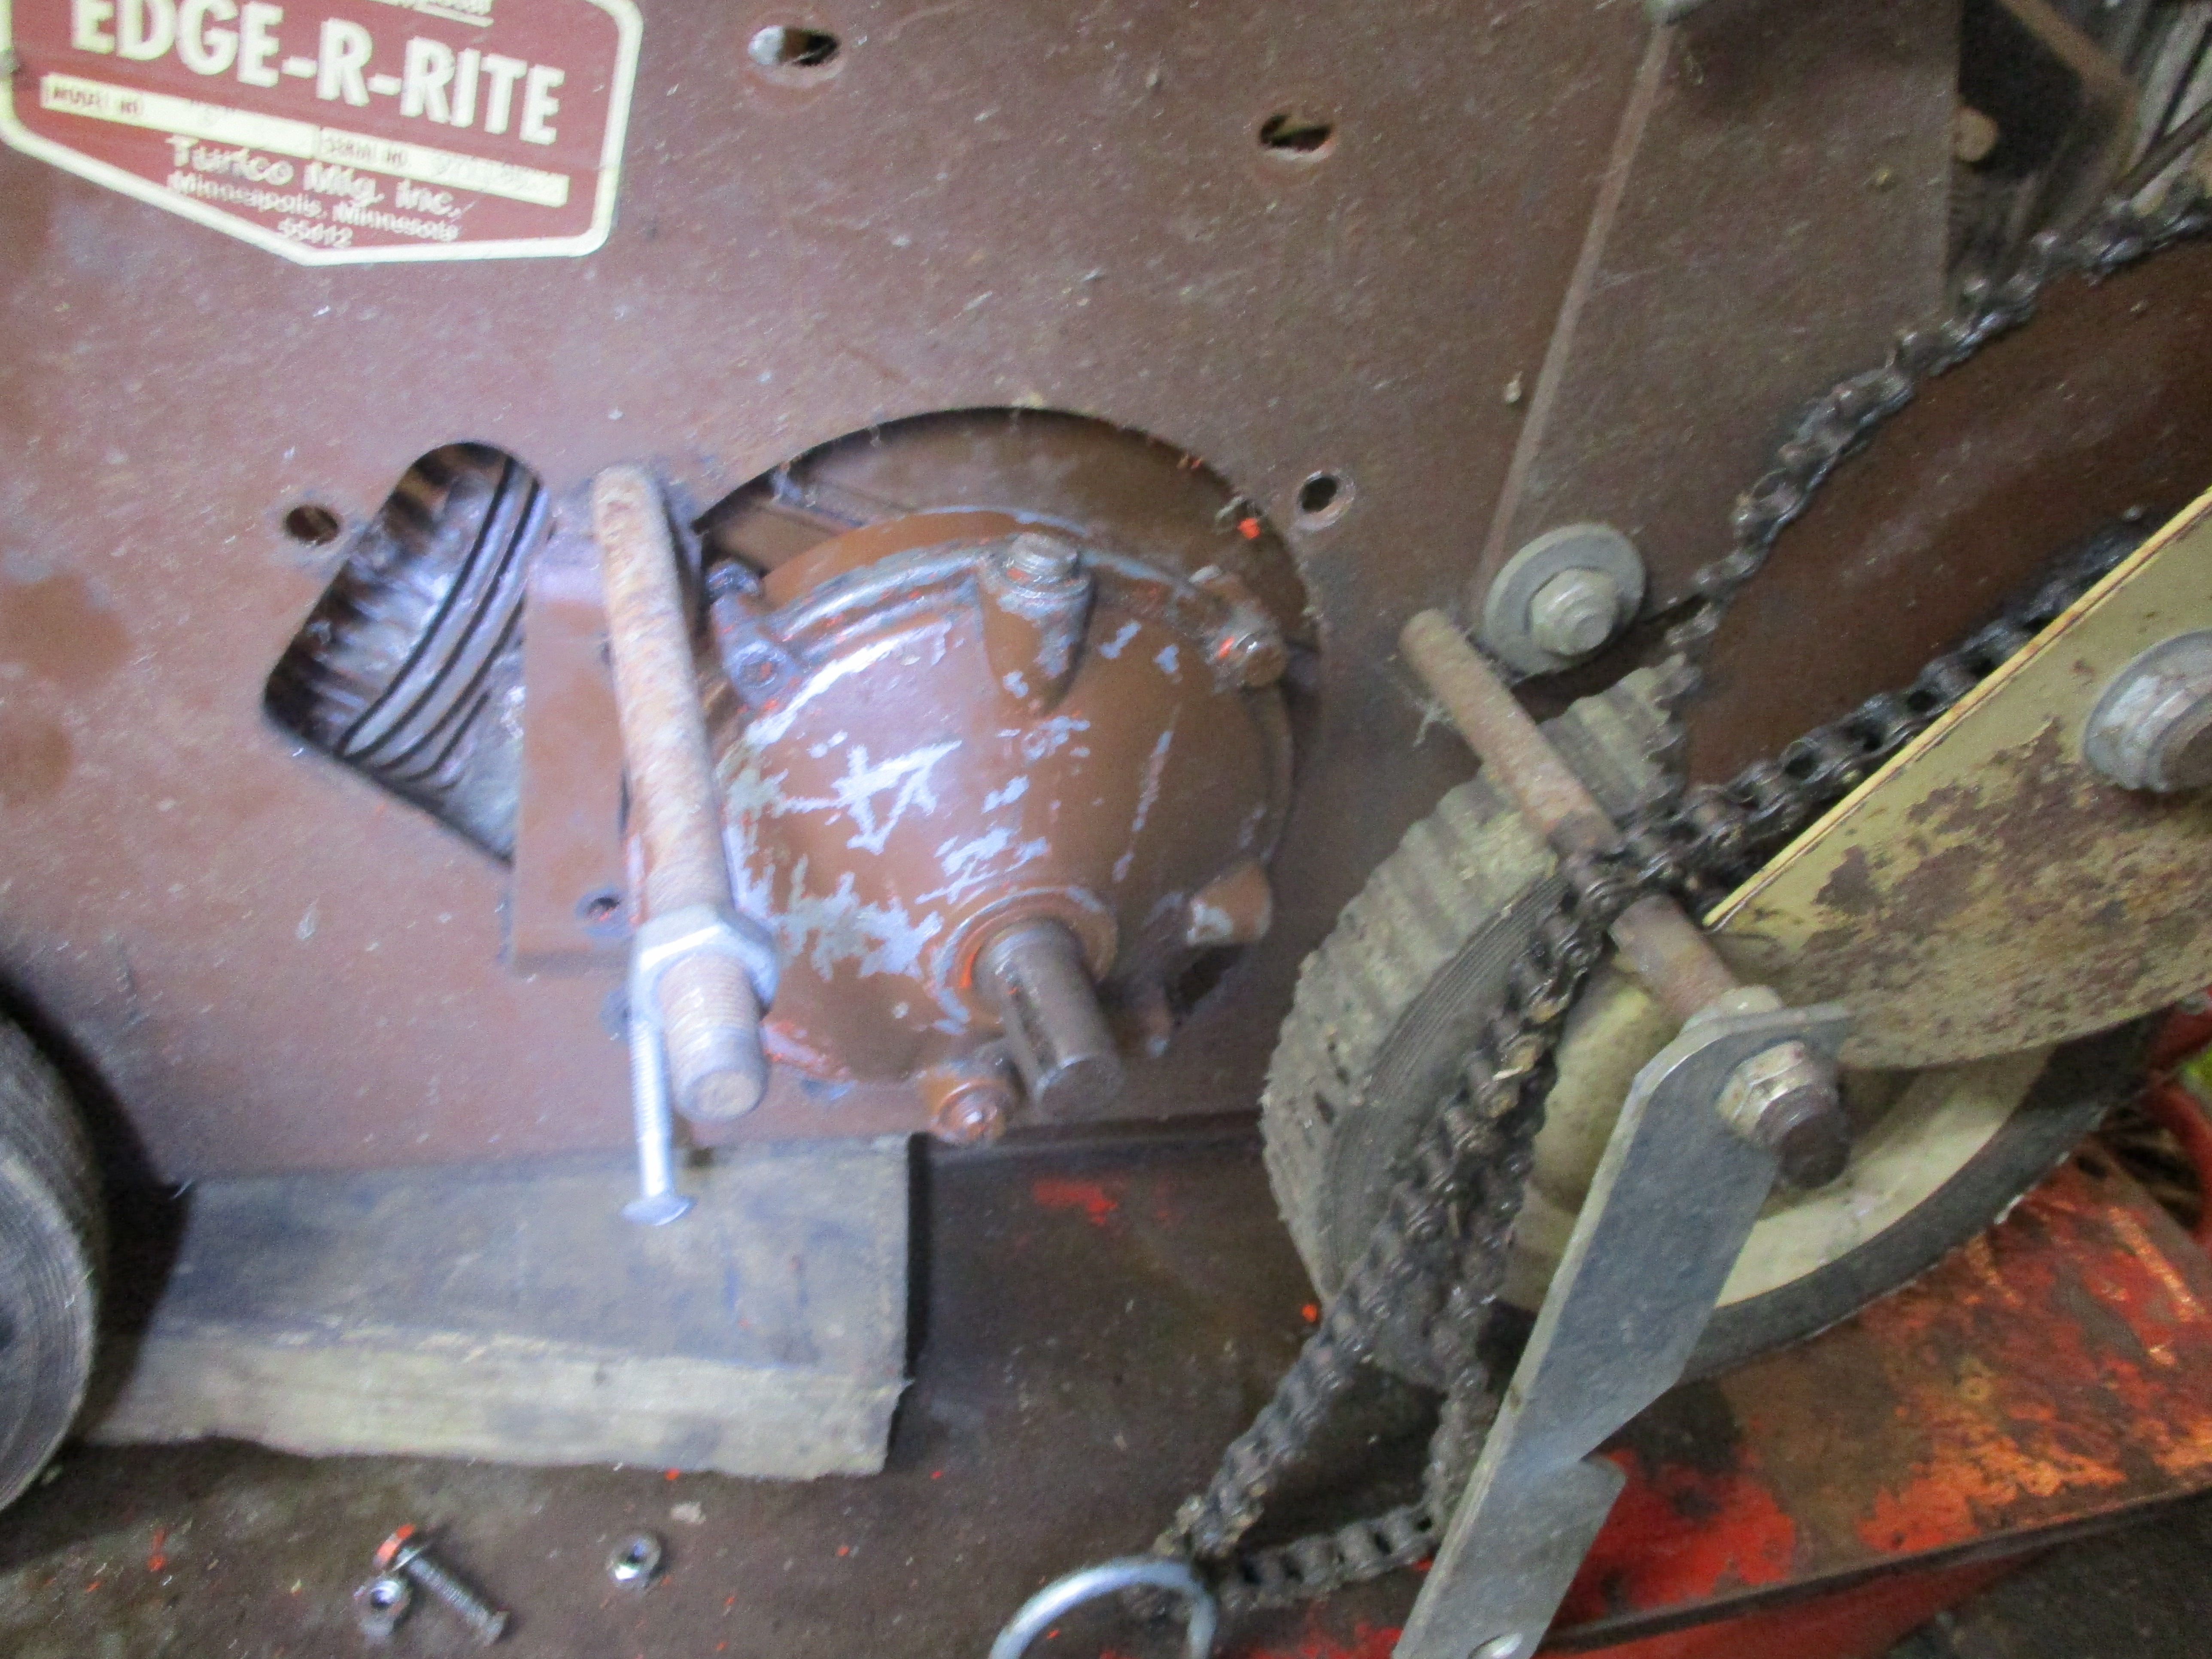
Turfco Sodmaster Edge-R-Right
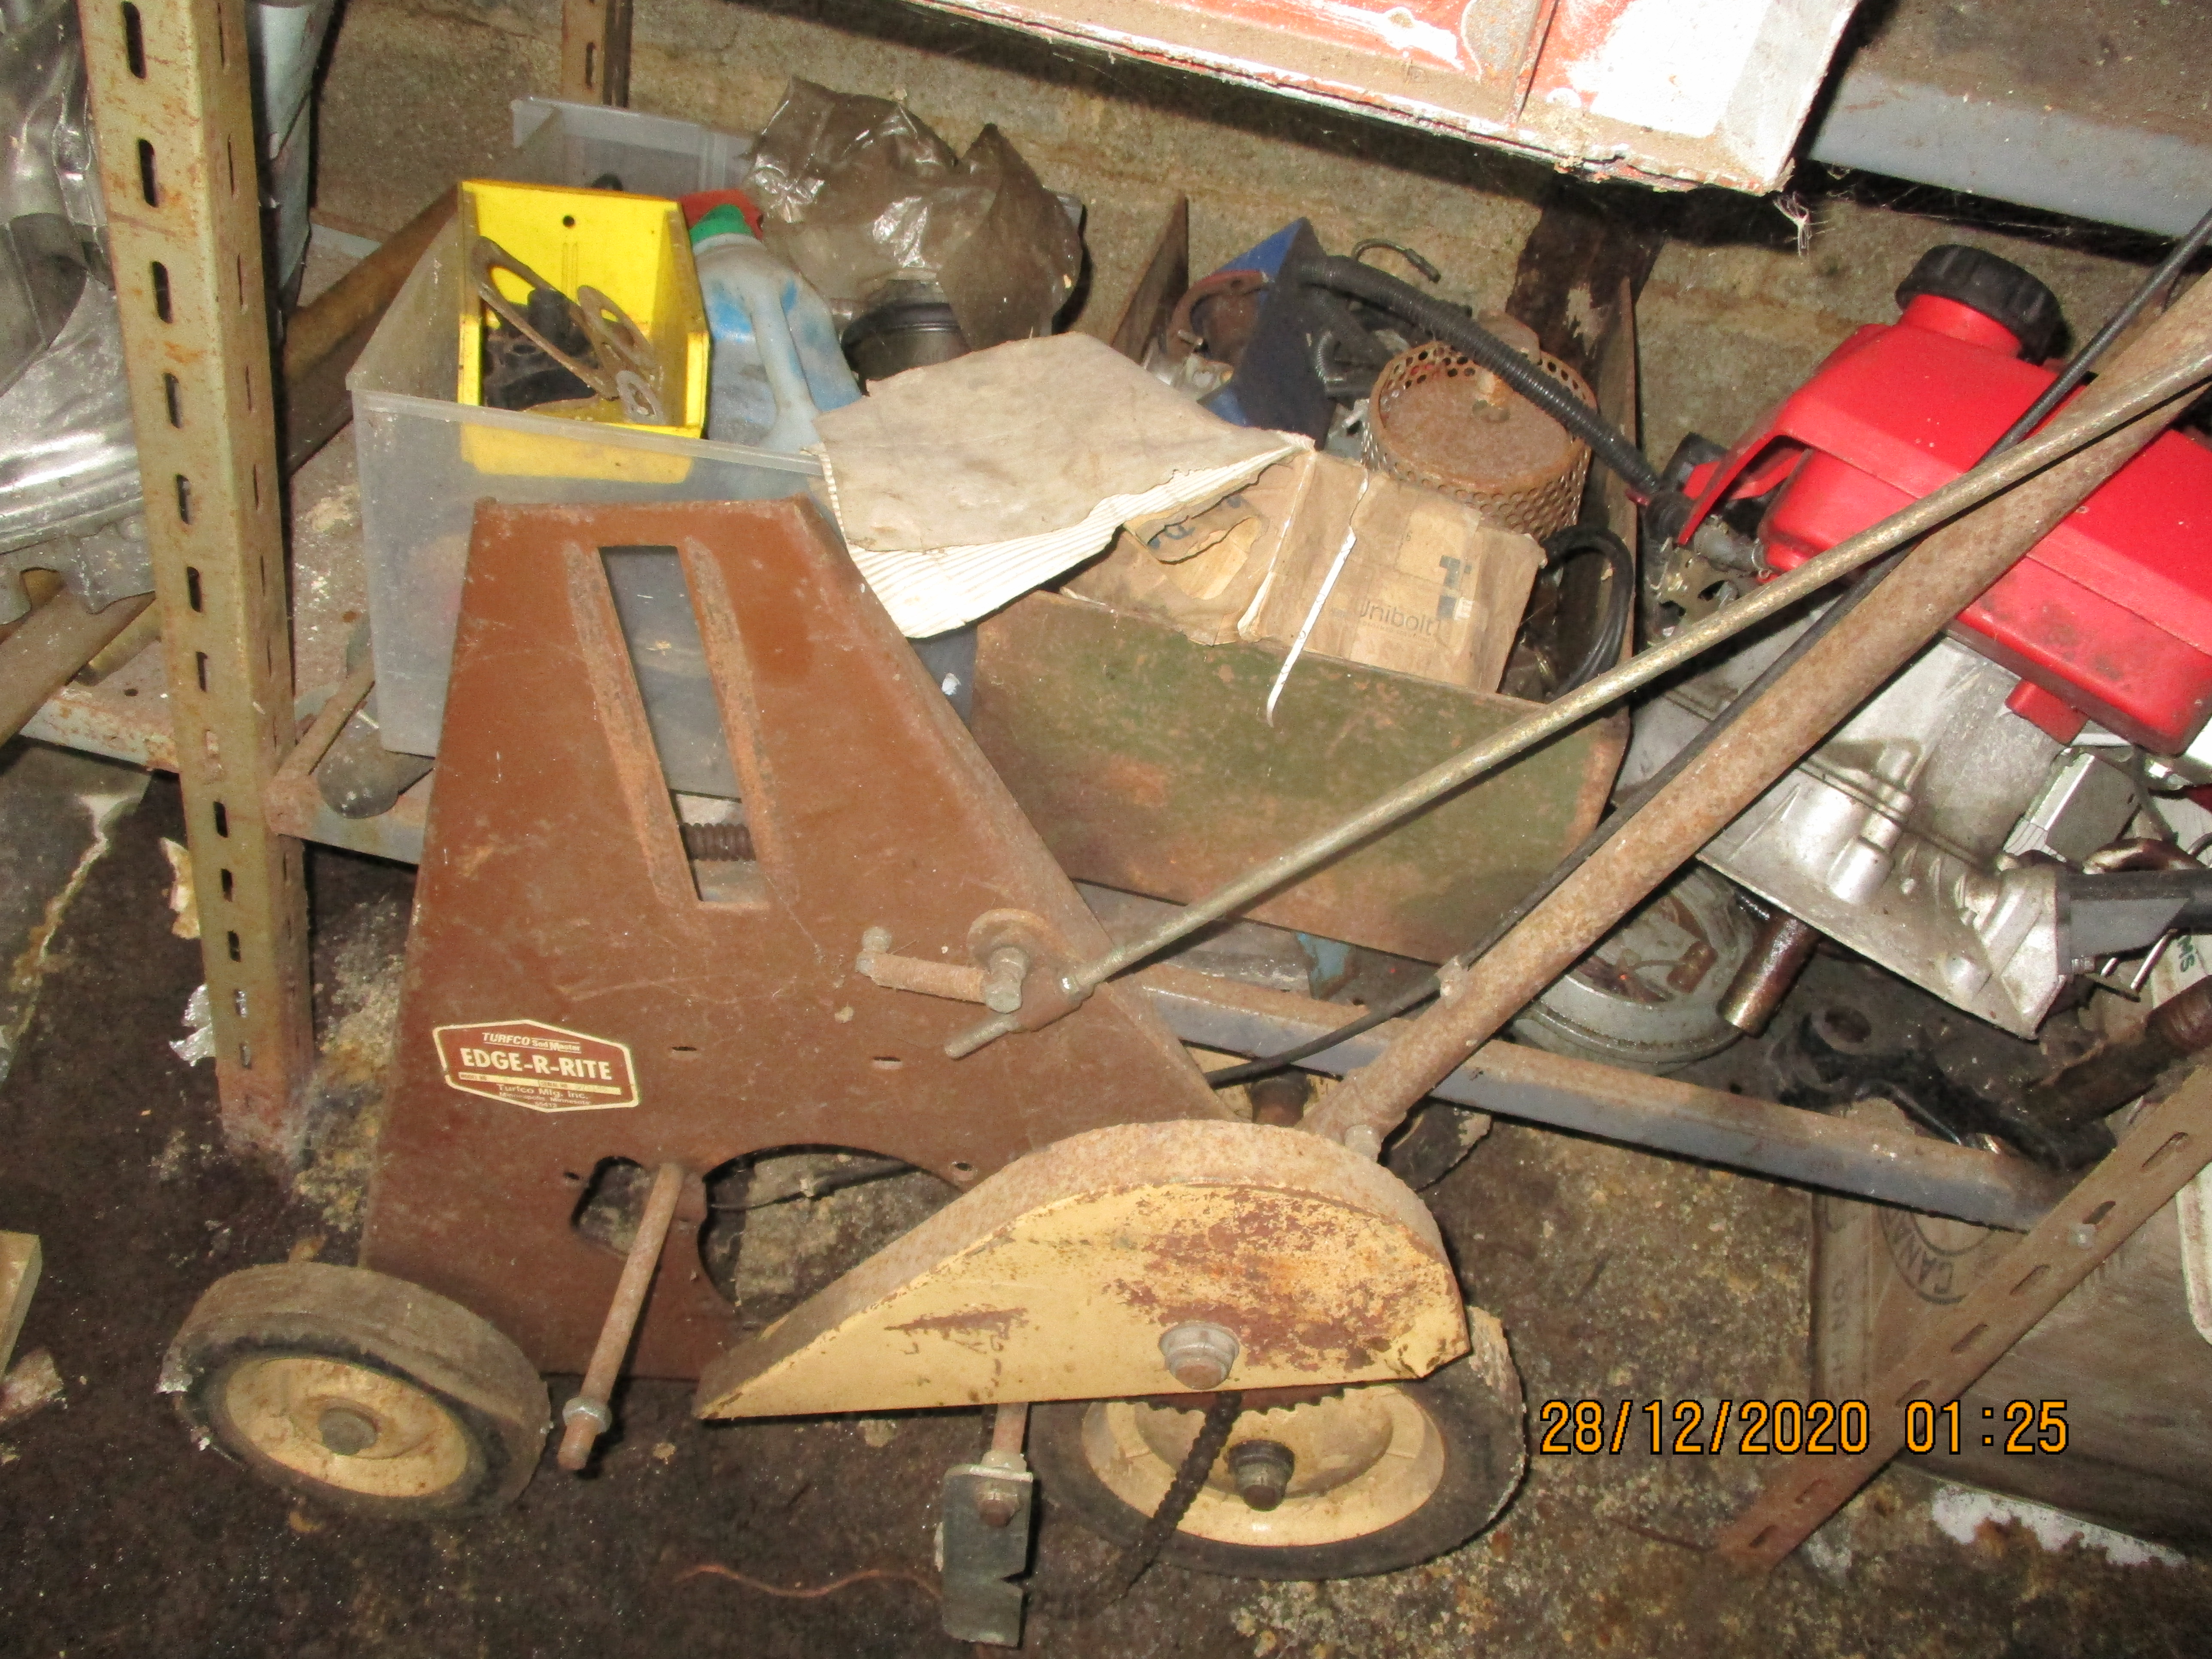
 Has anyone else ever come across such a tool/machine? I bought this decades ago, it was fitted with a Lawson two stroke engine, made under license from Aspera, which had a reed valve induction between carb and bottom of crankcase, I tried to get new reeds for it for years, but failed, I saw many, but none were exactly the right size and bolt hole placings.
I googled it, the mark two version with four wheels as opposed to my three is still being sold.
Forums
Thanks for replying hortimech
Thanks for replying hortimech, I always thought that the Italian Aspera company was the original and the American Tecumseh was a different concern that took them over? Fiat bought out Aspera I thought also and renamed it Tec or Tecnamoto or Tecnamotor?
I worked for my local agri/horti machinery dealer for a while, but received no factory training or manuals, partly why I left! Being on the periphery of the trade when I was about 20 was a long time ago when I started my own two businesses in 1988! Many interesting stories to relate if I'm allowed to, no names mentioned, so no feelings hurt I'm sure.
From my knowledge (which isn
From my knowledge (which isn't always correct), Aspera was a joint concern between Fiat and Tecumseh, but was run as a separate company and built the engines under licence. Sometime during the late 80s, Tecumseh bought out Fiat and renamed the company to Technamotor (around the same time, they also bought JLO and moved everything to Italy, never to produce any engines). Technamotor limped on for a number of years before finally ceasing production in Italy, Tecumseh carried on production in America until about 2010, when production of engines ceased, virtually overnight. Last I heard, a company bought Techumseh with the intension of producing spare parts and possibly engines, don't think anything came of the engines.
Now for a question, Tecumseh produced engines for Toro rotaries, the TNT100 & TNT120, what did the 'TNT' stand for.

Now for a question, Tecumseh
Now for a question, Tecumseh produced engines for Toro rotaries, the TNT100 & TNT120, what did the 'TNT' stand for.
Toro aNd Tecumseh ?
Very close, but you have to
Very close, but you have to remember we are talking Americans here, it was ToroNTecumseh.
Actually the Tecumseh /
Actually the Tecumseh / Aspera story is even more convoluted. The original engines were made by the Lauson company who sold the manufacturing rights to Tecumseh who were manufacturers of refrigeration and air conditioning equipment. Then there was the Aspera / Fiat tie up and finally the return to the Tecumseh fold as Tecnamotor. As an aside, before Lauson sold out to Tecumseh they had done a licensing agreement with the Kirby Manufacturing Co in Australia who made engines under the Kirby Lauson brand. The Kirby engines were found in the UK on the original yellow deck Flymo Contractors, on the first Mountfield M1 cultivators and on some Mountfield four wheeled cut and drop rotary mowers - I forget the model numbers.
After disposing of engine manufacturing, Tecumseh have continued with the refrigeration and air conditioning business.
EDIT
The final chapter

Thanks for the update.
Thanks for the update.
I am rather embarrassed now after all the Aspera/Tecumseh/Tecnamotor talk, to find the engine on this machine is a Clinton! Apologies to anyone who feels I wasted their time or patience here.


It's more convoluted than
It's more convoluted than that, whilst I wasn't aware of the refrigerator side of Tecumseh, I knew that it was built from the purchase of other companies. Lauson was (from my understanding/memory) the 4-stroke base of Tecumseh, but the 2-stroke engines were based around the engines from Power Products. Now taking that the Kirby Lauson, Aspera AV600 and Tecumseh 2-stroke engines were very similar, I think that we can assume that they were all based on the Power Products engines, so this blows a hole in Wristpin's suggestion that the Kirby Lauson engines were made under licence from Lauson, more likely from Tecumseh.
As for Clinton engines, I never really had anything to do with them, if I recall correctly, they went out of business sometime in the late 70s and never really had much of a presence in the UK.
So this blows a hole in
So this blows a hole in Wristpin's suggestion that the Kirby Lauson engines were made under licence from Lauson, more likely from Tecumseh.
May be, but before sinking without trace , Lauson used the name Lauson Power Products before their acquisition by Tecumseh. However, I’ve now found that Kirby , like Tecumseh, were manufacturers of refrigeration equipment - coincidence or what?
I should have added Victa as a user of Kirby Lauson engines including ones with the infamous wind up “coffee grinder starter.
Clinton. Were distributed in the UK by Trojan of Purly Way , Croydon; perhaps better known for their snub nosed diesel vans ( many in Brook Bond Tea livery) their own garden tractors and Lambretta scooters. However Clinton’s were used on the early UK built Karts (Go-Karts) in the late 1950s ; often in pairs. They were also used on Ransomes Mercury cylinder mowers and on Merrytillers.
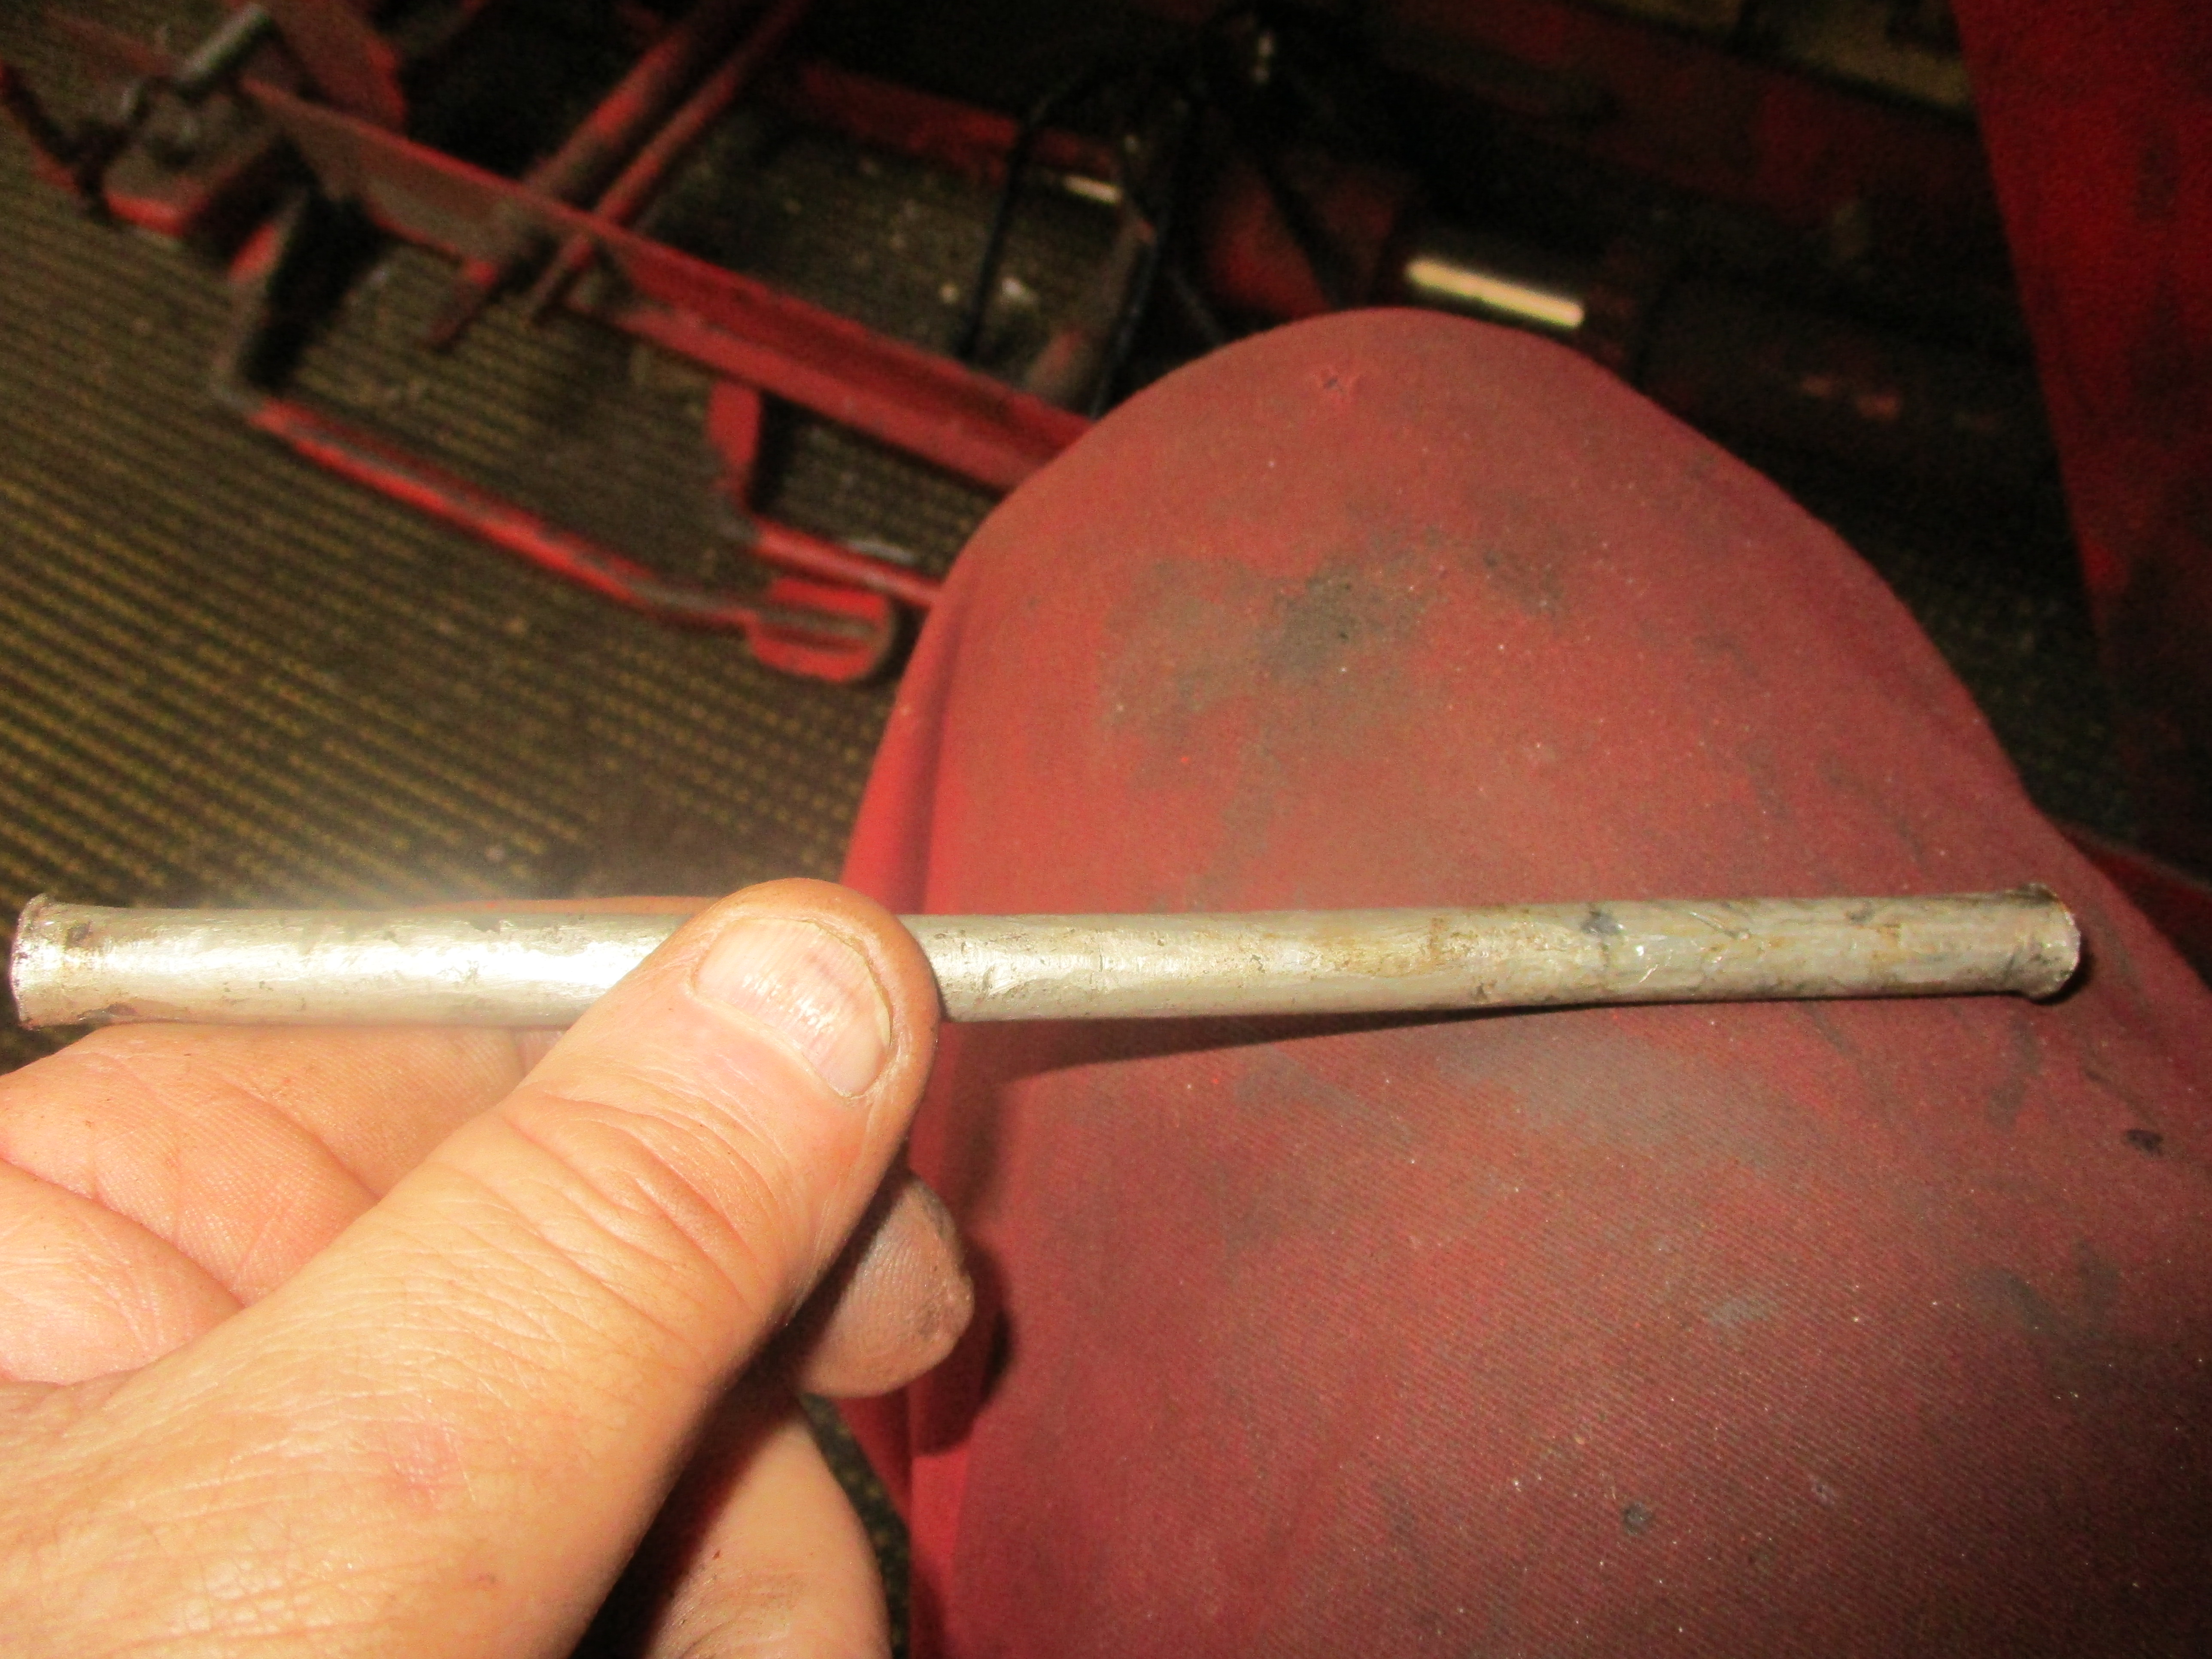
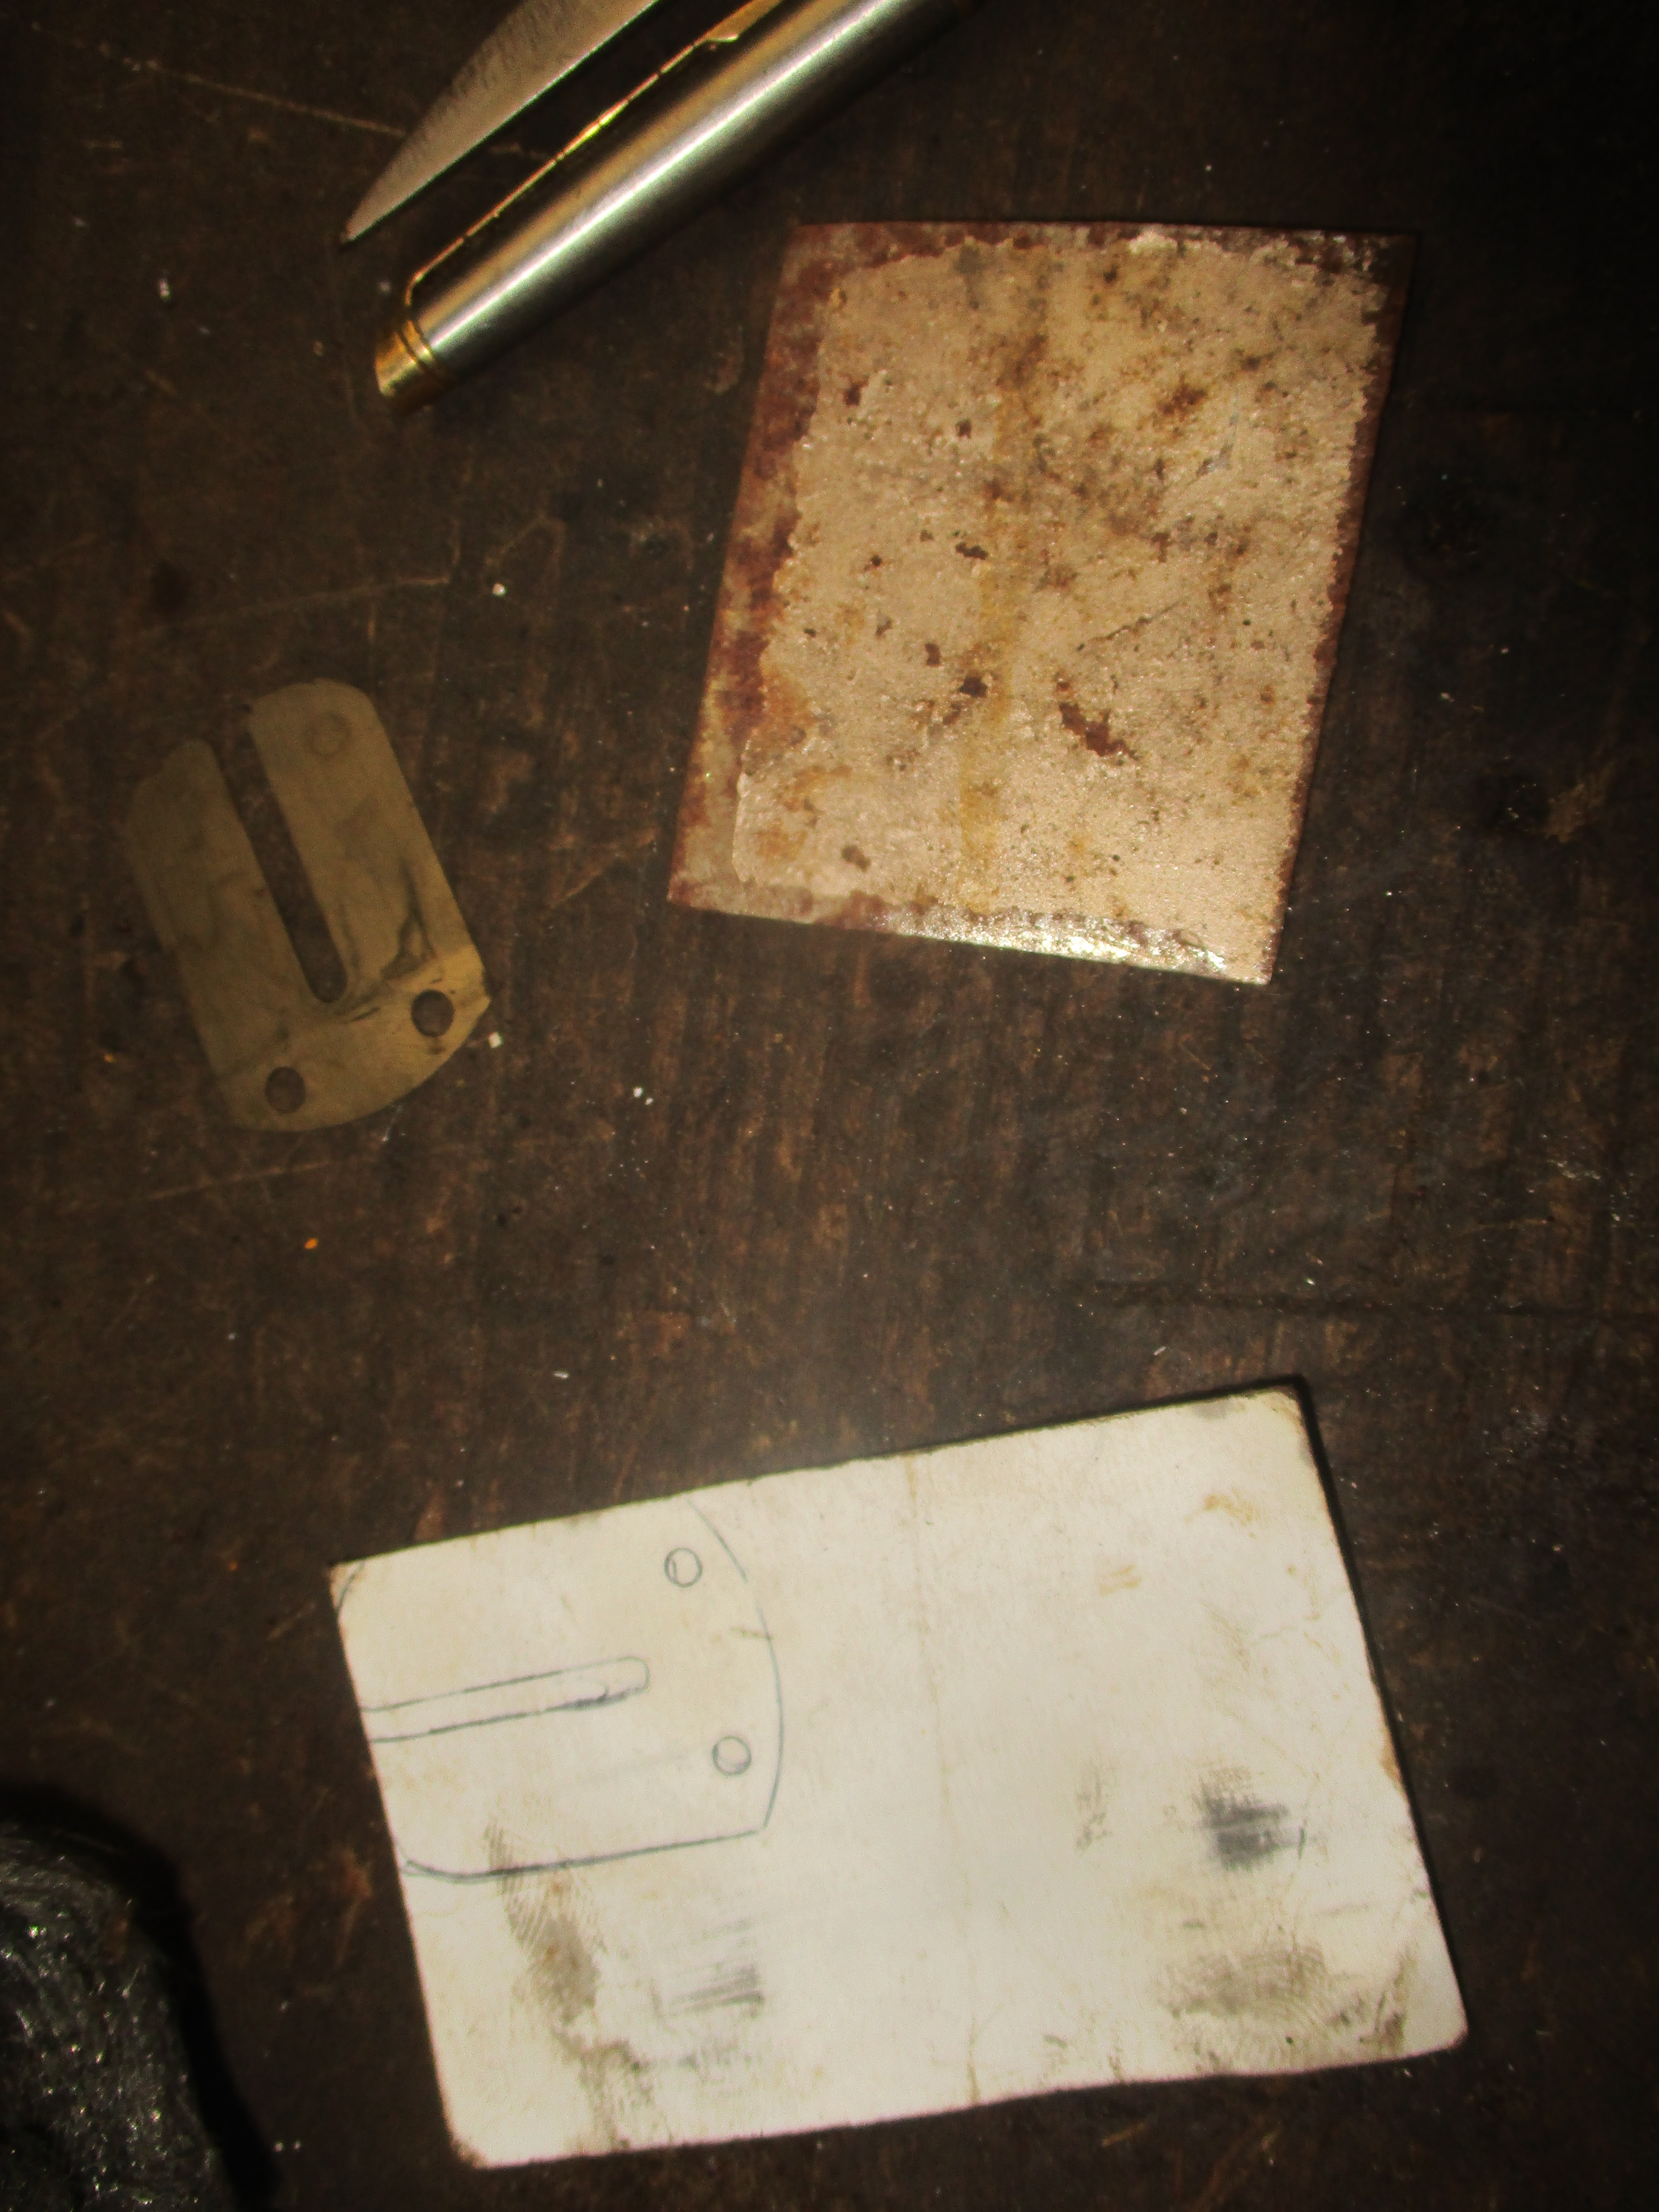
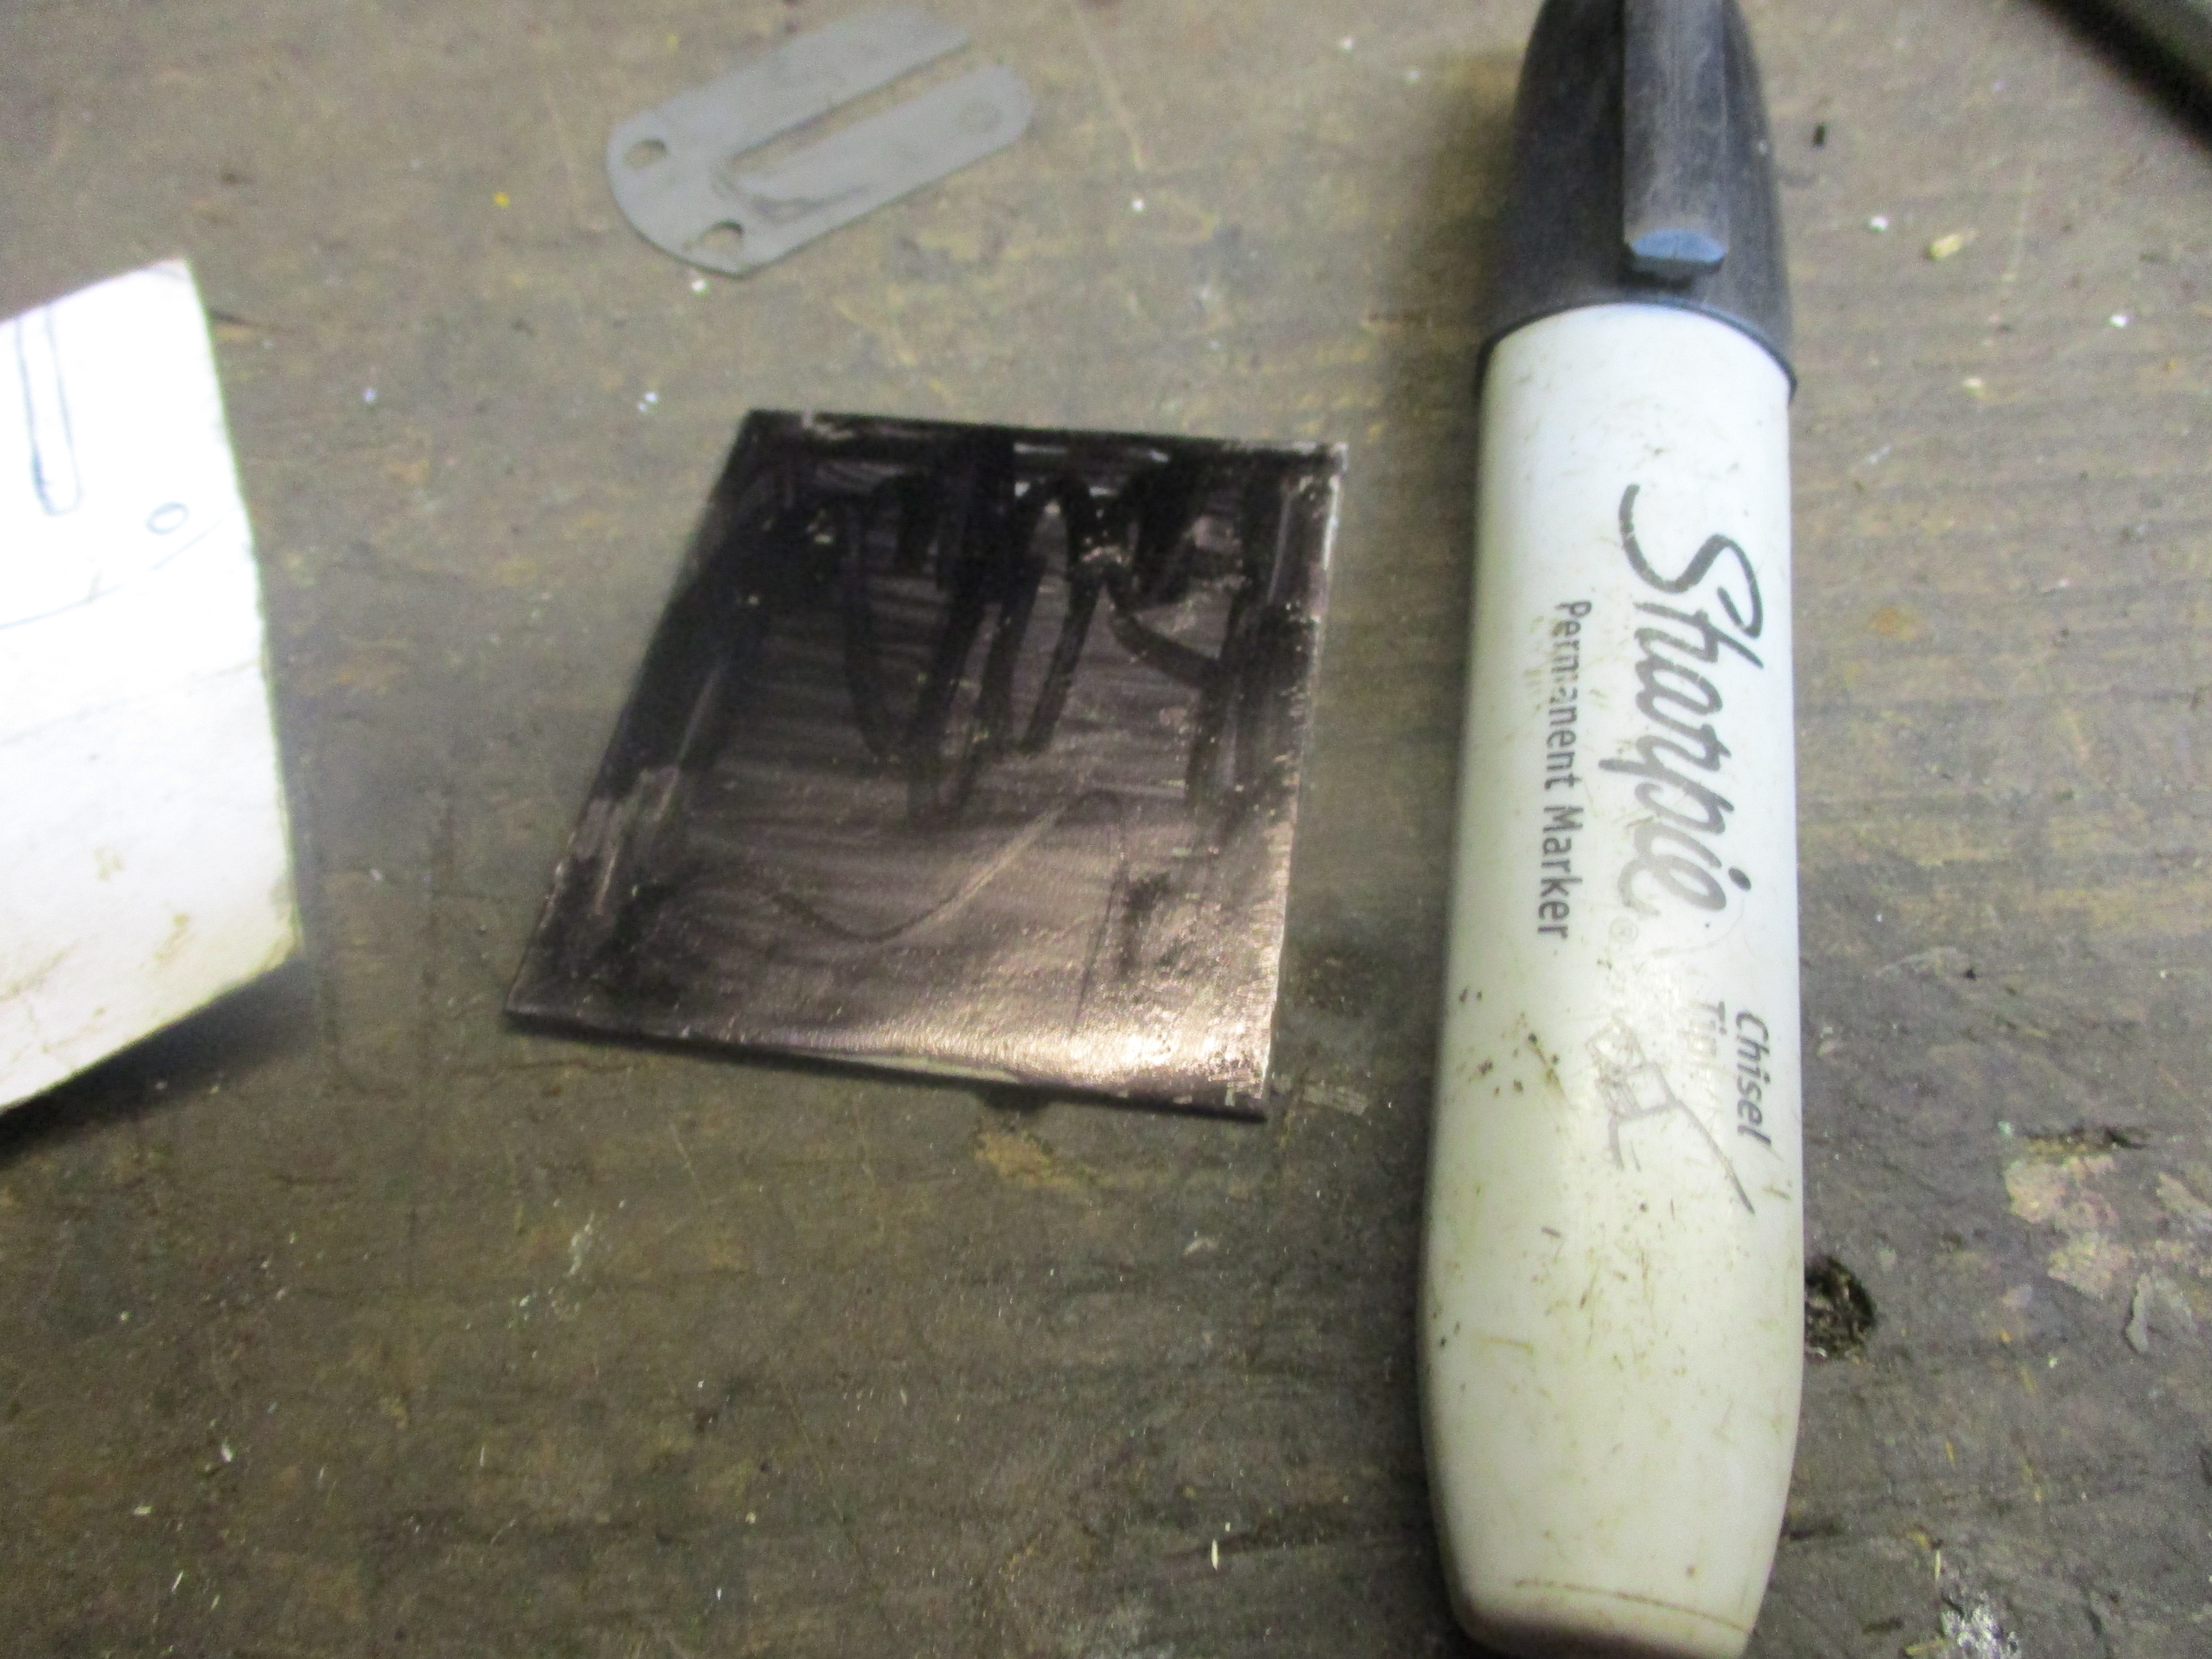
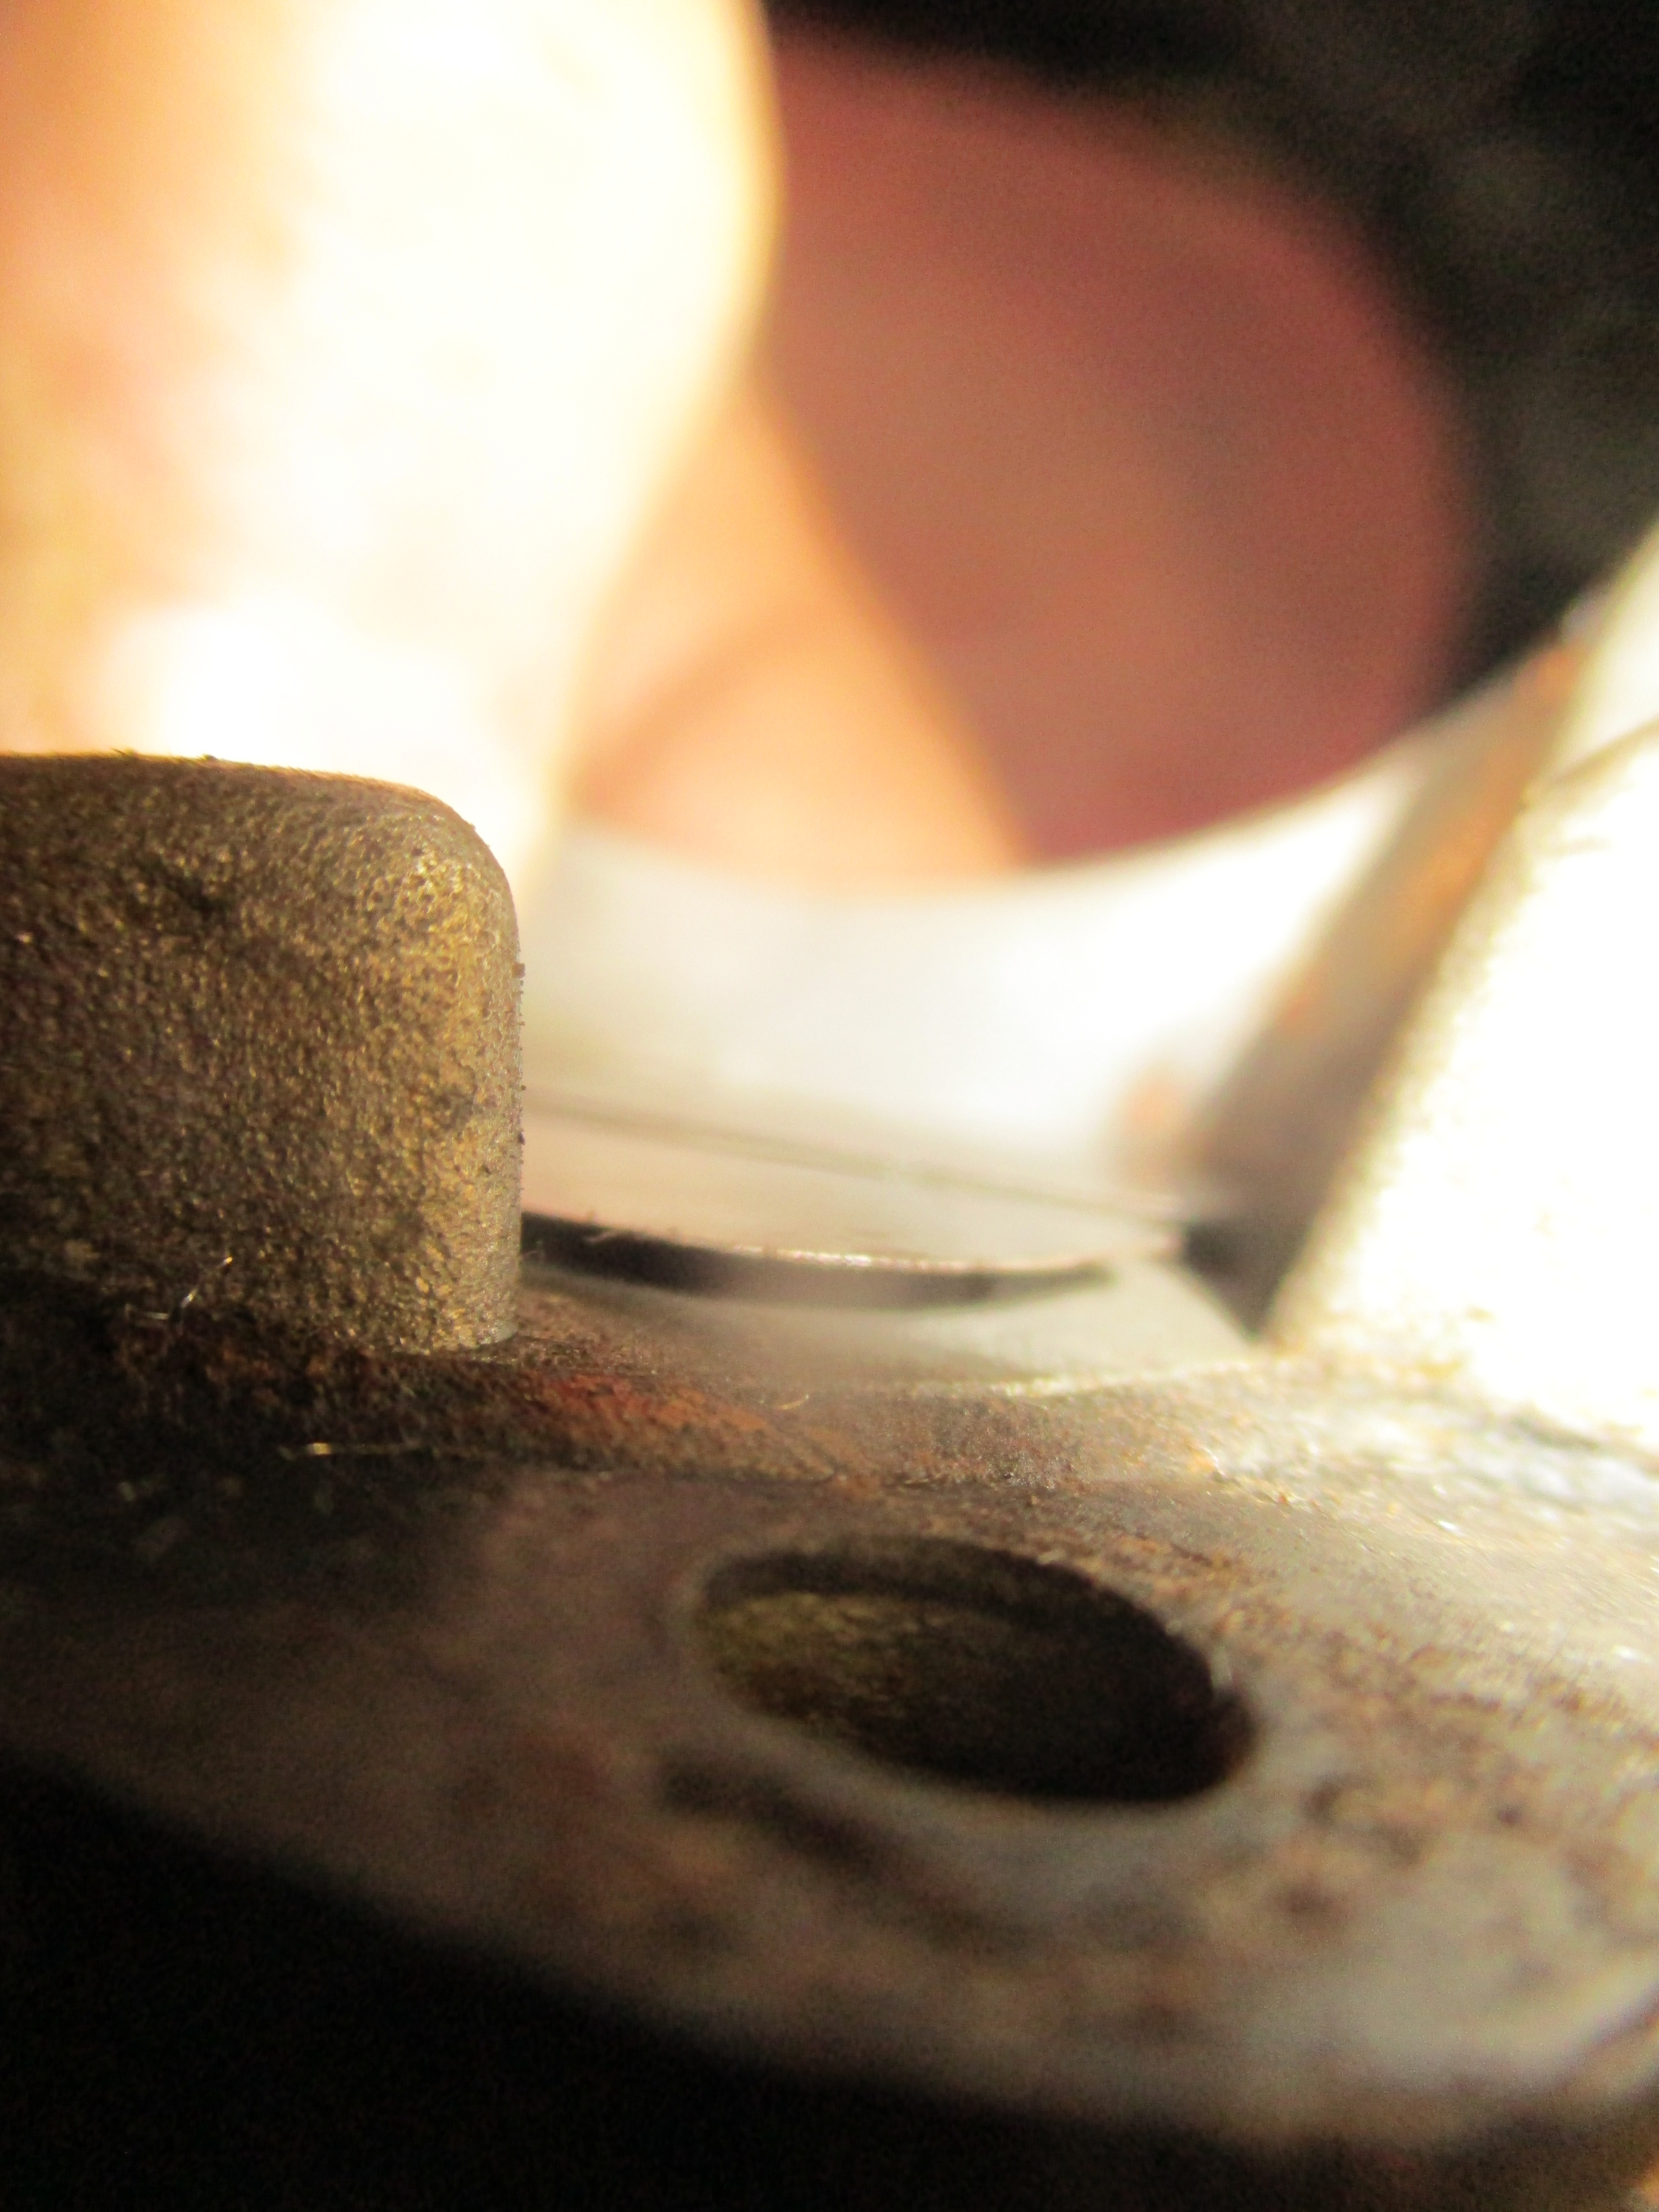
I've noticed that the reeds
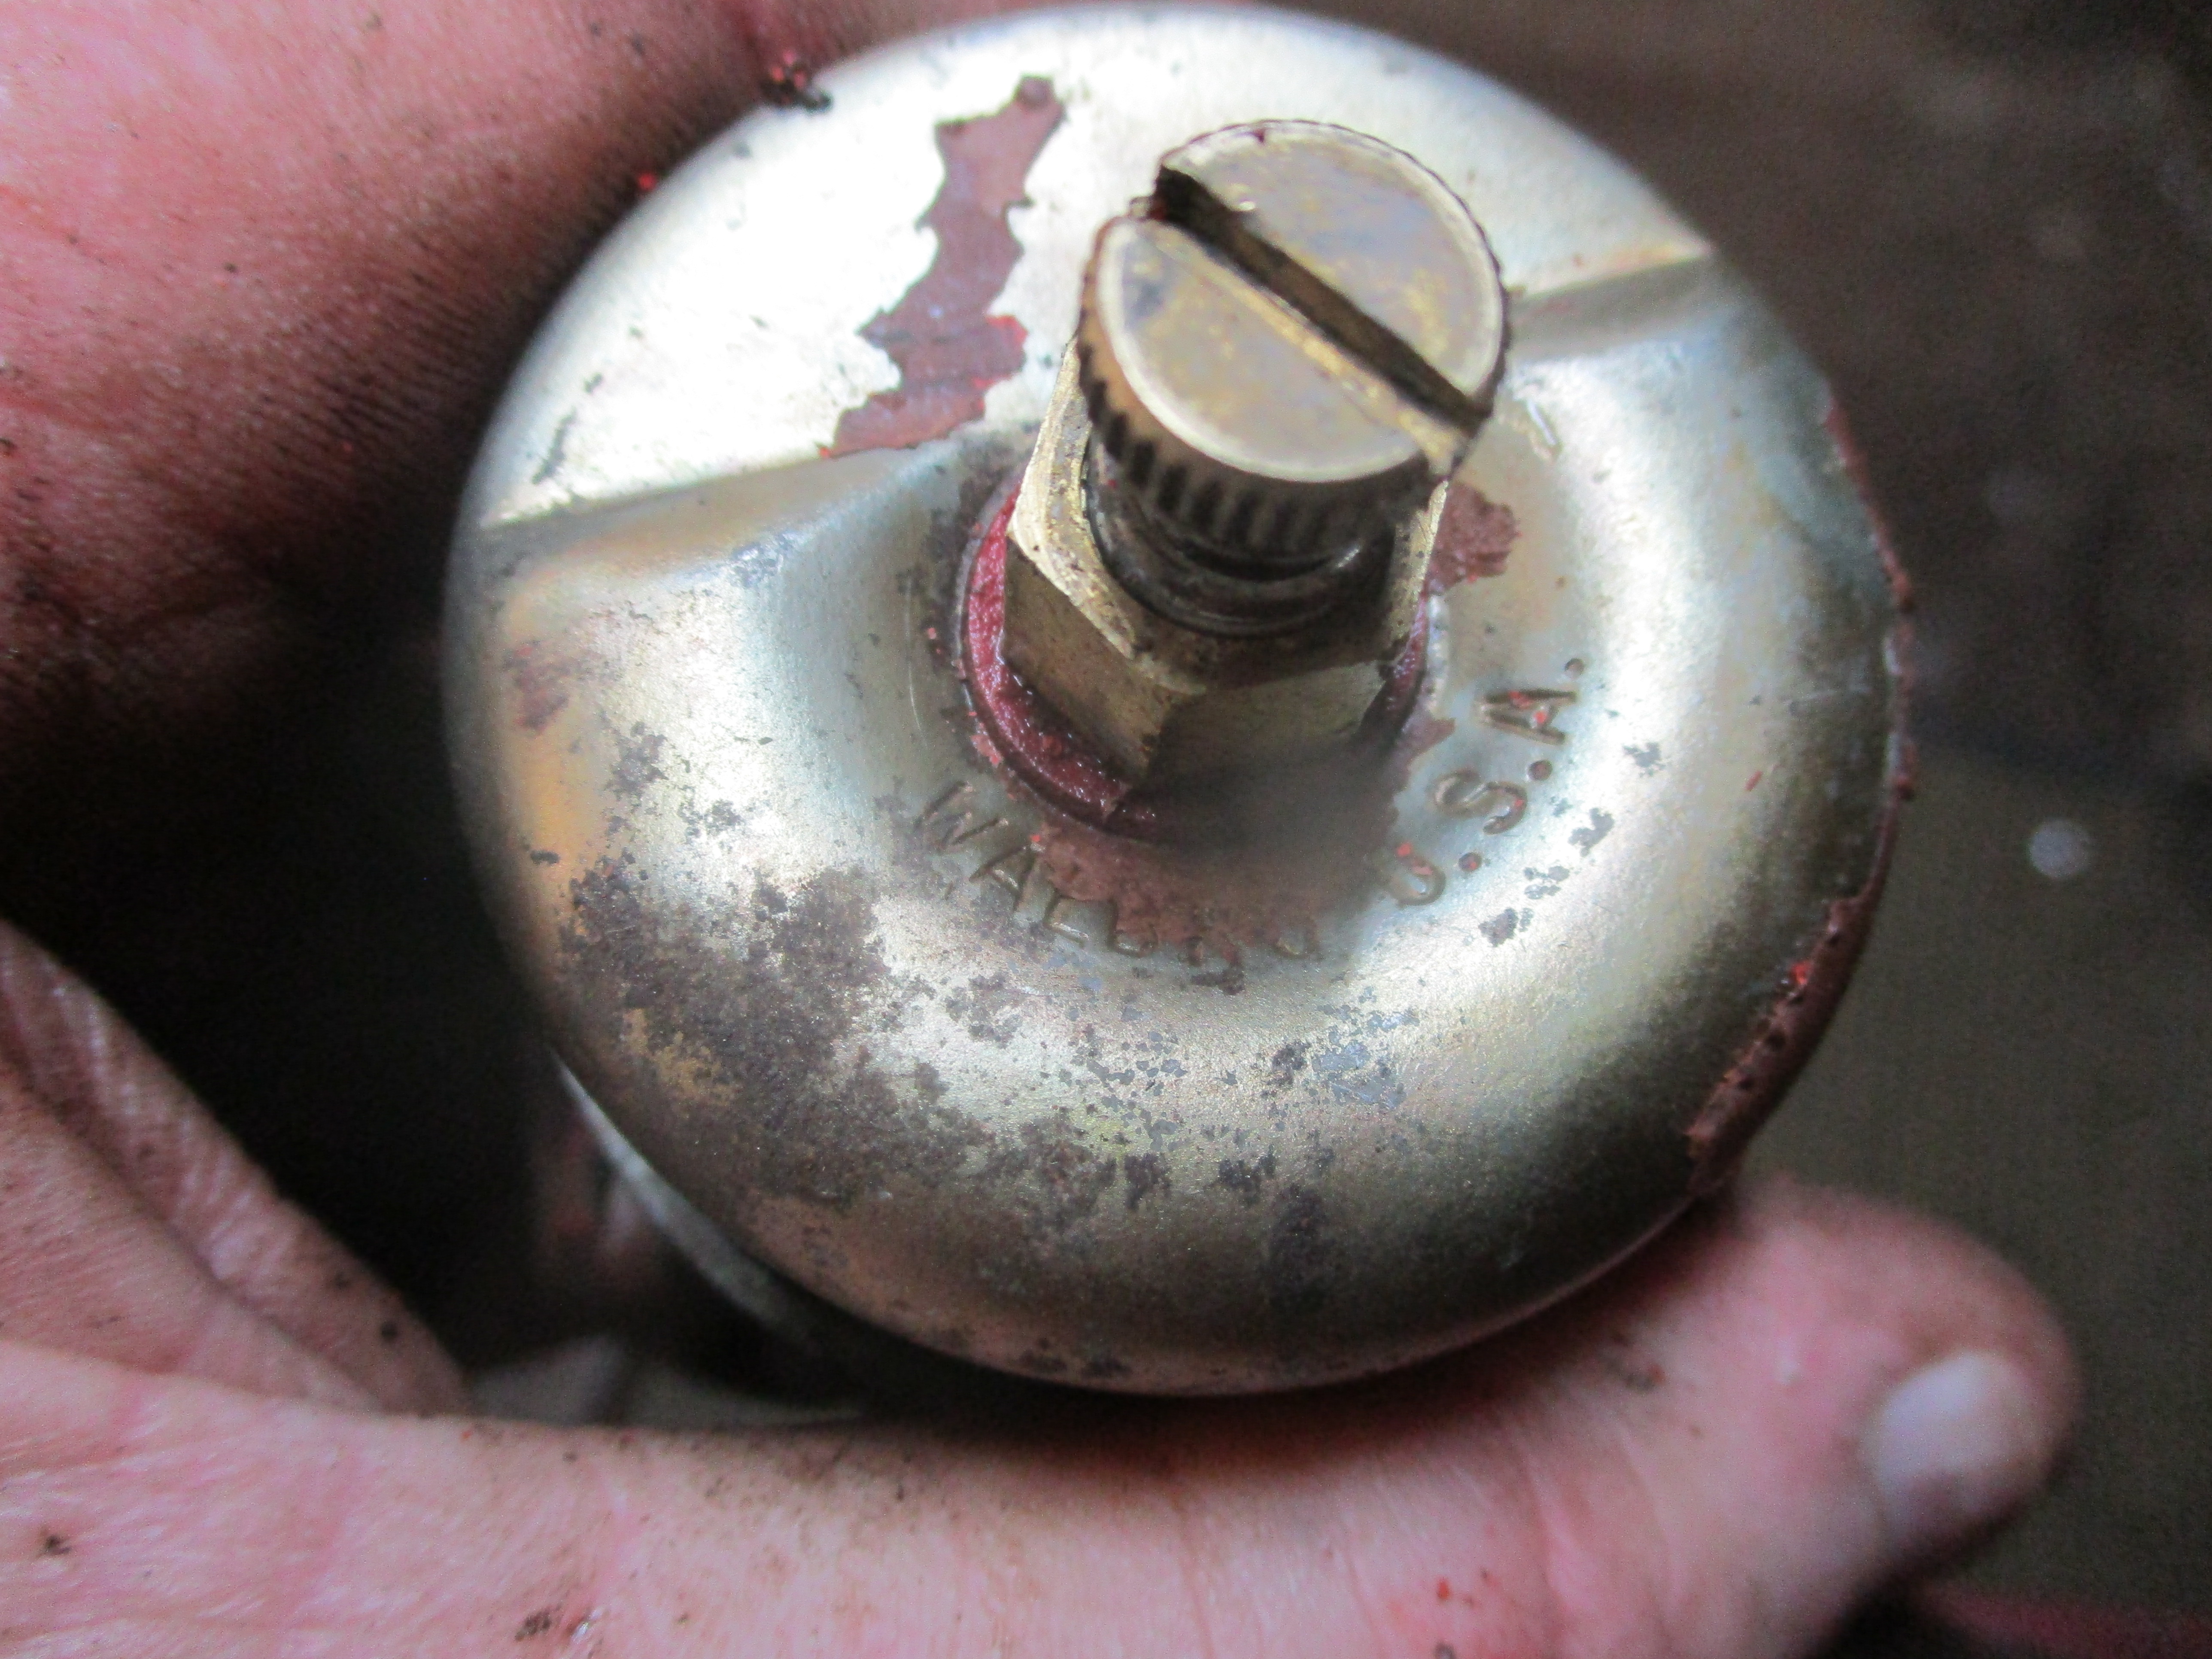
I've noticed that the reeds and reed cover are held in by steel or ally rivets, not screws as I thought.
There are a few new parts I need for these engines still in the USA, £8 for a reed seems reasonable, but £12.84 postages sounds a bit off, air mail I suppose, but there's hardly half an ounce in weight there?
The steel reed cover piece is about another £6, but is being sold by another seller, so another £12.84 needs to be found for that, plus rivets of course. A new gasket (from another seller!) might be worth ordering at the same time, but at this rate, a small handful of parts will add up to more than the machine is worth.
I went at it a slightly different way next, the complete reed assy. including the ally body casting is about £26.84, a new gasket from another supplier will add two lots of airmail postage though.
The problem is that I need to make a decision soon, before parts are ended or find I cannot purchase any, a slightly more positive thought is that I have thousands of small ally rivets and USA was then still imperial measurements. The old ally casting gasket is still good too I suppose...decisions, decisions.
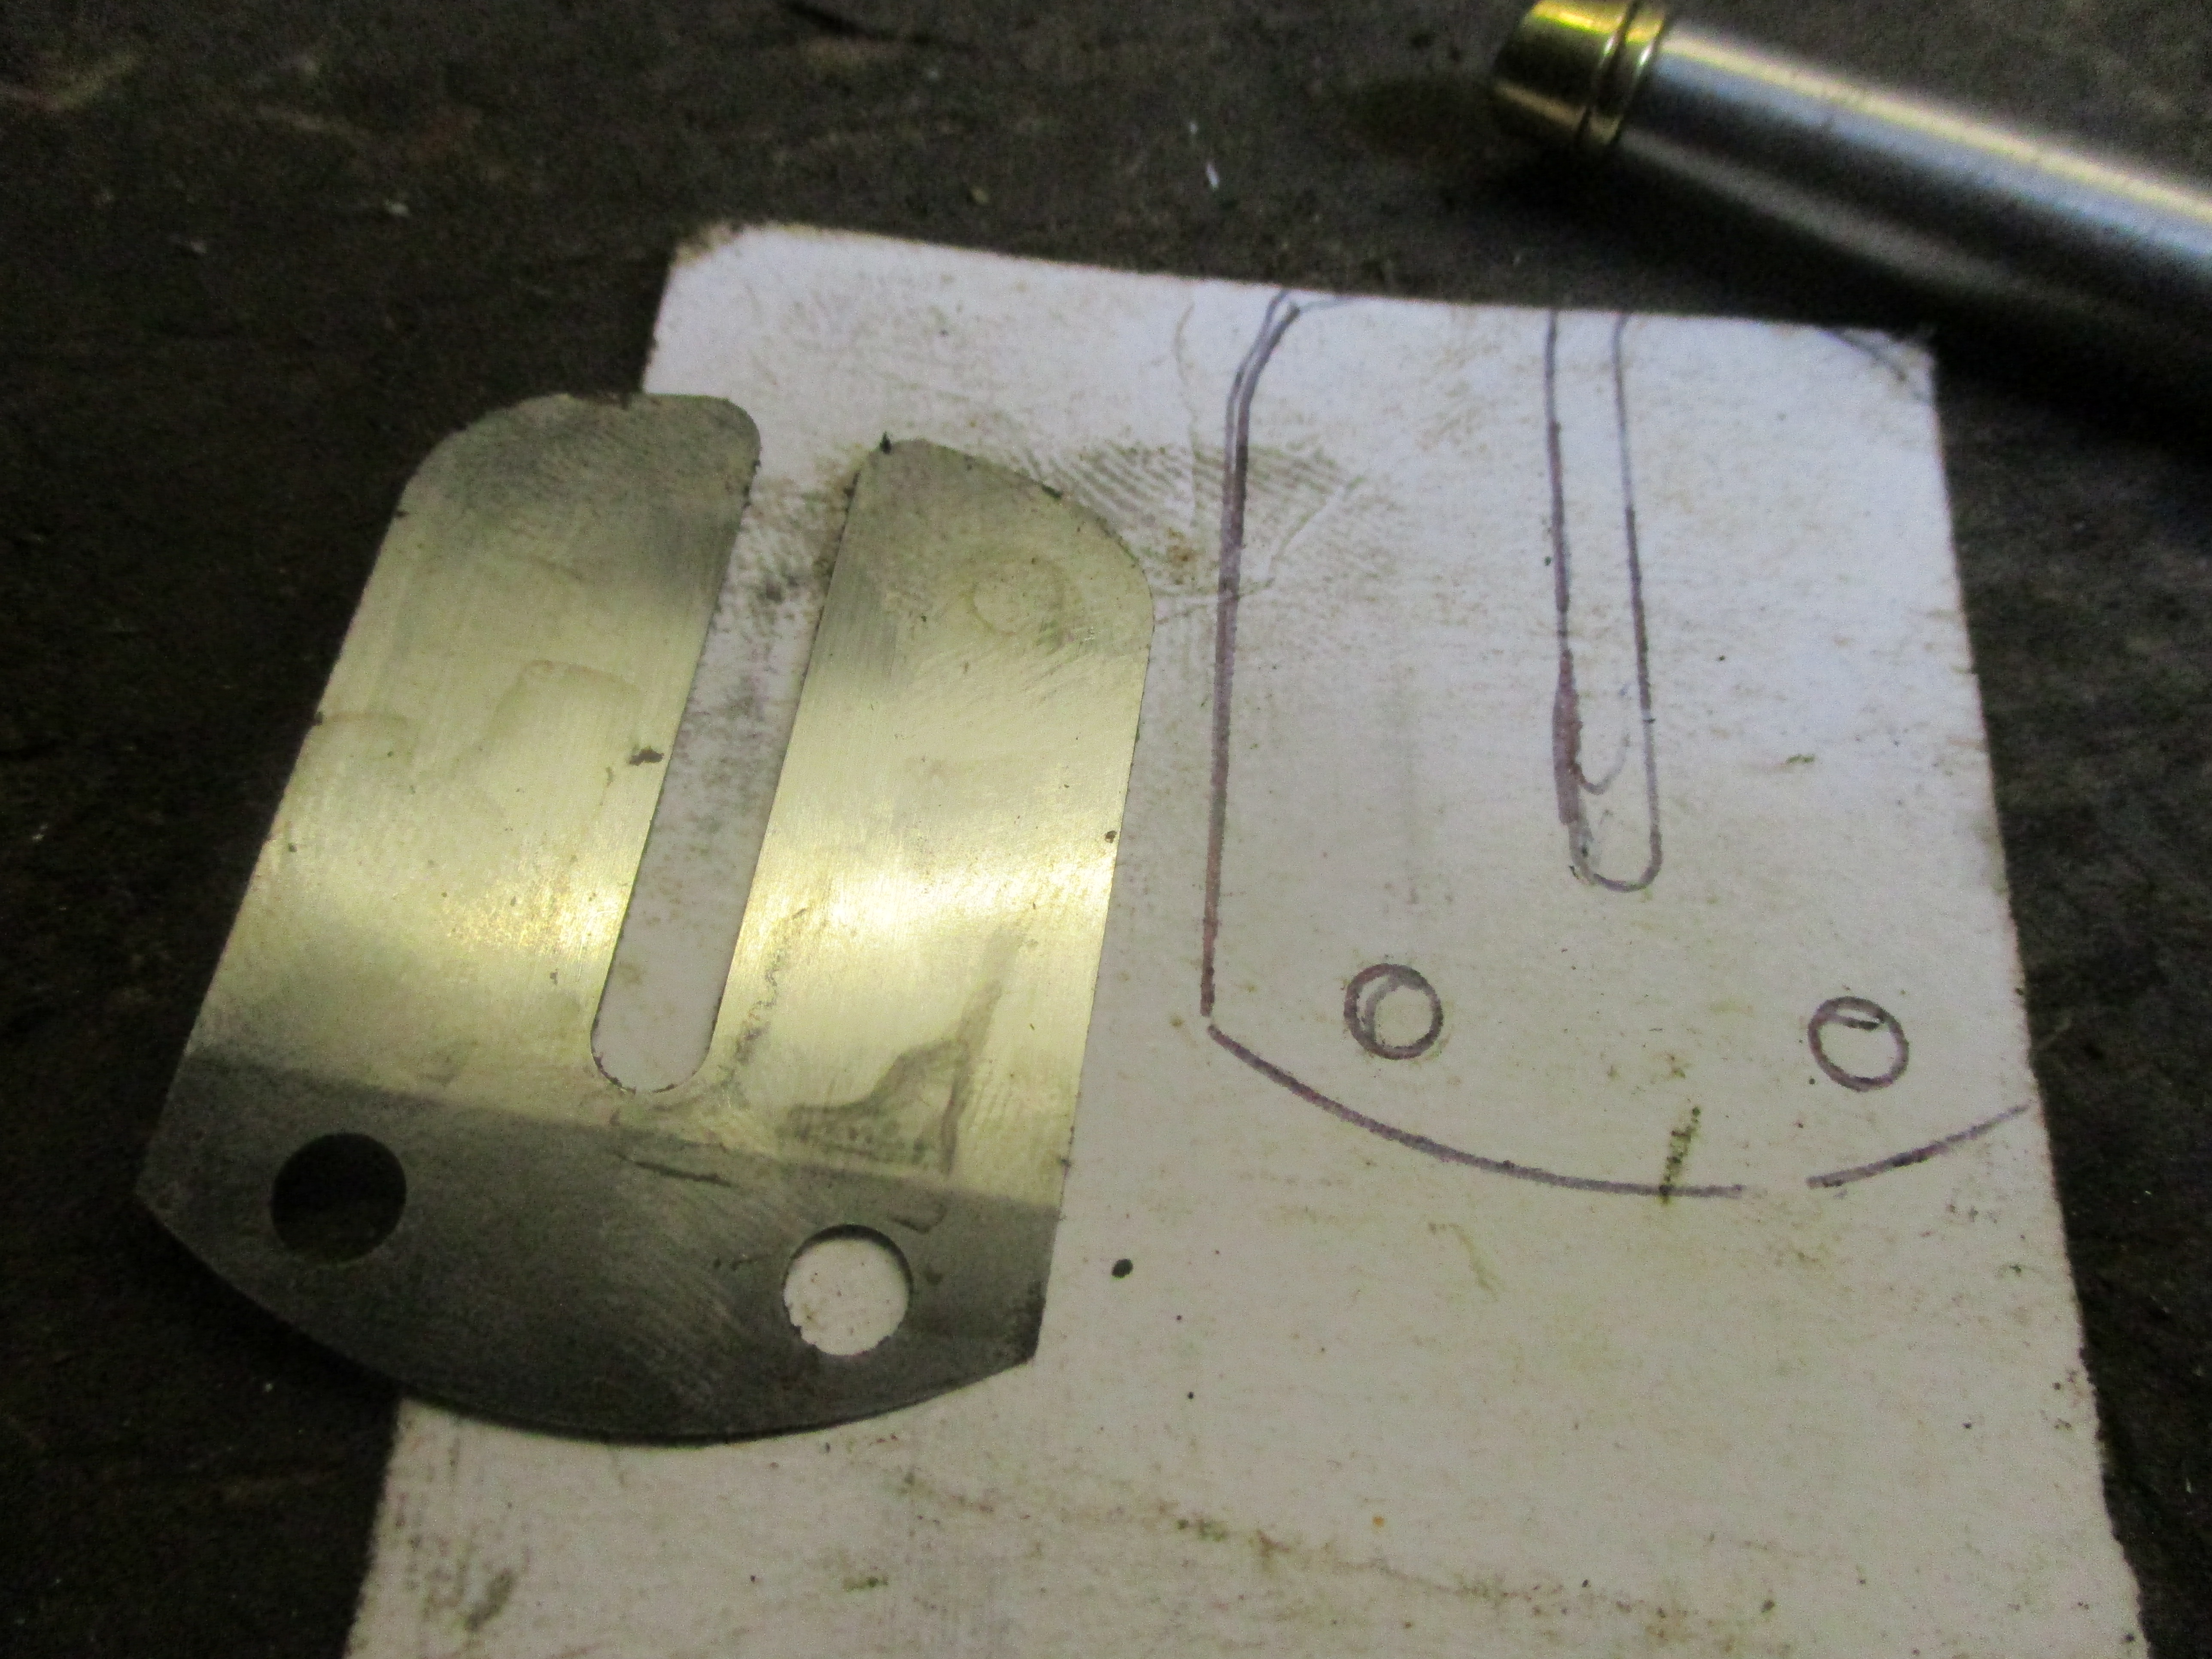
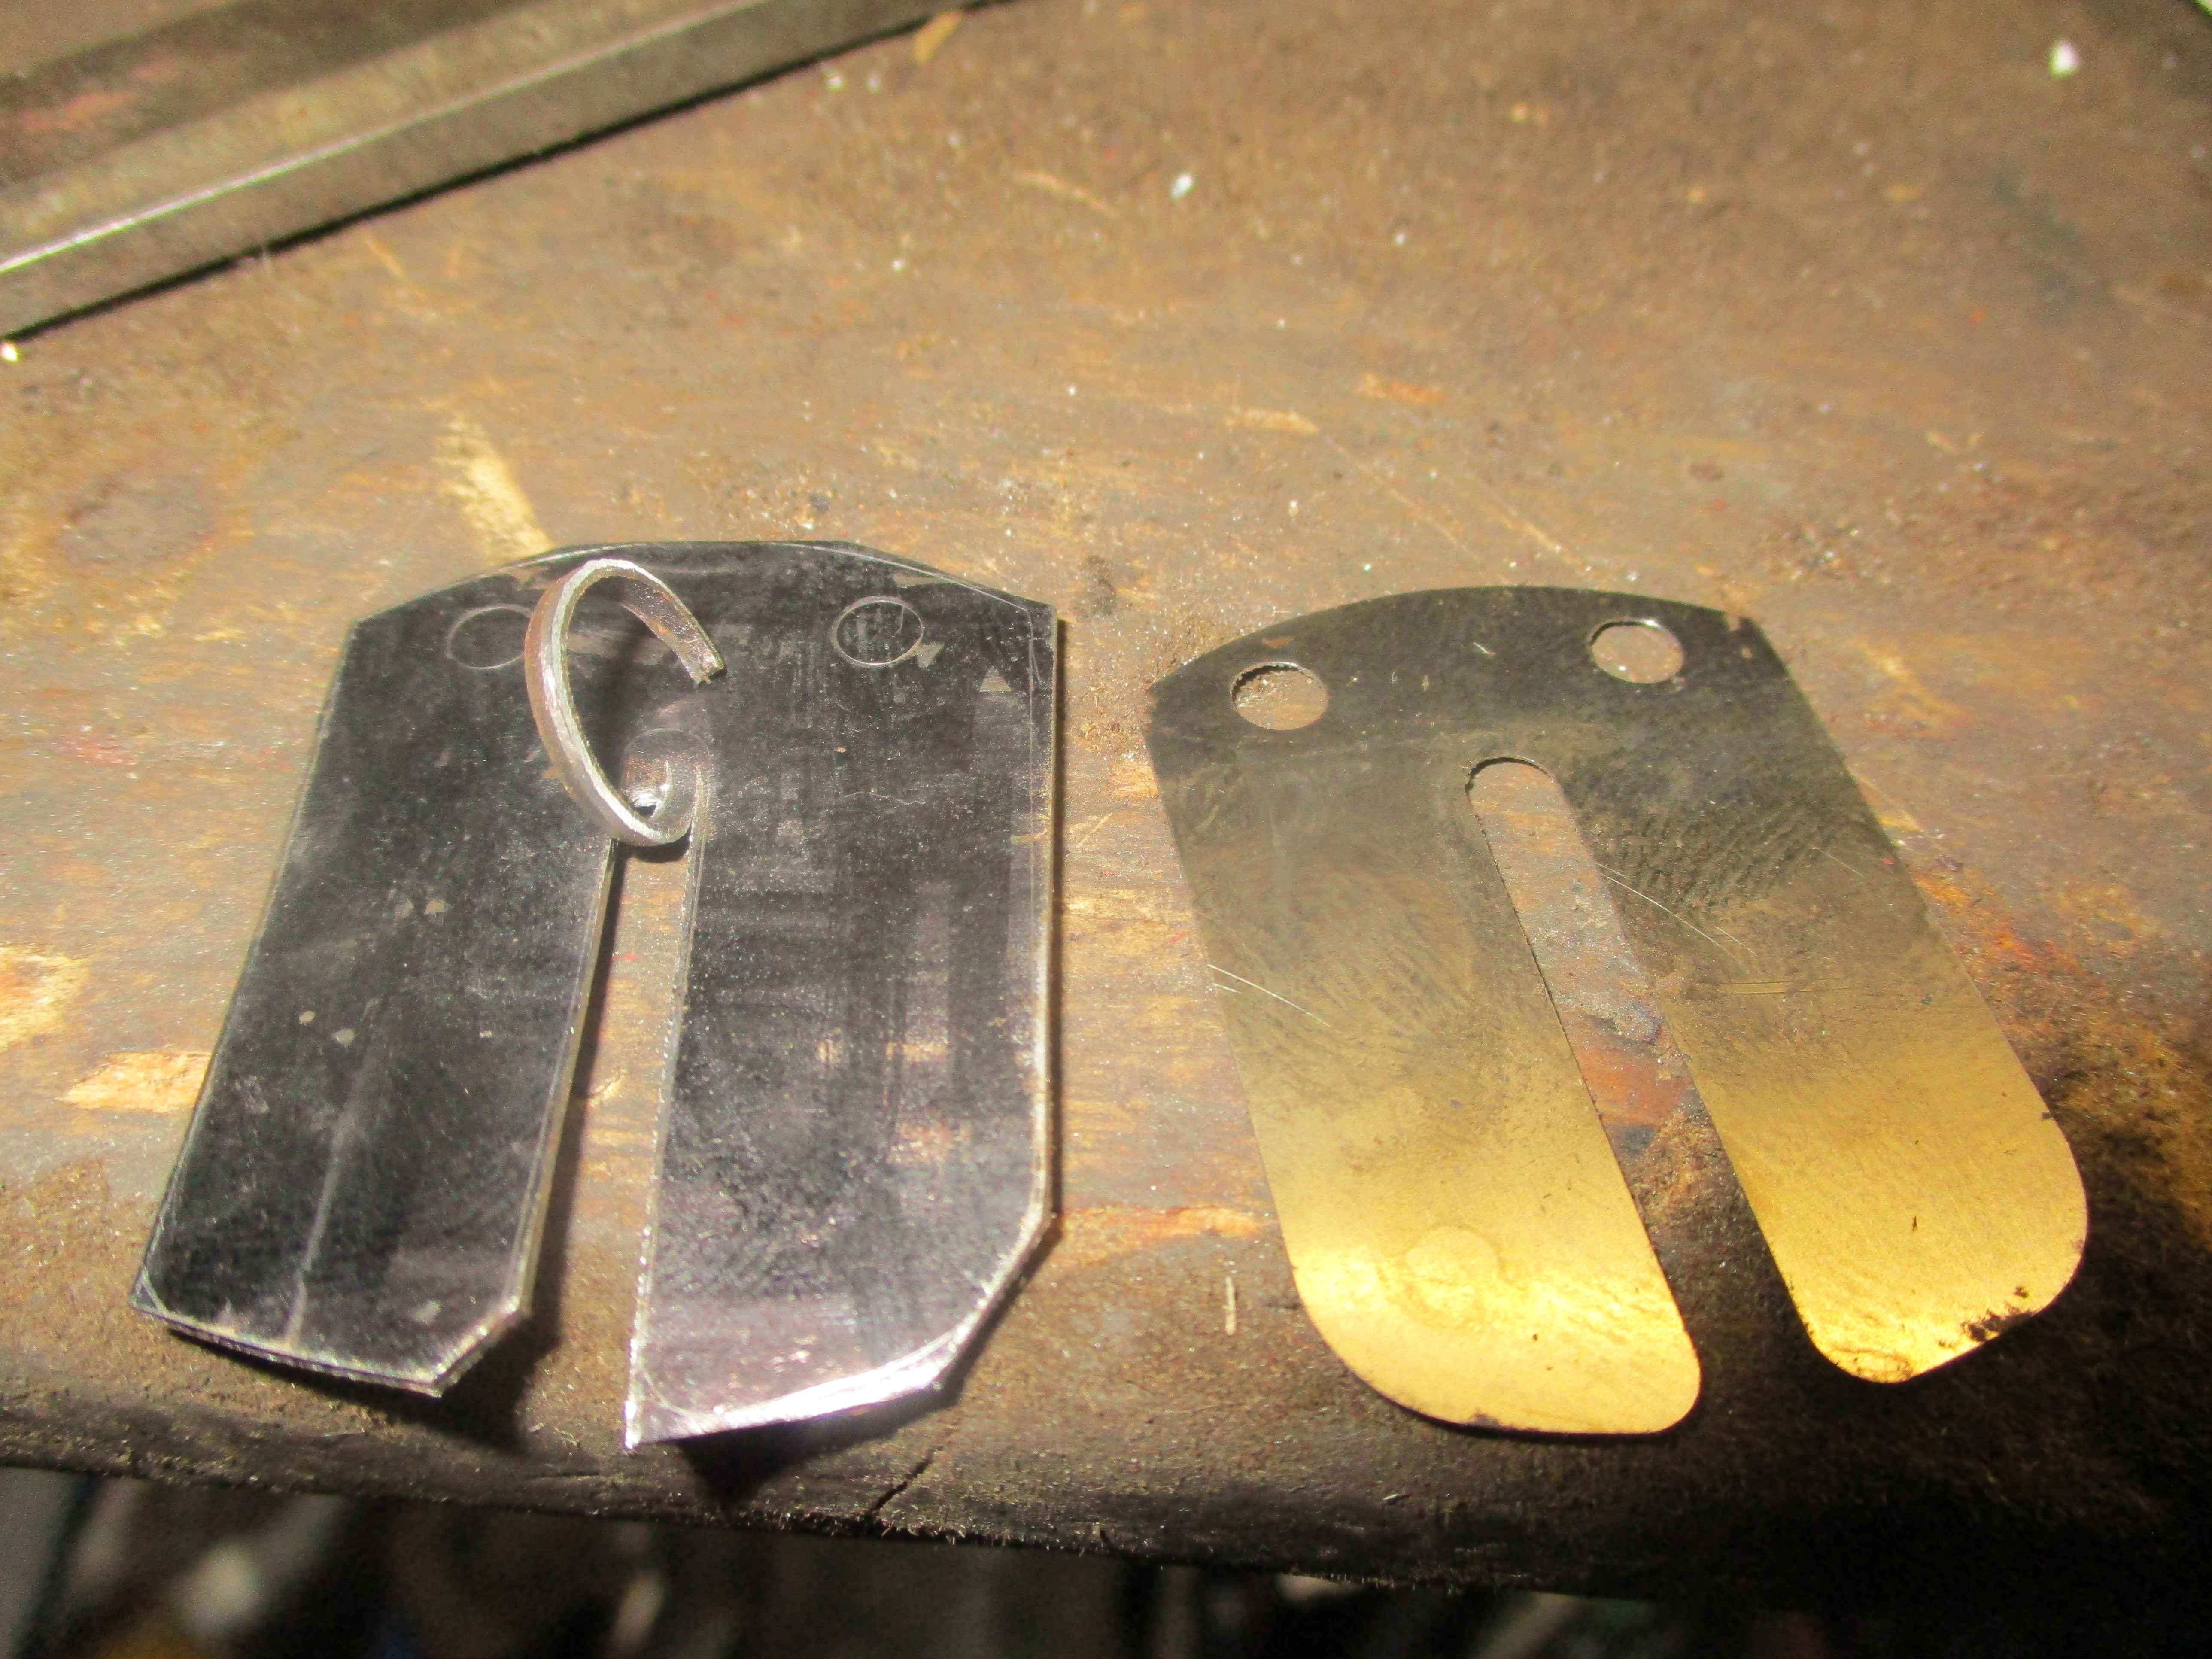
I've just paid £20 for a
I've just paid £20 for a roughly inch square piece of steel shim stock! I have no way of knowing its thickness though and am not the sort of chap who enjoys spending a dozen hours rebuilding and dismantling an engine ten times in experimenting with various thicknesses in a vain attempt to 'save' time and money!
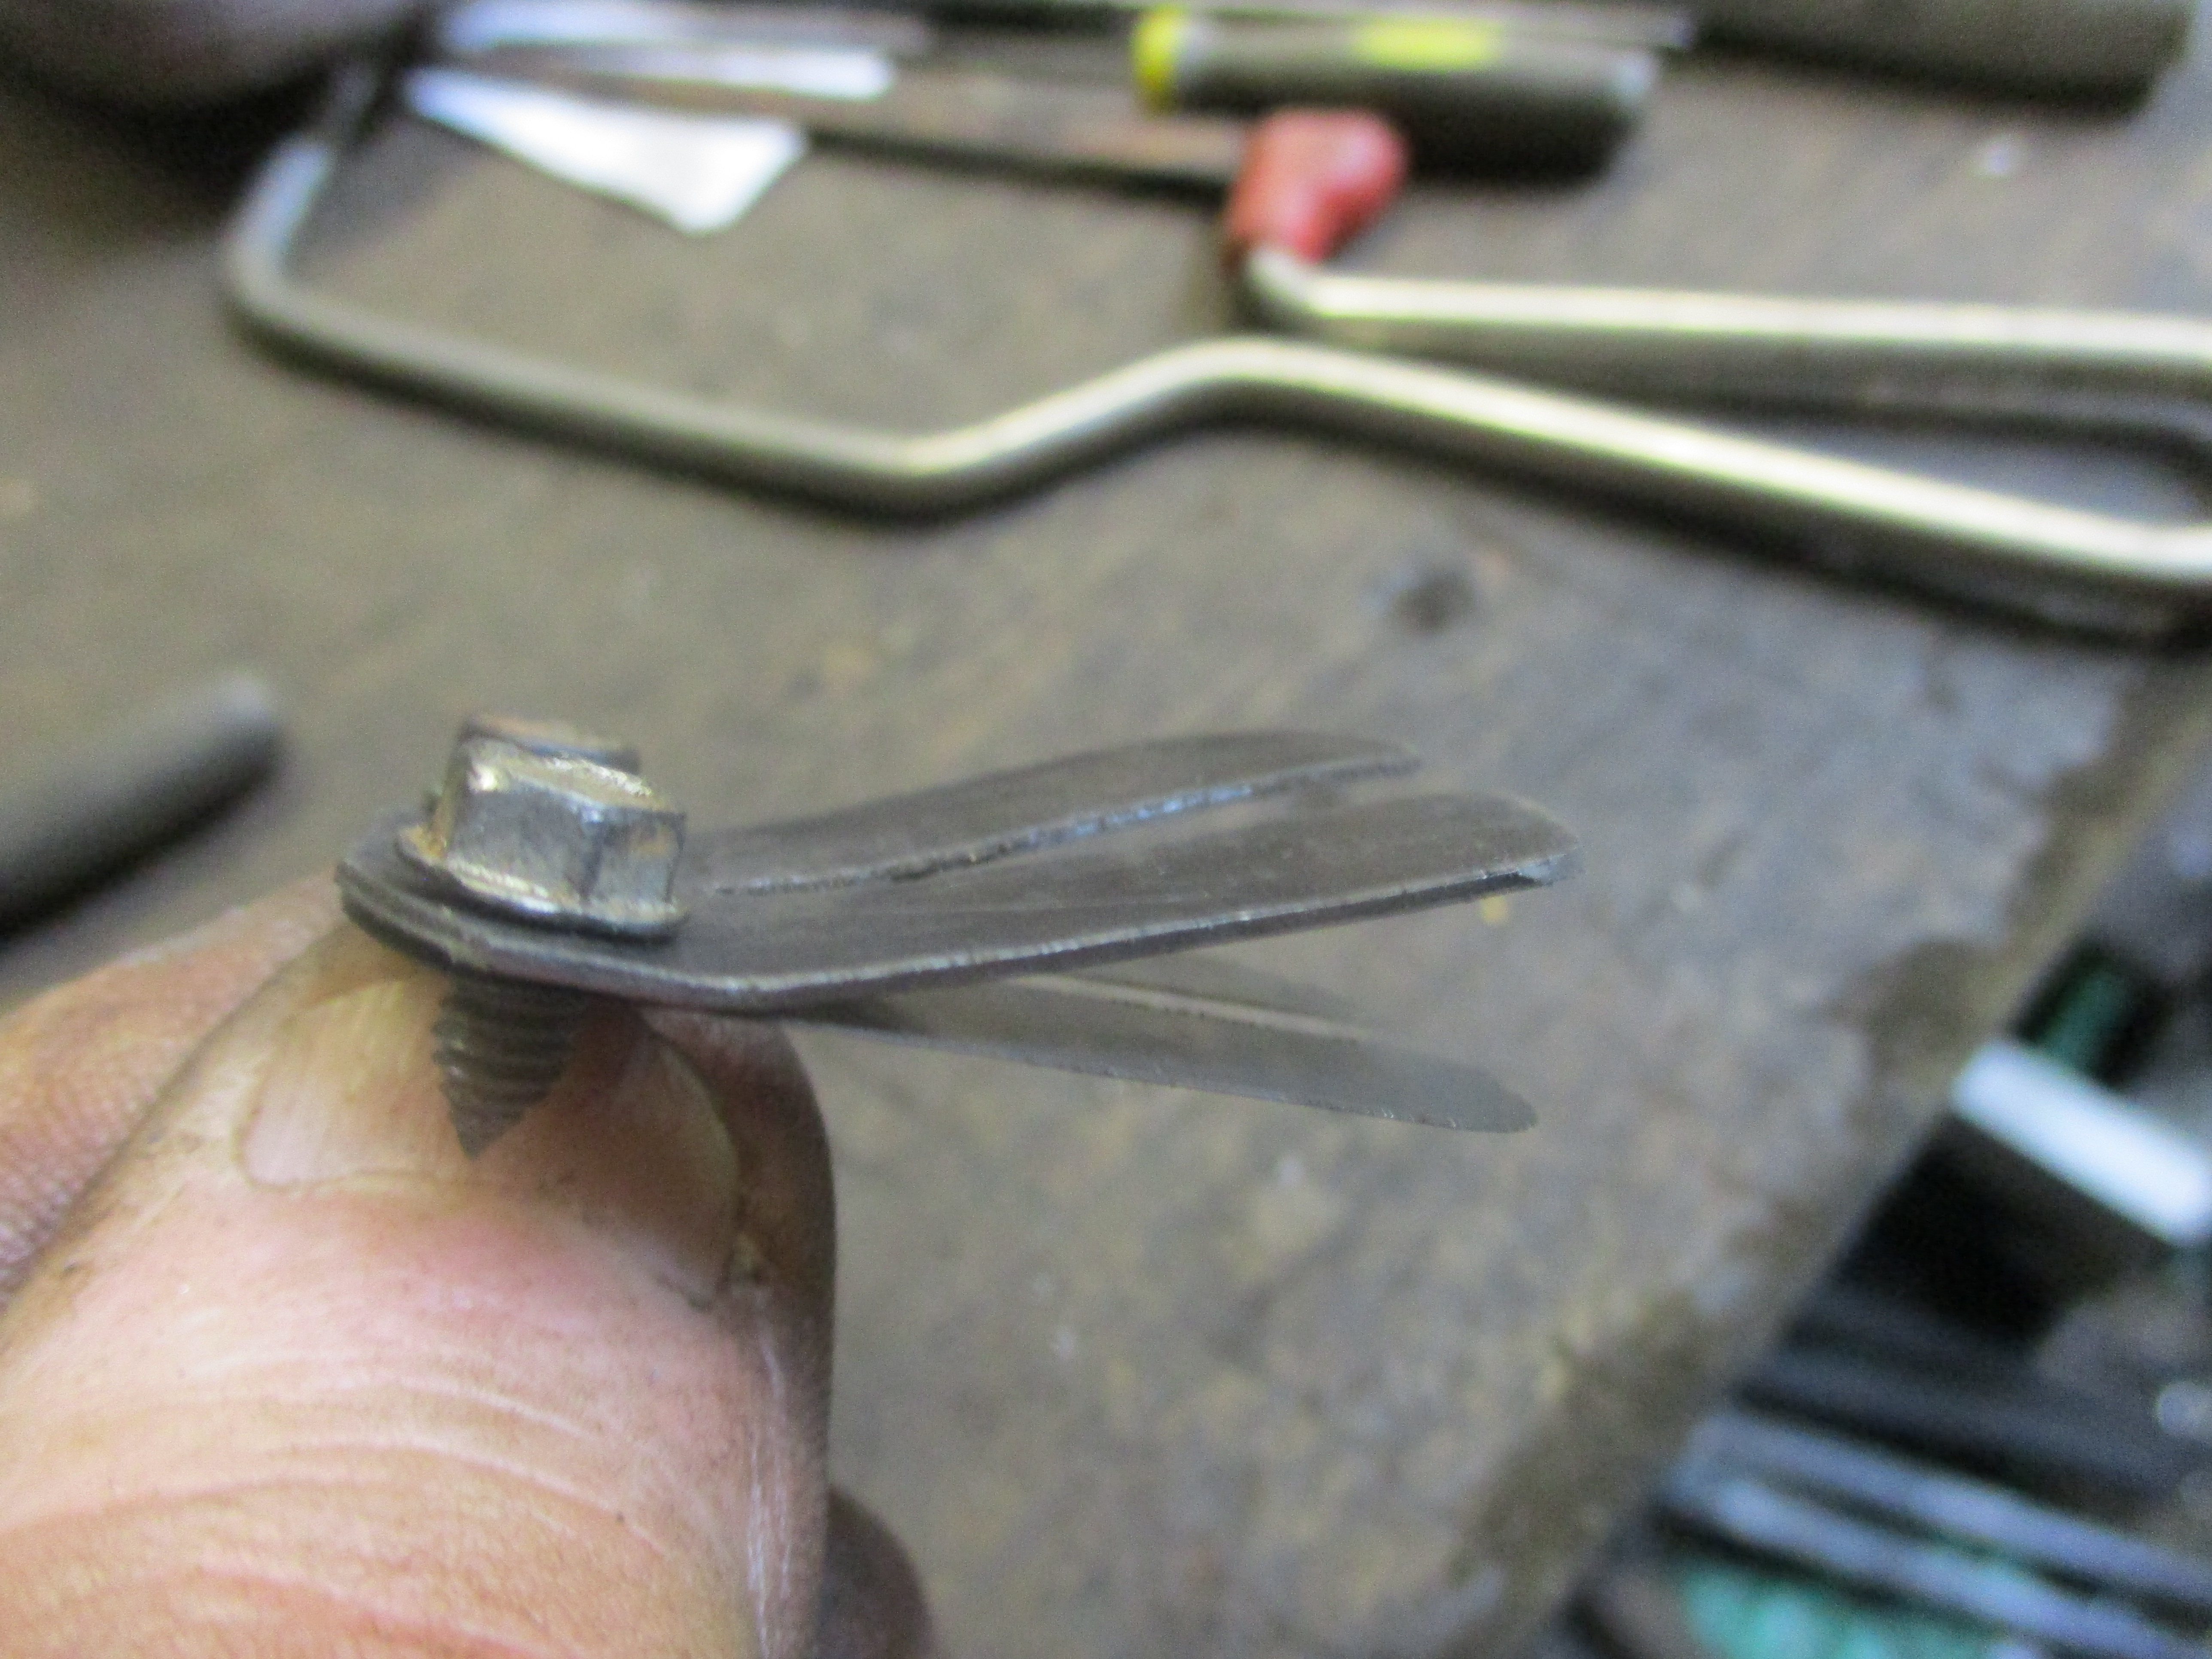
I will have to try making the 'stop', which is a much thicker piece of steel of a similar shape that goes over the reed itself, but ha an upward bend in it, first allow the reed to open on induction, but only so far, the natural spring in the reed coupled with the primary compression pressure snaps the reed shut.
About £8 for the reed, the rest is postage from the USA.
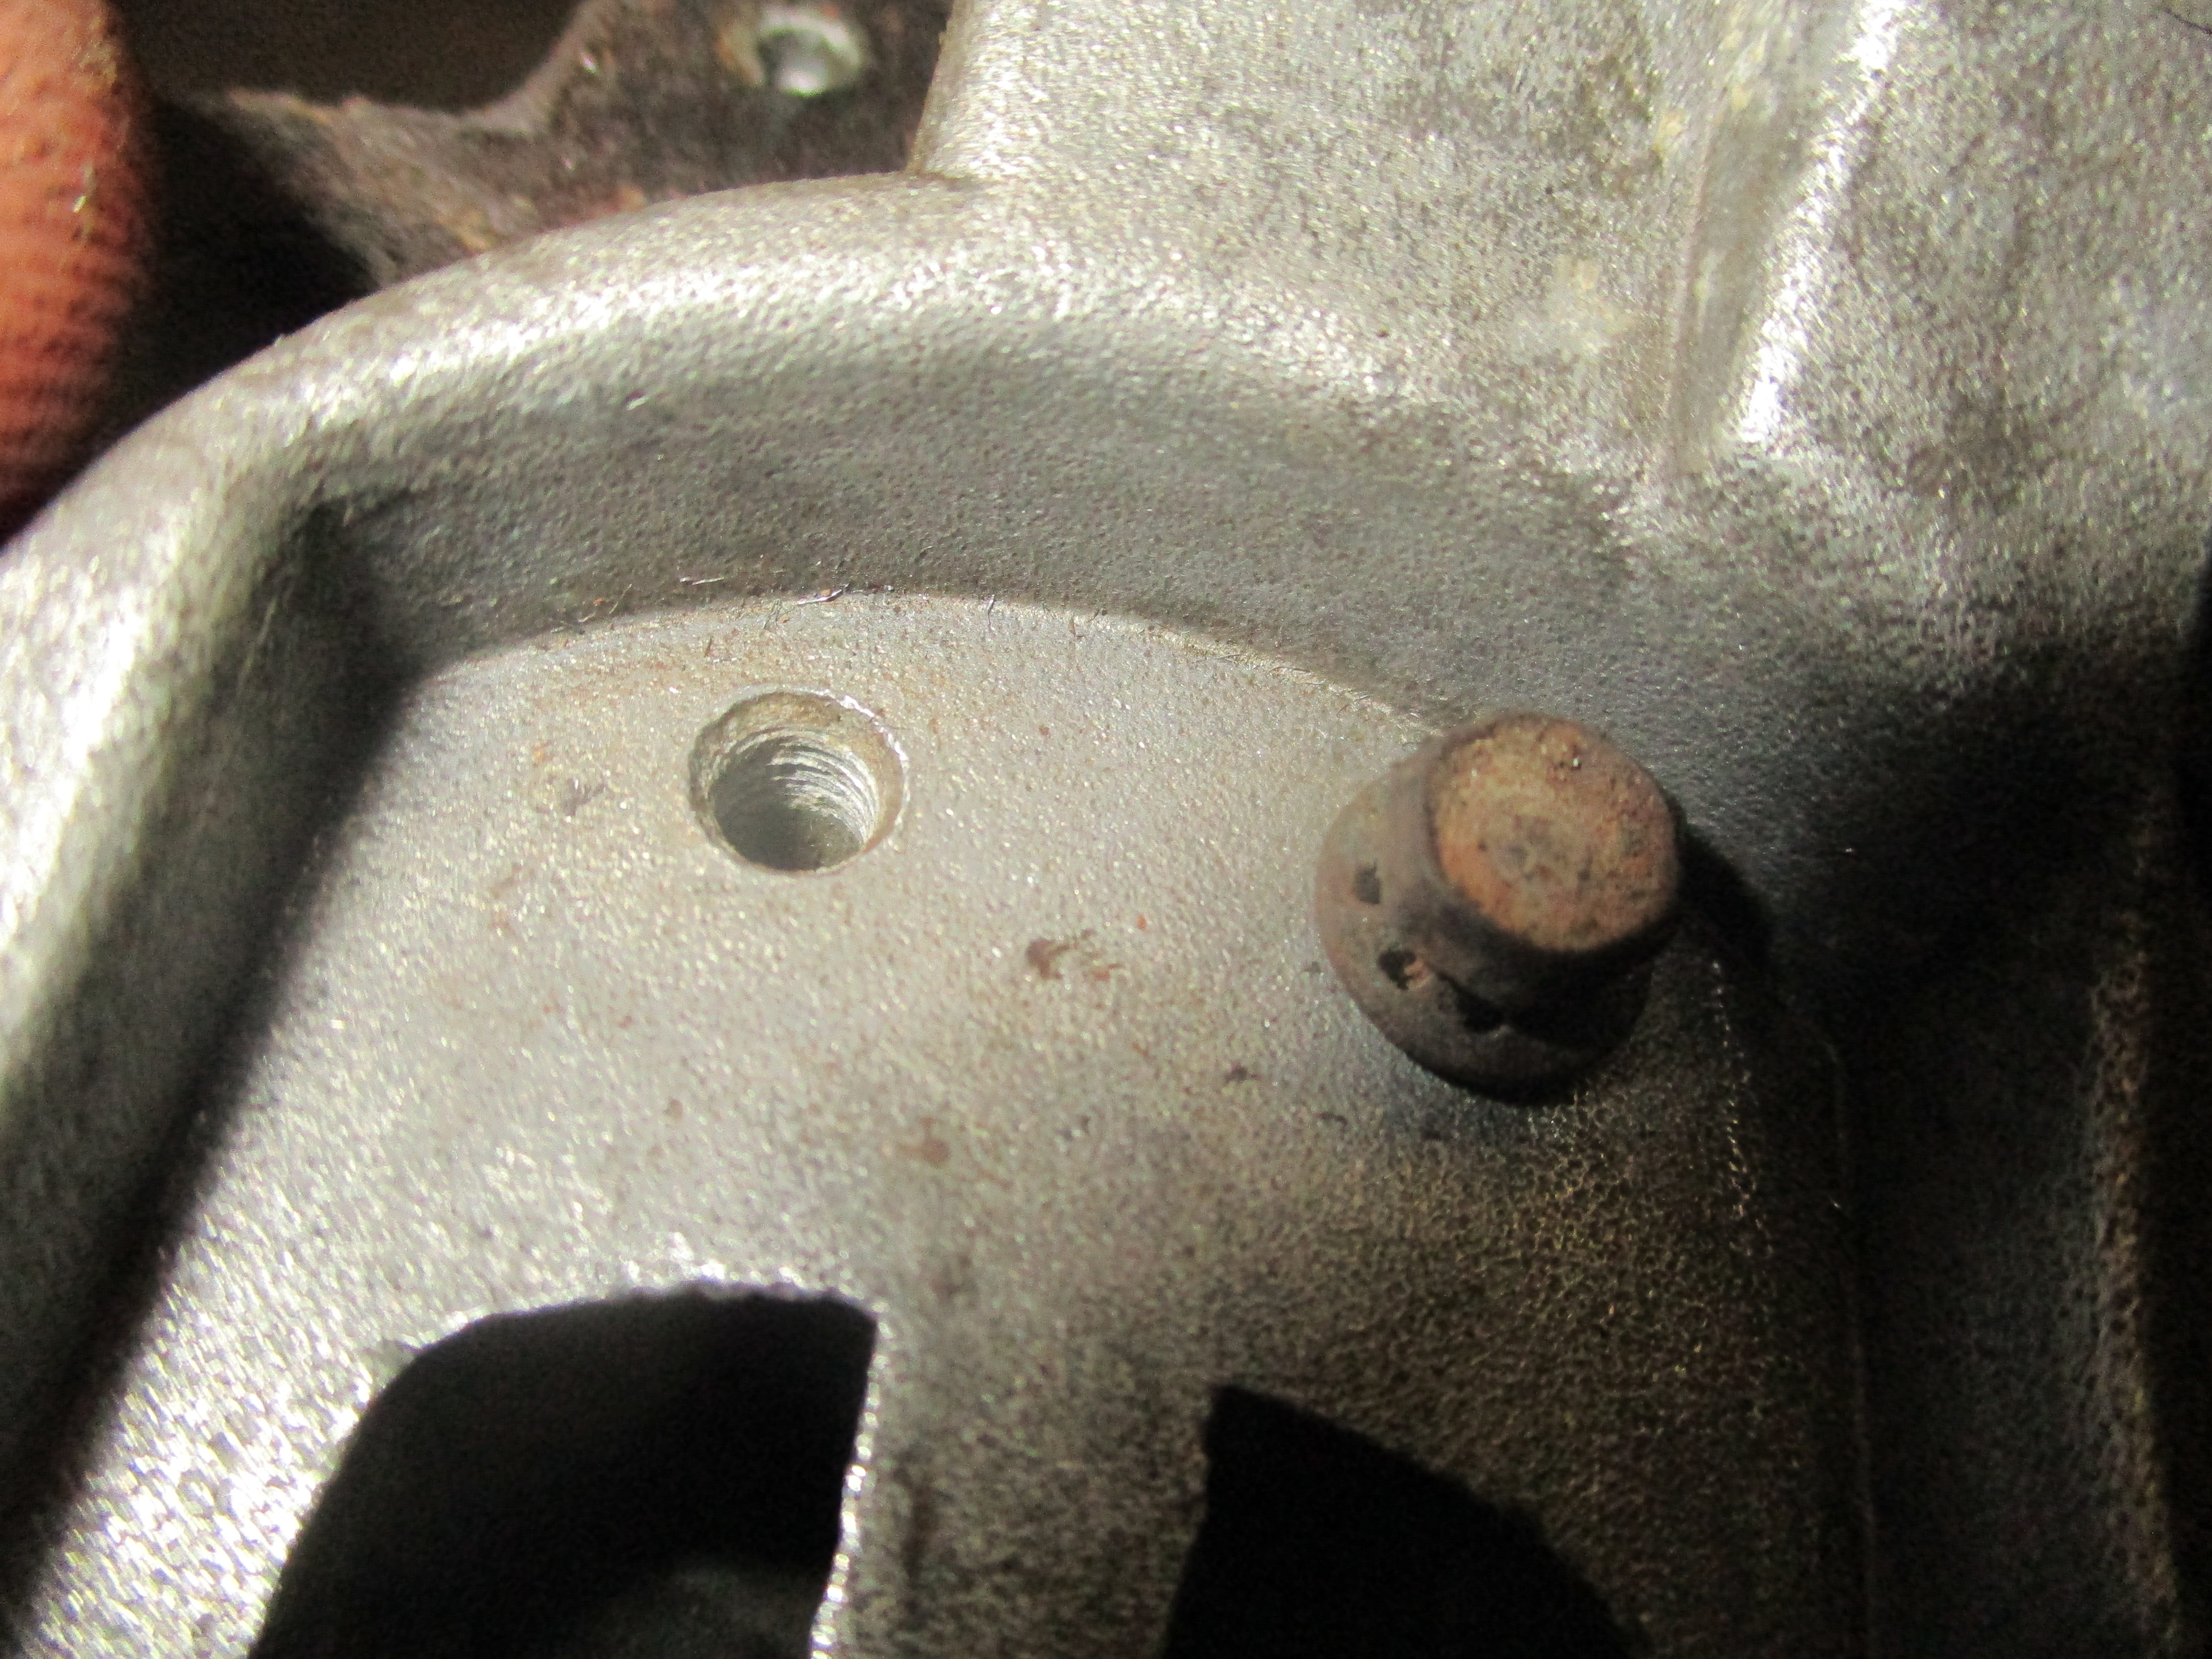
But firstly, I need to find out if trhe crank will move, that white puffy ally oxide appears to have locked the shaft up, but where there's a will etc.
There are a few new parts I
There are a few new parts I need for these engines still in the USA, £8 for a reed seems reasonable, but £12.84 postages sounds a bit off, air mail I suppose, but there's hardly half an ounce in weight there?
Then there’s the possibility of import duty - Lawnmower parts 3%, clearance charge by Royal Mail or Parcel-force, with VAT on top of the lot.
Occasionally but rarely it will slip through without, but it’s a roll of the dice.
Thanks for your helpful
Thanks for your helpful comments wristpin, appreciated.
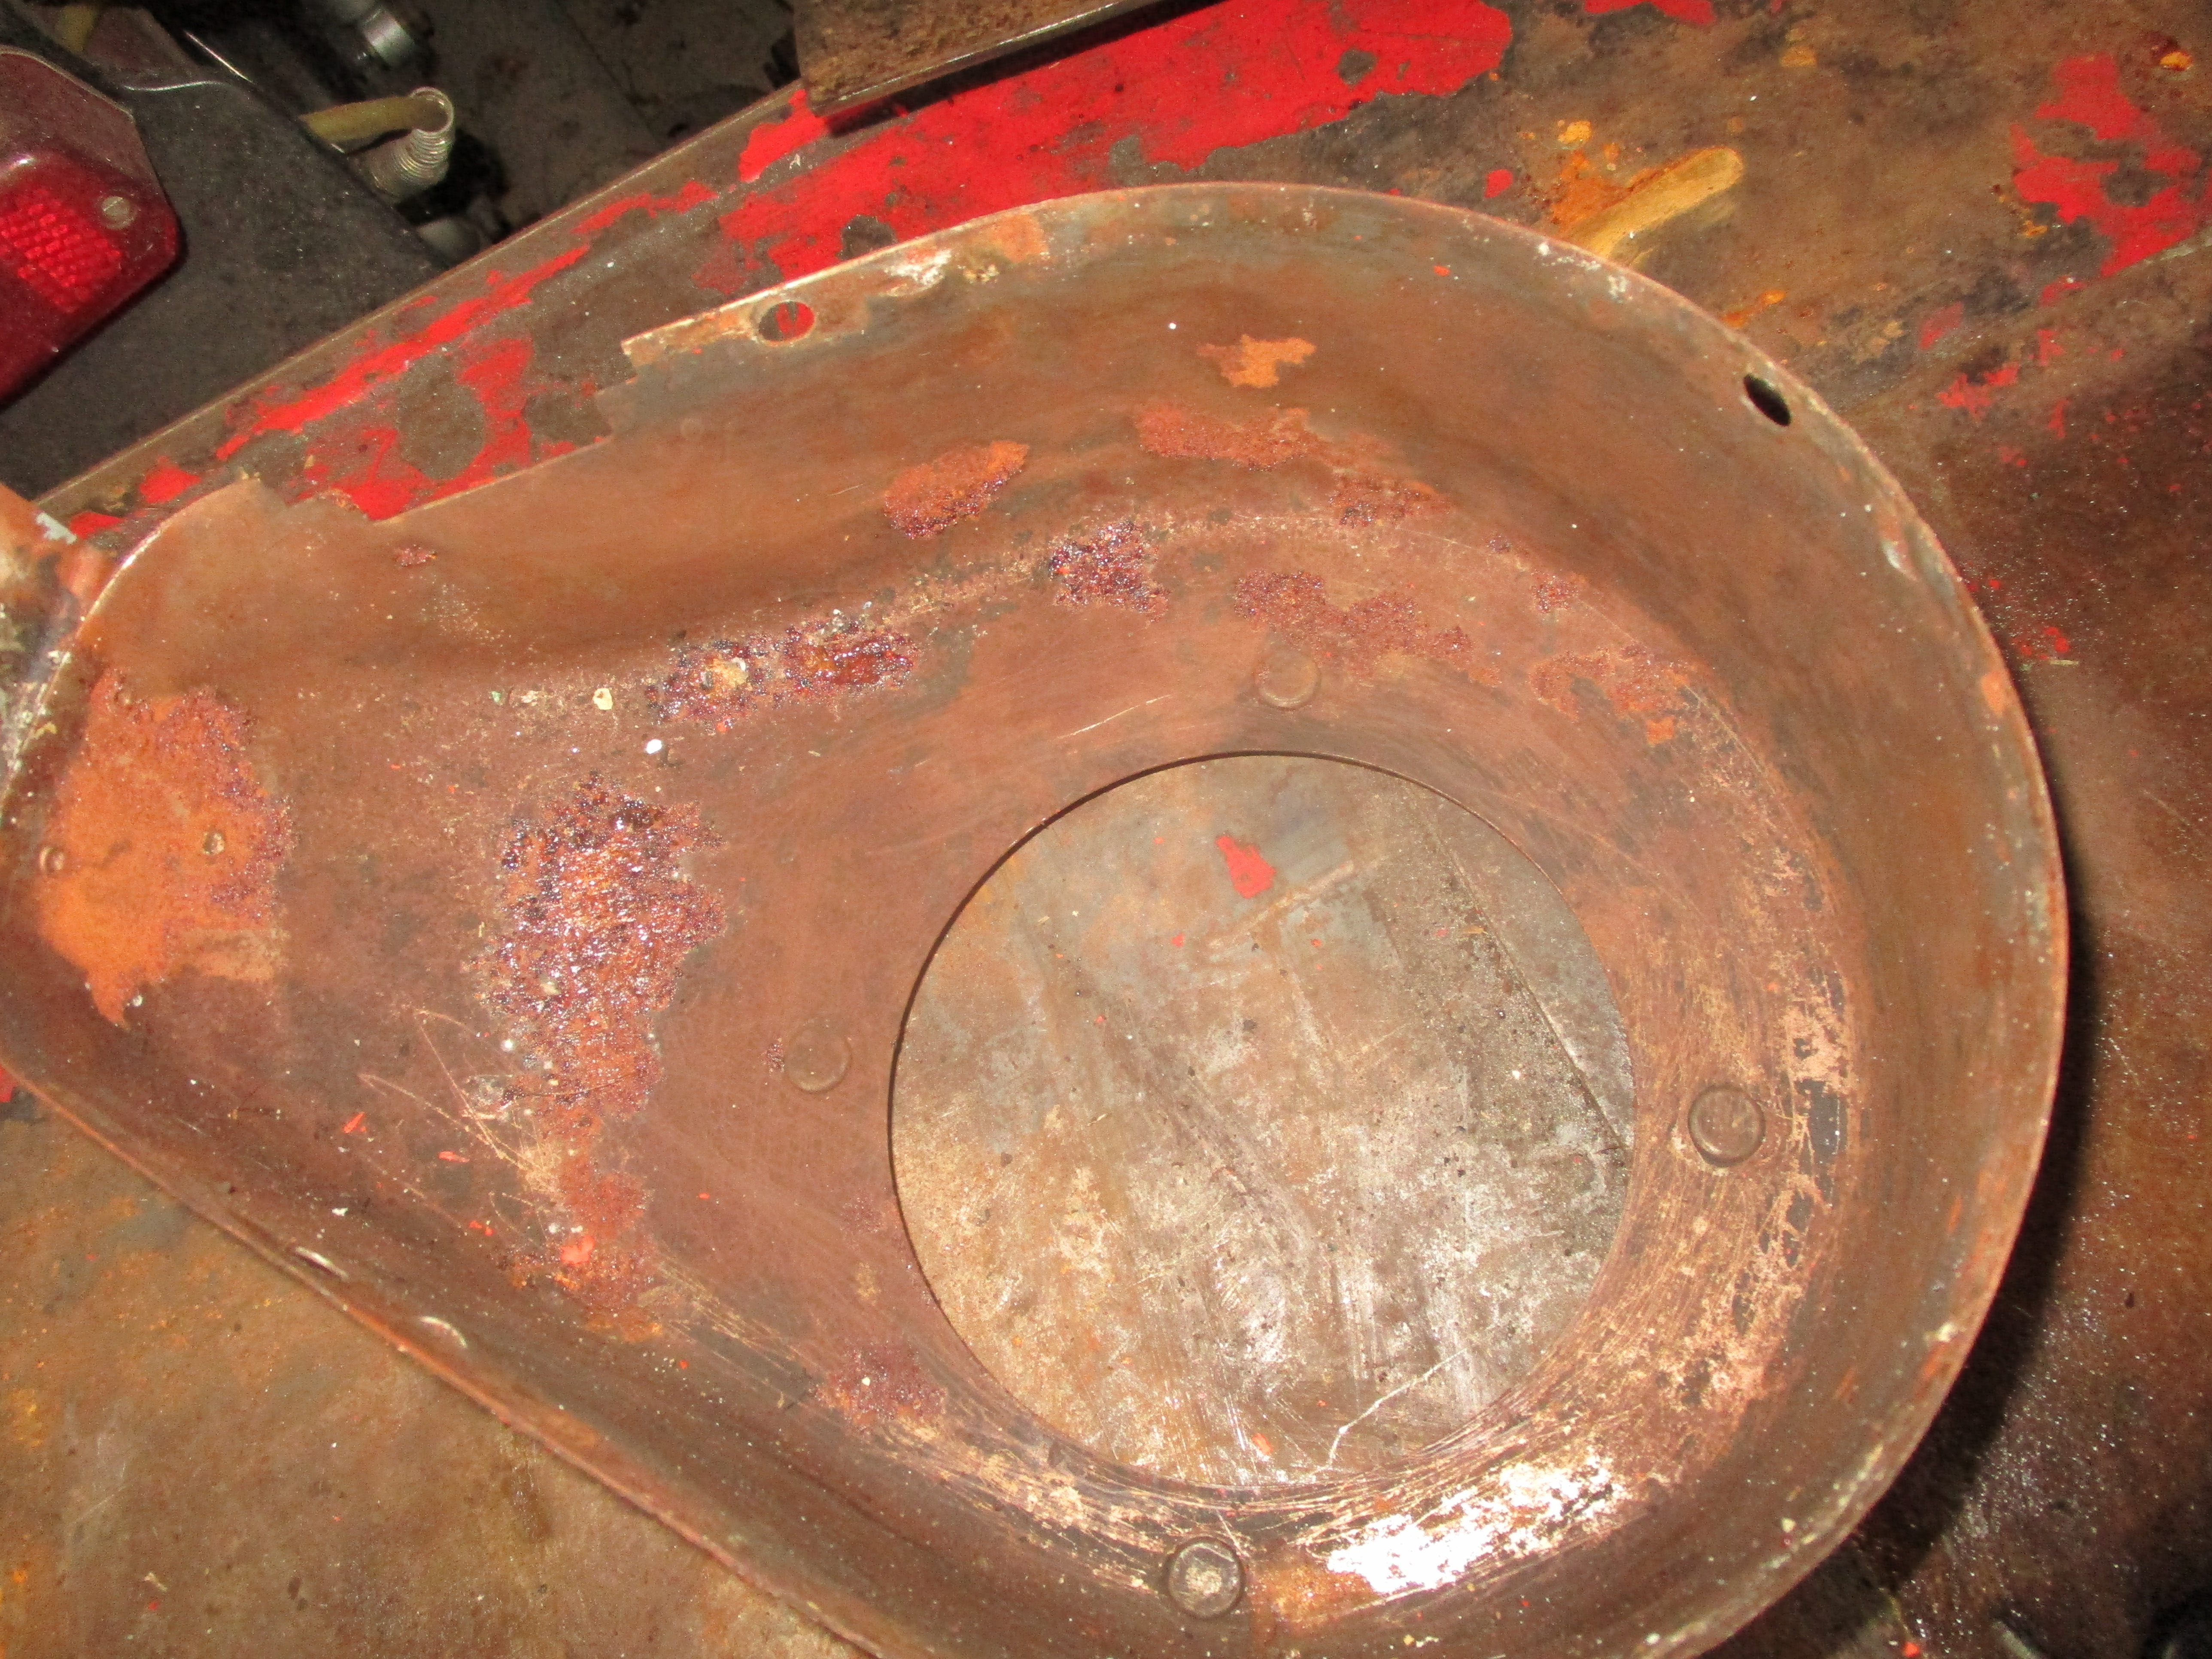
I had a look at the two stroke engine the other day for something positive to do, was vrery disappointed to find crank locked up!
Whether it was big end or piston/bore, I wasn't sure, but that white puffy ally oxide had me thinking even main bearings/bushes/crankcase journals might be affected too. First job was to blast out as much of the oxide as possible.
Engine is now free again, I
Engine is now free again, I used to buy two gallons of the lubricant/water displacer fluid a year at about £15 a gallon, much cheaper than those silly little spray tins at about a quid each.
There's so much compression now that I had to remove the plug to turn engine over. Still awaiting the reed valve part.
 .
.
Luckily, I didn't have to pay
Luckily, I didn't have to pay any excess postage costs, but thanks for the 'heads up' comment wristpin.
A bit warmer today, so slipped into my shed and did a few bits and pieces which also helped my sanity!
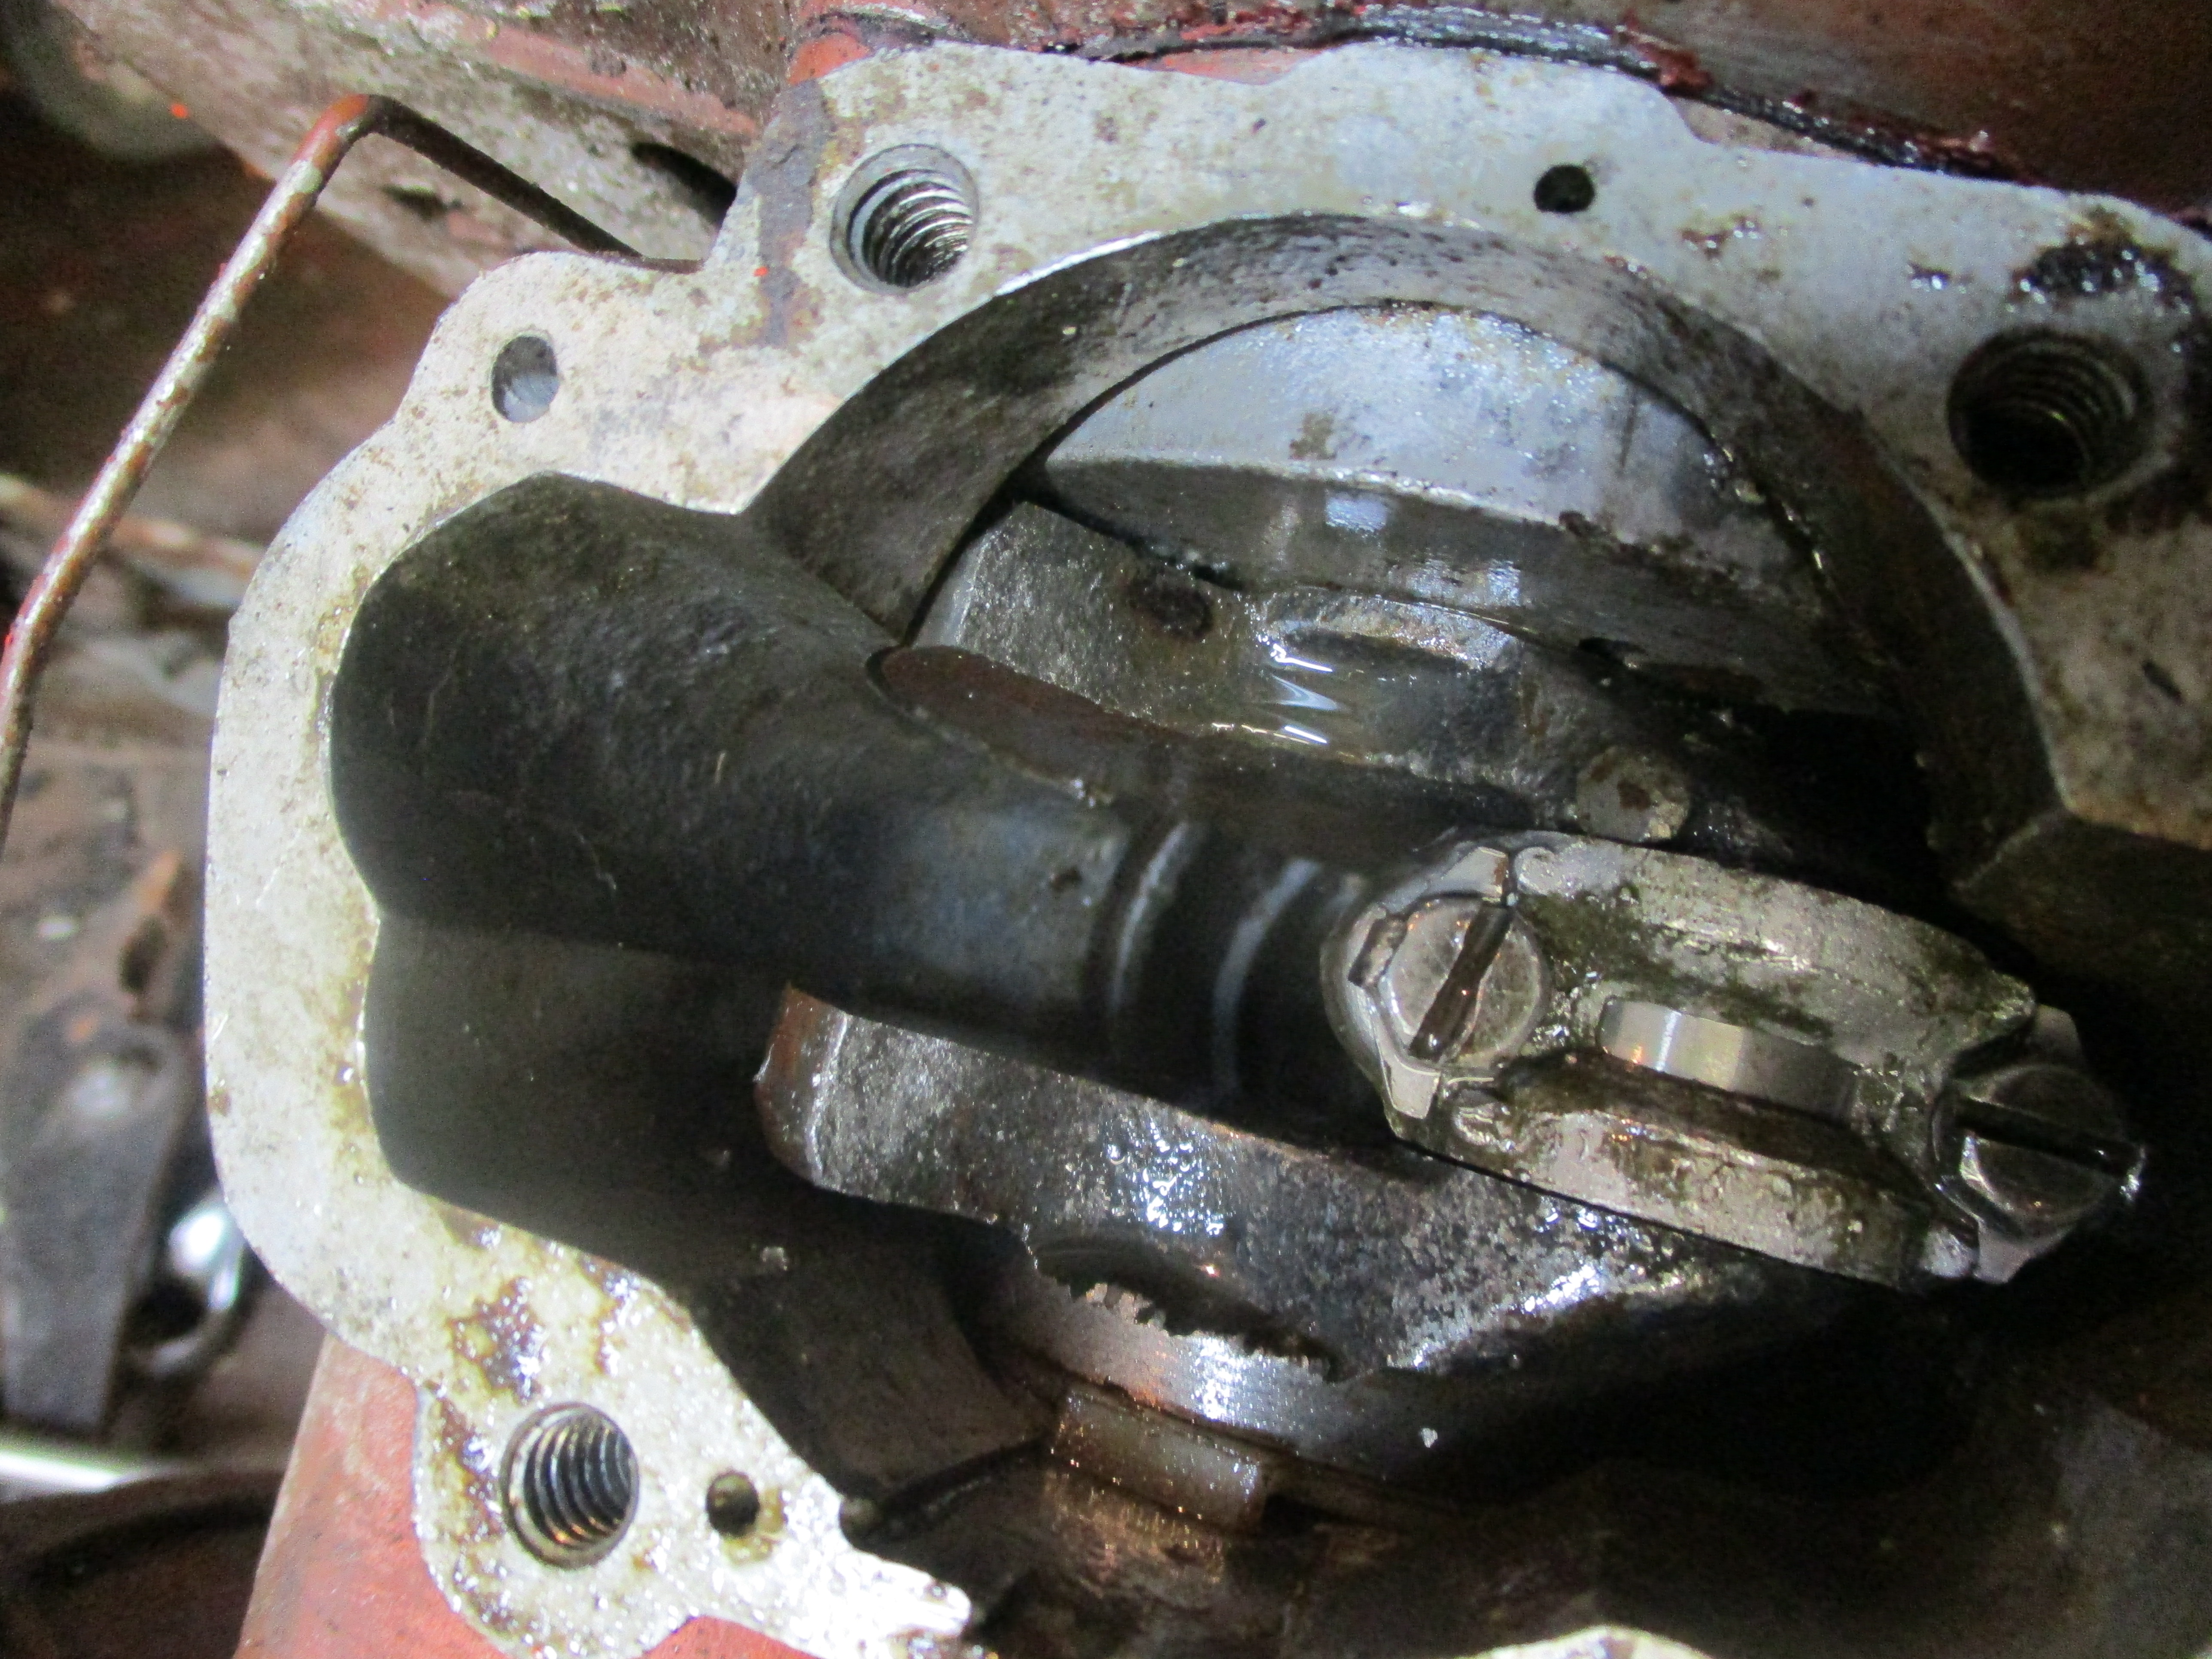
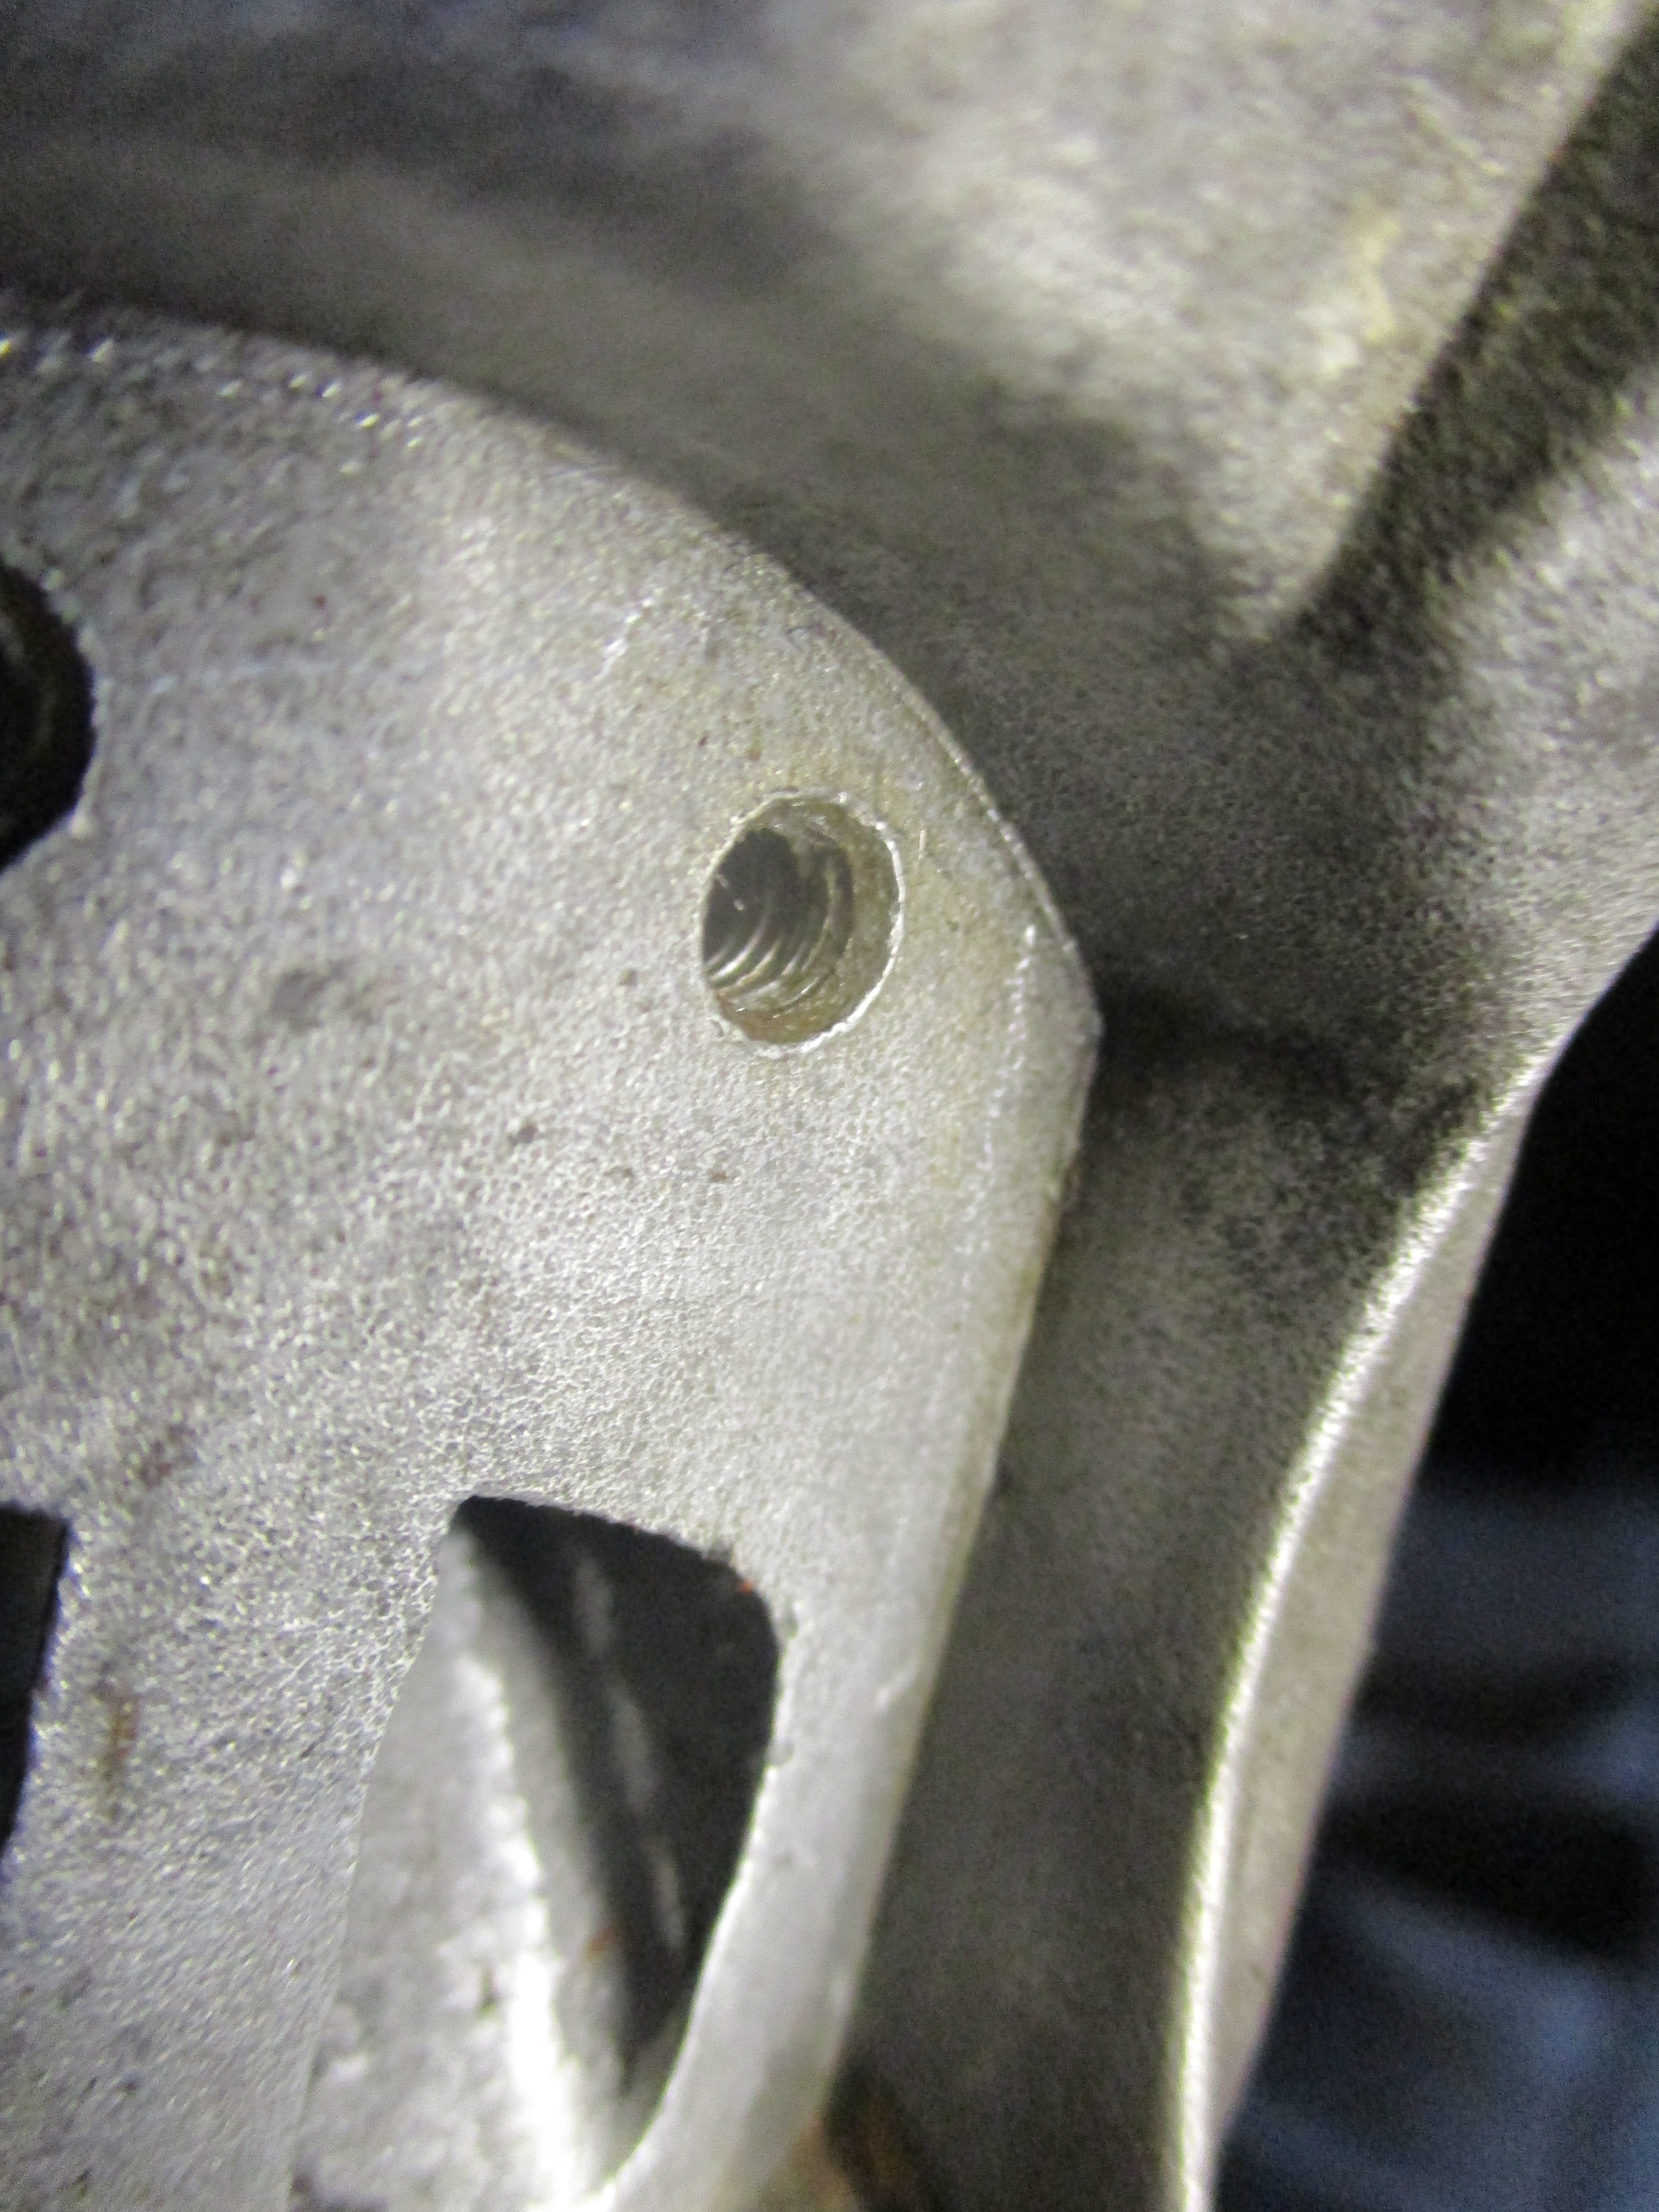
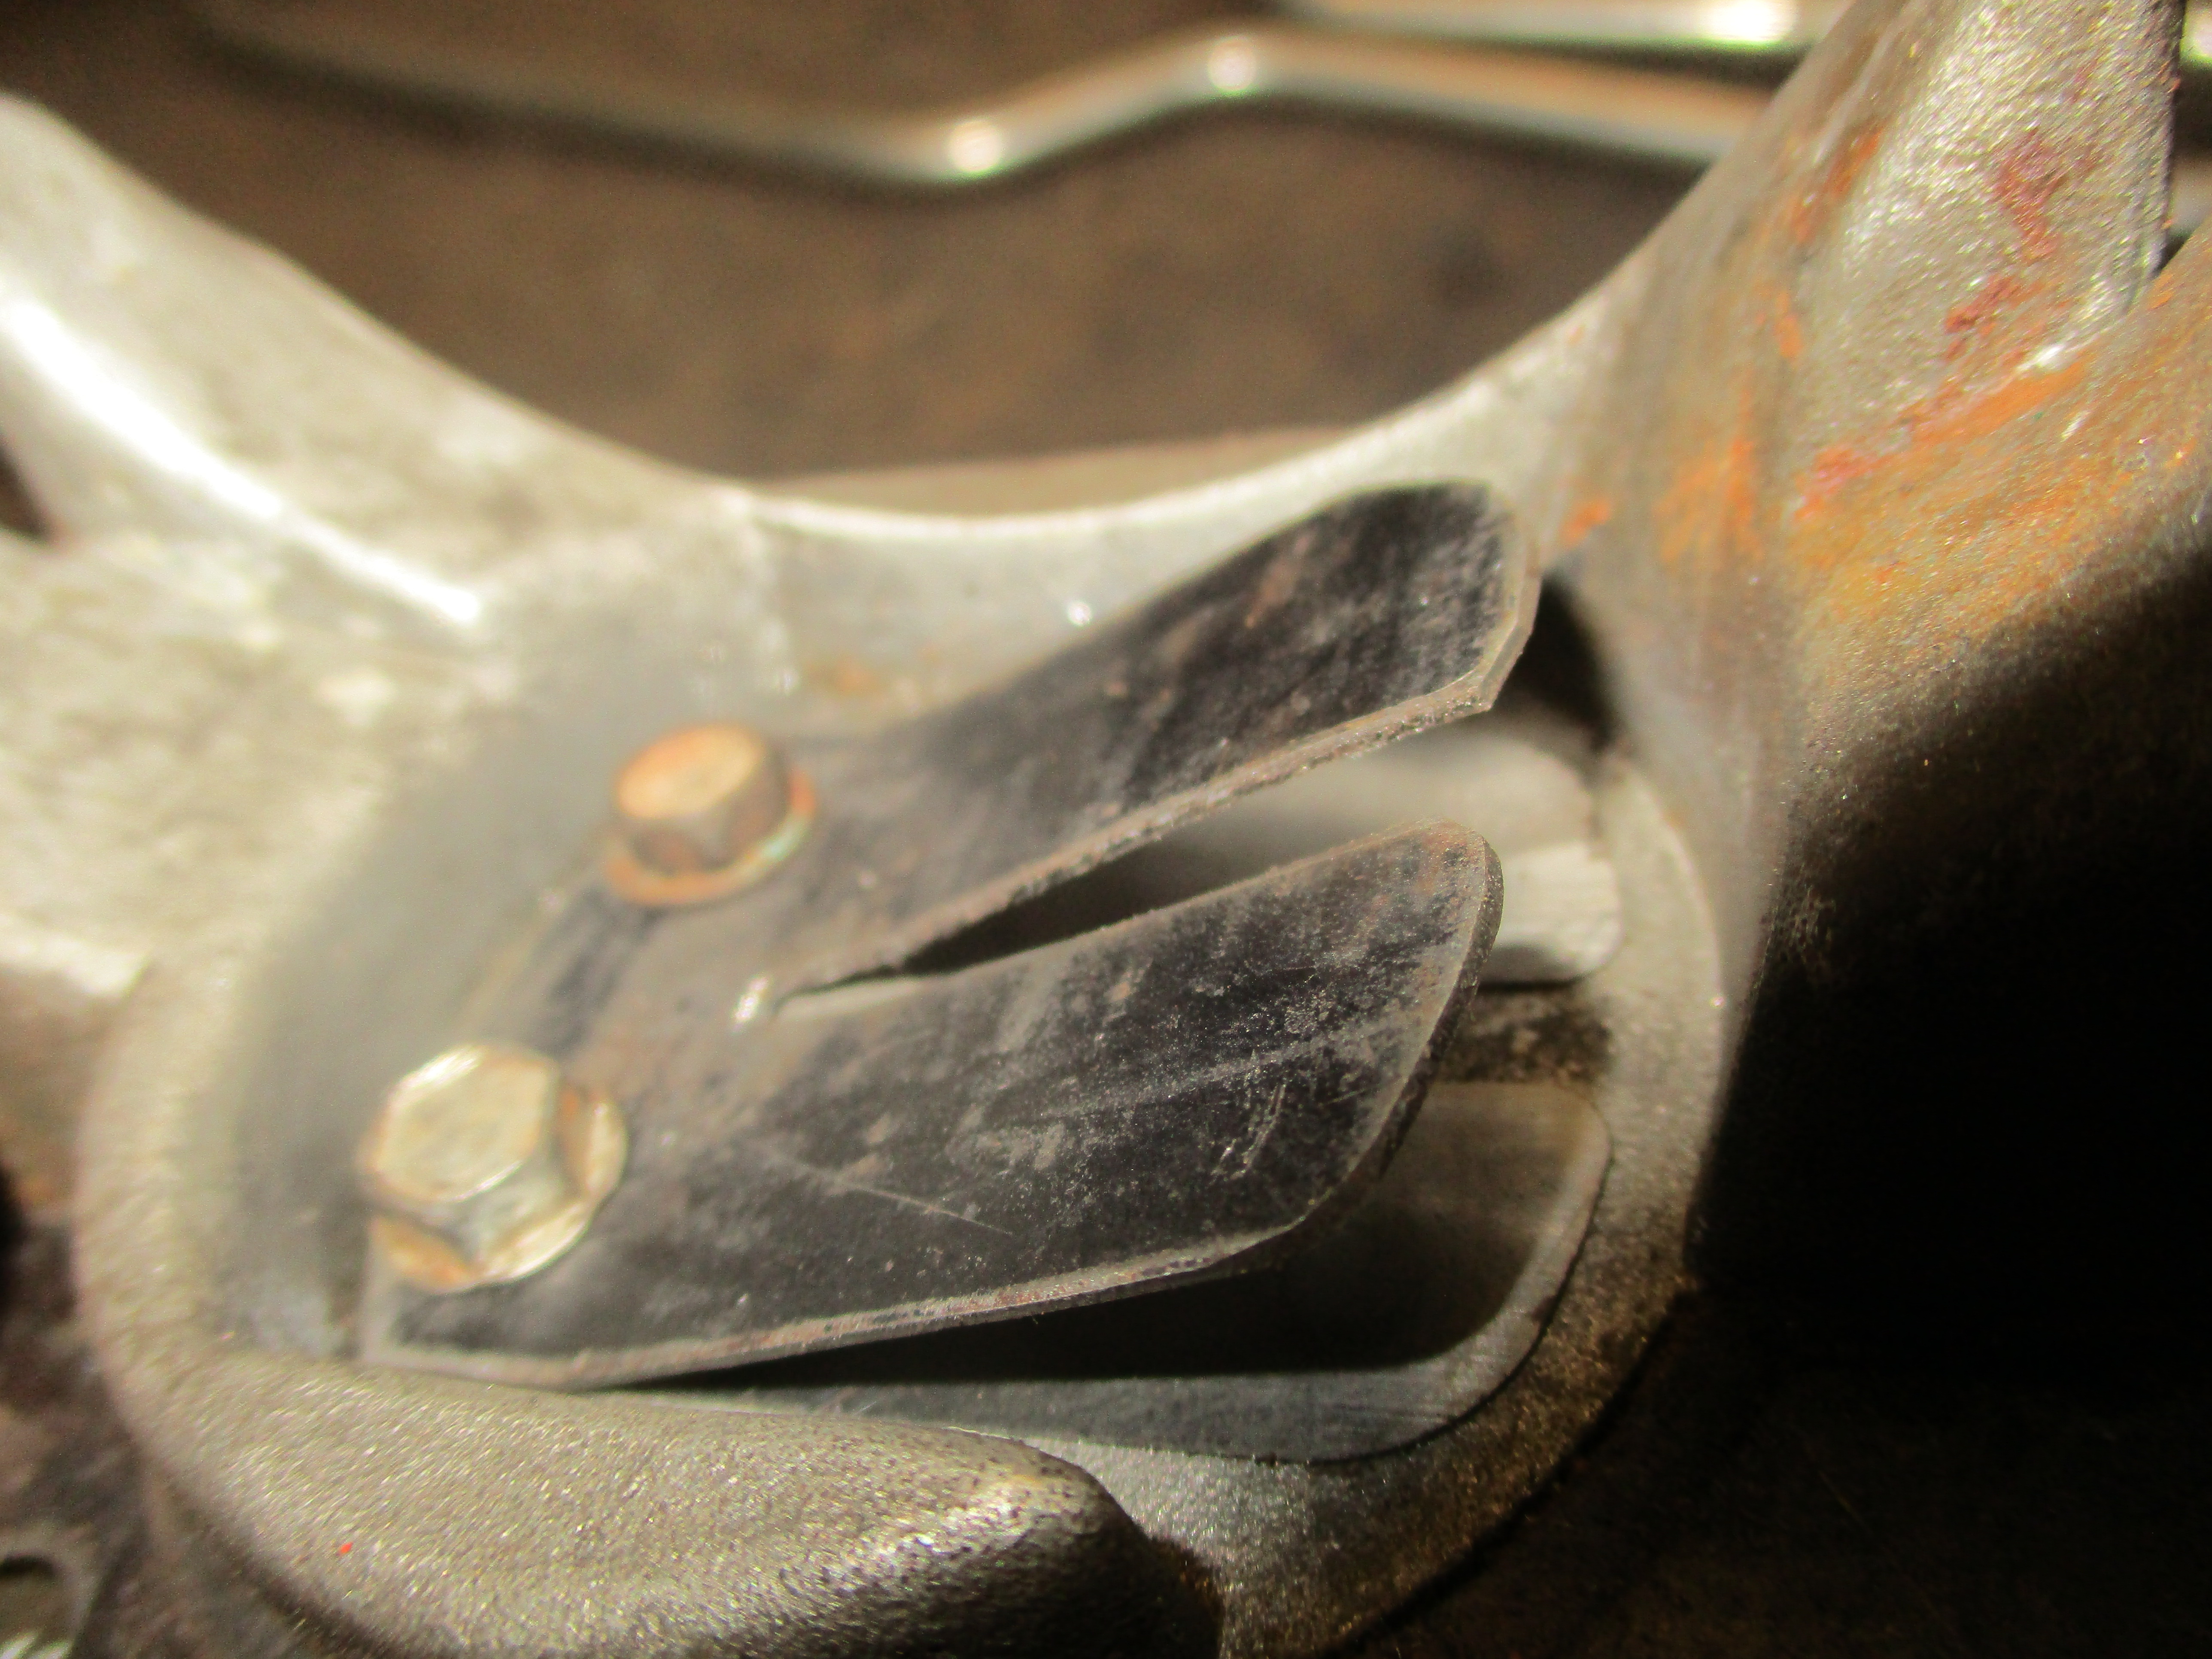
Basically cleaned the housing and made a reed movement limiter/cover plate, found a couple of fine UNF screws to hold it all down with, fitted loosely and was happy to see big end and crank missing the protruding 'fingers', even connected governor rod to carb. and noticed noise from vane assy. too.

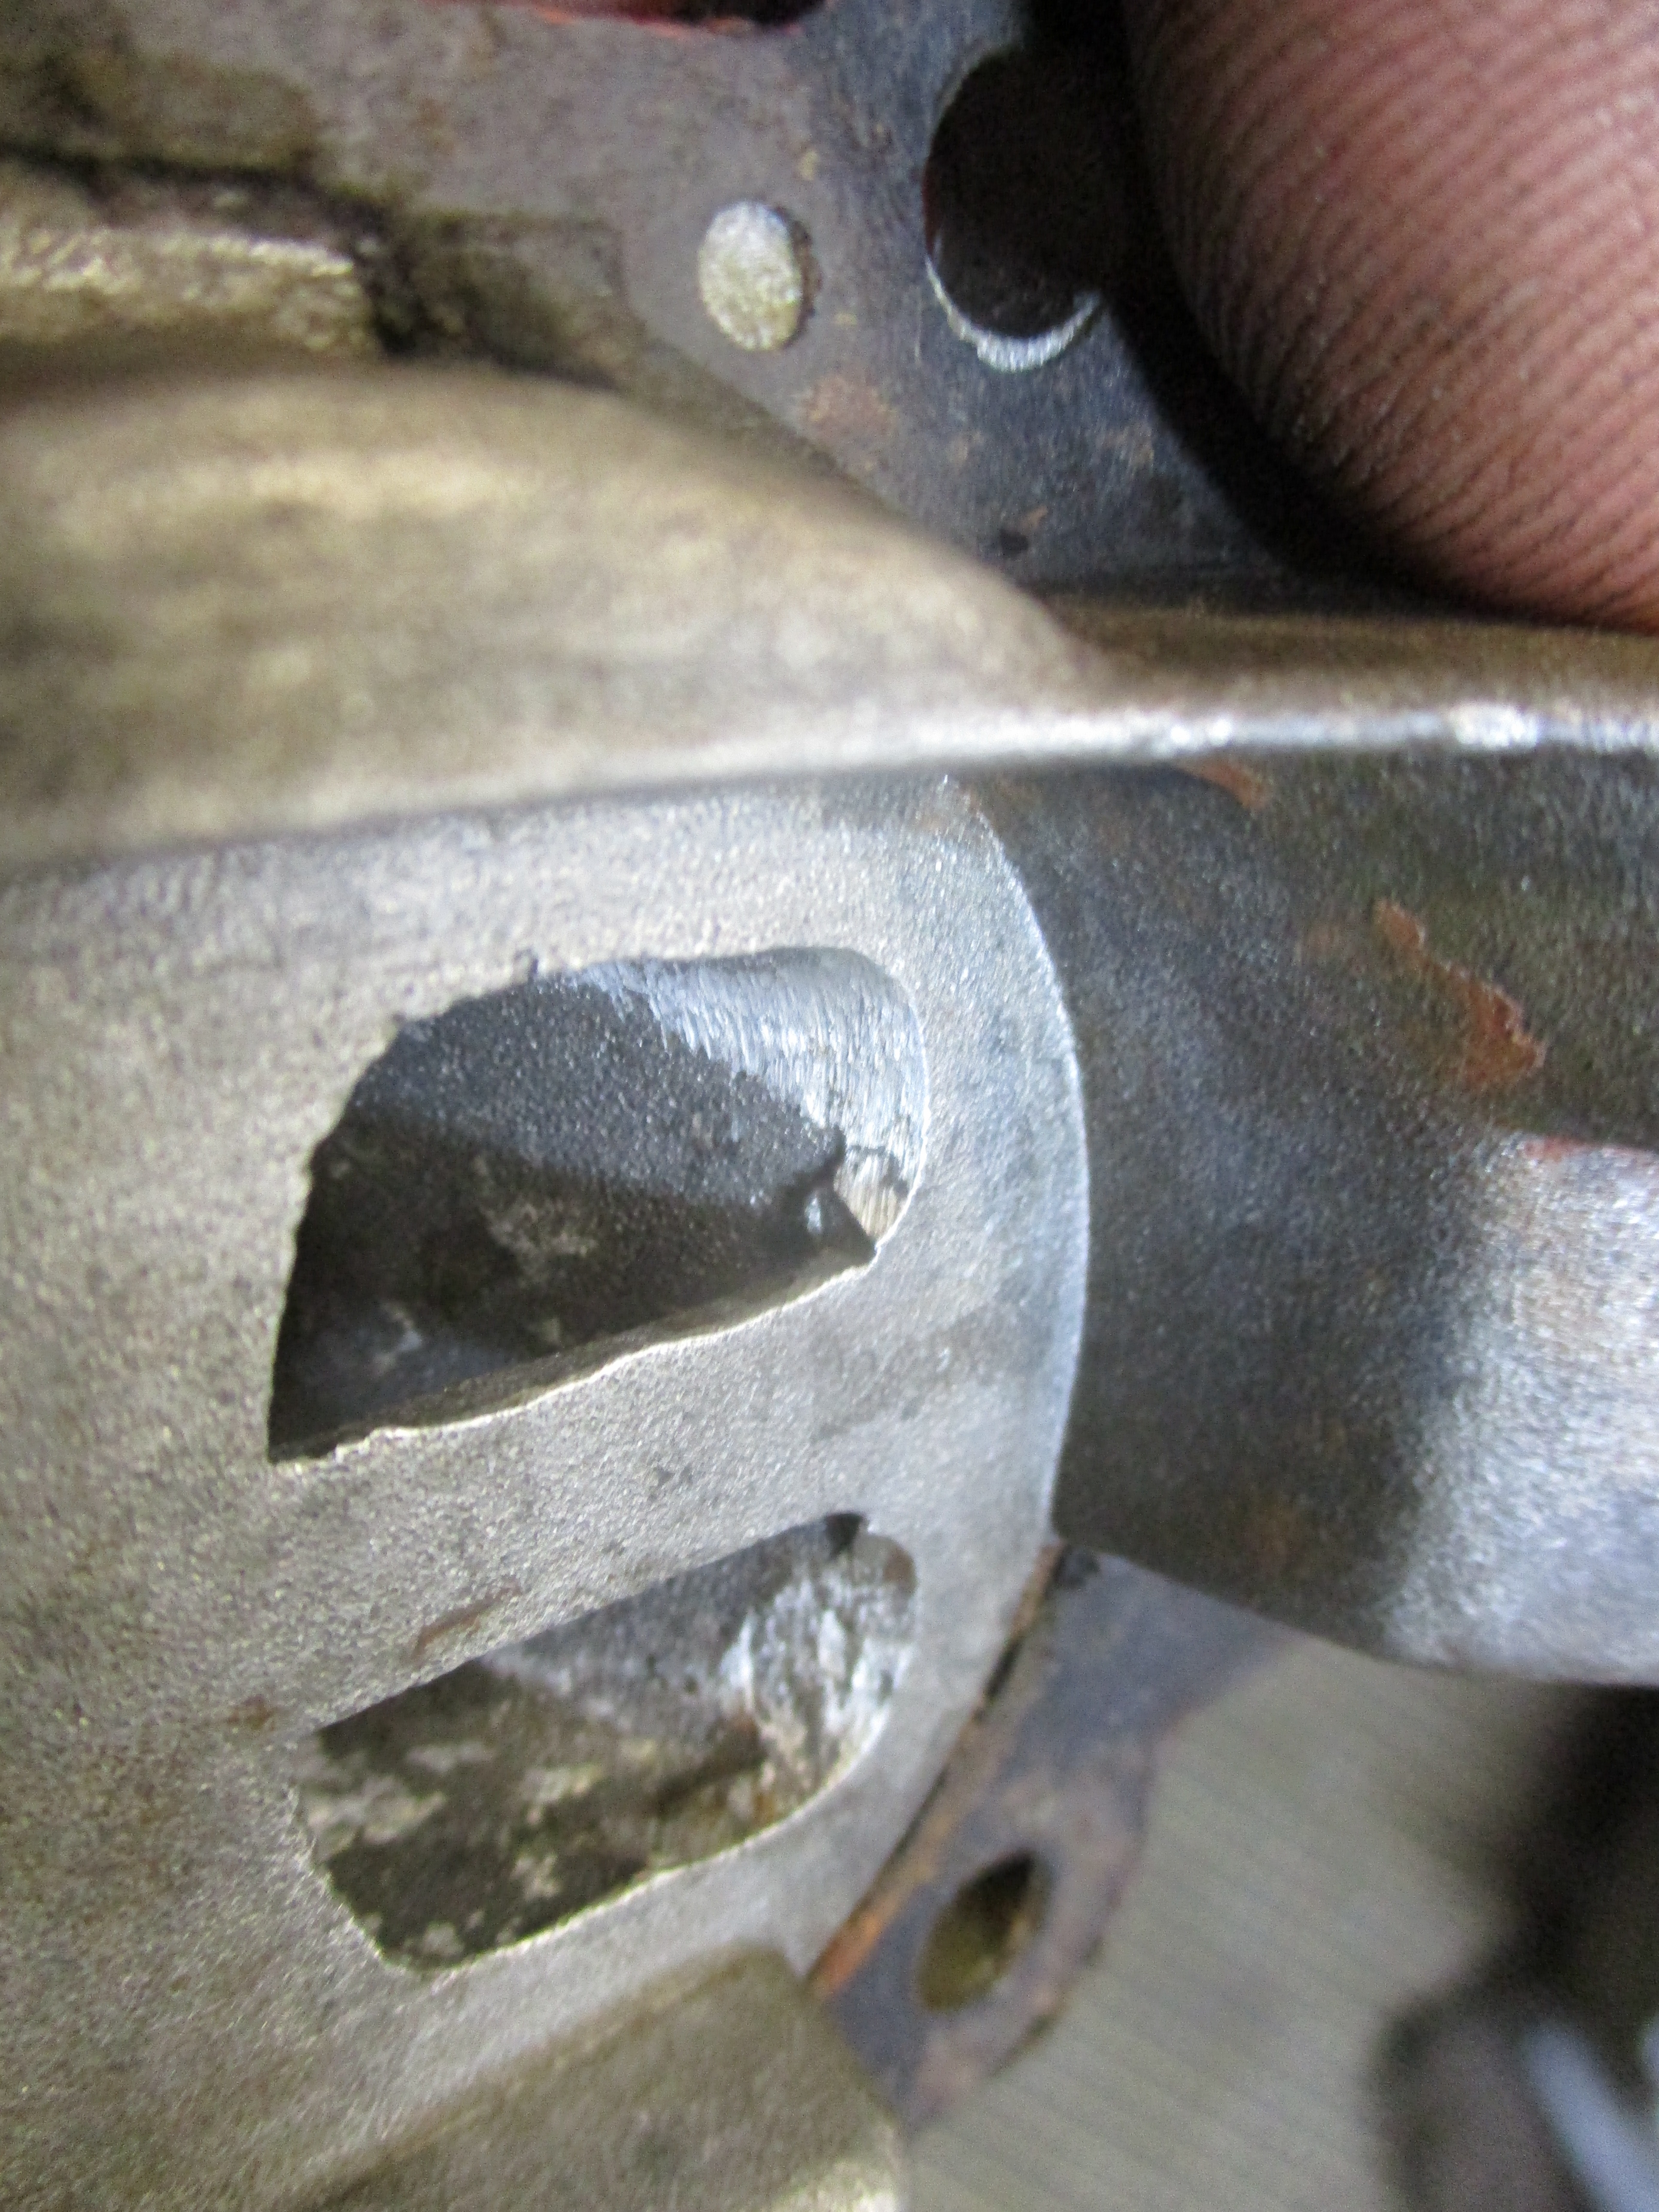
Other way up.
Other way up.

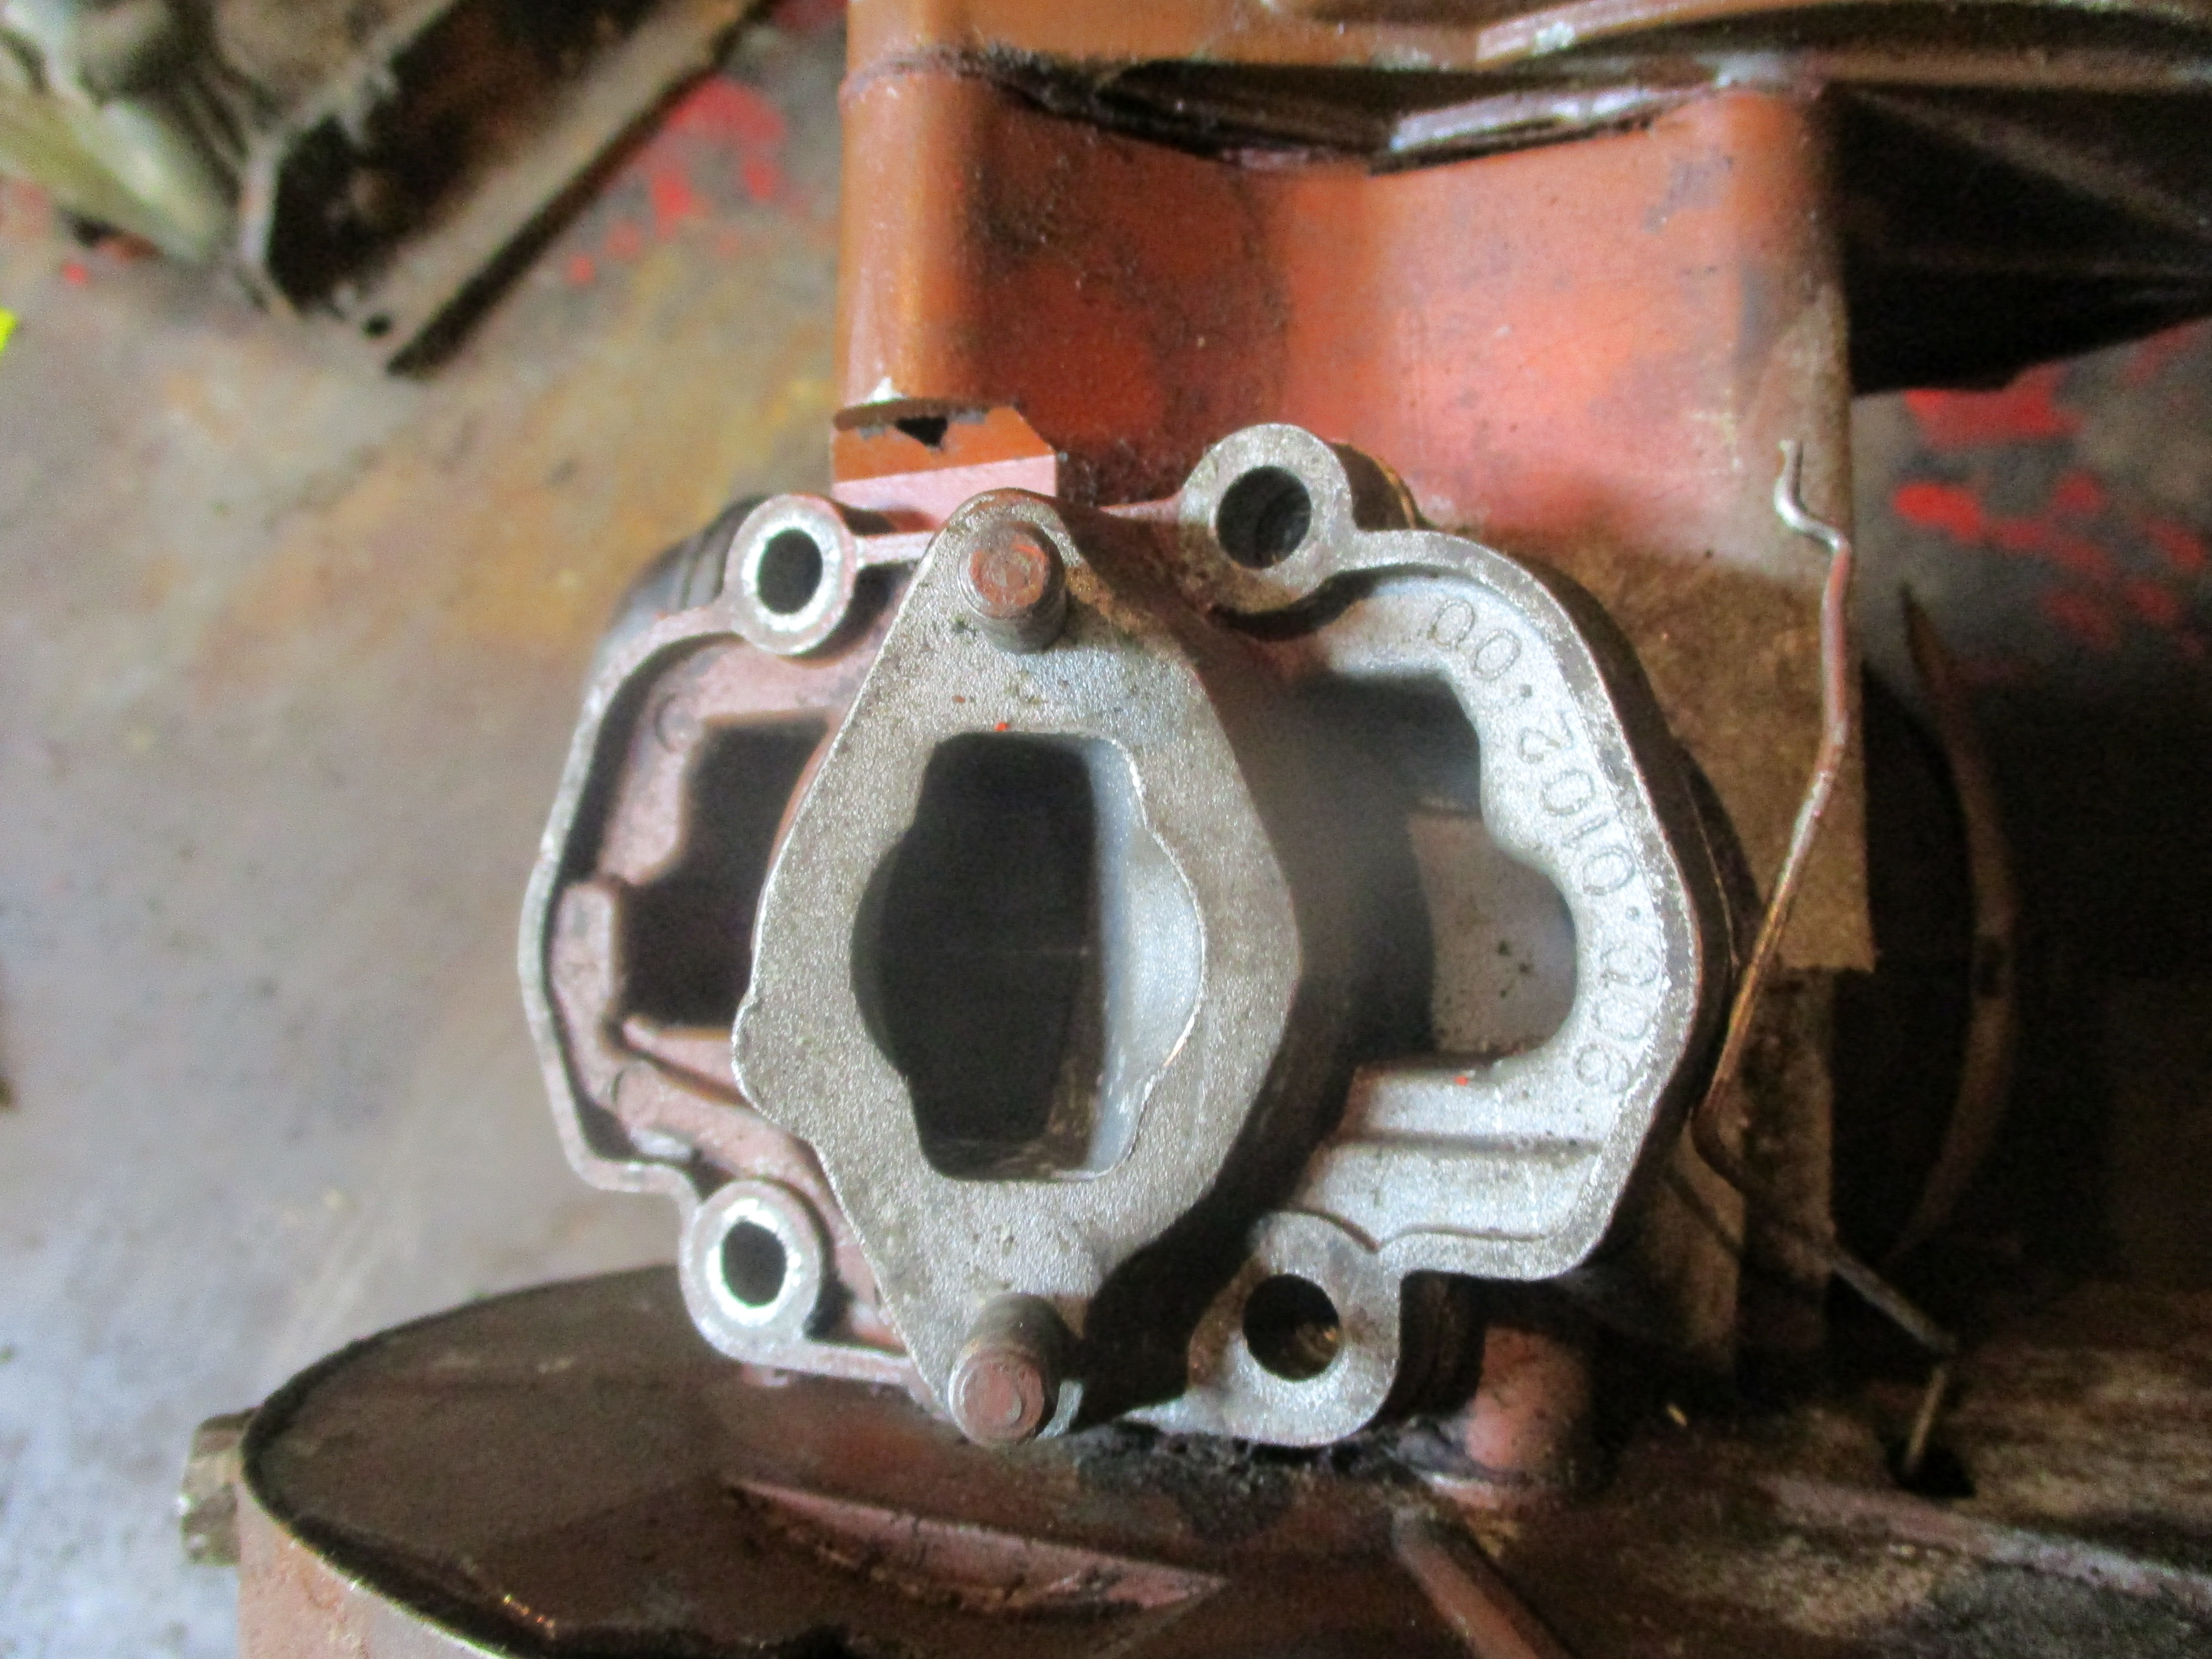
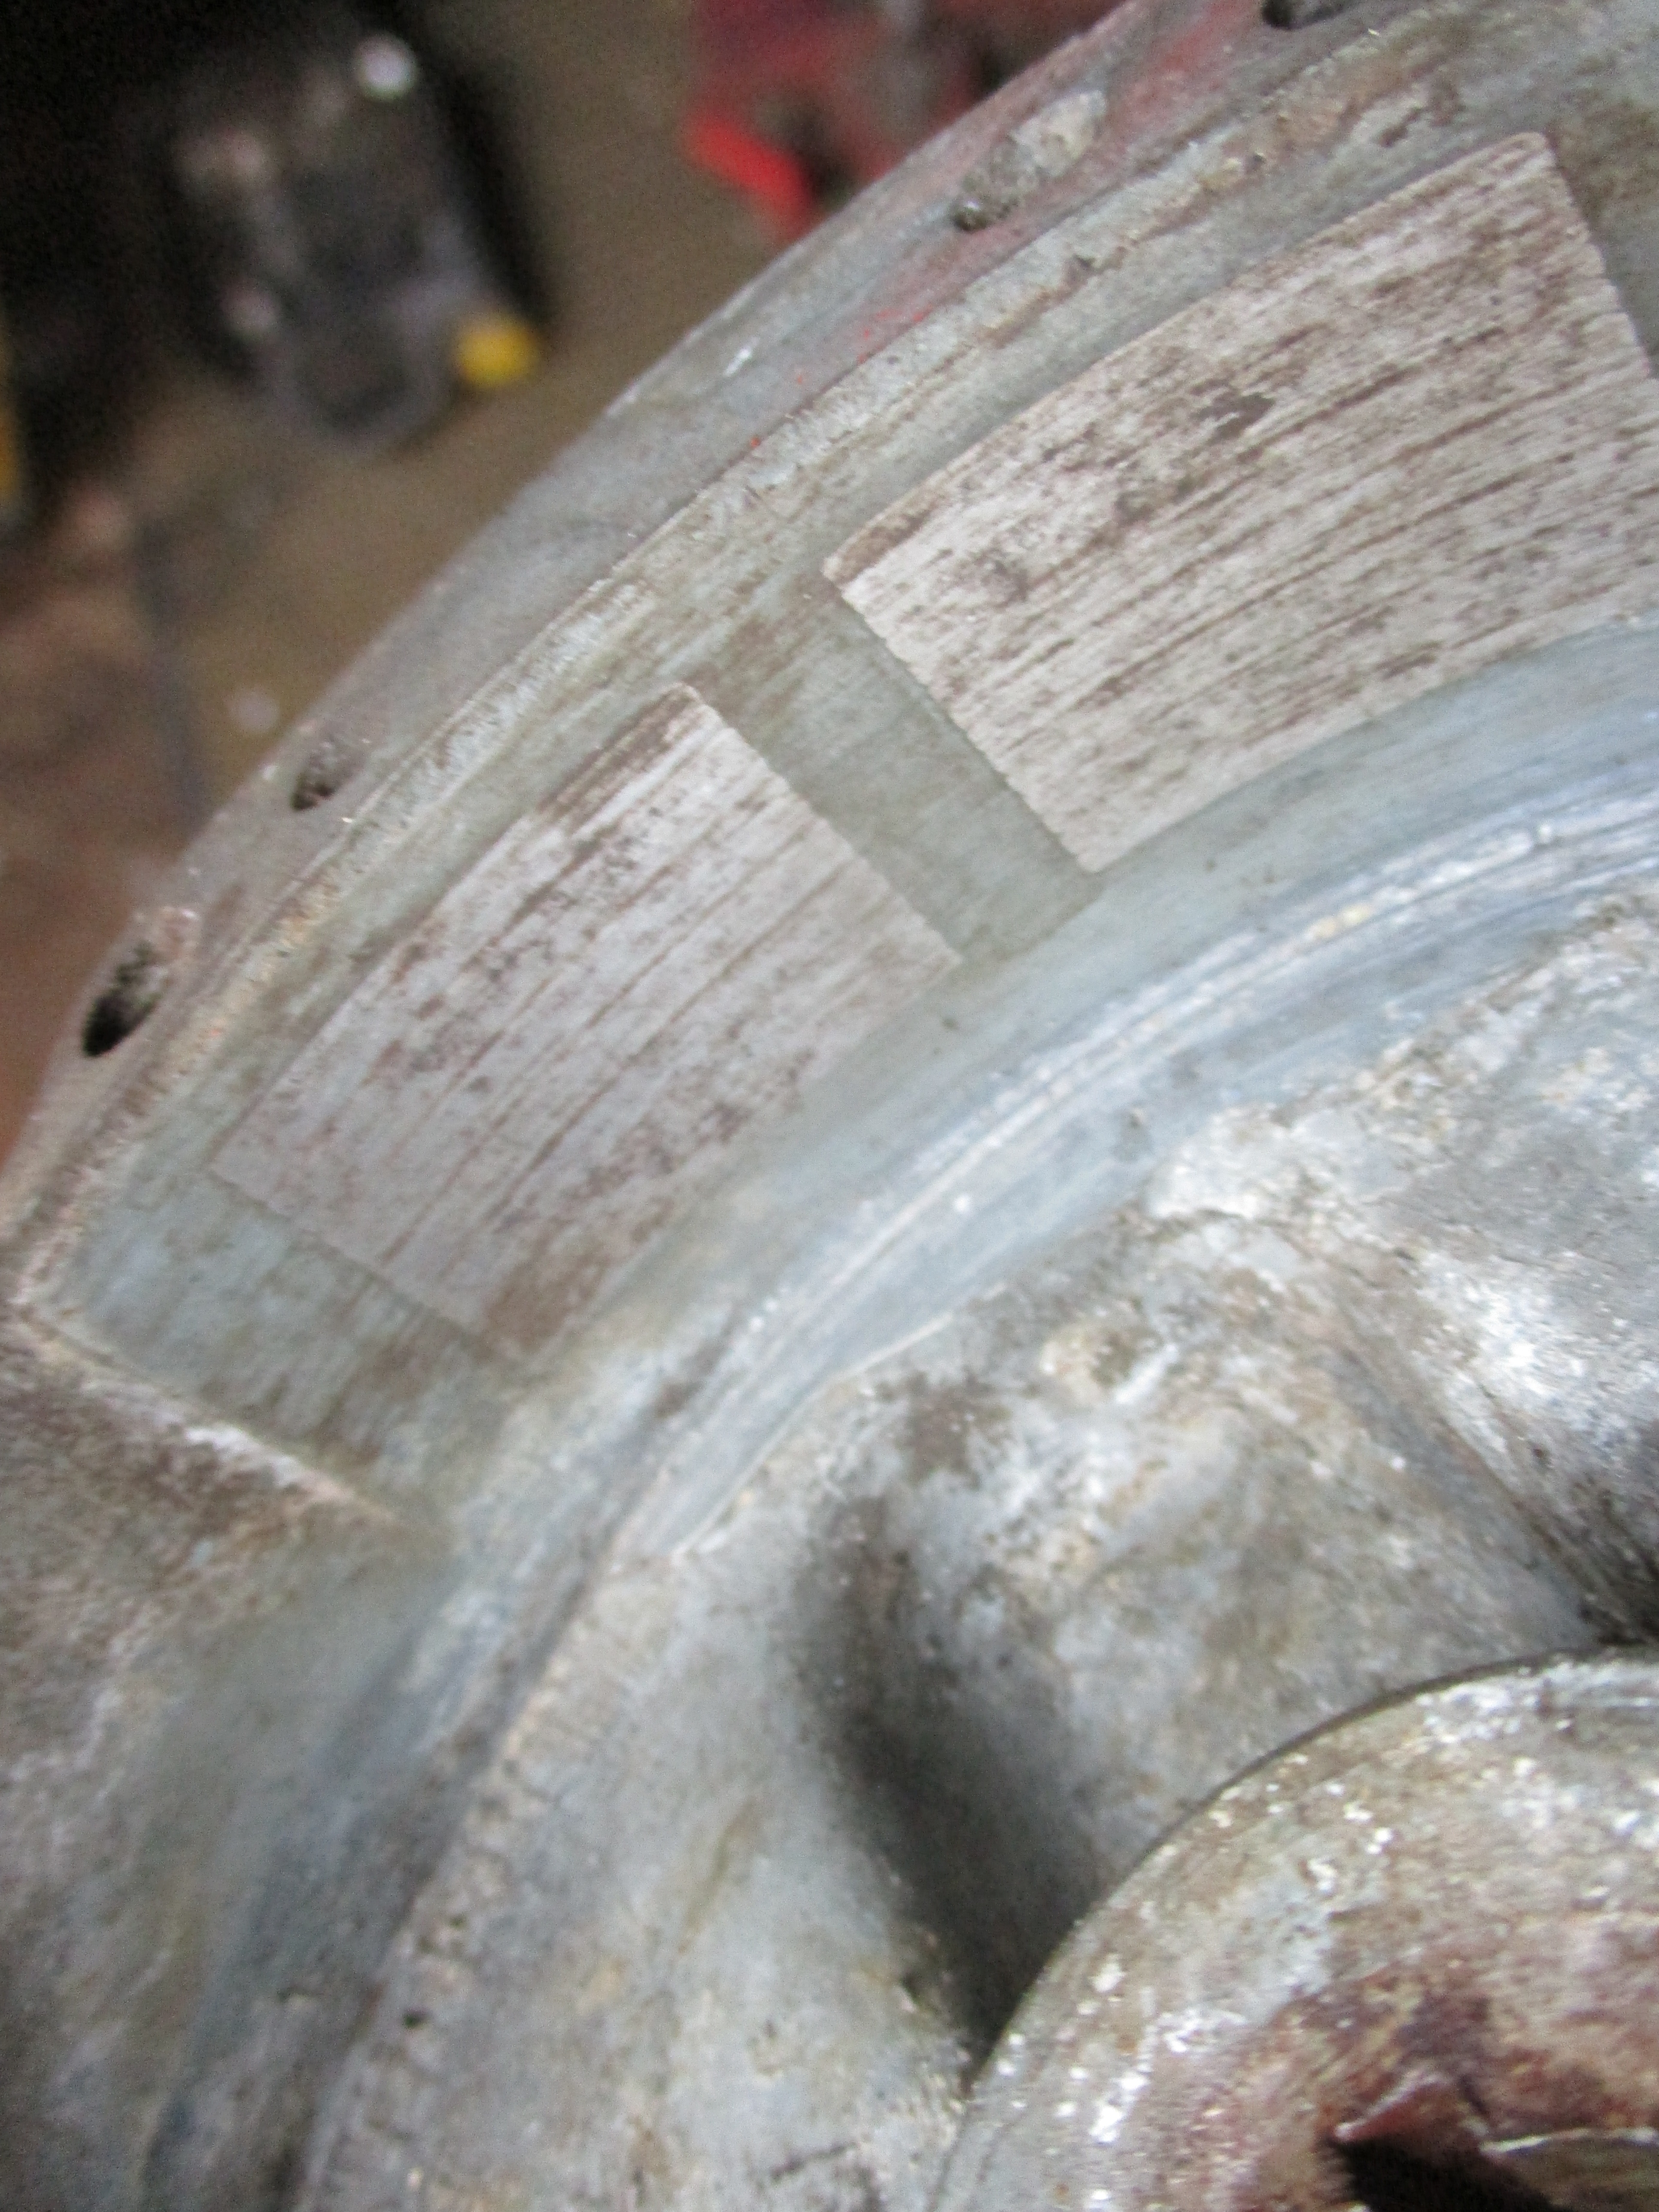
The machining isn't of very
The machining isn't of very good quality around the swirl type passages.
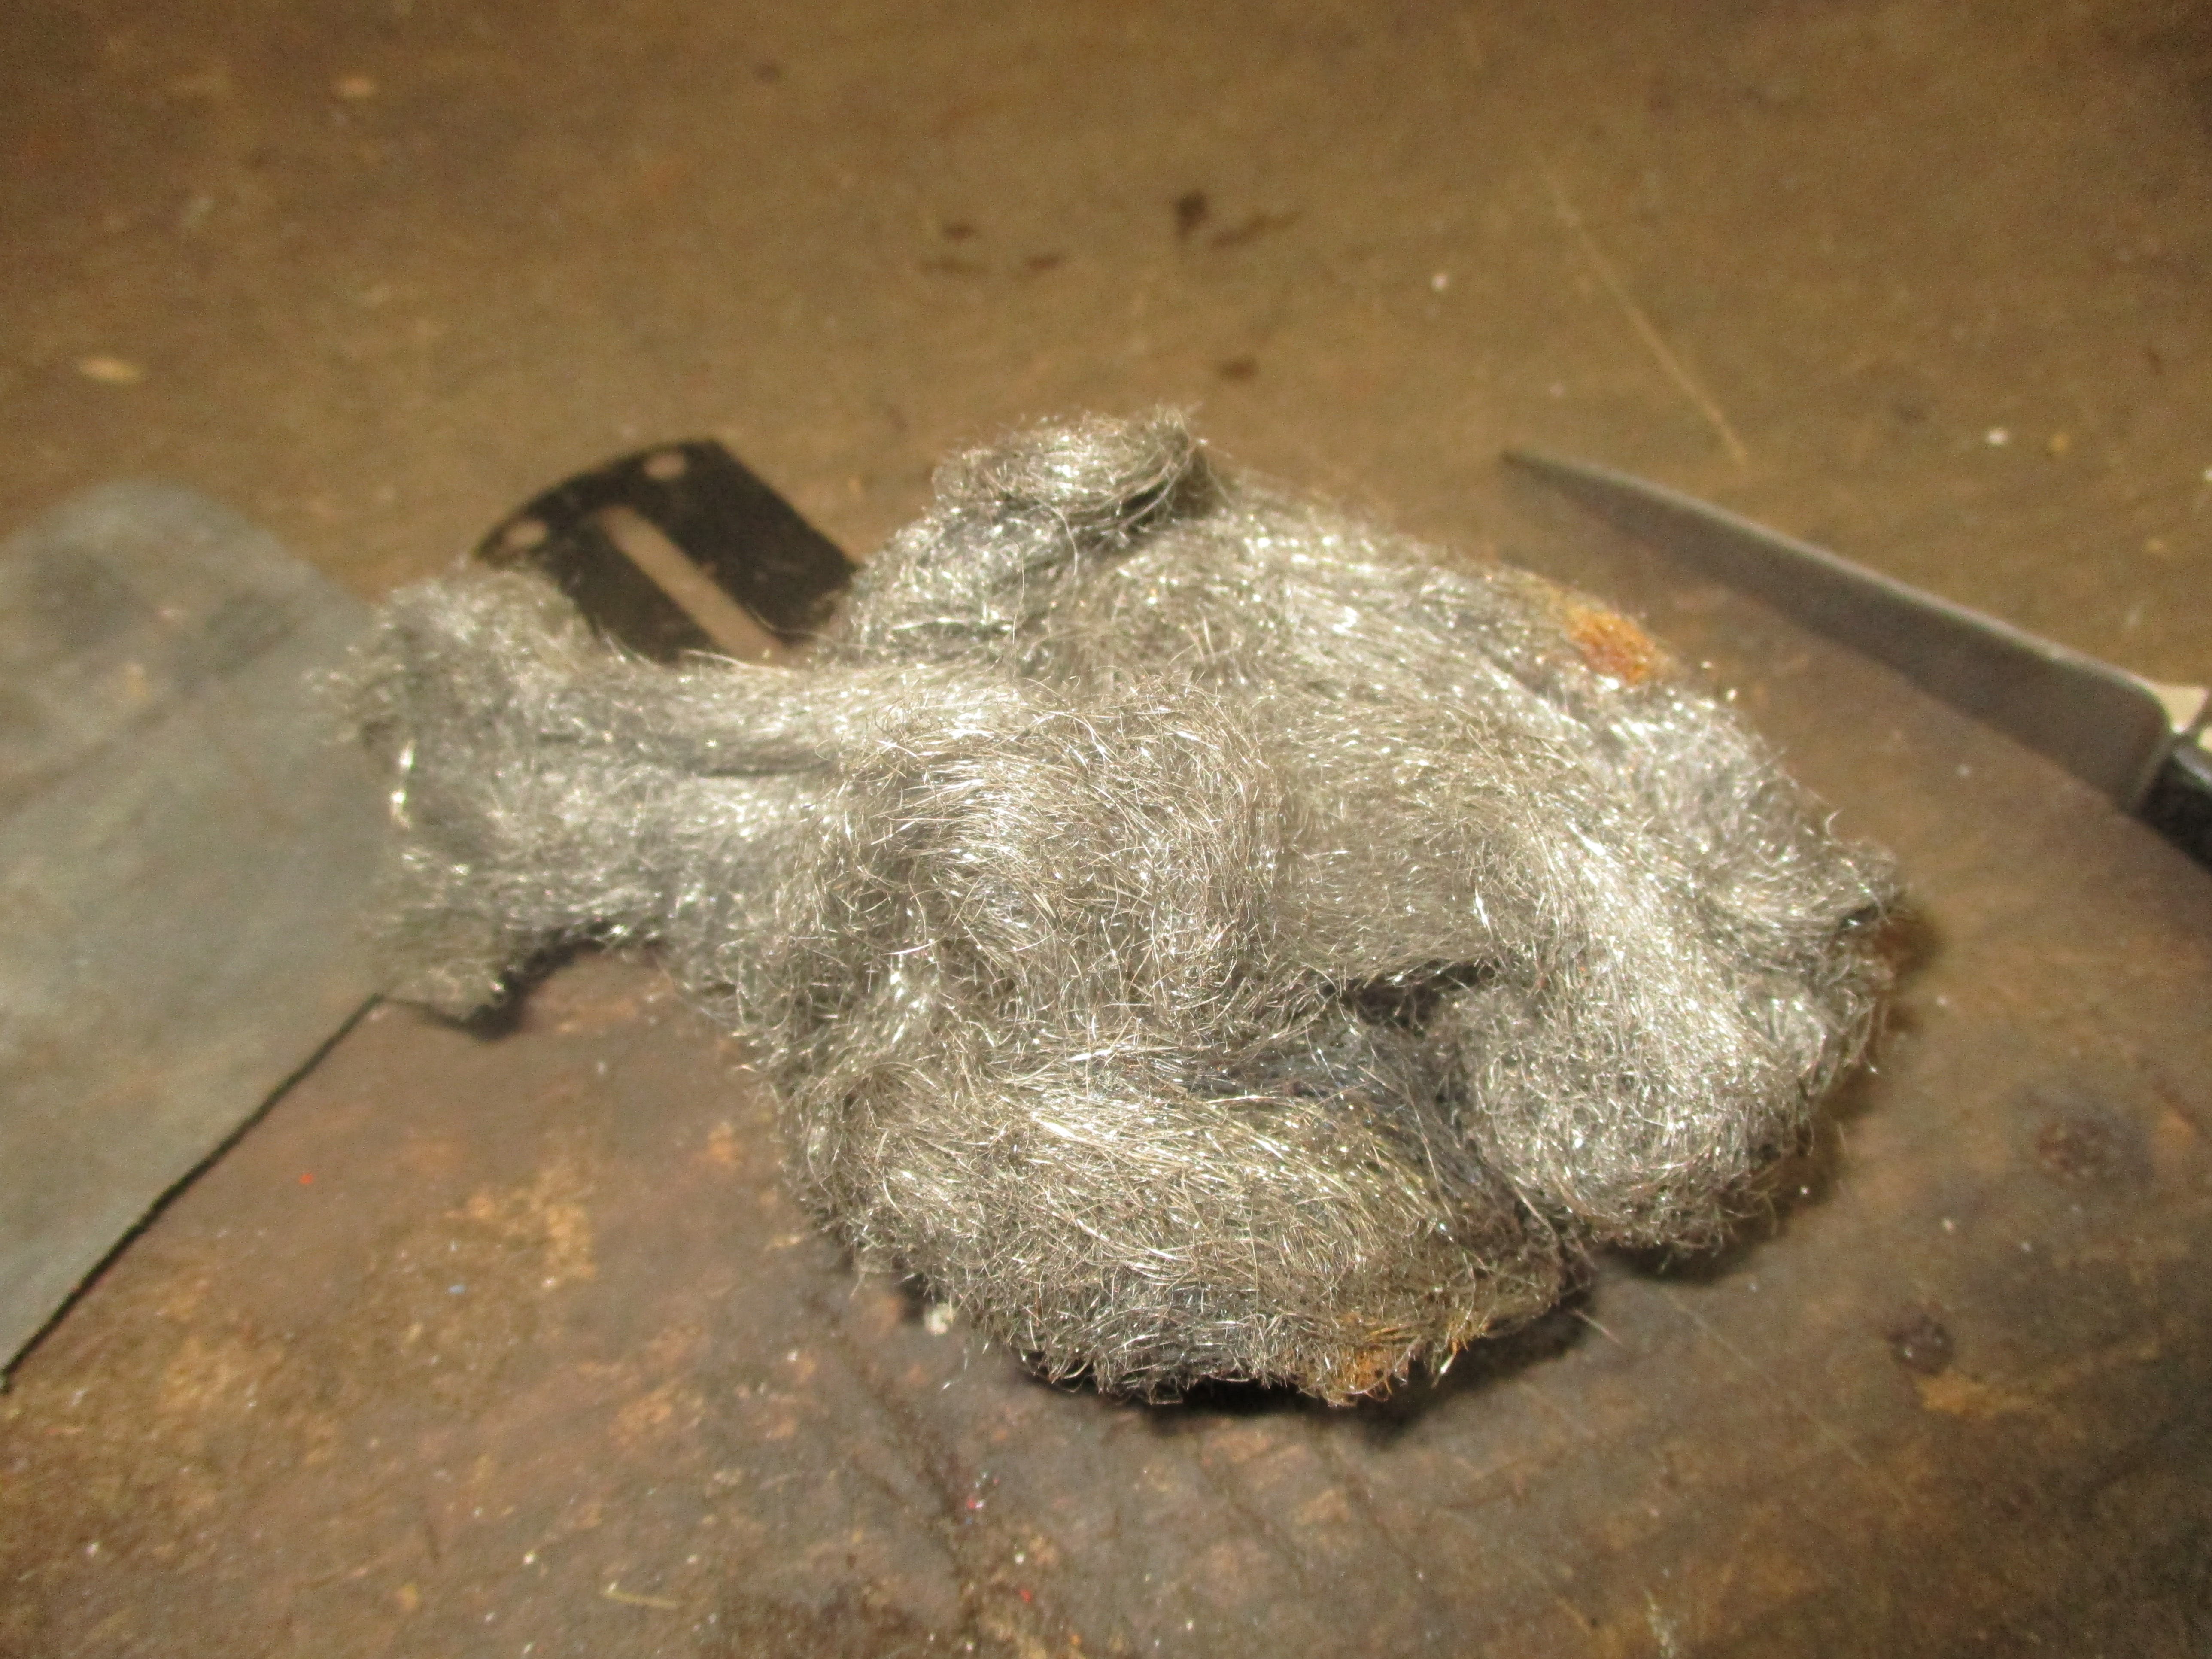
00 or 000 gauge wire wool helps a lot.
Tried the reed in both ways up, tightly shut seemed the most likely, thanks to others' comments.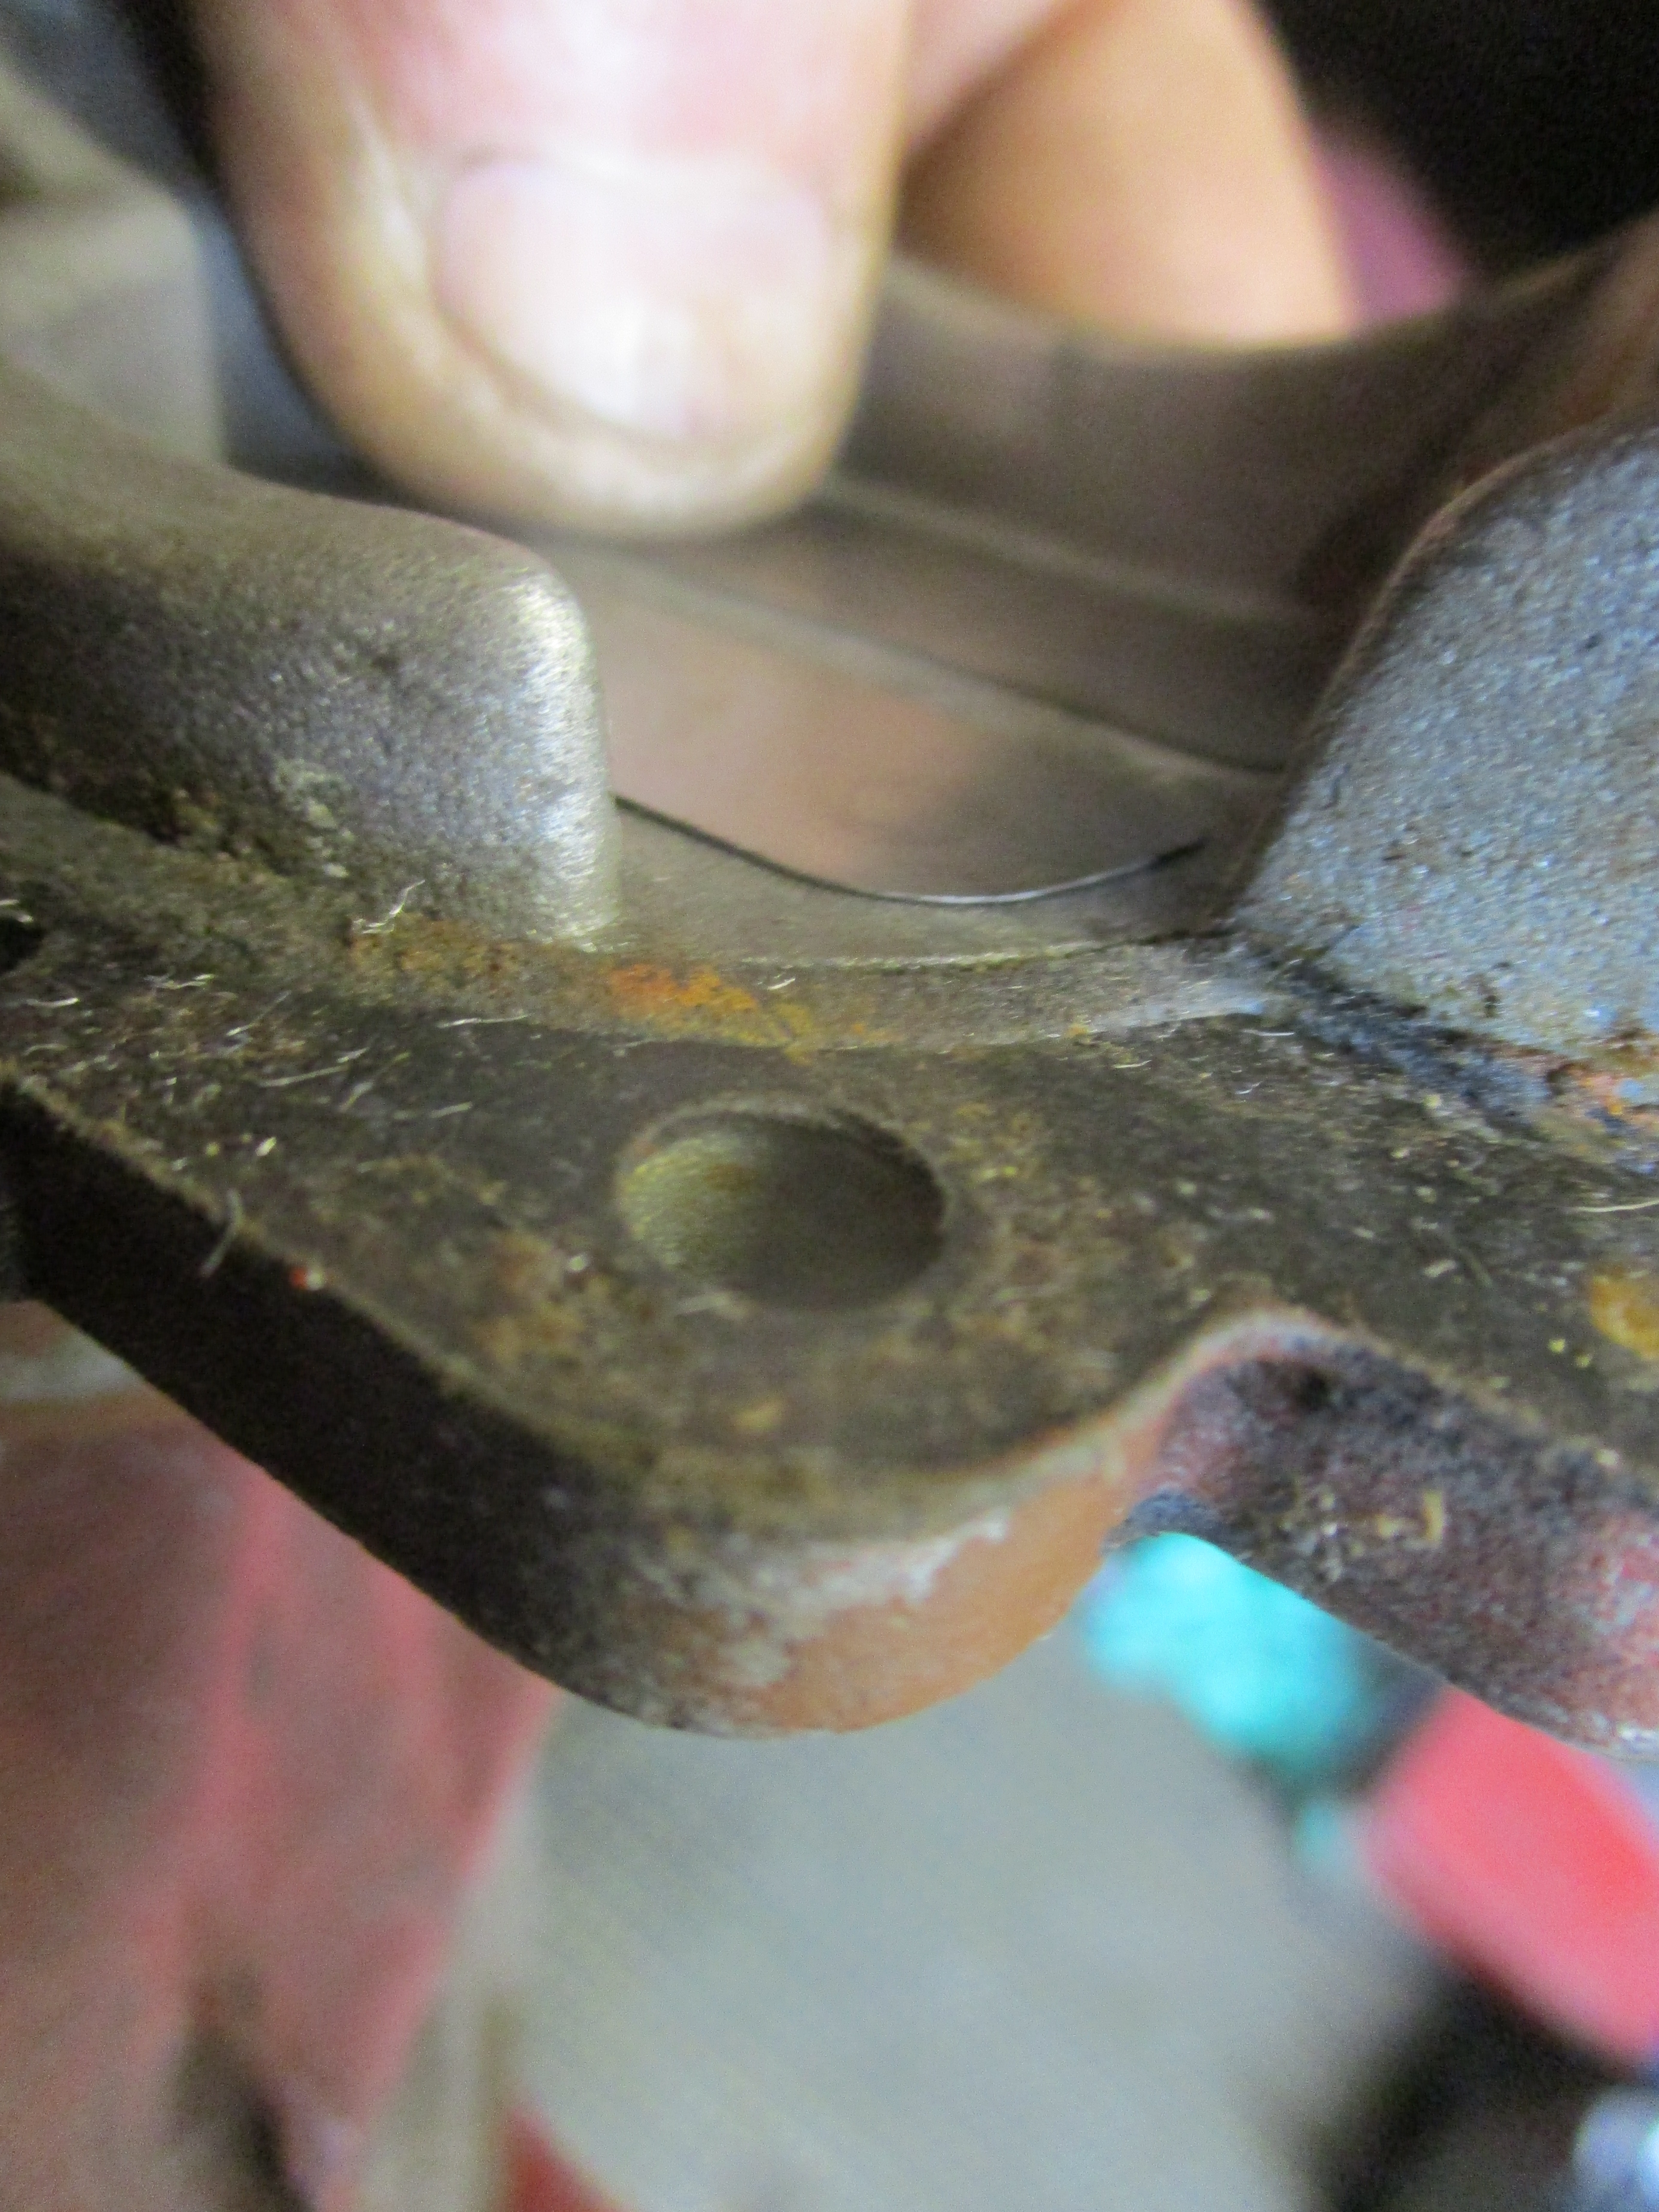
I'm sure I put all the
I'm sure I put all the fasteners and maybe the original reed stop in a bag somewhere in the shed, but I cannot find them now, I put it all back together minus fasteners as a mock up and all seemed fine.
Just the carb to strip out and put through the ultrasonic cleaner before the rebuild now, oh, and maybe a check for a good spark too, might not go amiss.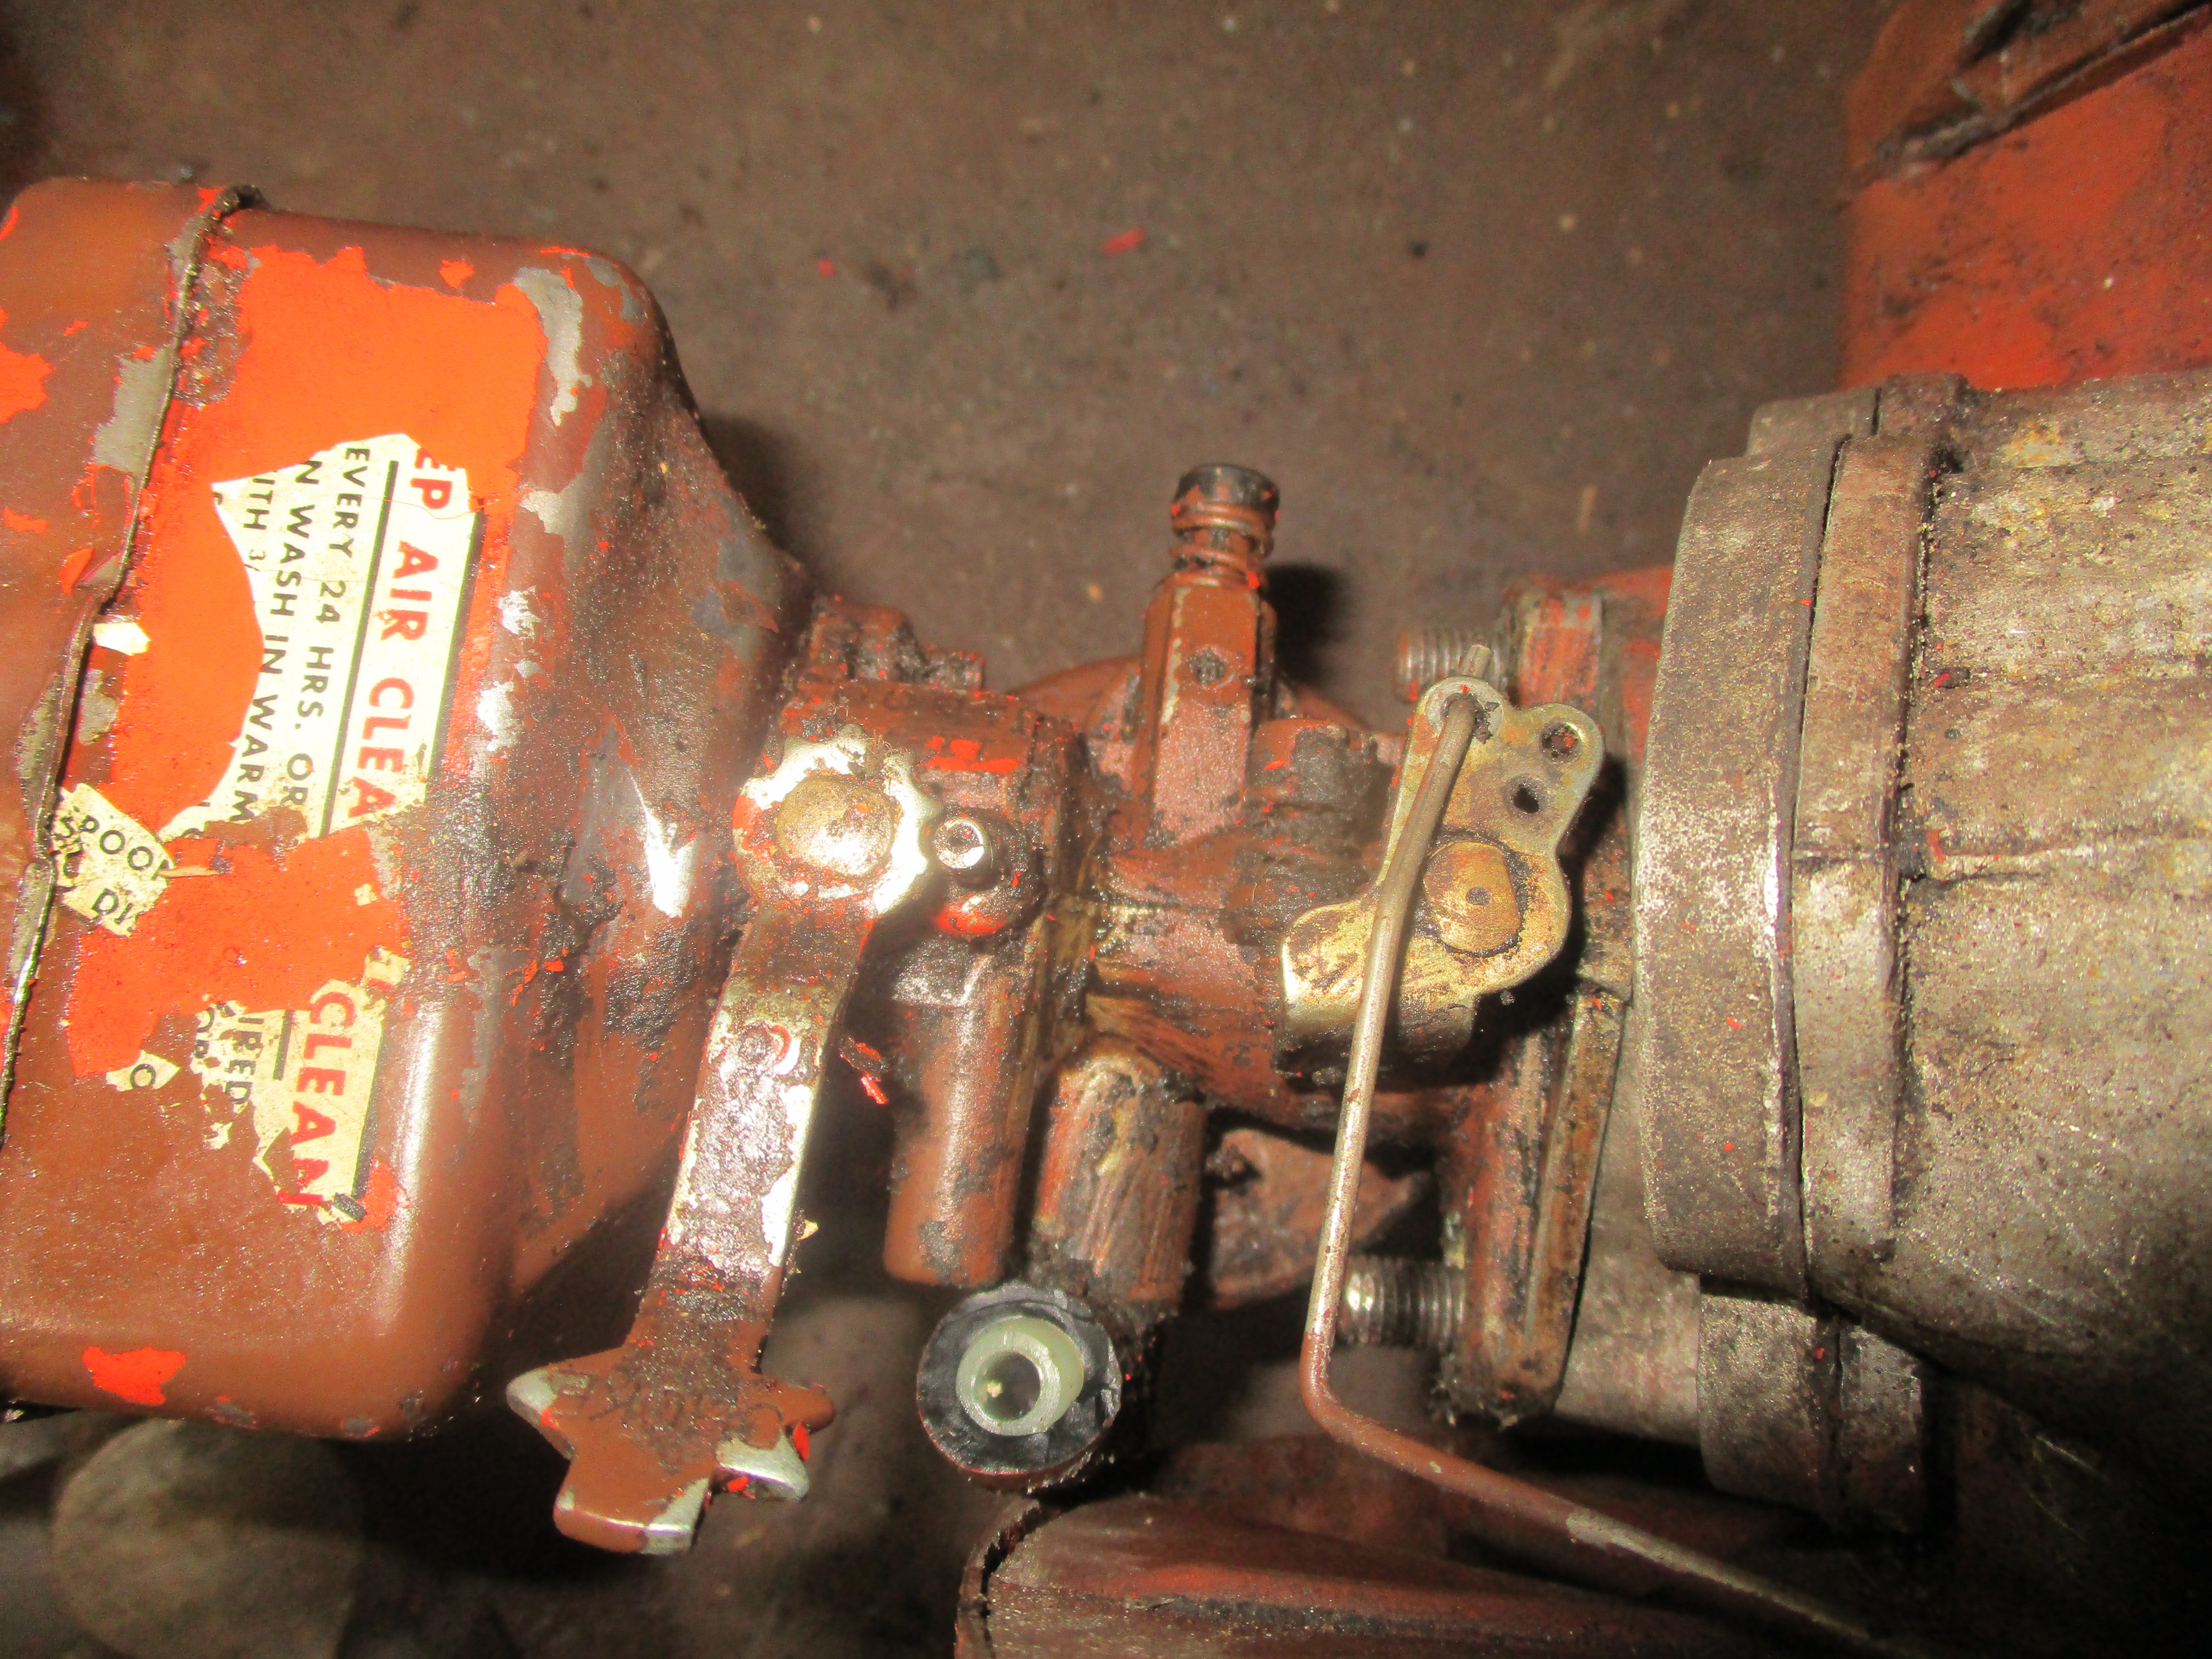
Spent another couple of hours
Spent another couple of hours in the shed today, had my little greenhouse electric heater going on the bench, plus my gas bottle wood burner too, so not too bad. I firstly bolted the reed block on.
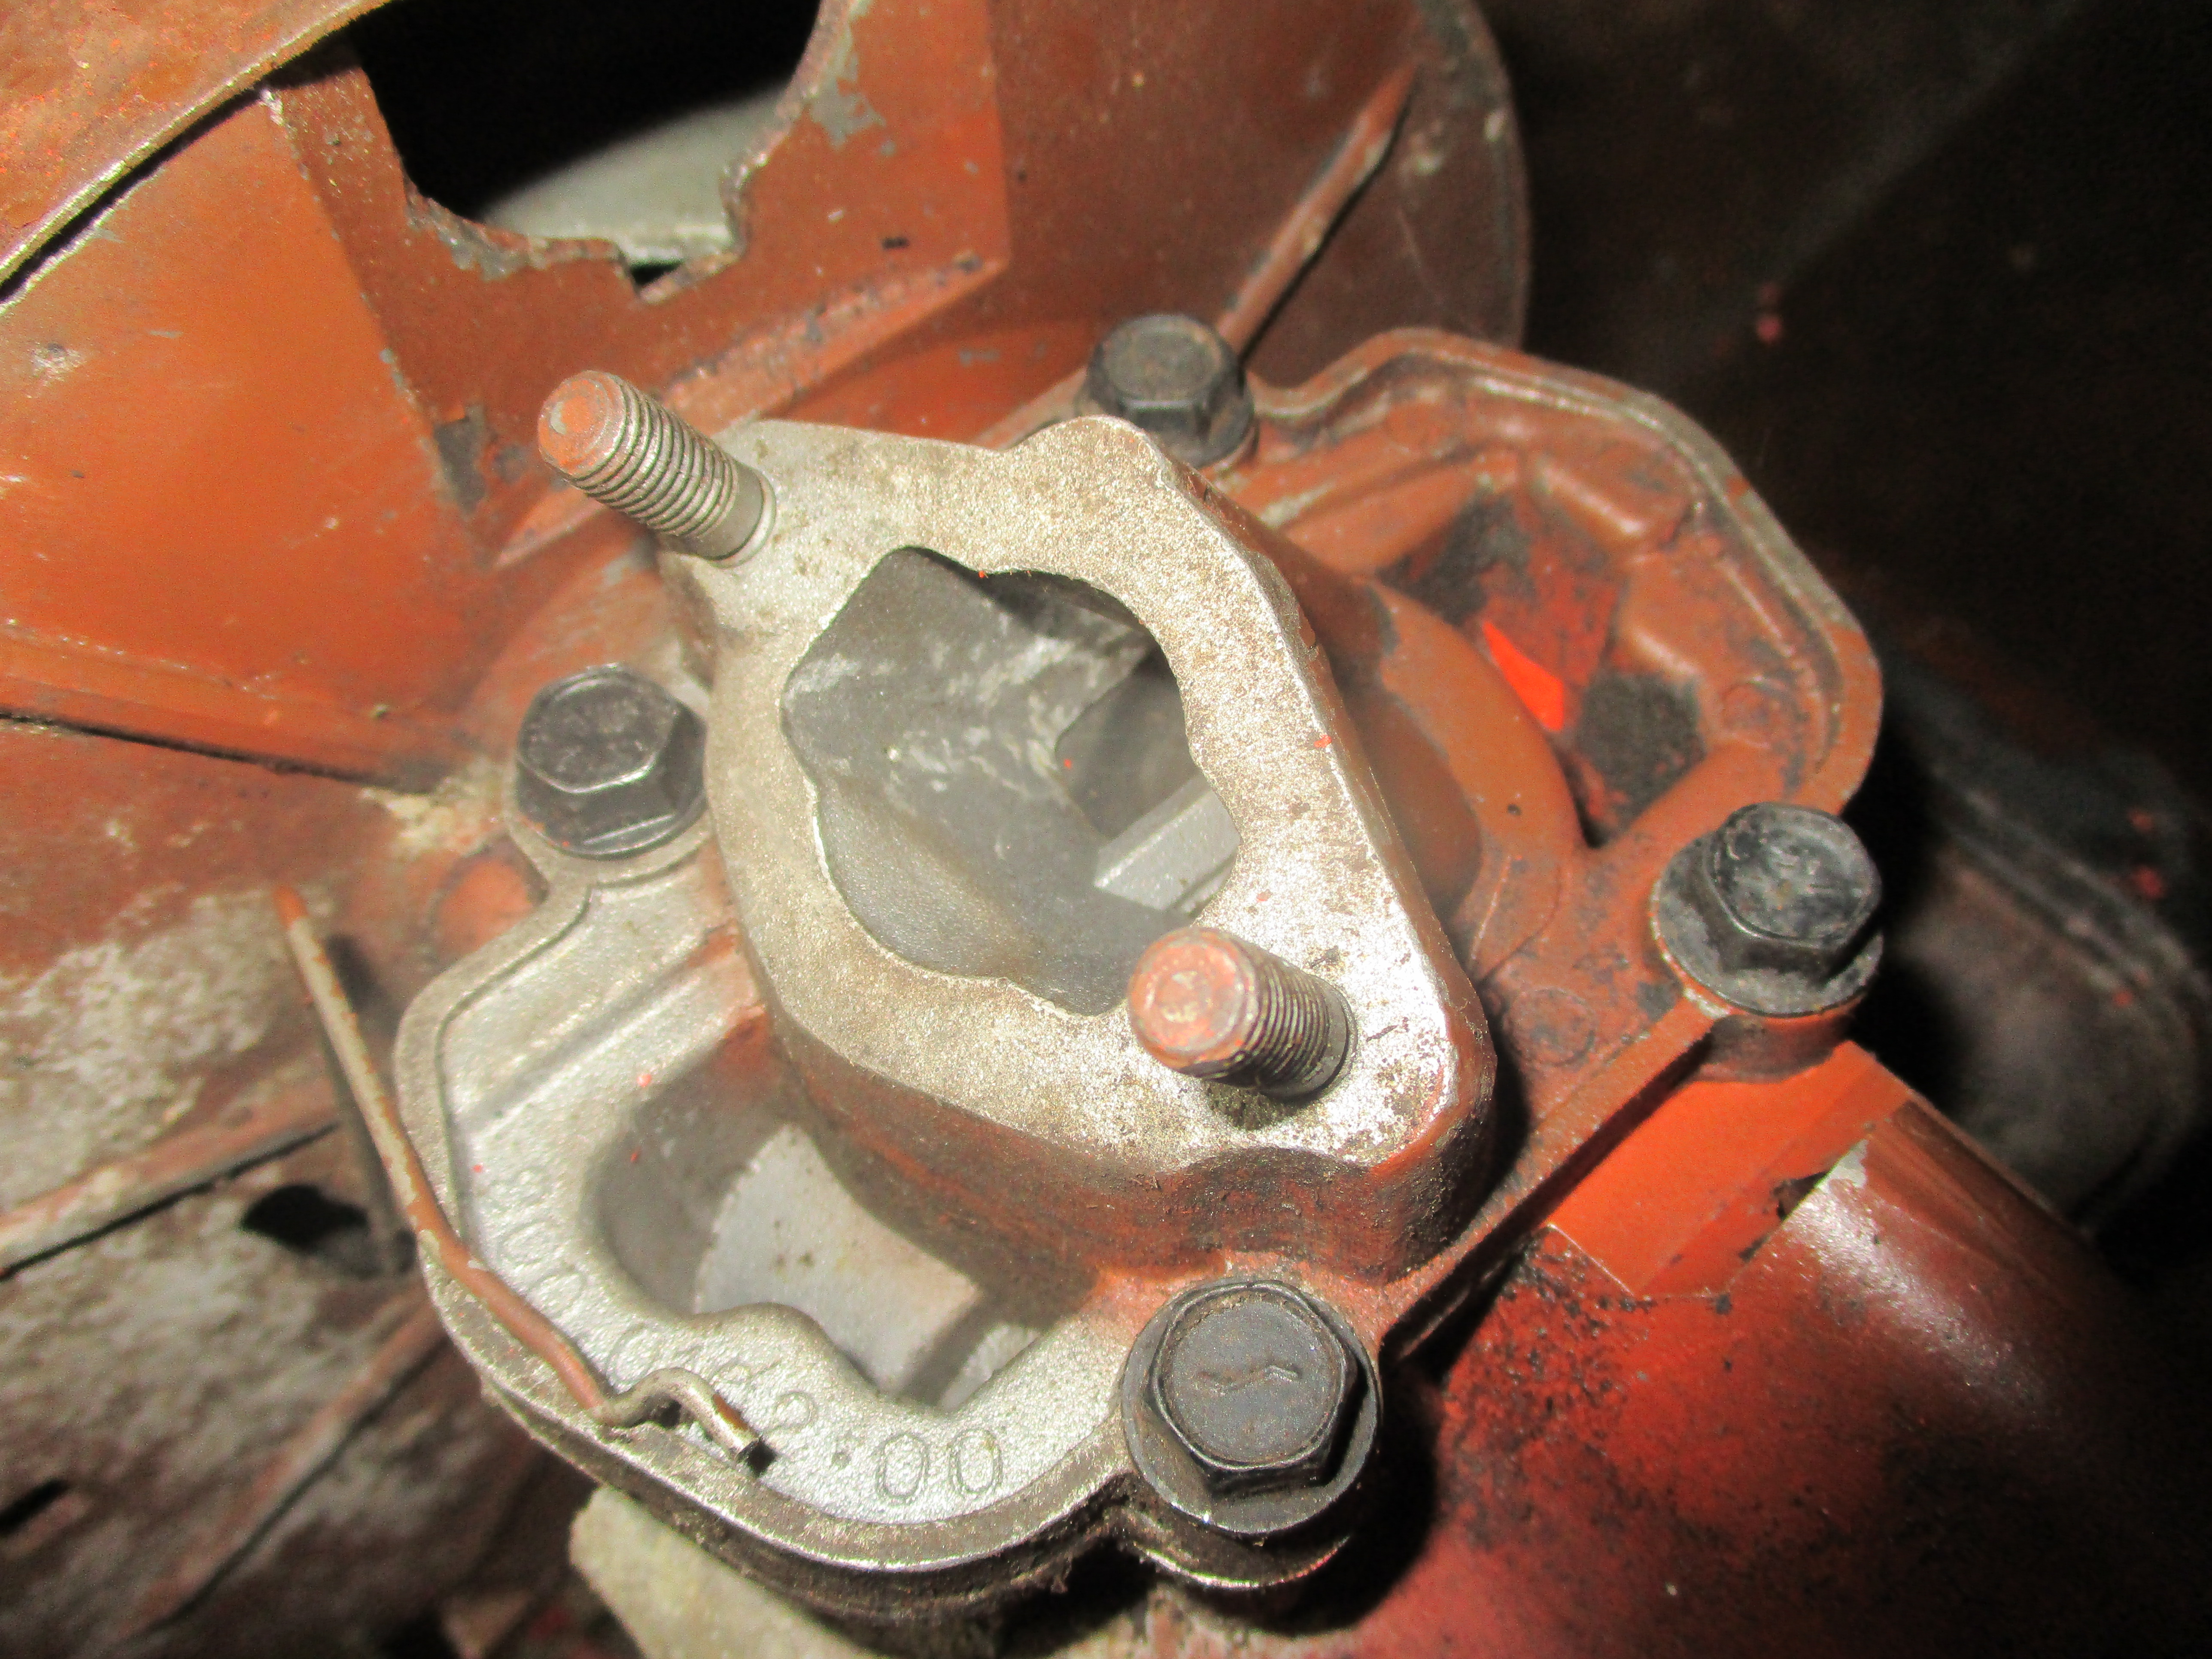
I had to find the right Whitworth screws as originals are lost.
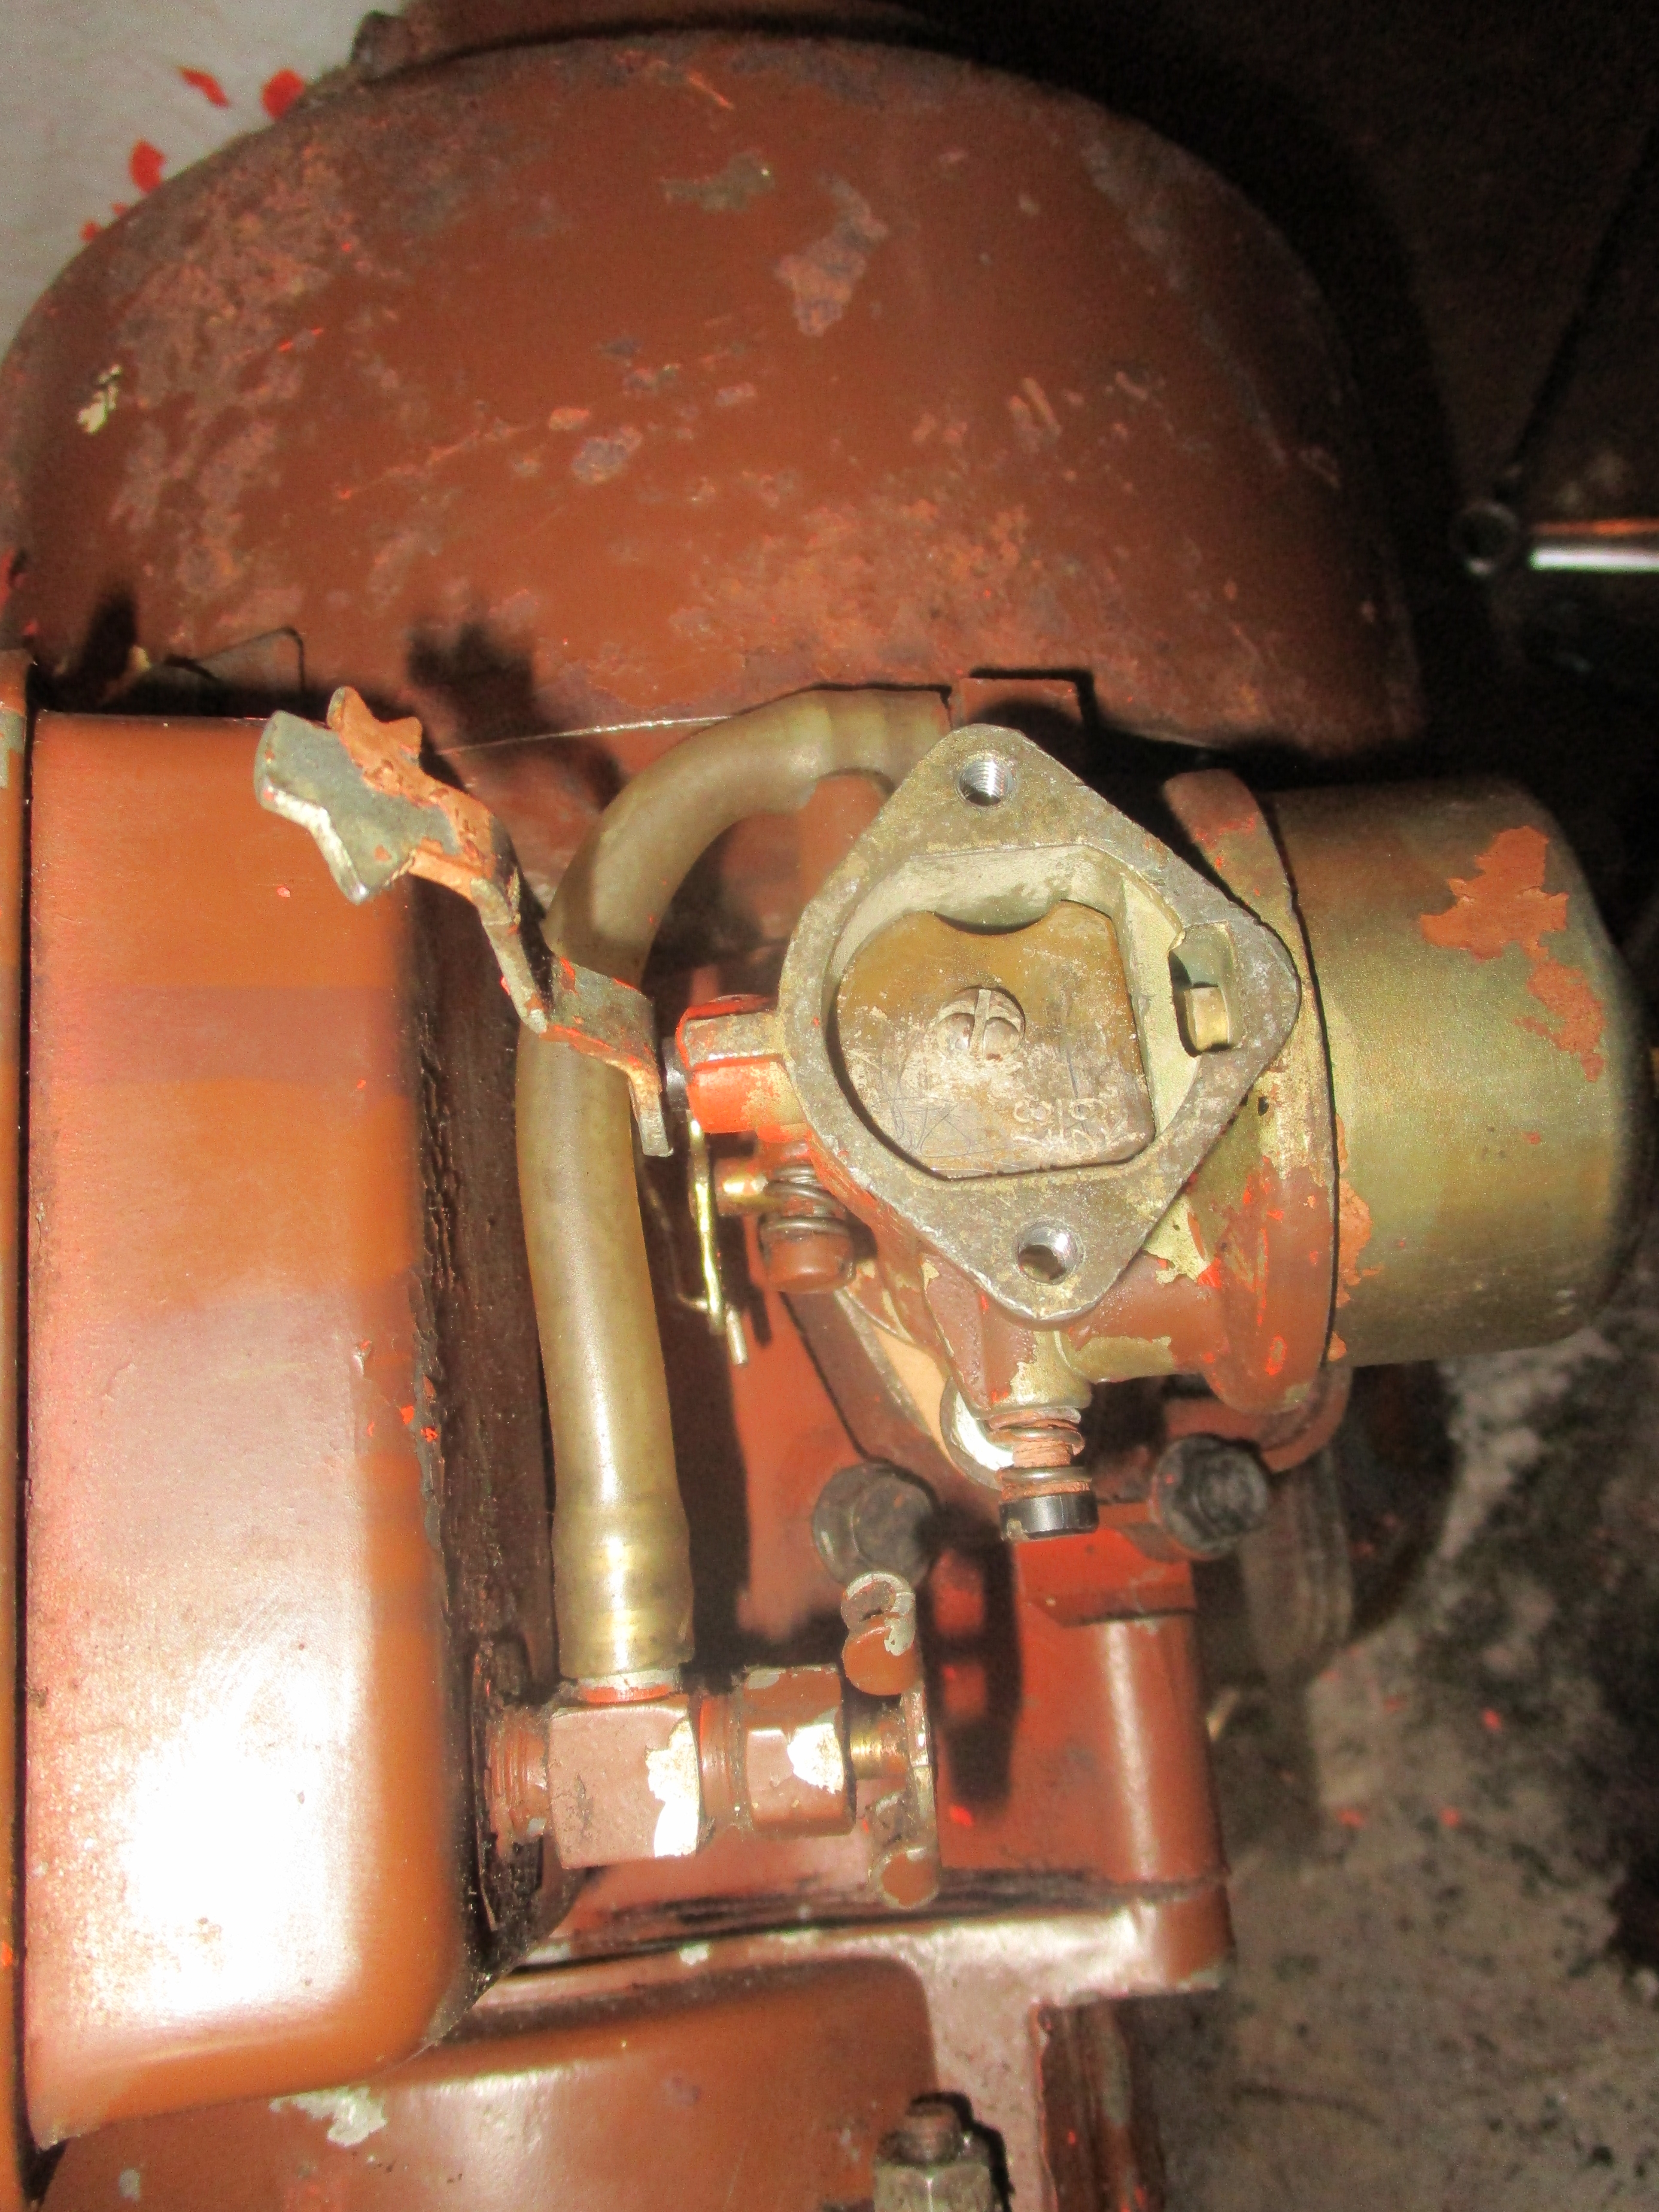
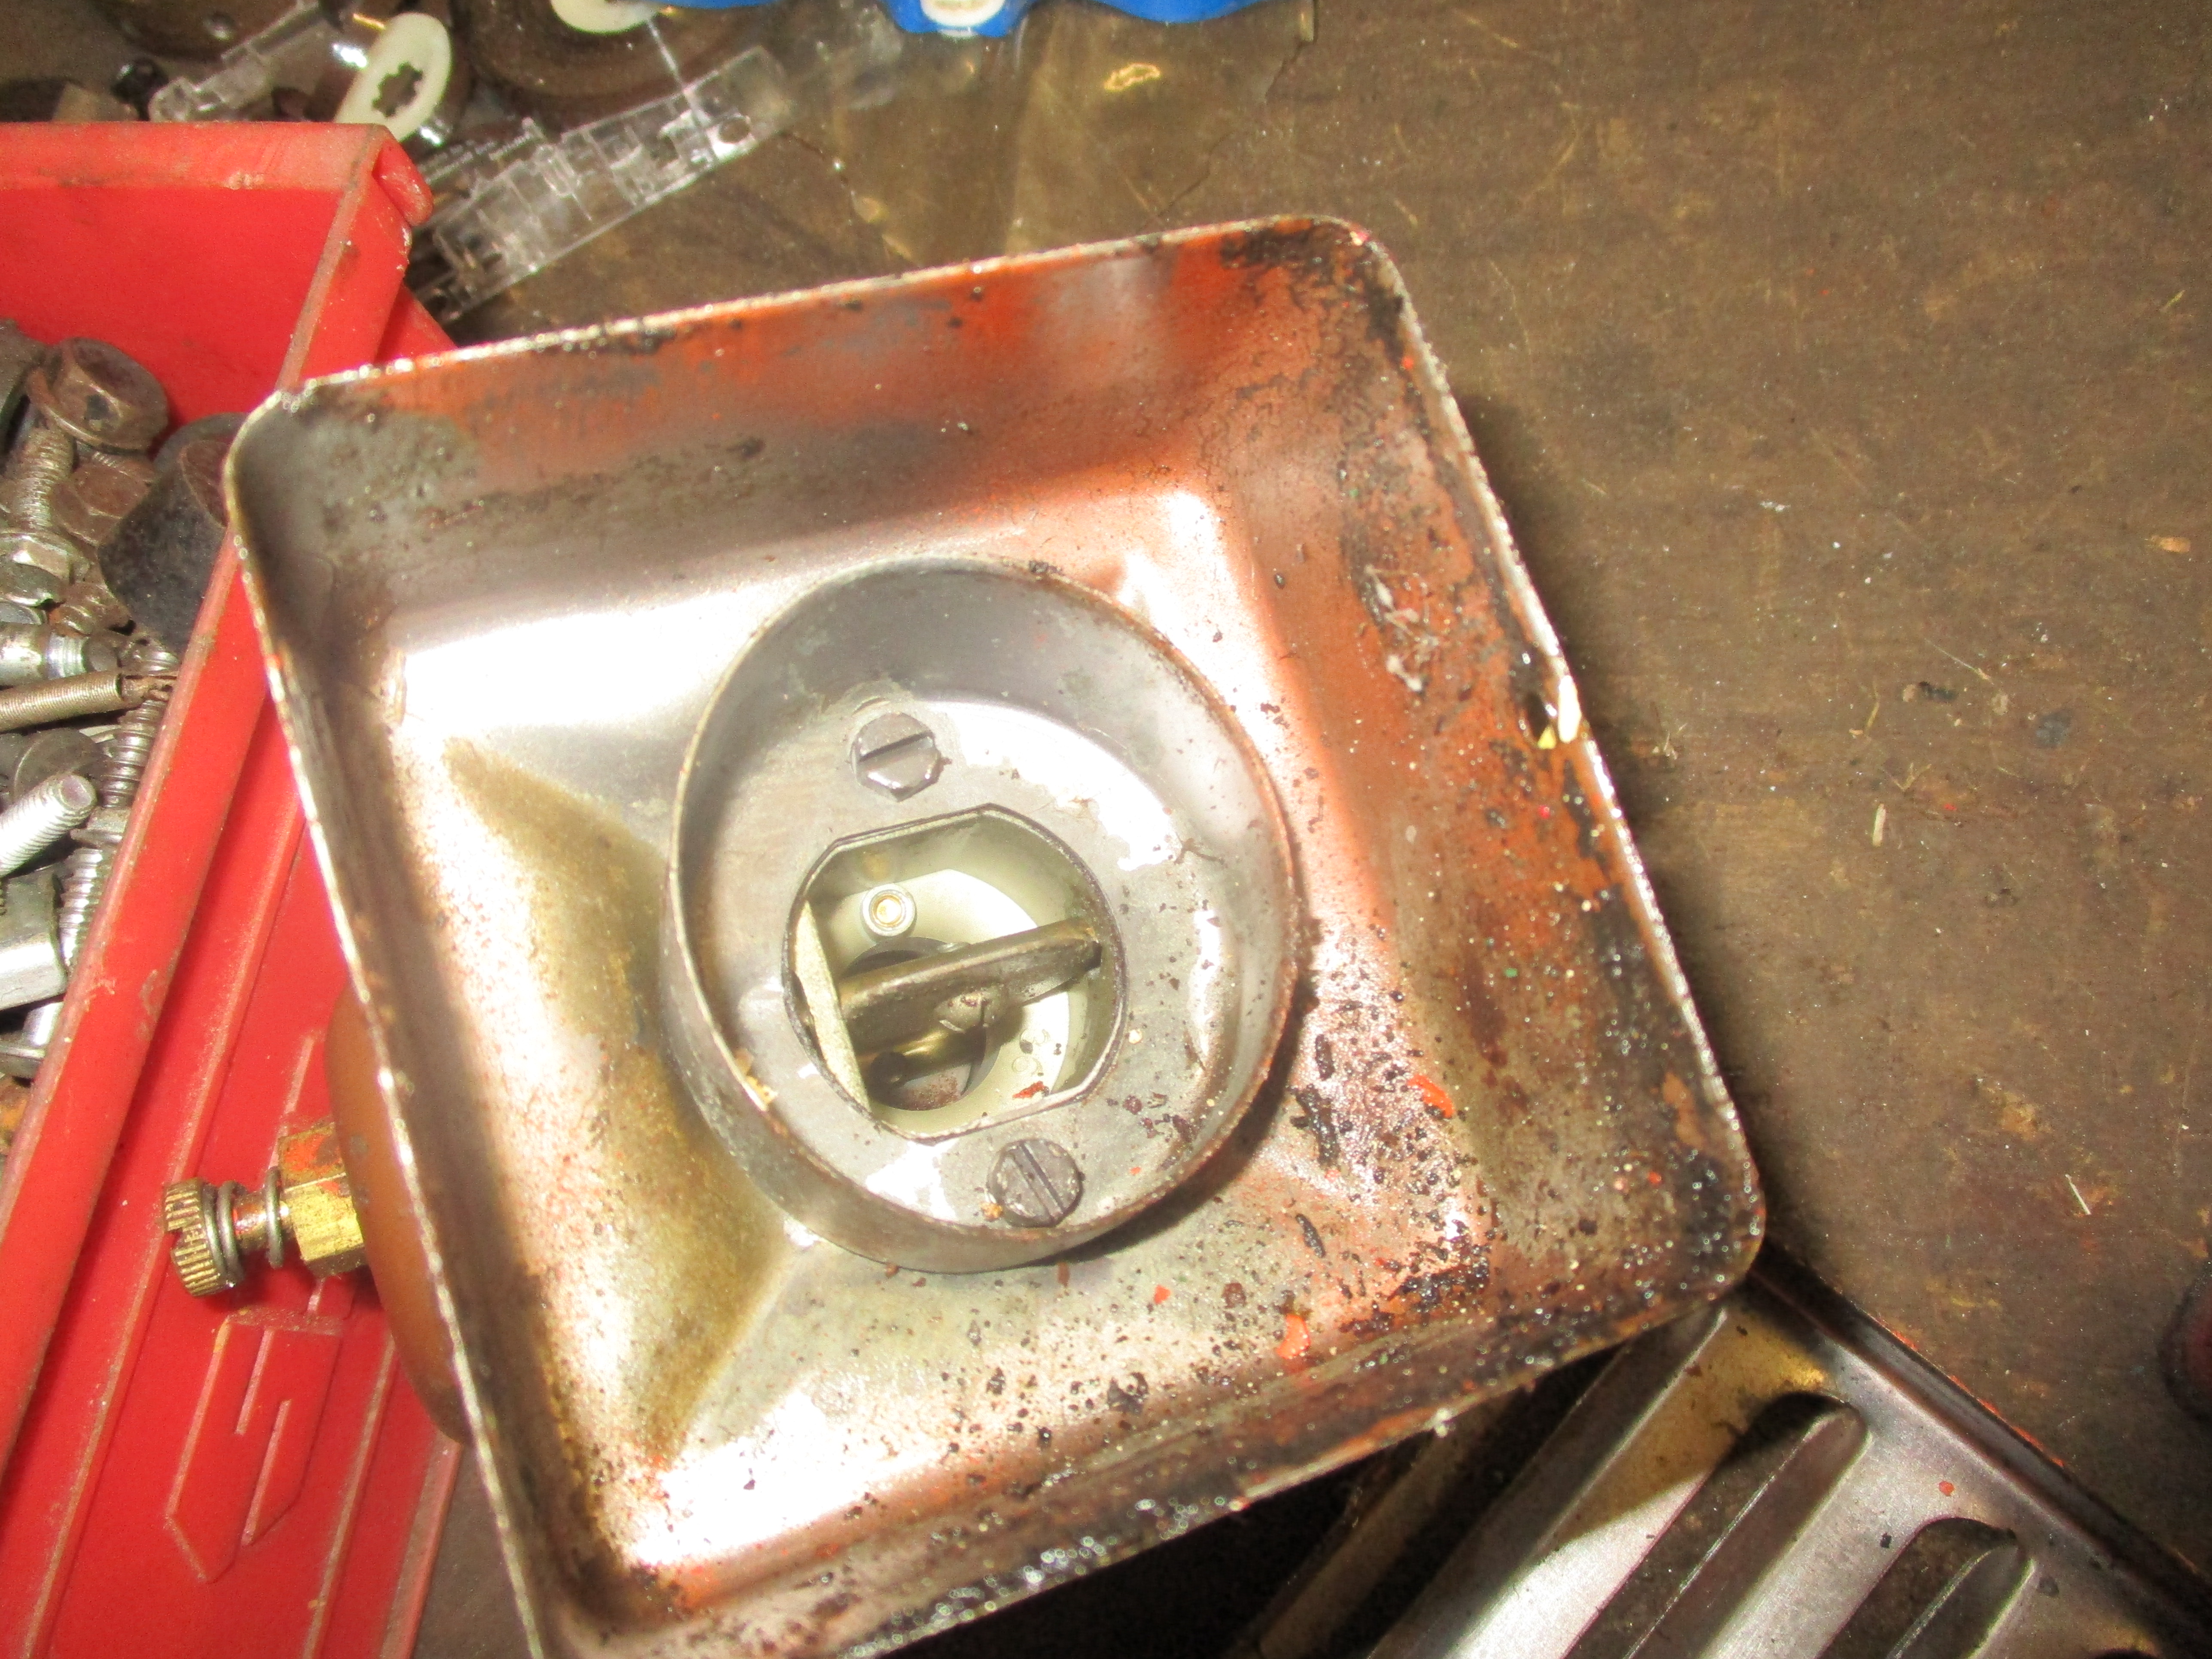 The next job was to strip out and clean the carb.
I will have to make an air filter for this engine.
The main jet is adjustable.
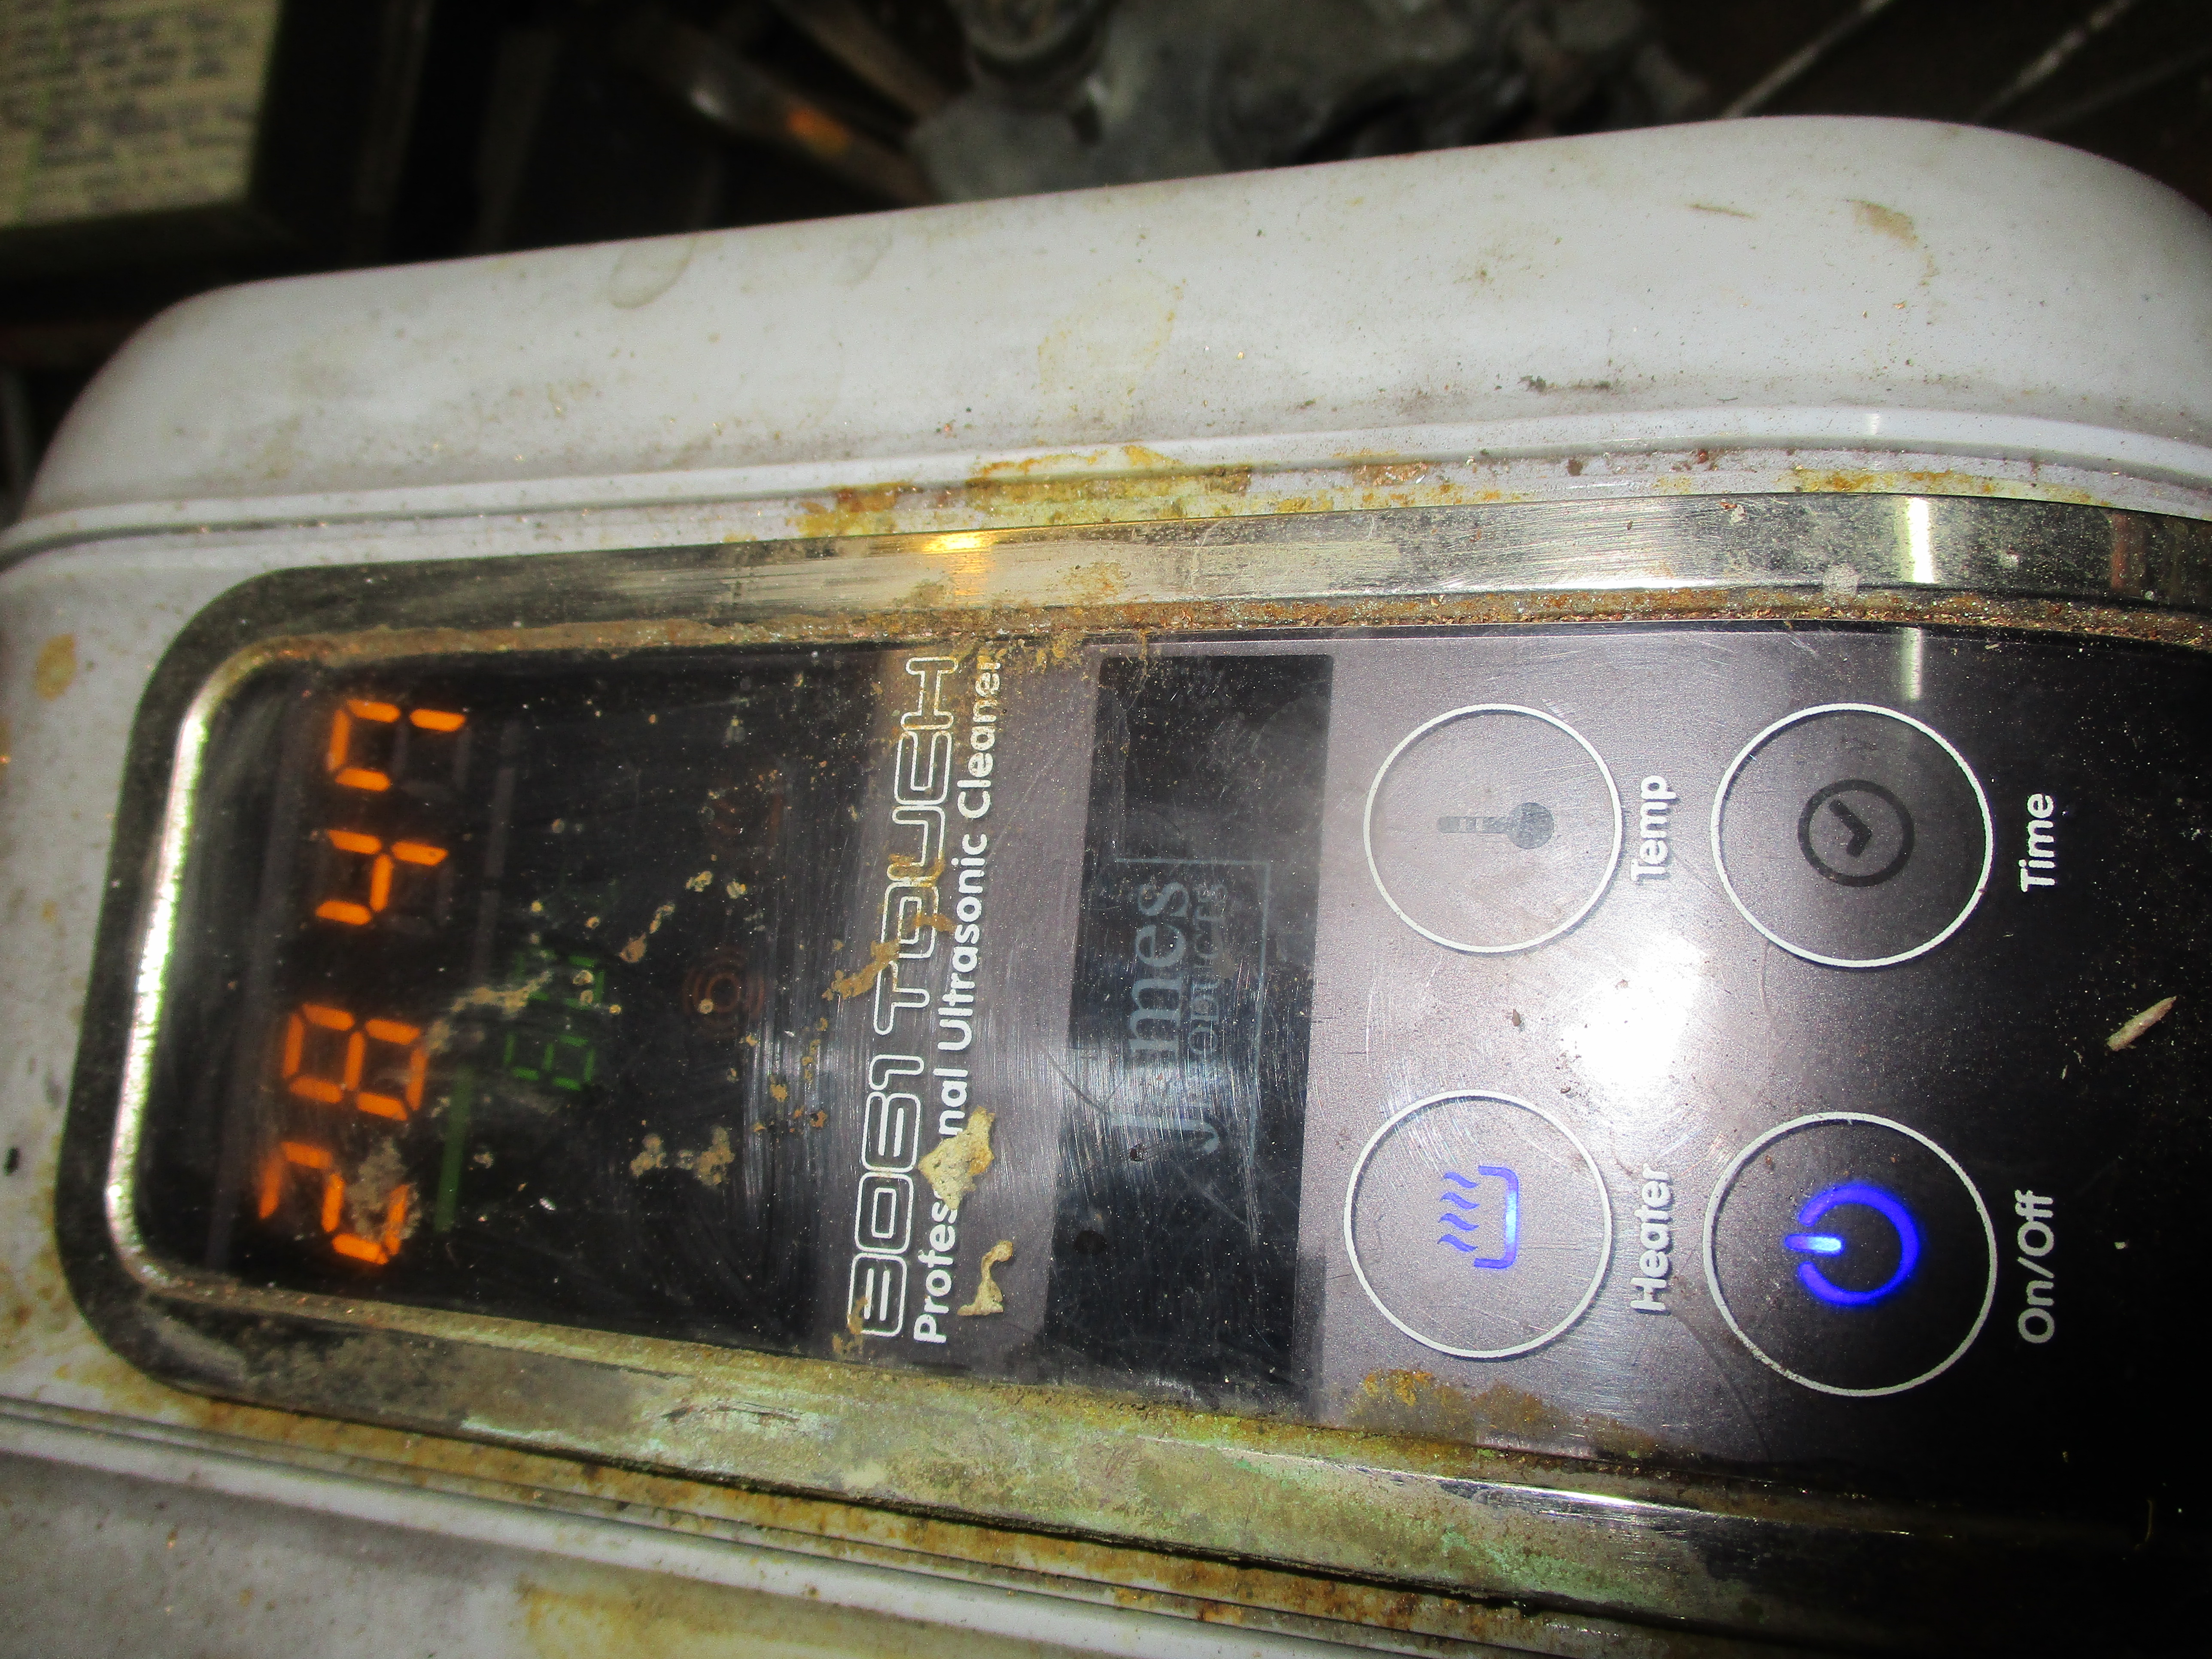
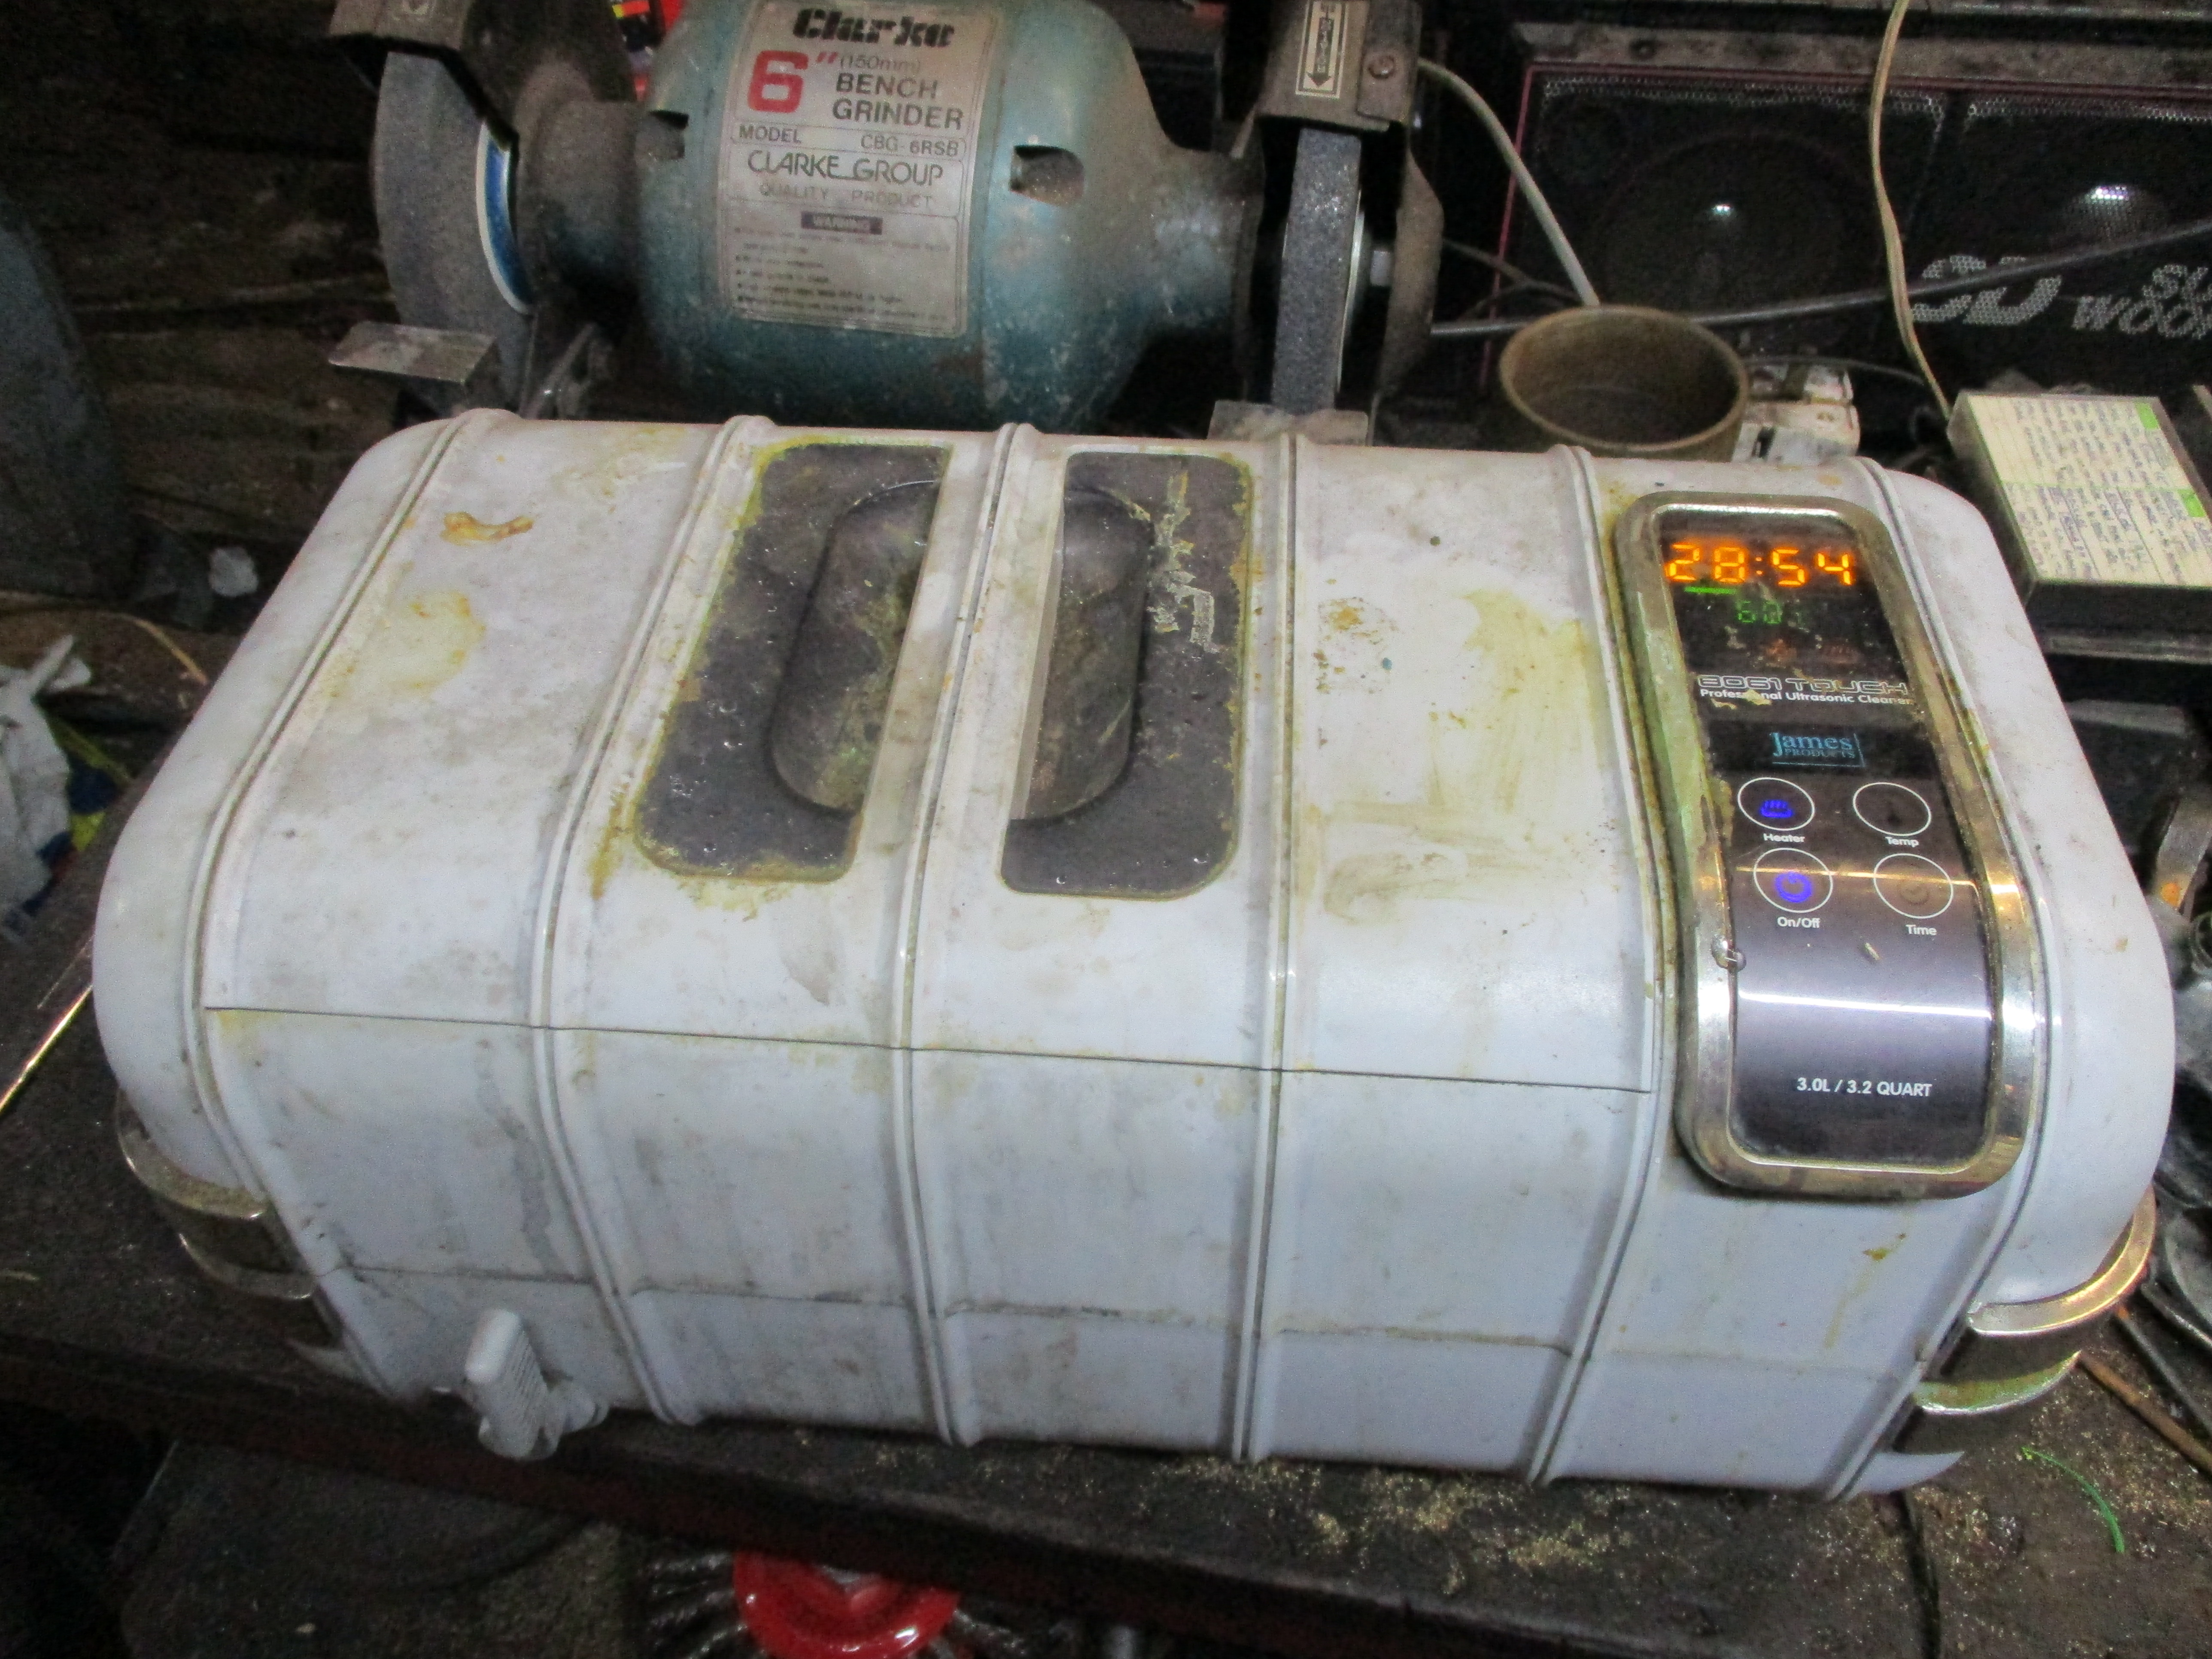 The carb. was put in my 3 litre ultrasonic cleaner. It has a half hour timer and a ceramic heater etc.
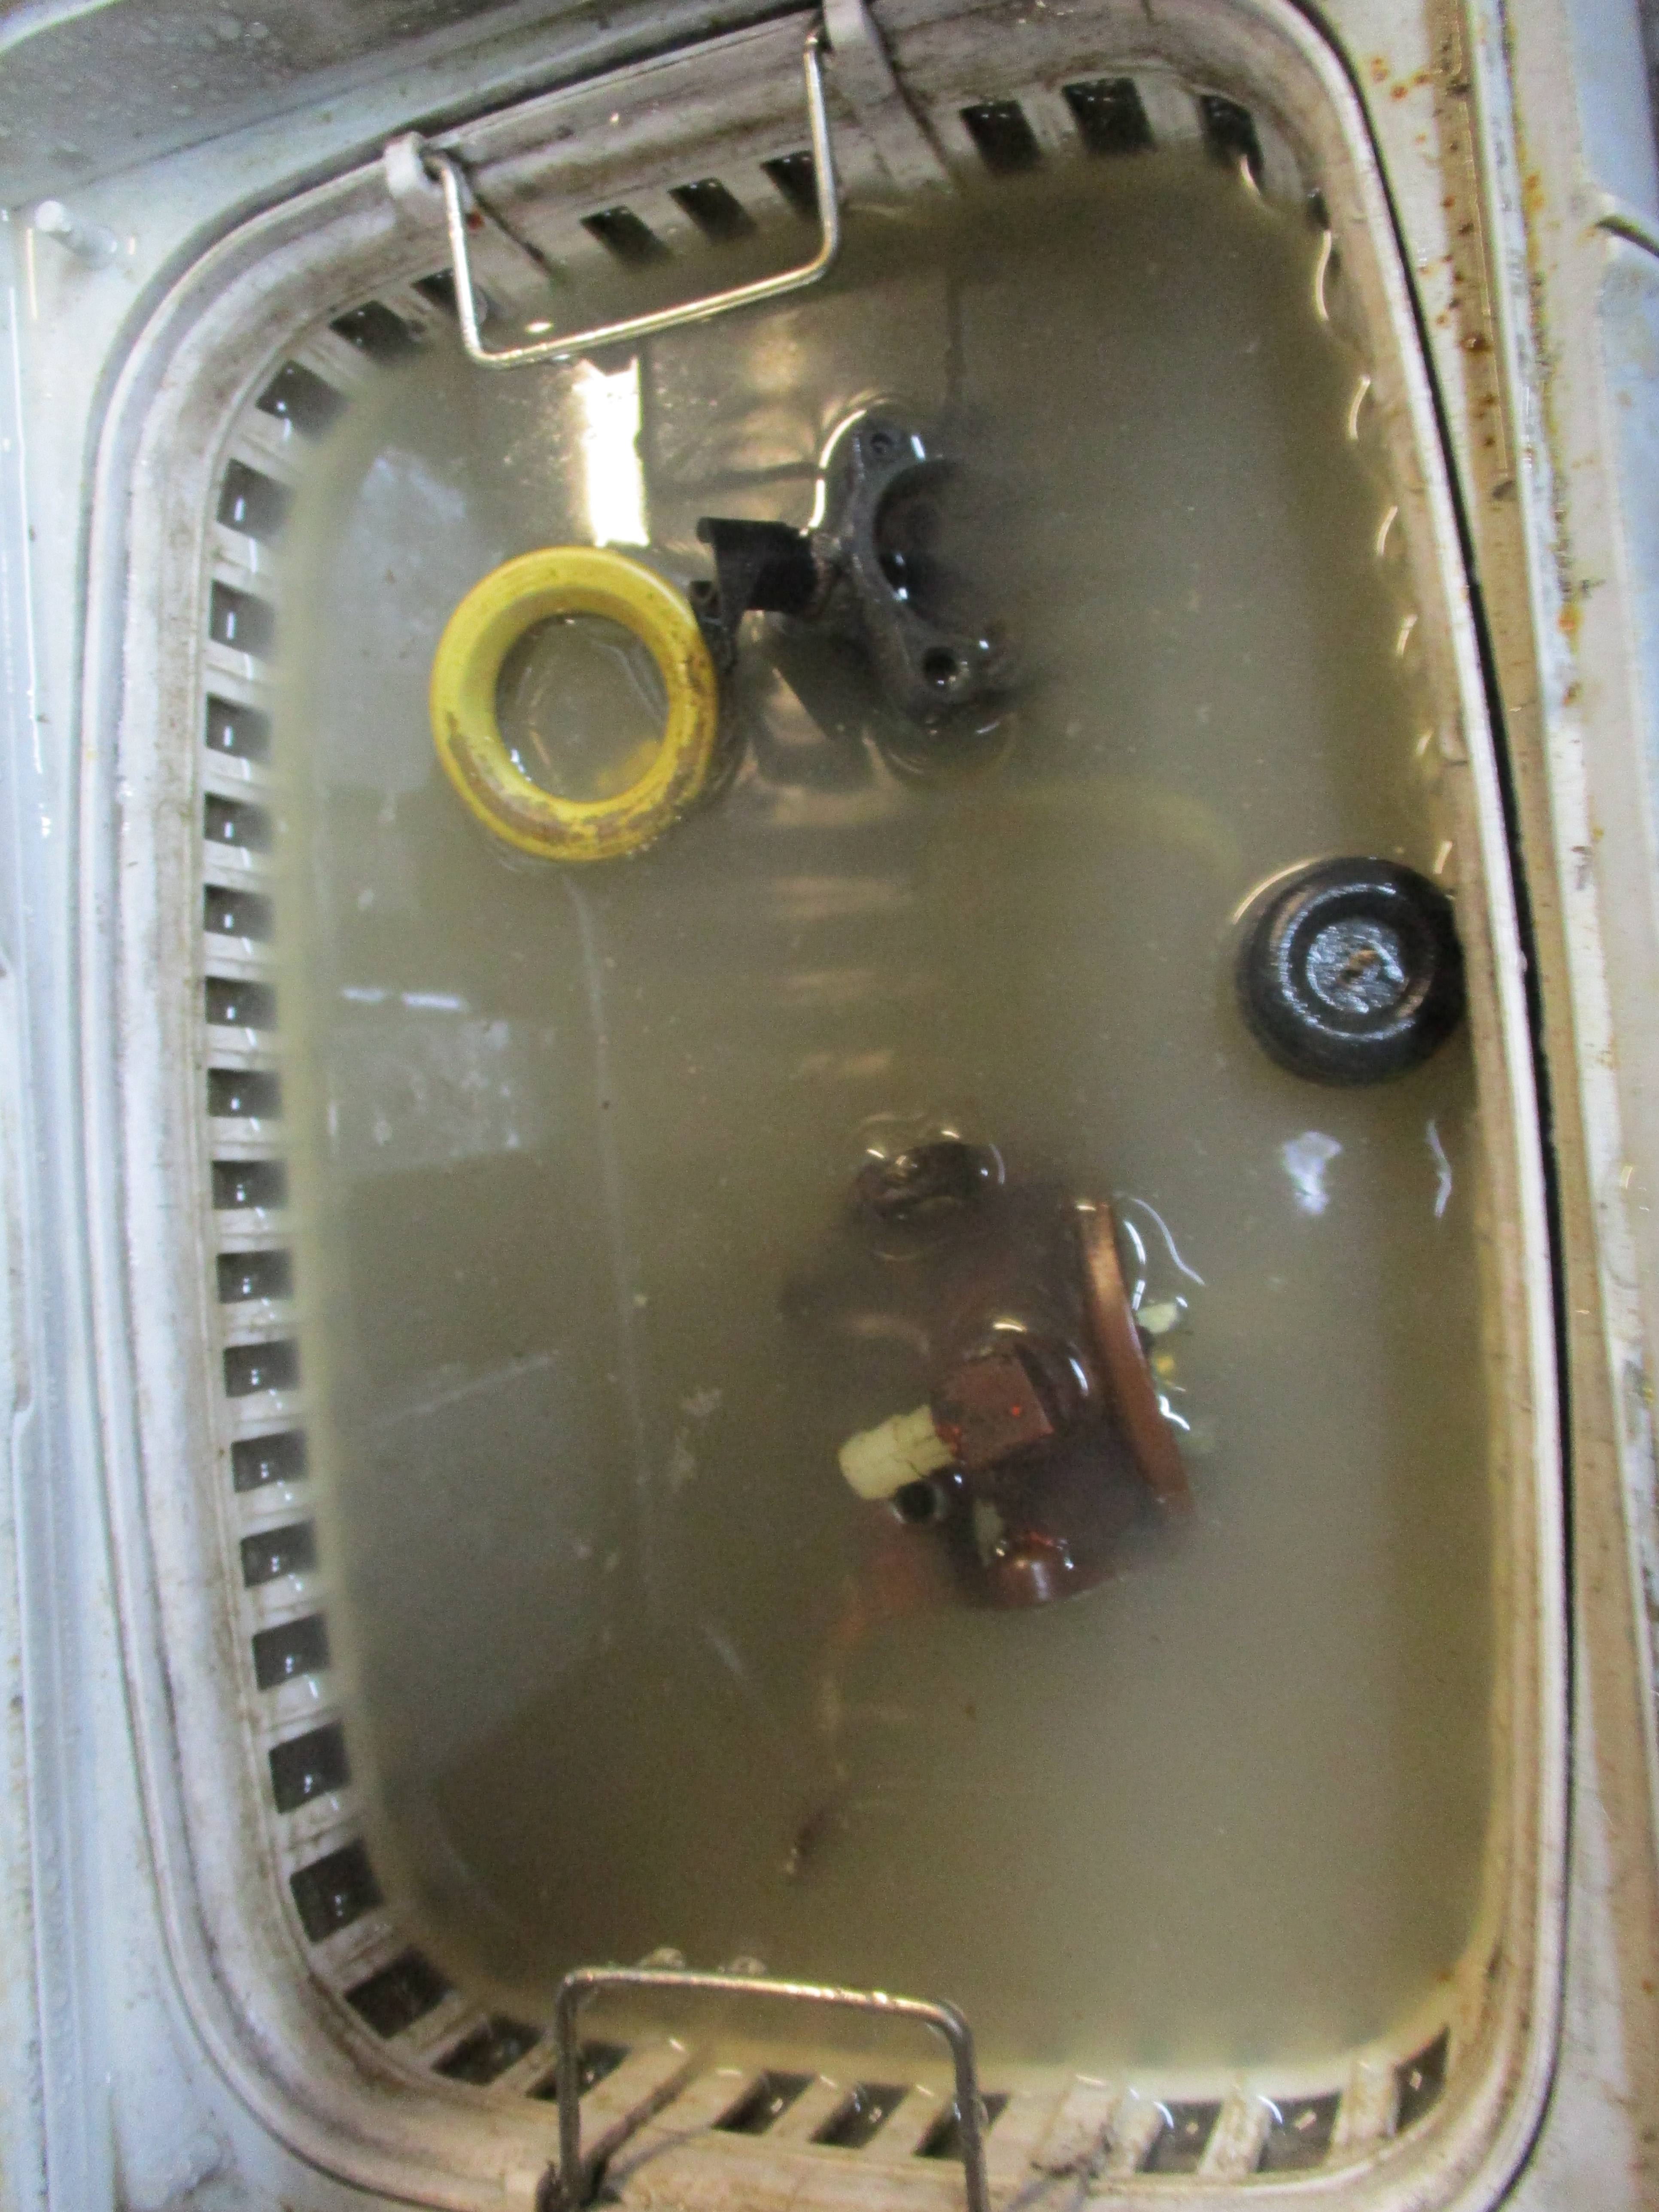 Floats don't clean that well, but you can also put them in a separate little container with petrol etc if you wish.
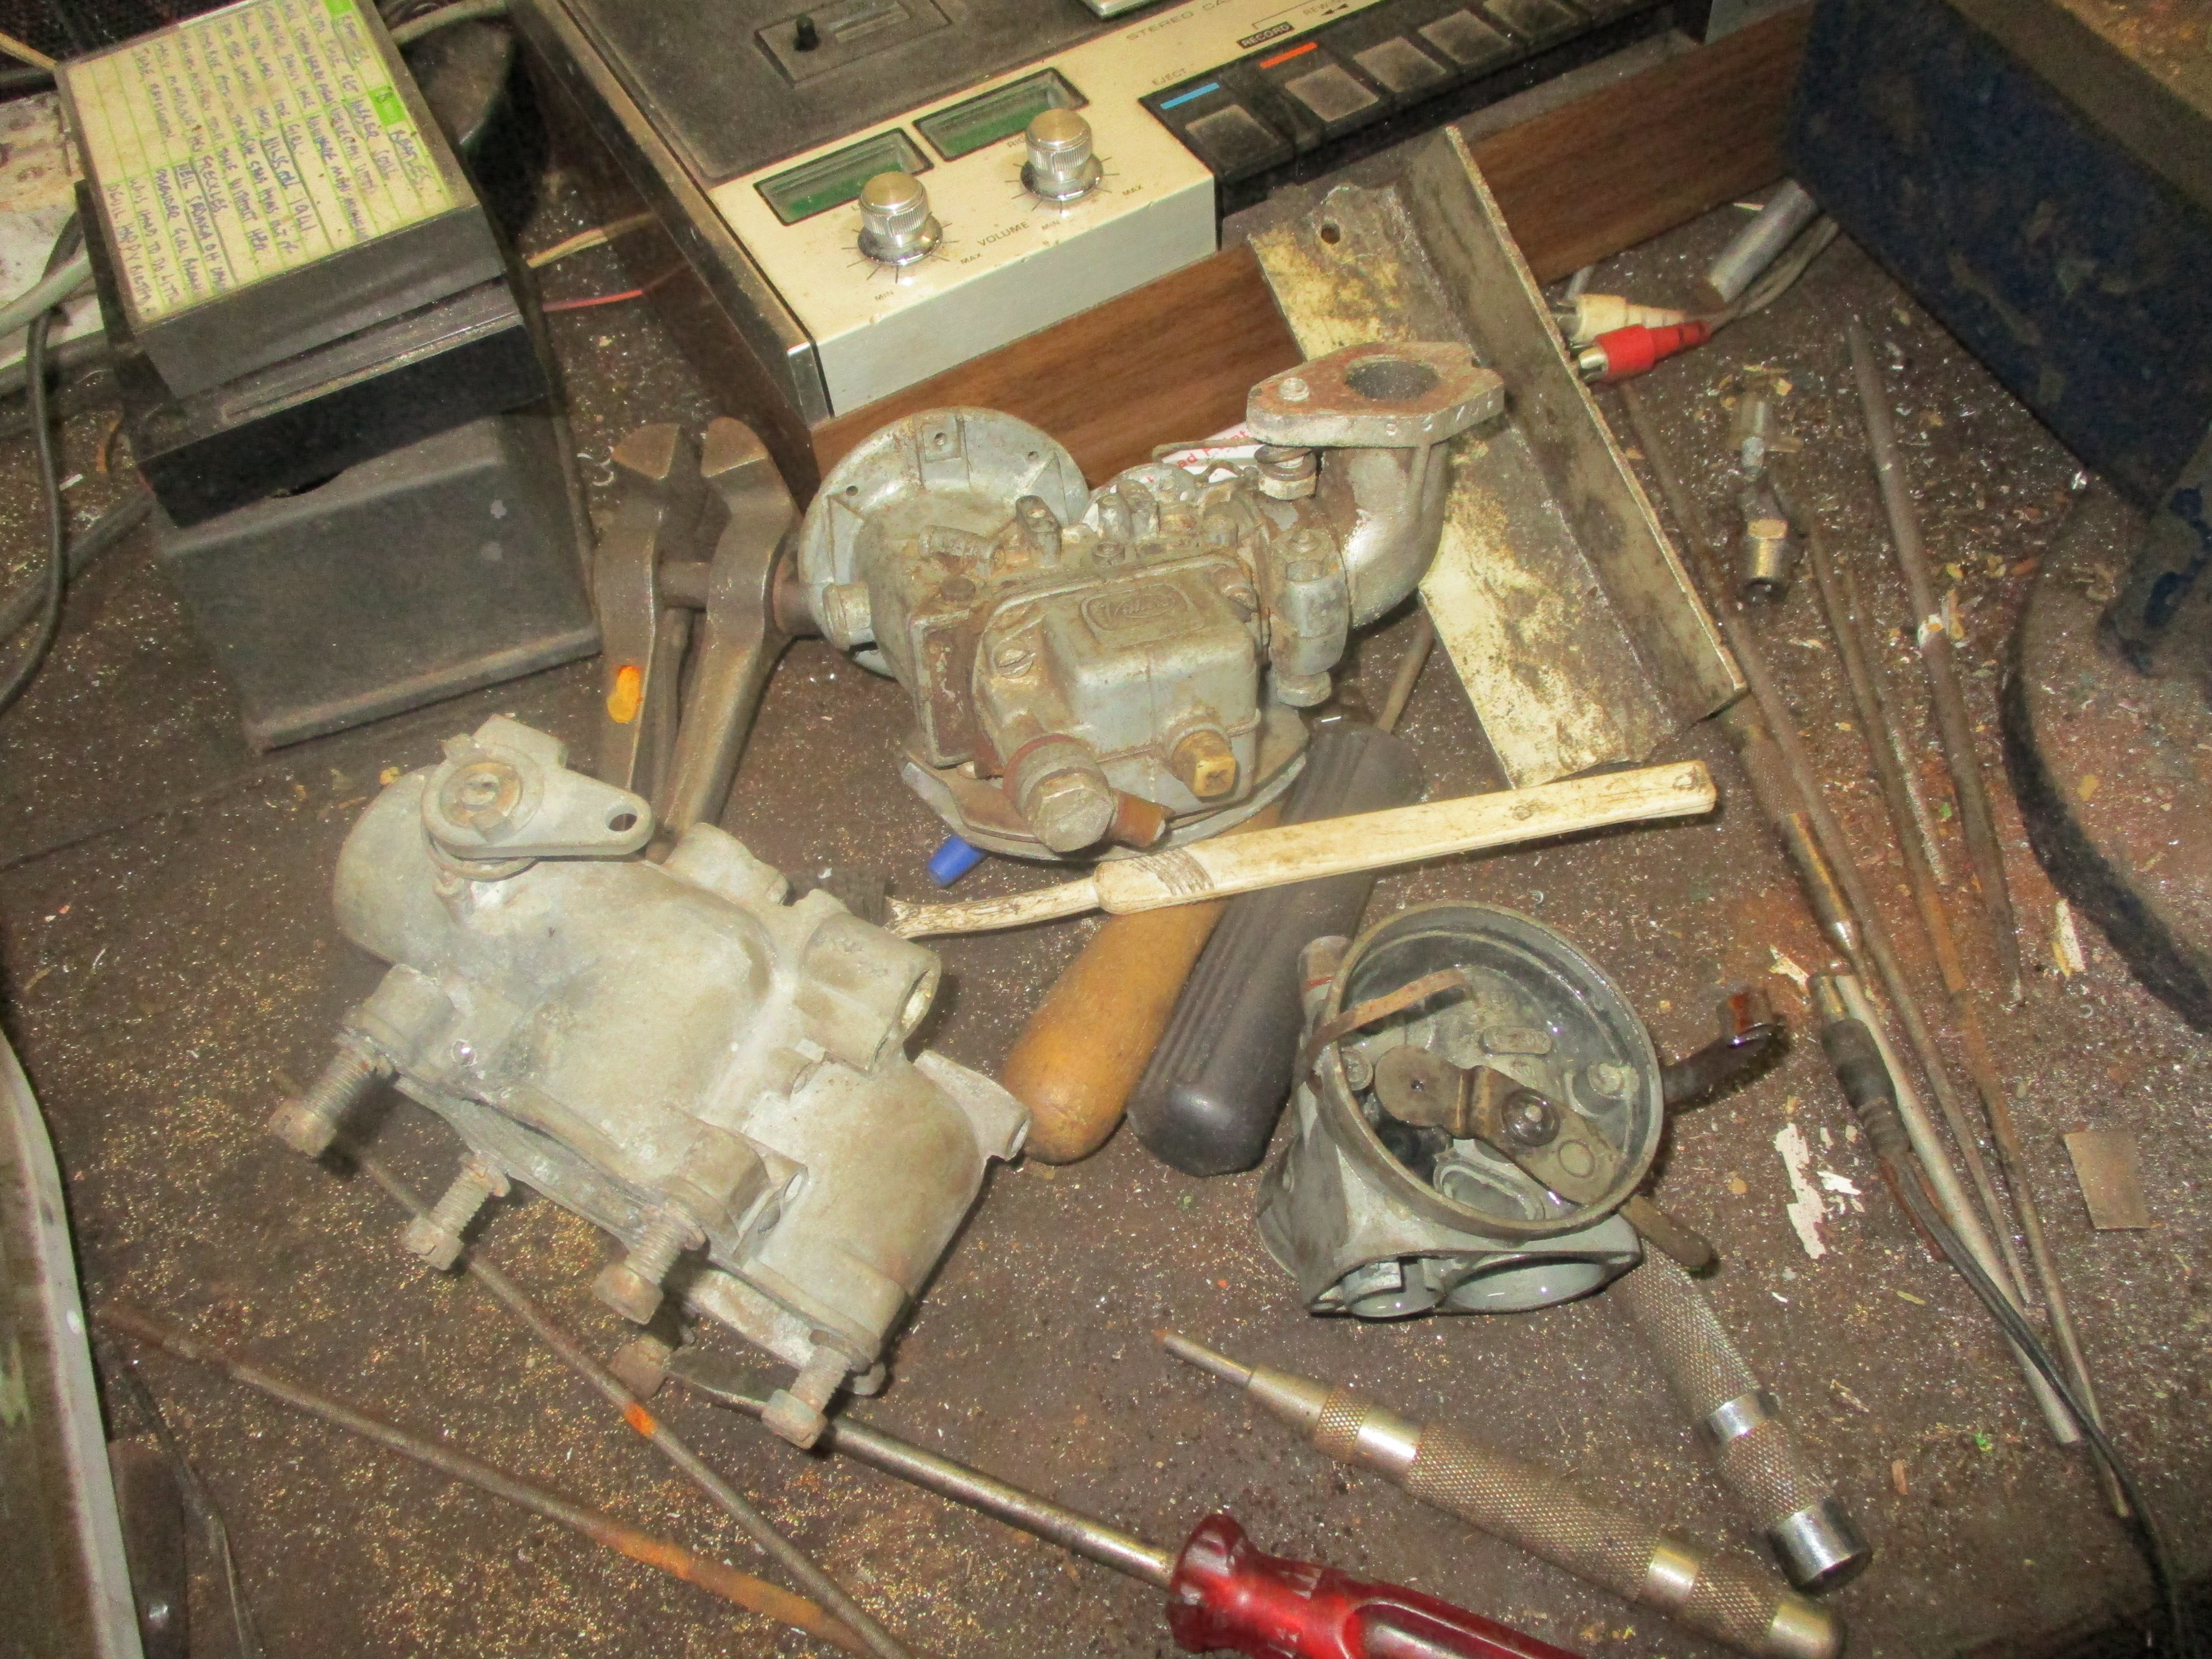 I'm slowly cleaning sevral old carbs. at the moment.
The starter was also playing
 The starter was also playing up a bit, there seemed to be too much rope on the drum, but then again the rope looked original.
 It pays to keep things clean as you go I find.
 A very simple set up here.
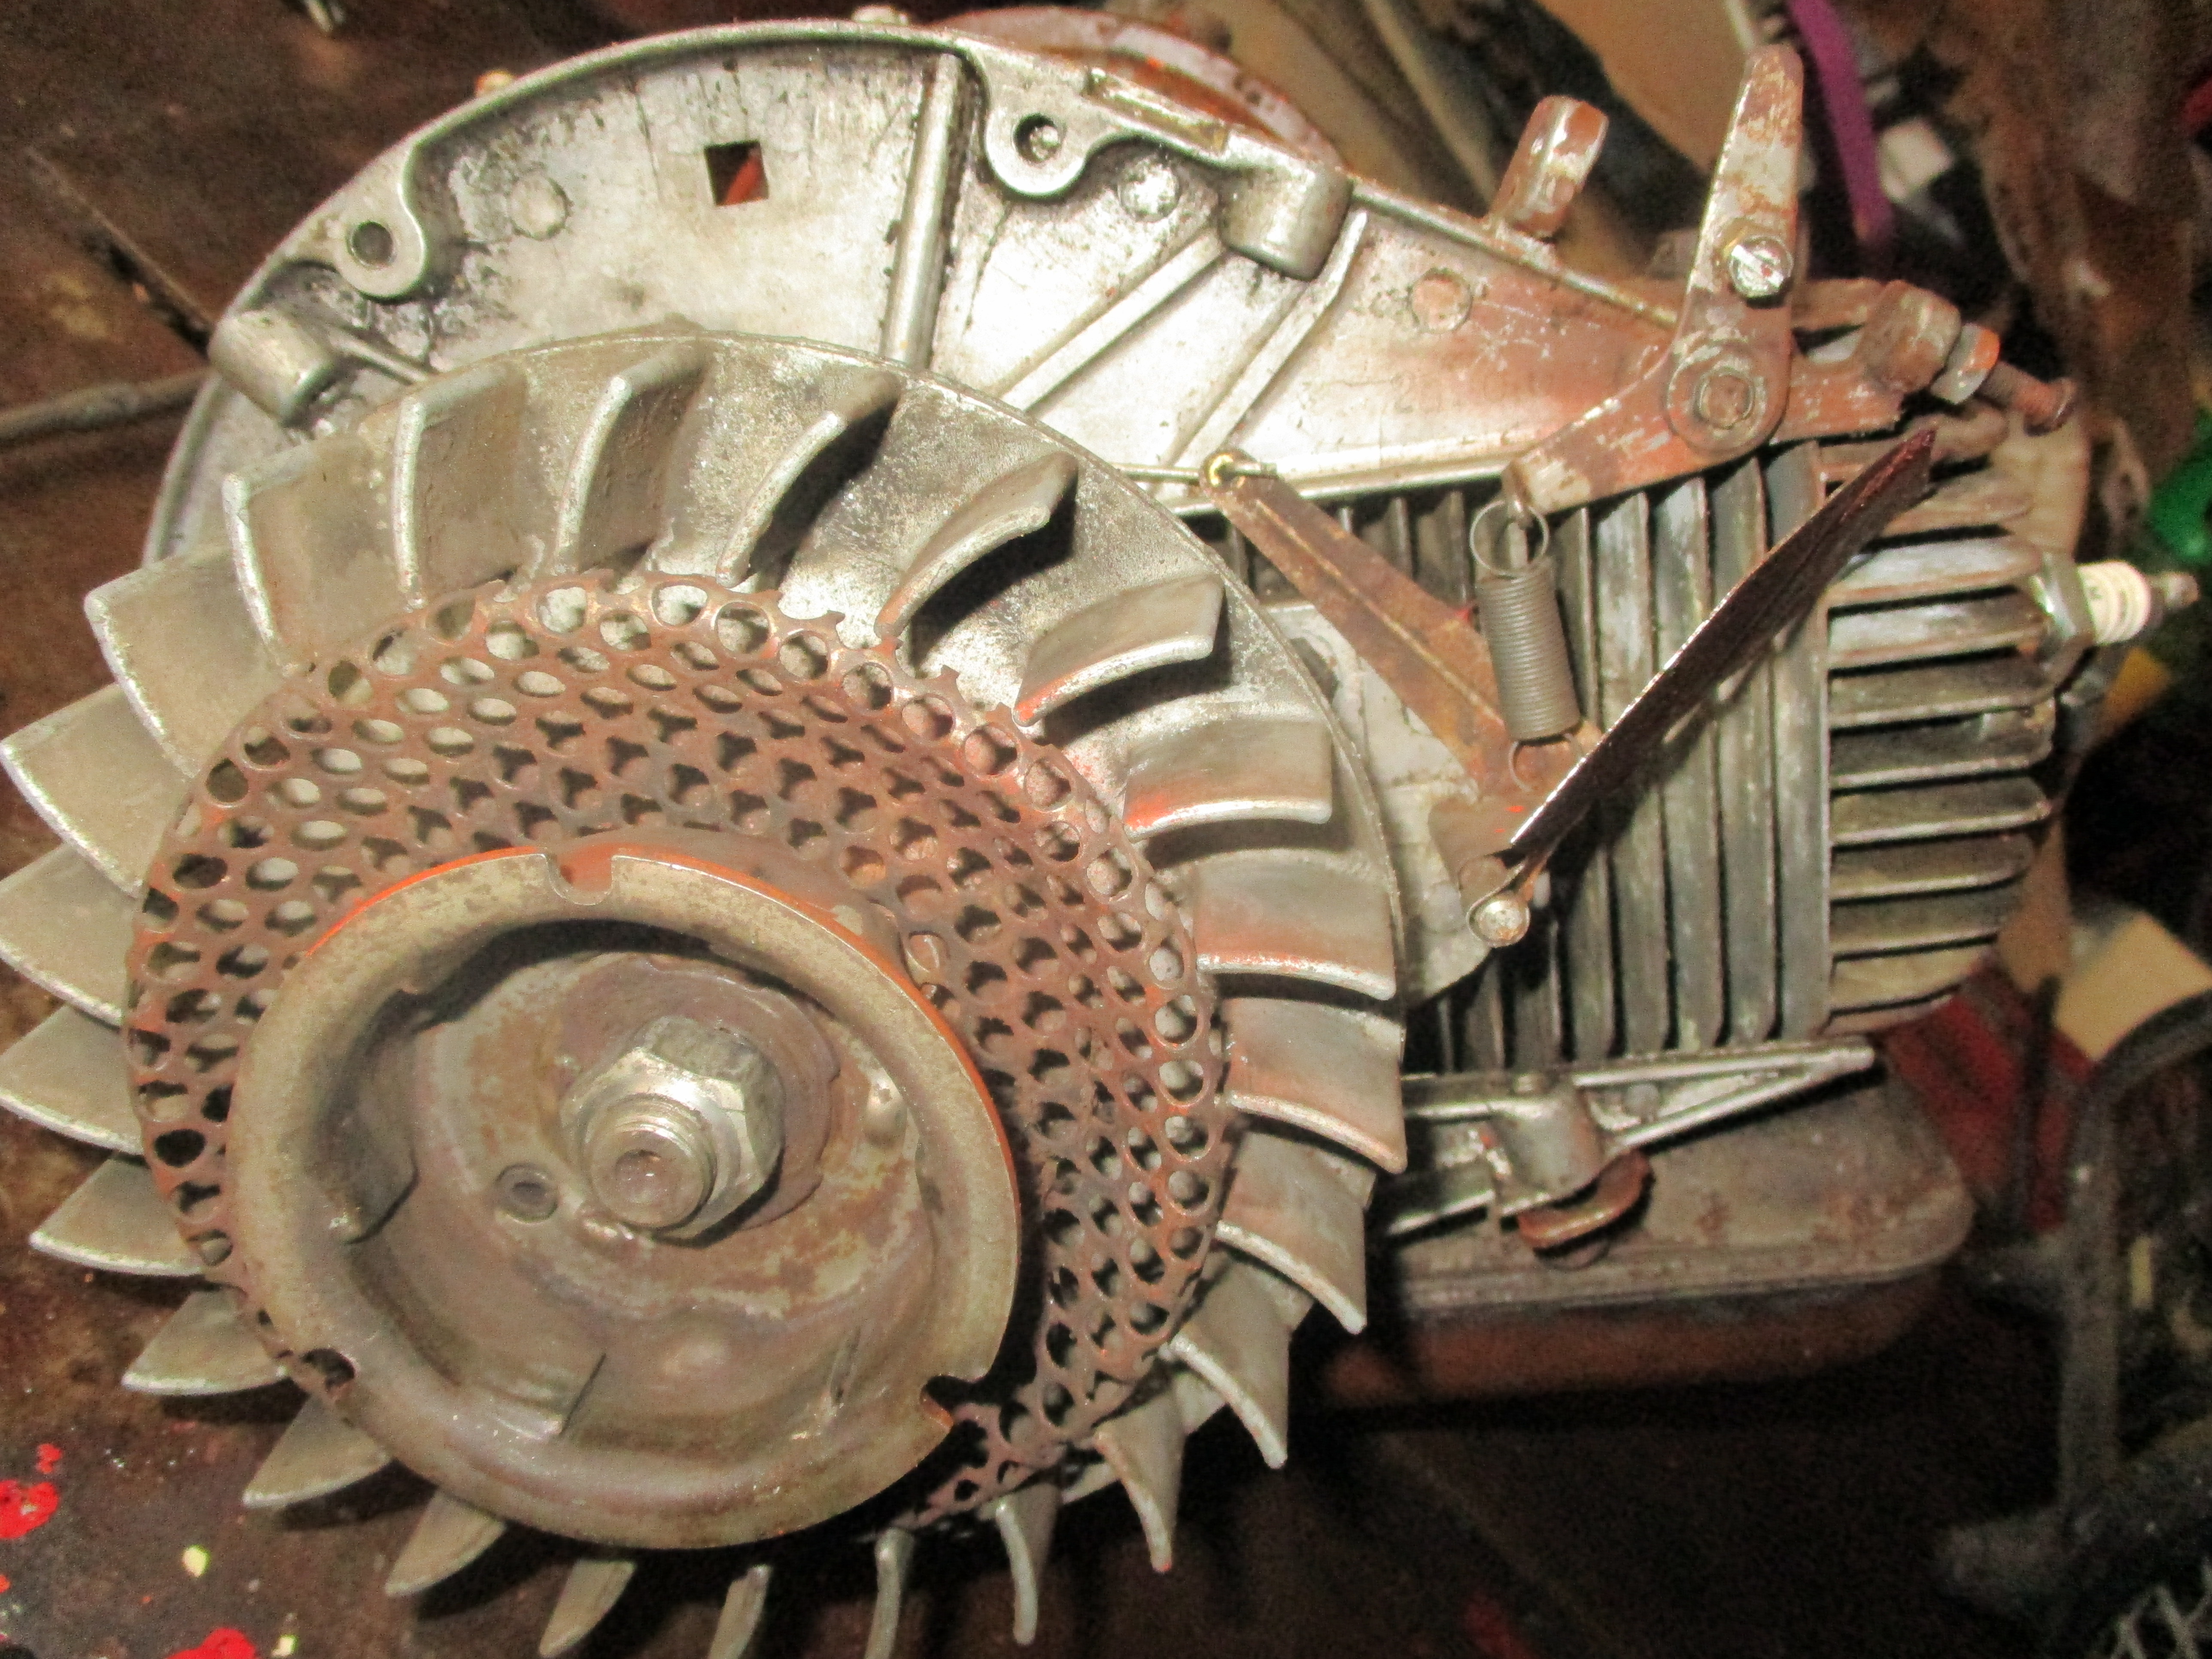
 The air vane for the governor looks very much like a Suffolk Colt/Punch set up, but it's bent too, not sure if that's correct. I don't have much faith in the fixing method either.
No spark either, so off with
No spark either, so off with the flywheel, after finding the correct knocker for the job.
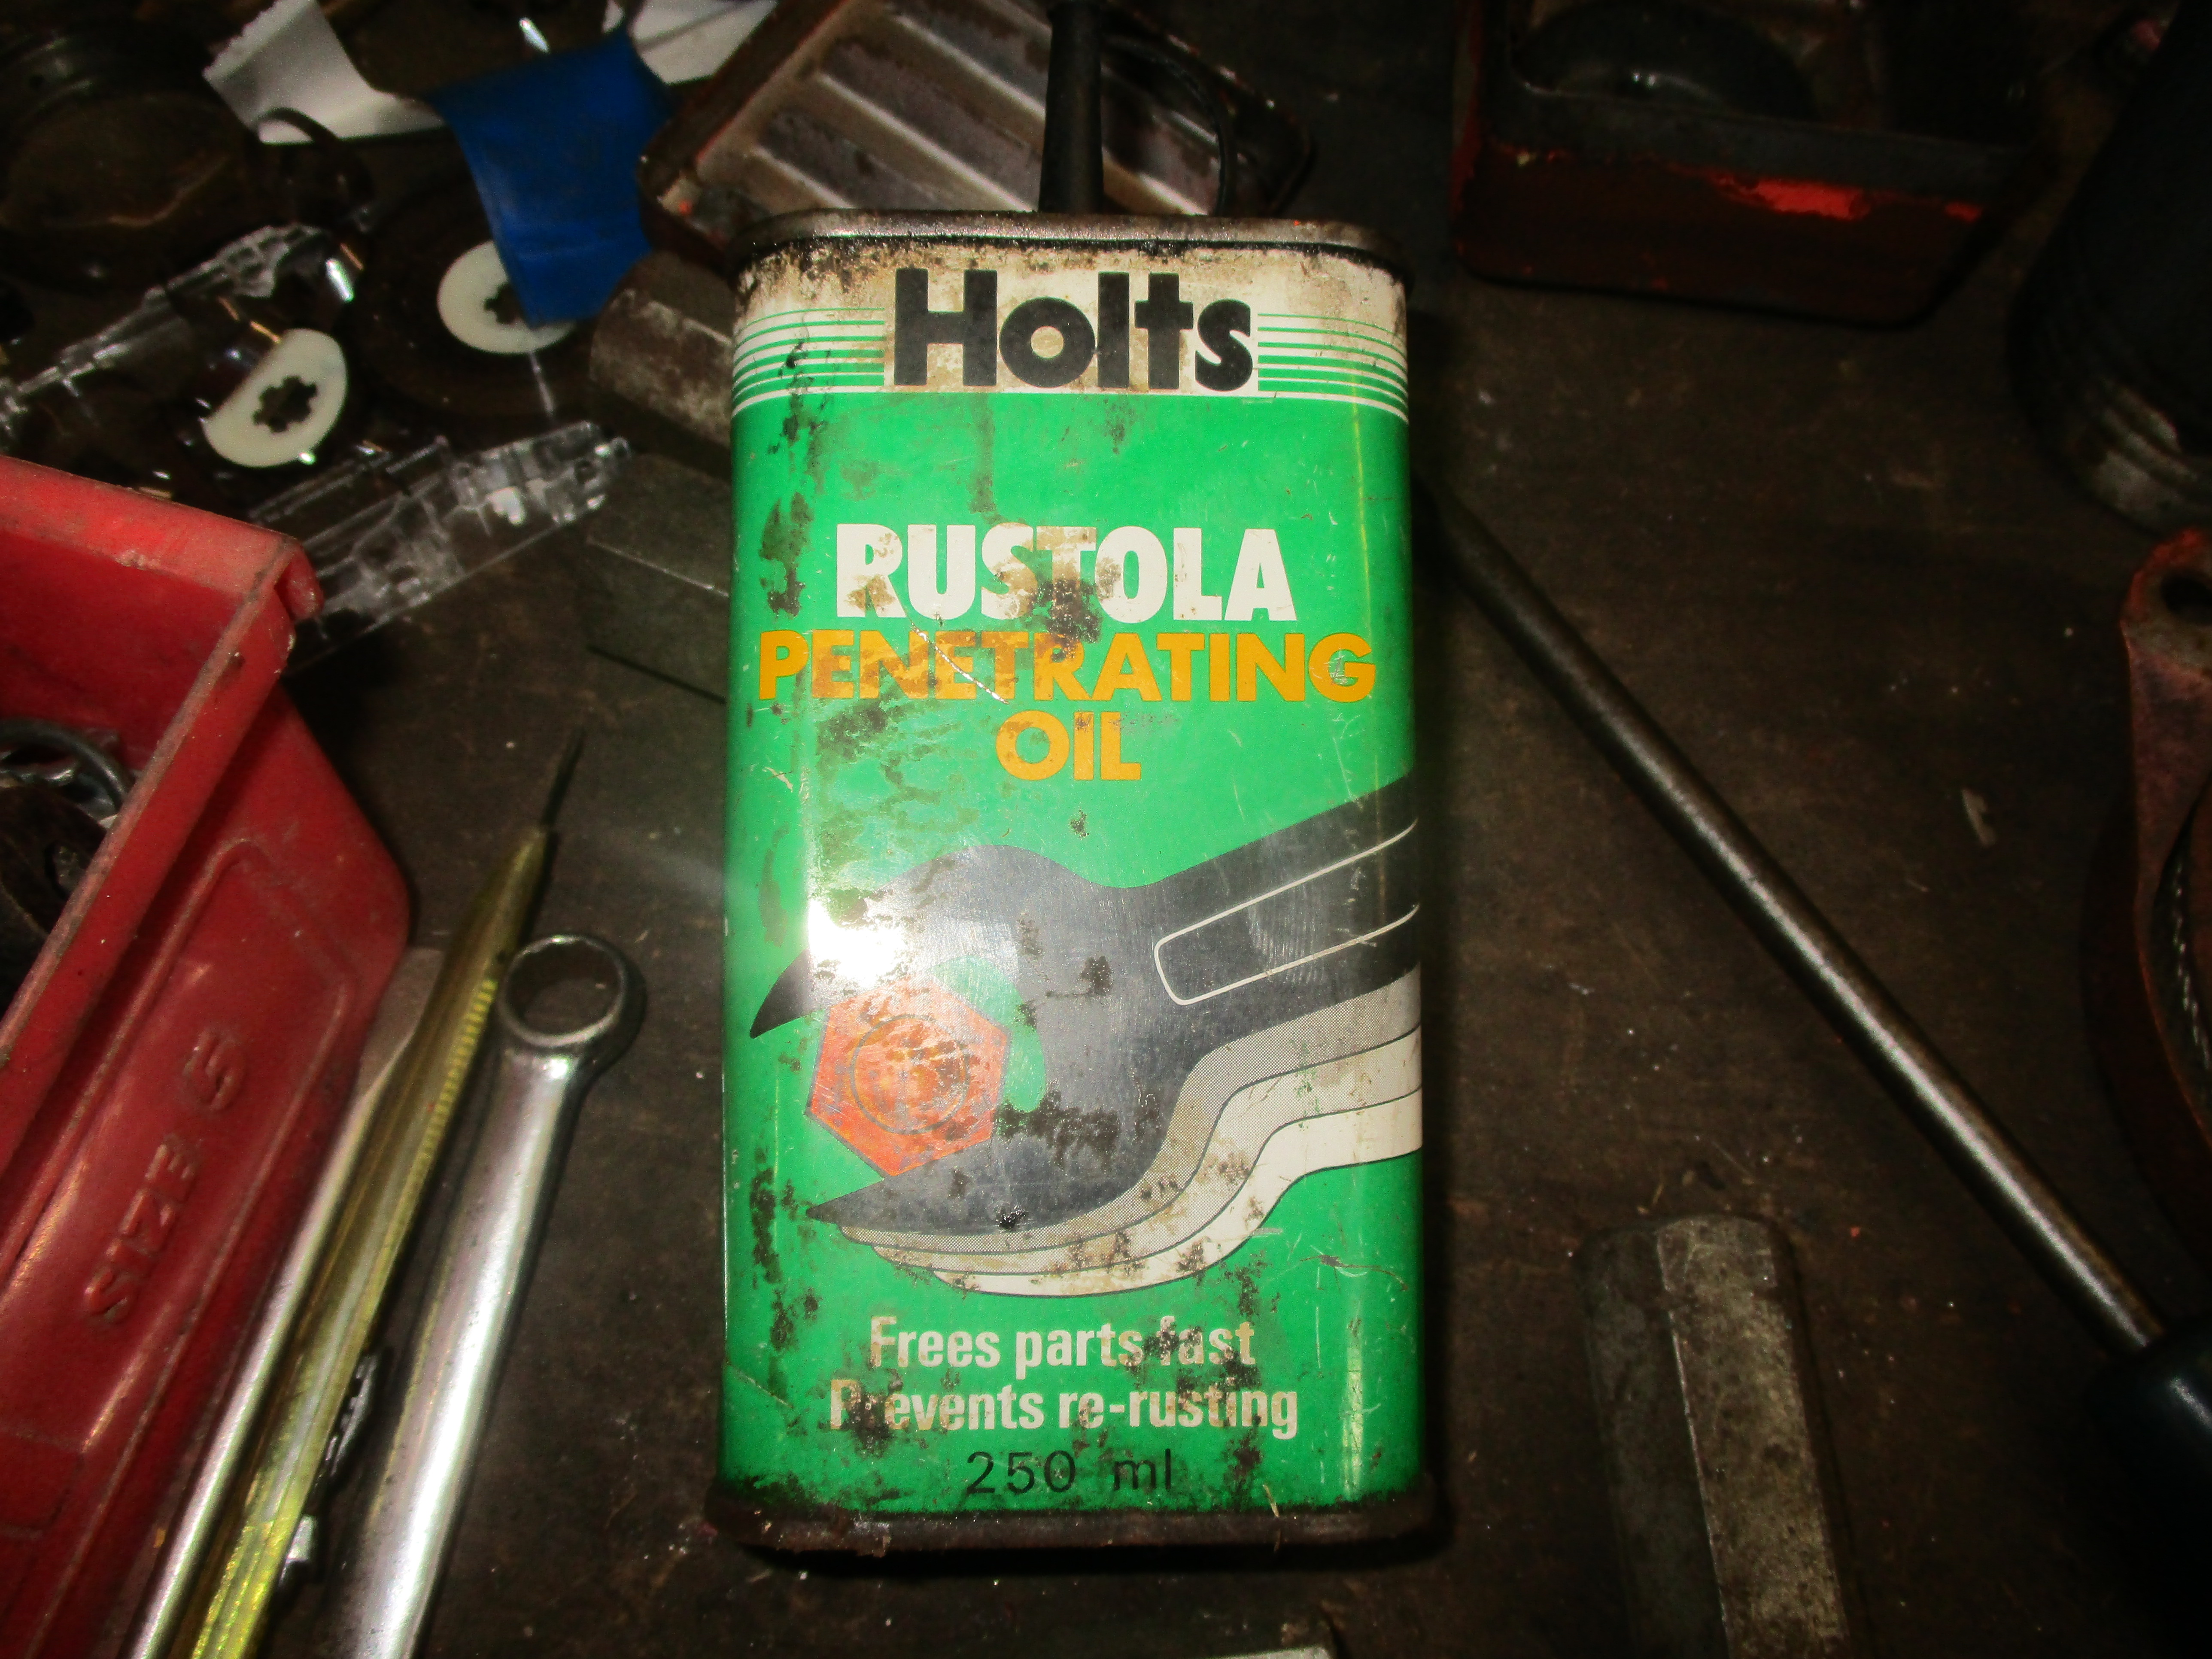 I do like Holt's Rustola too, it does work.
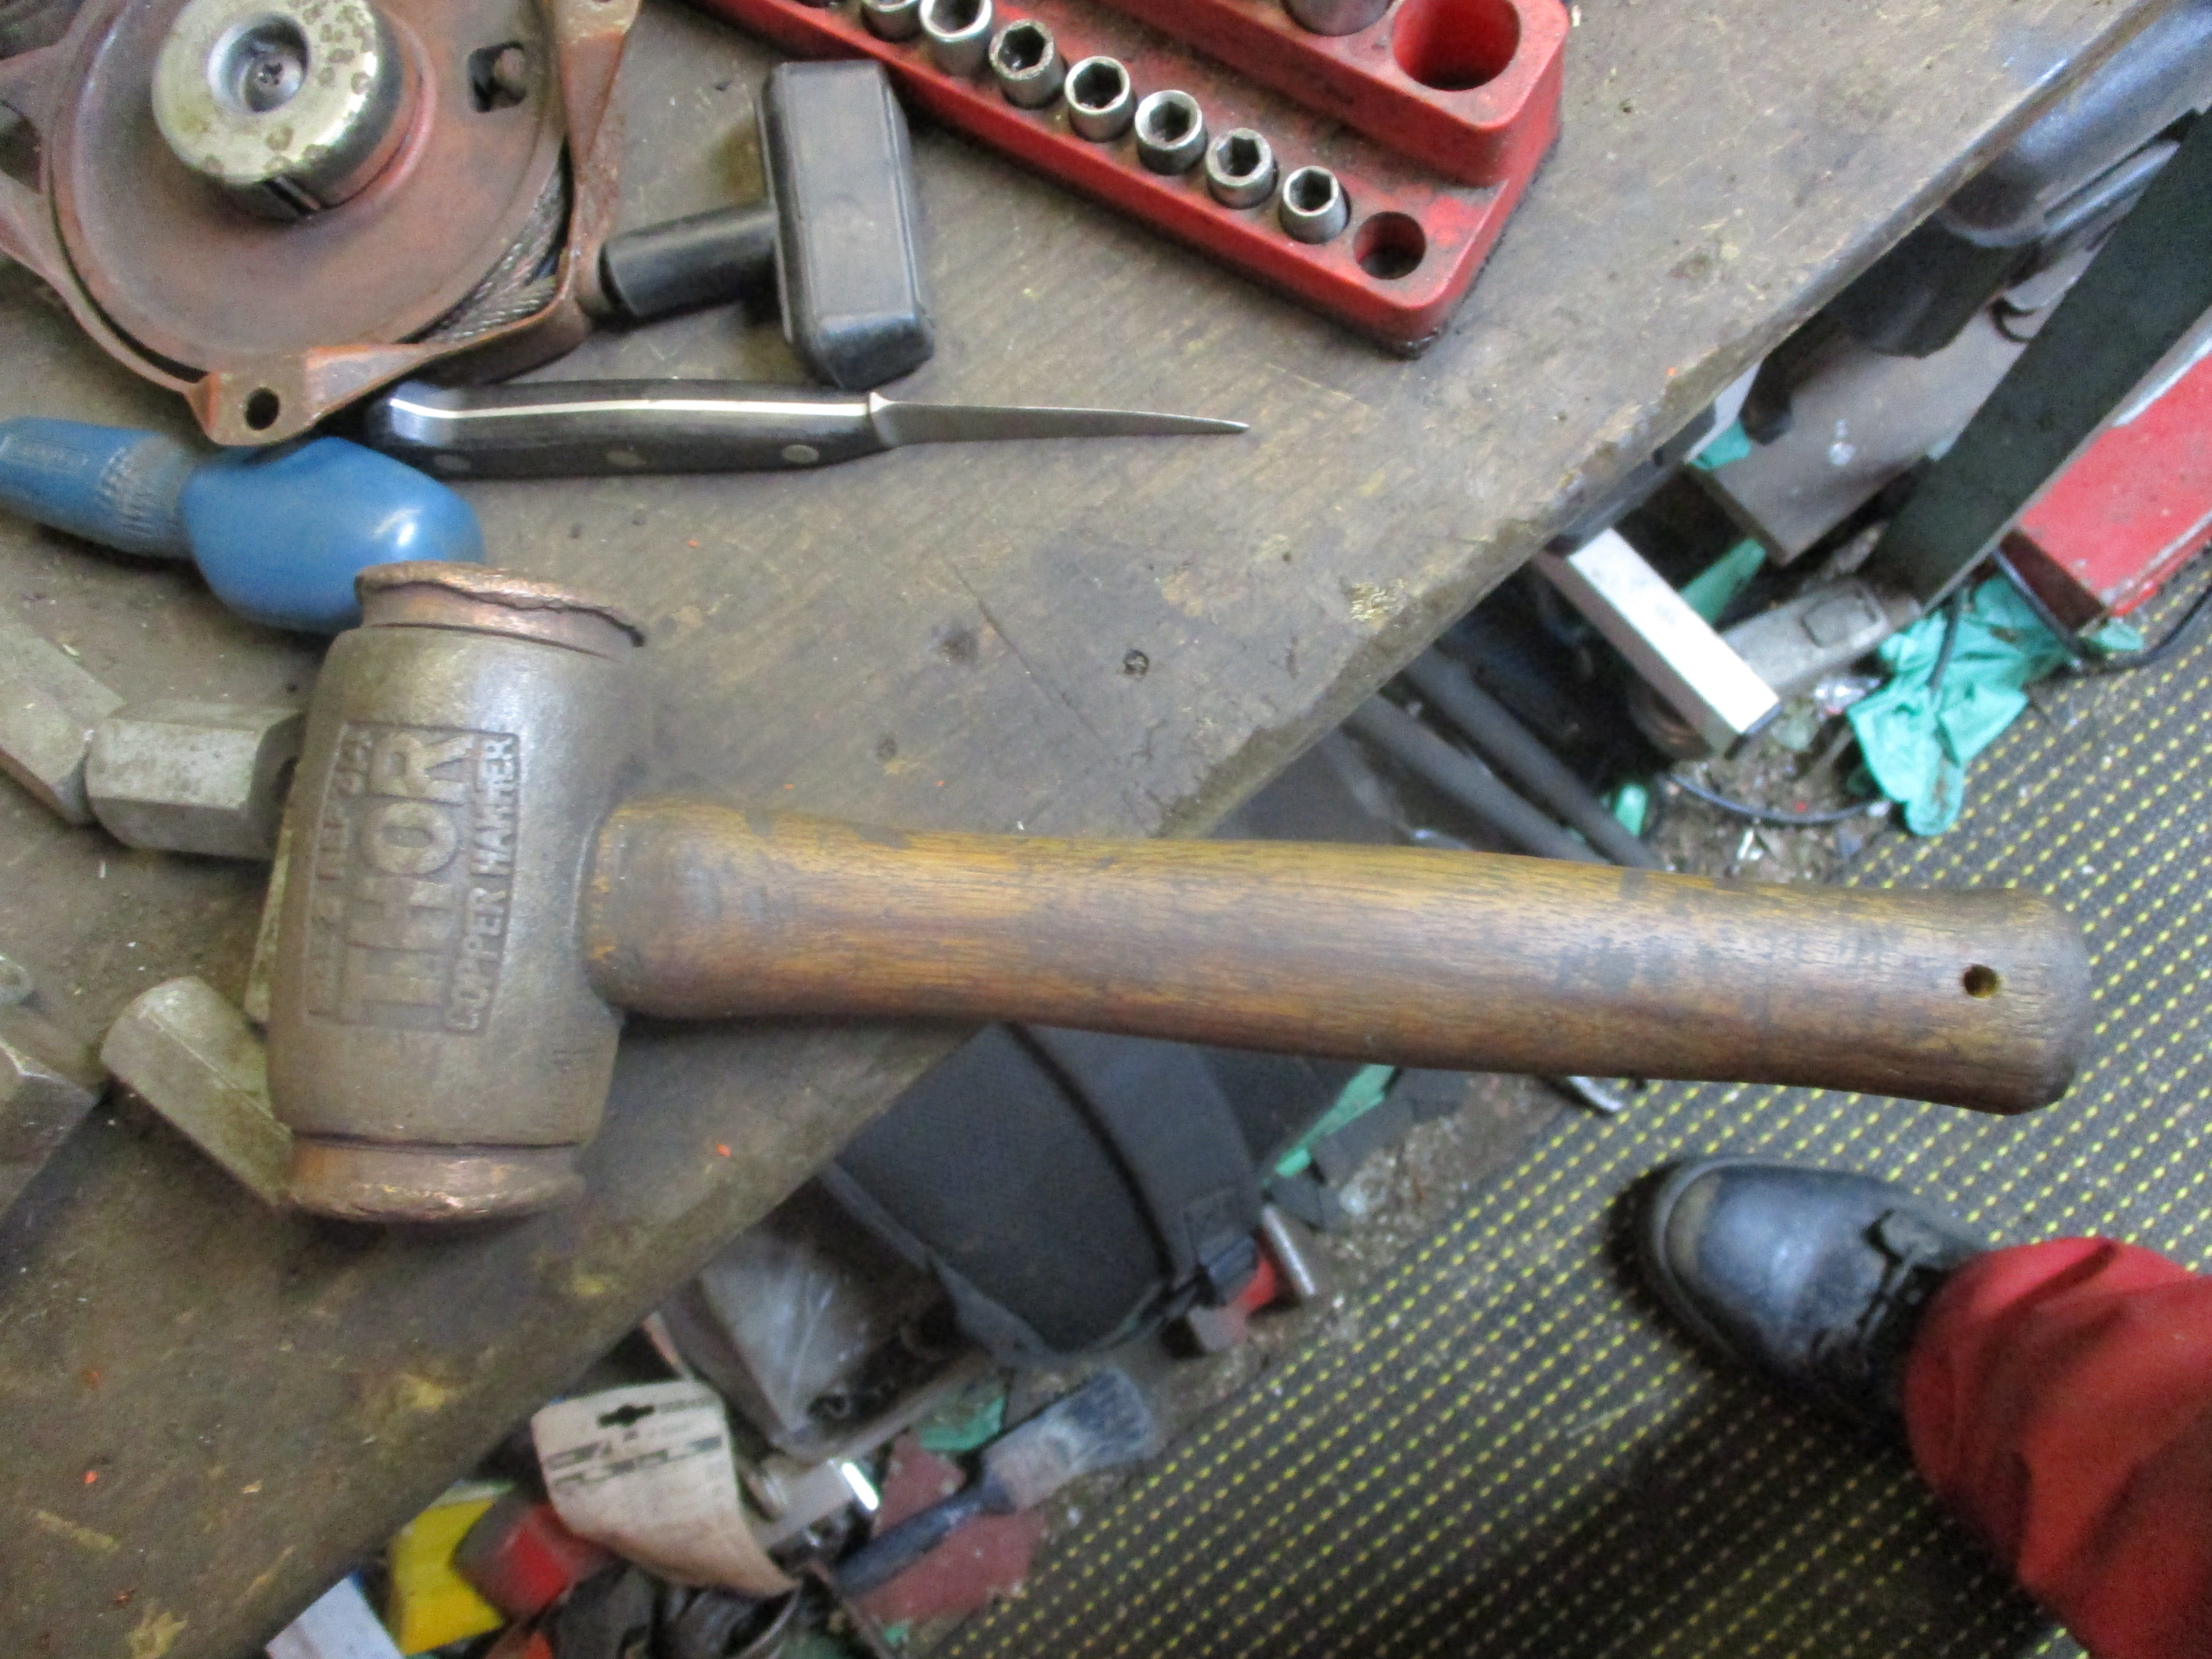 A Thor copper headed hammer is both heavy and less prone to damaging parts.
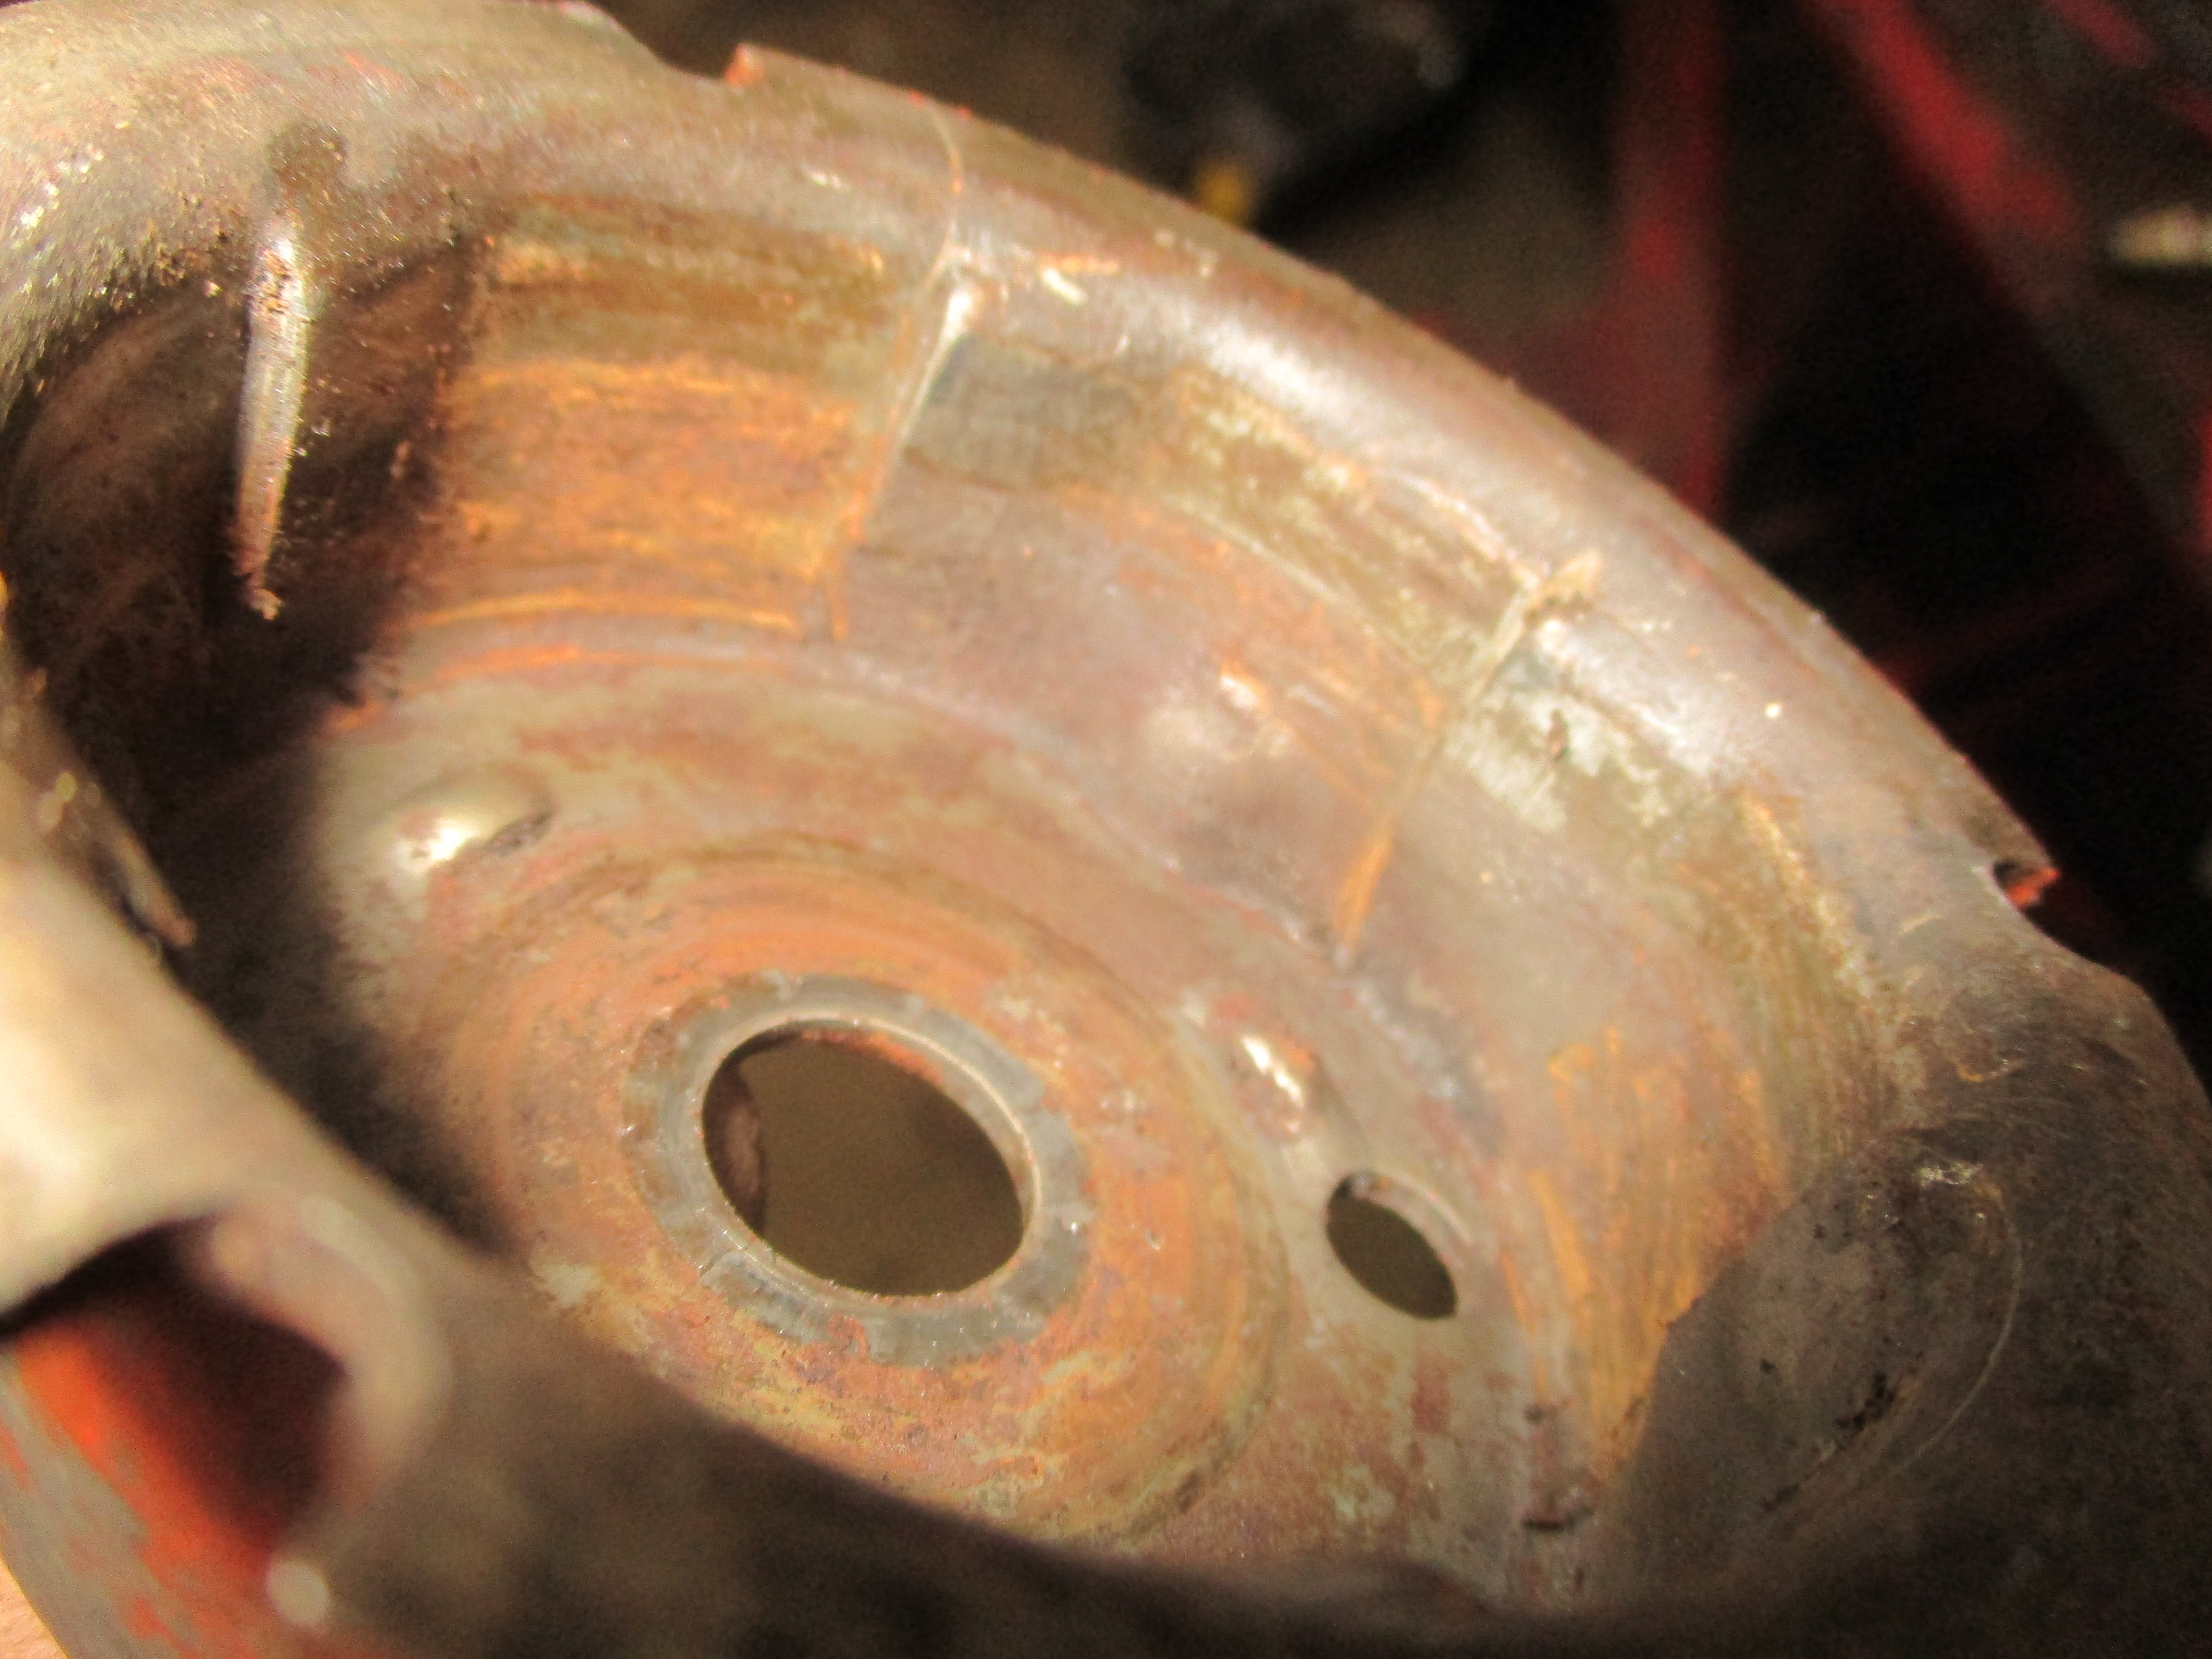
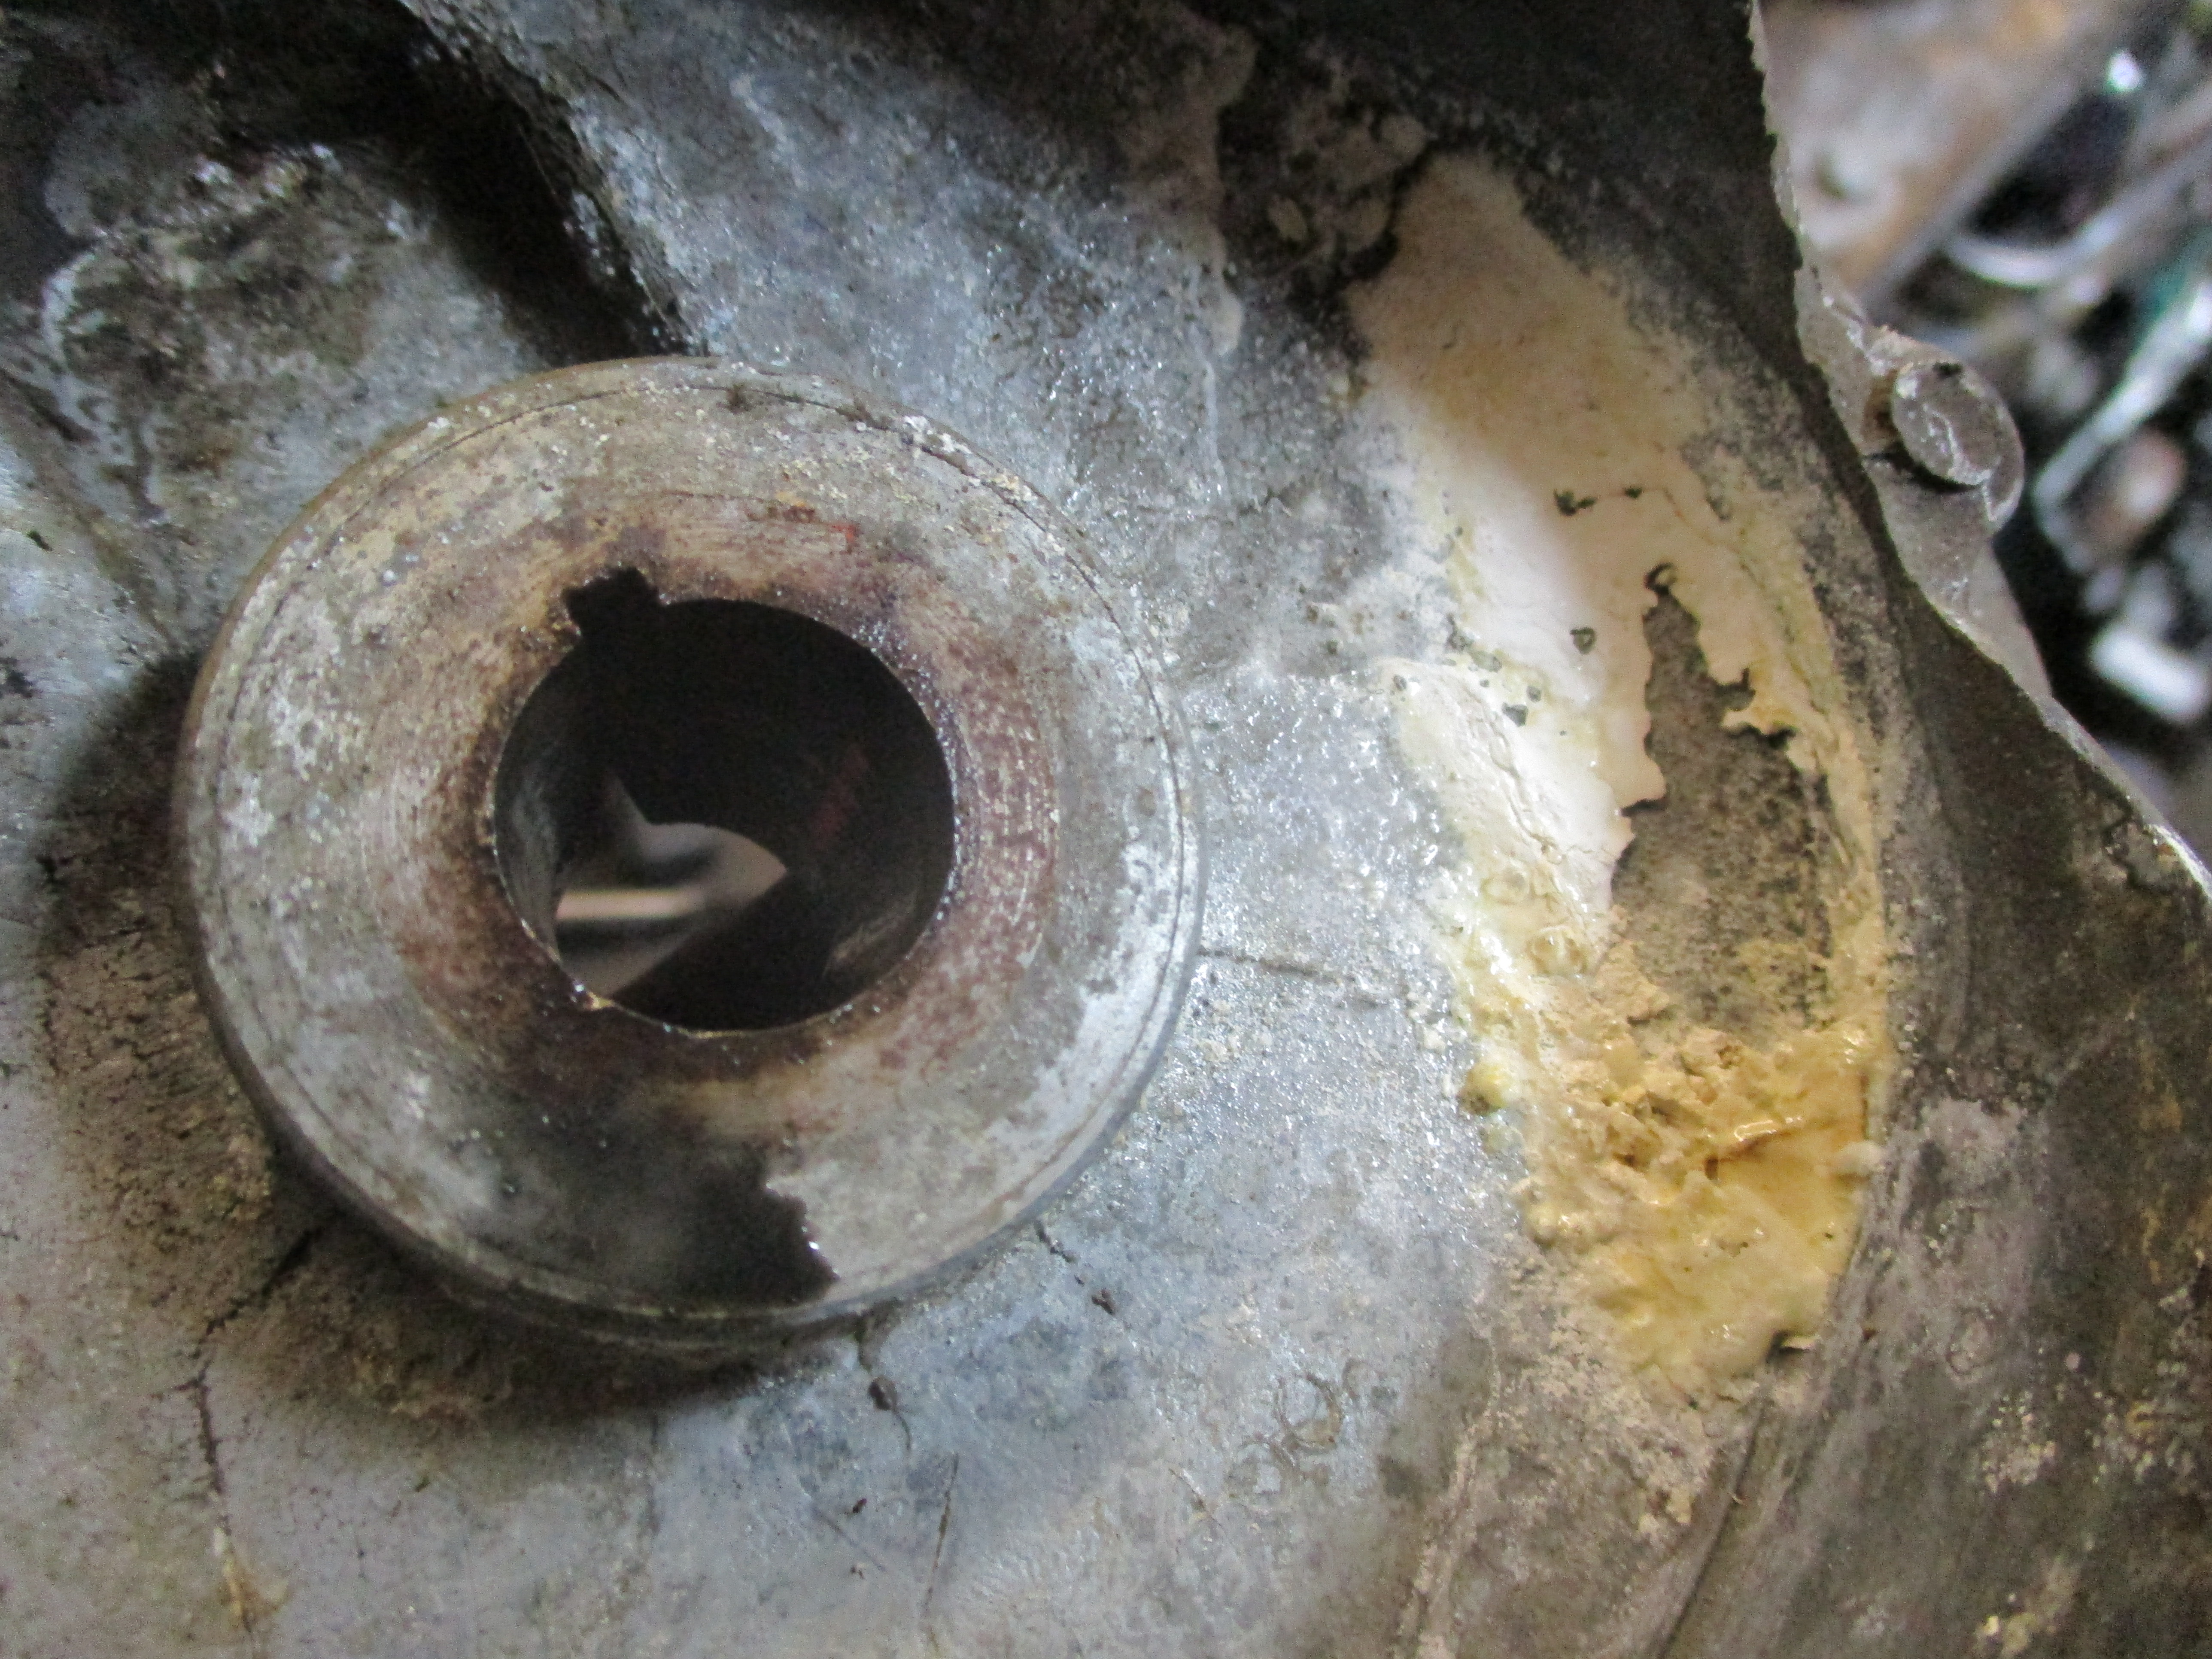 Ally oxide gets everywhere.
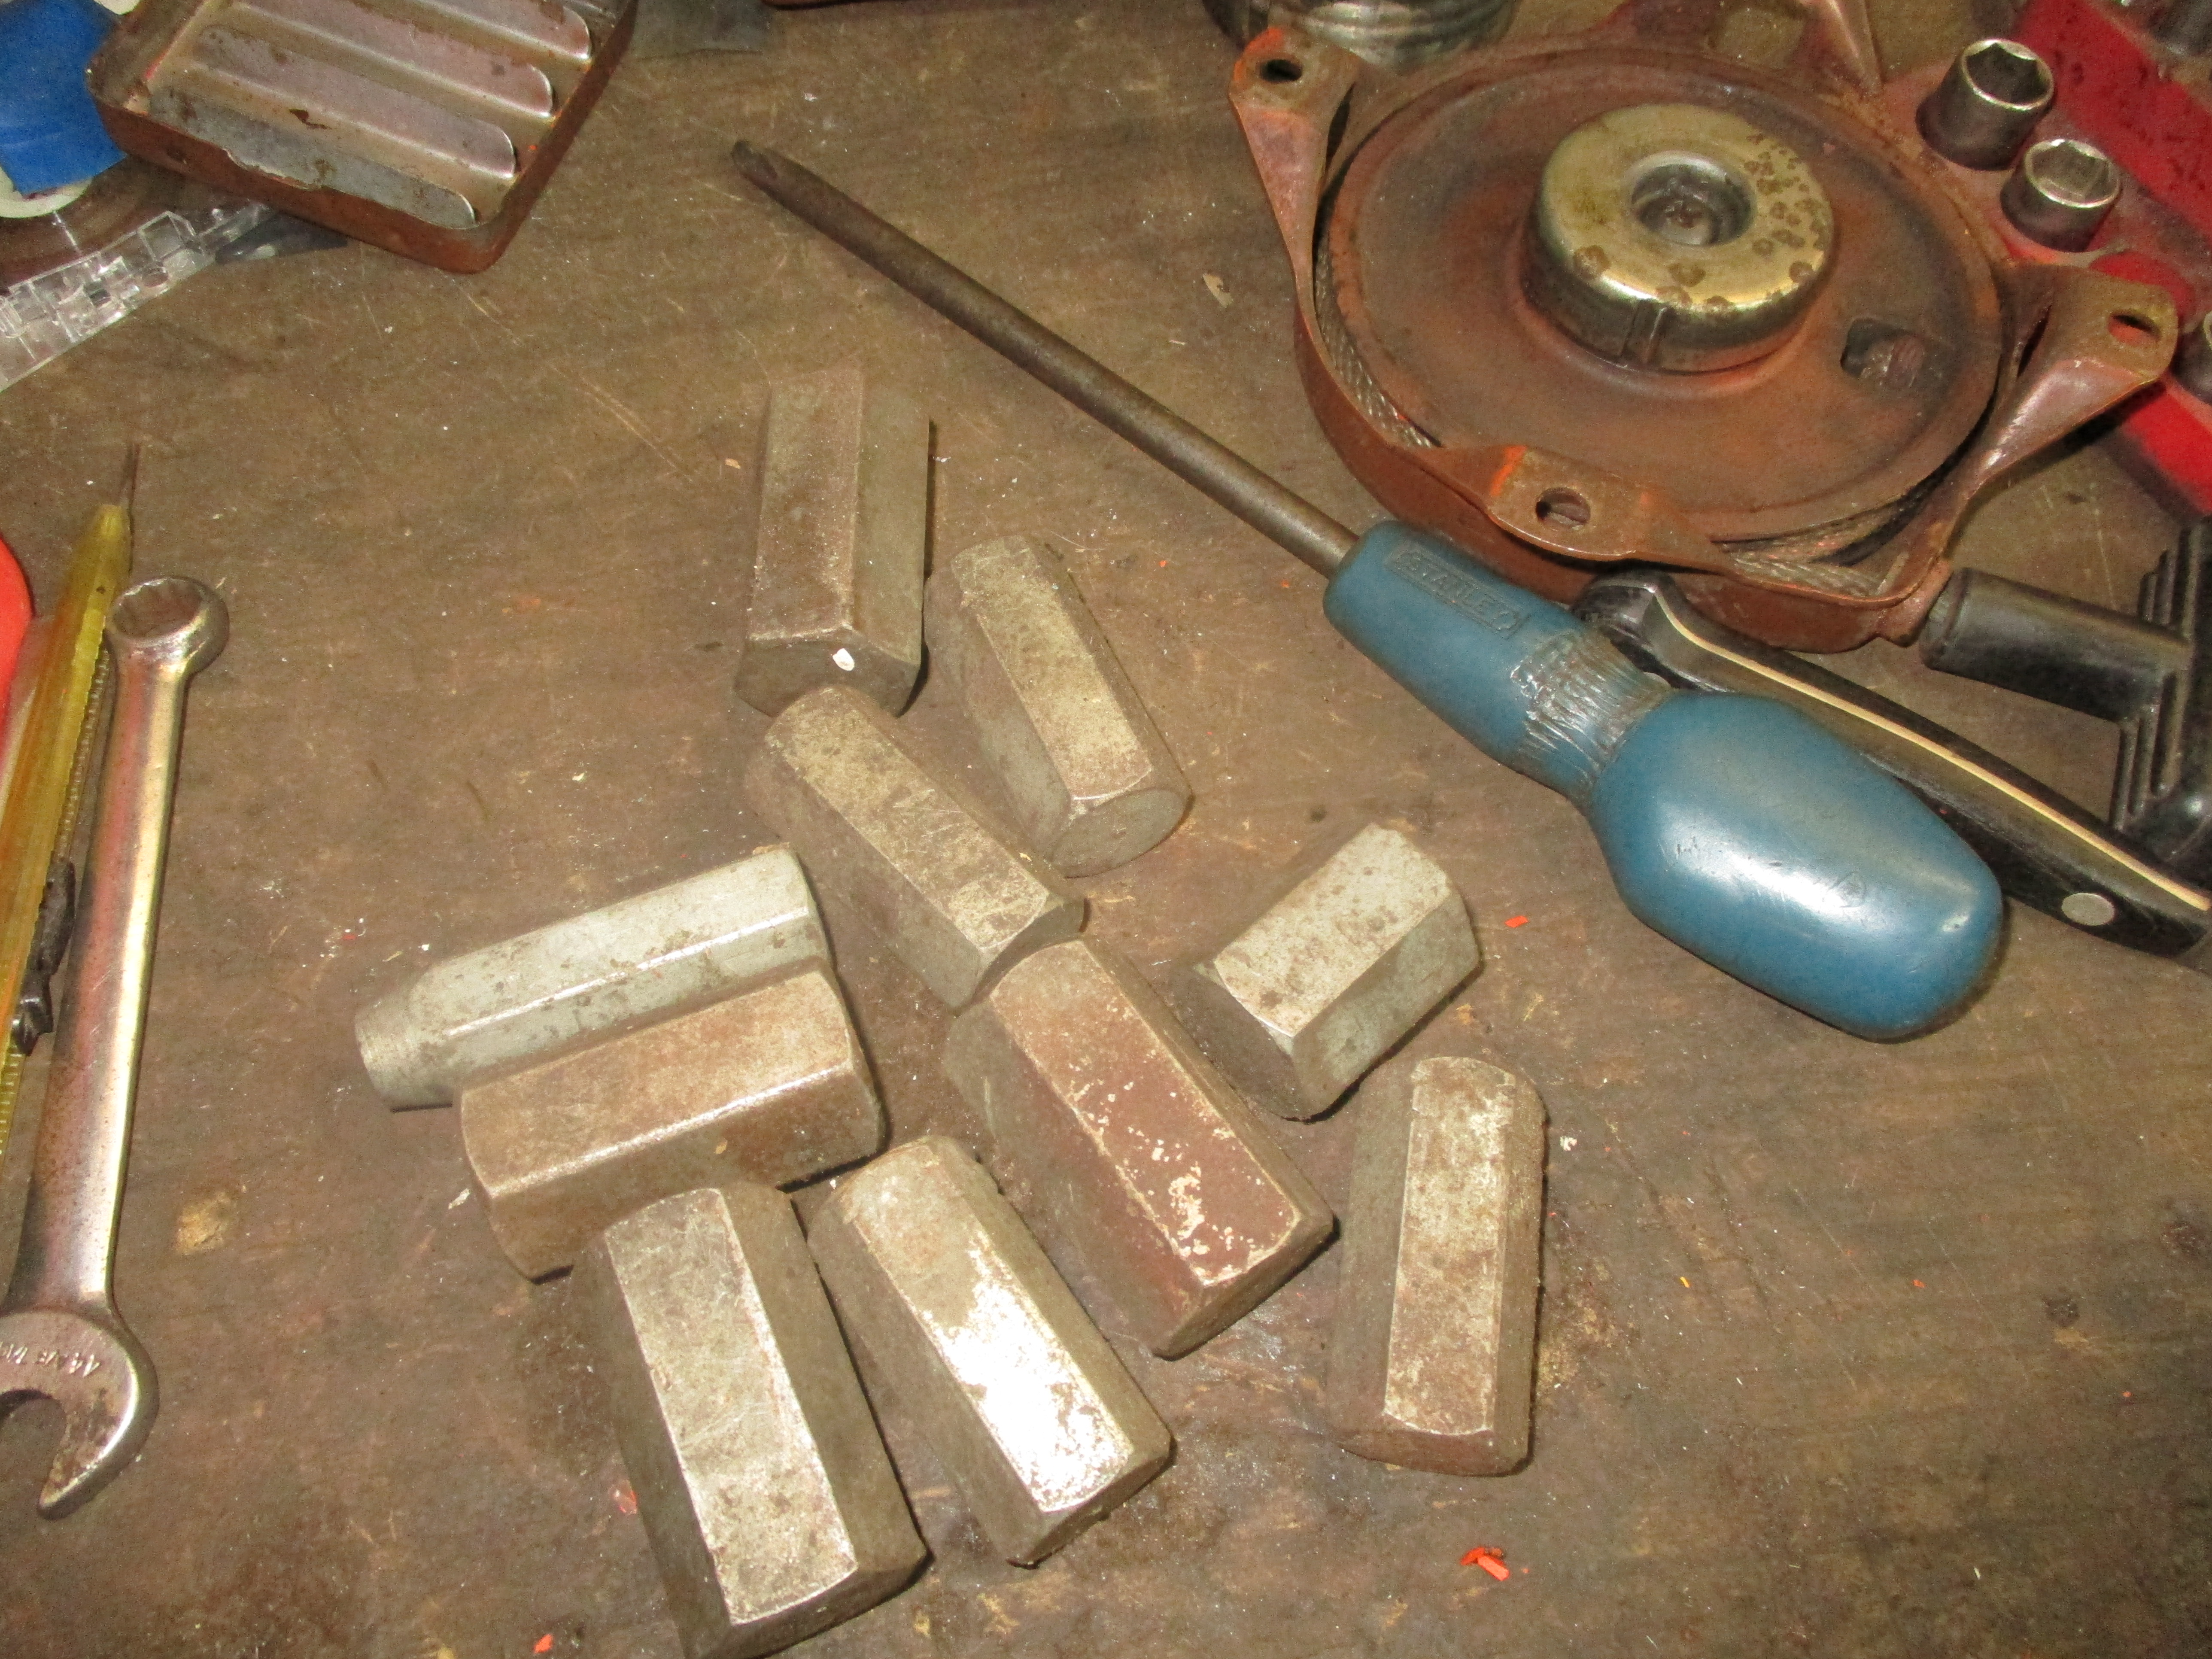
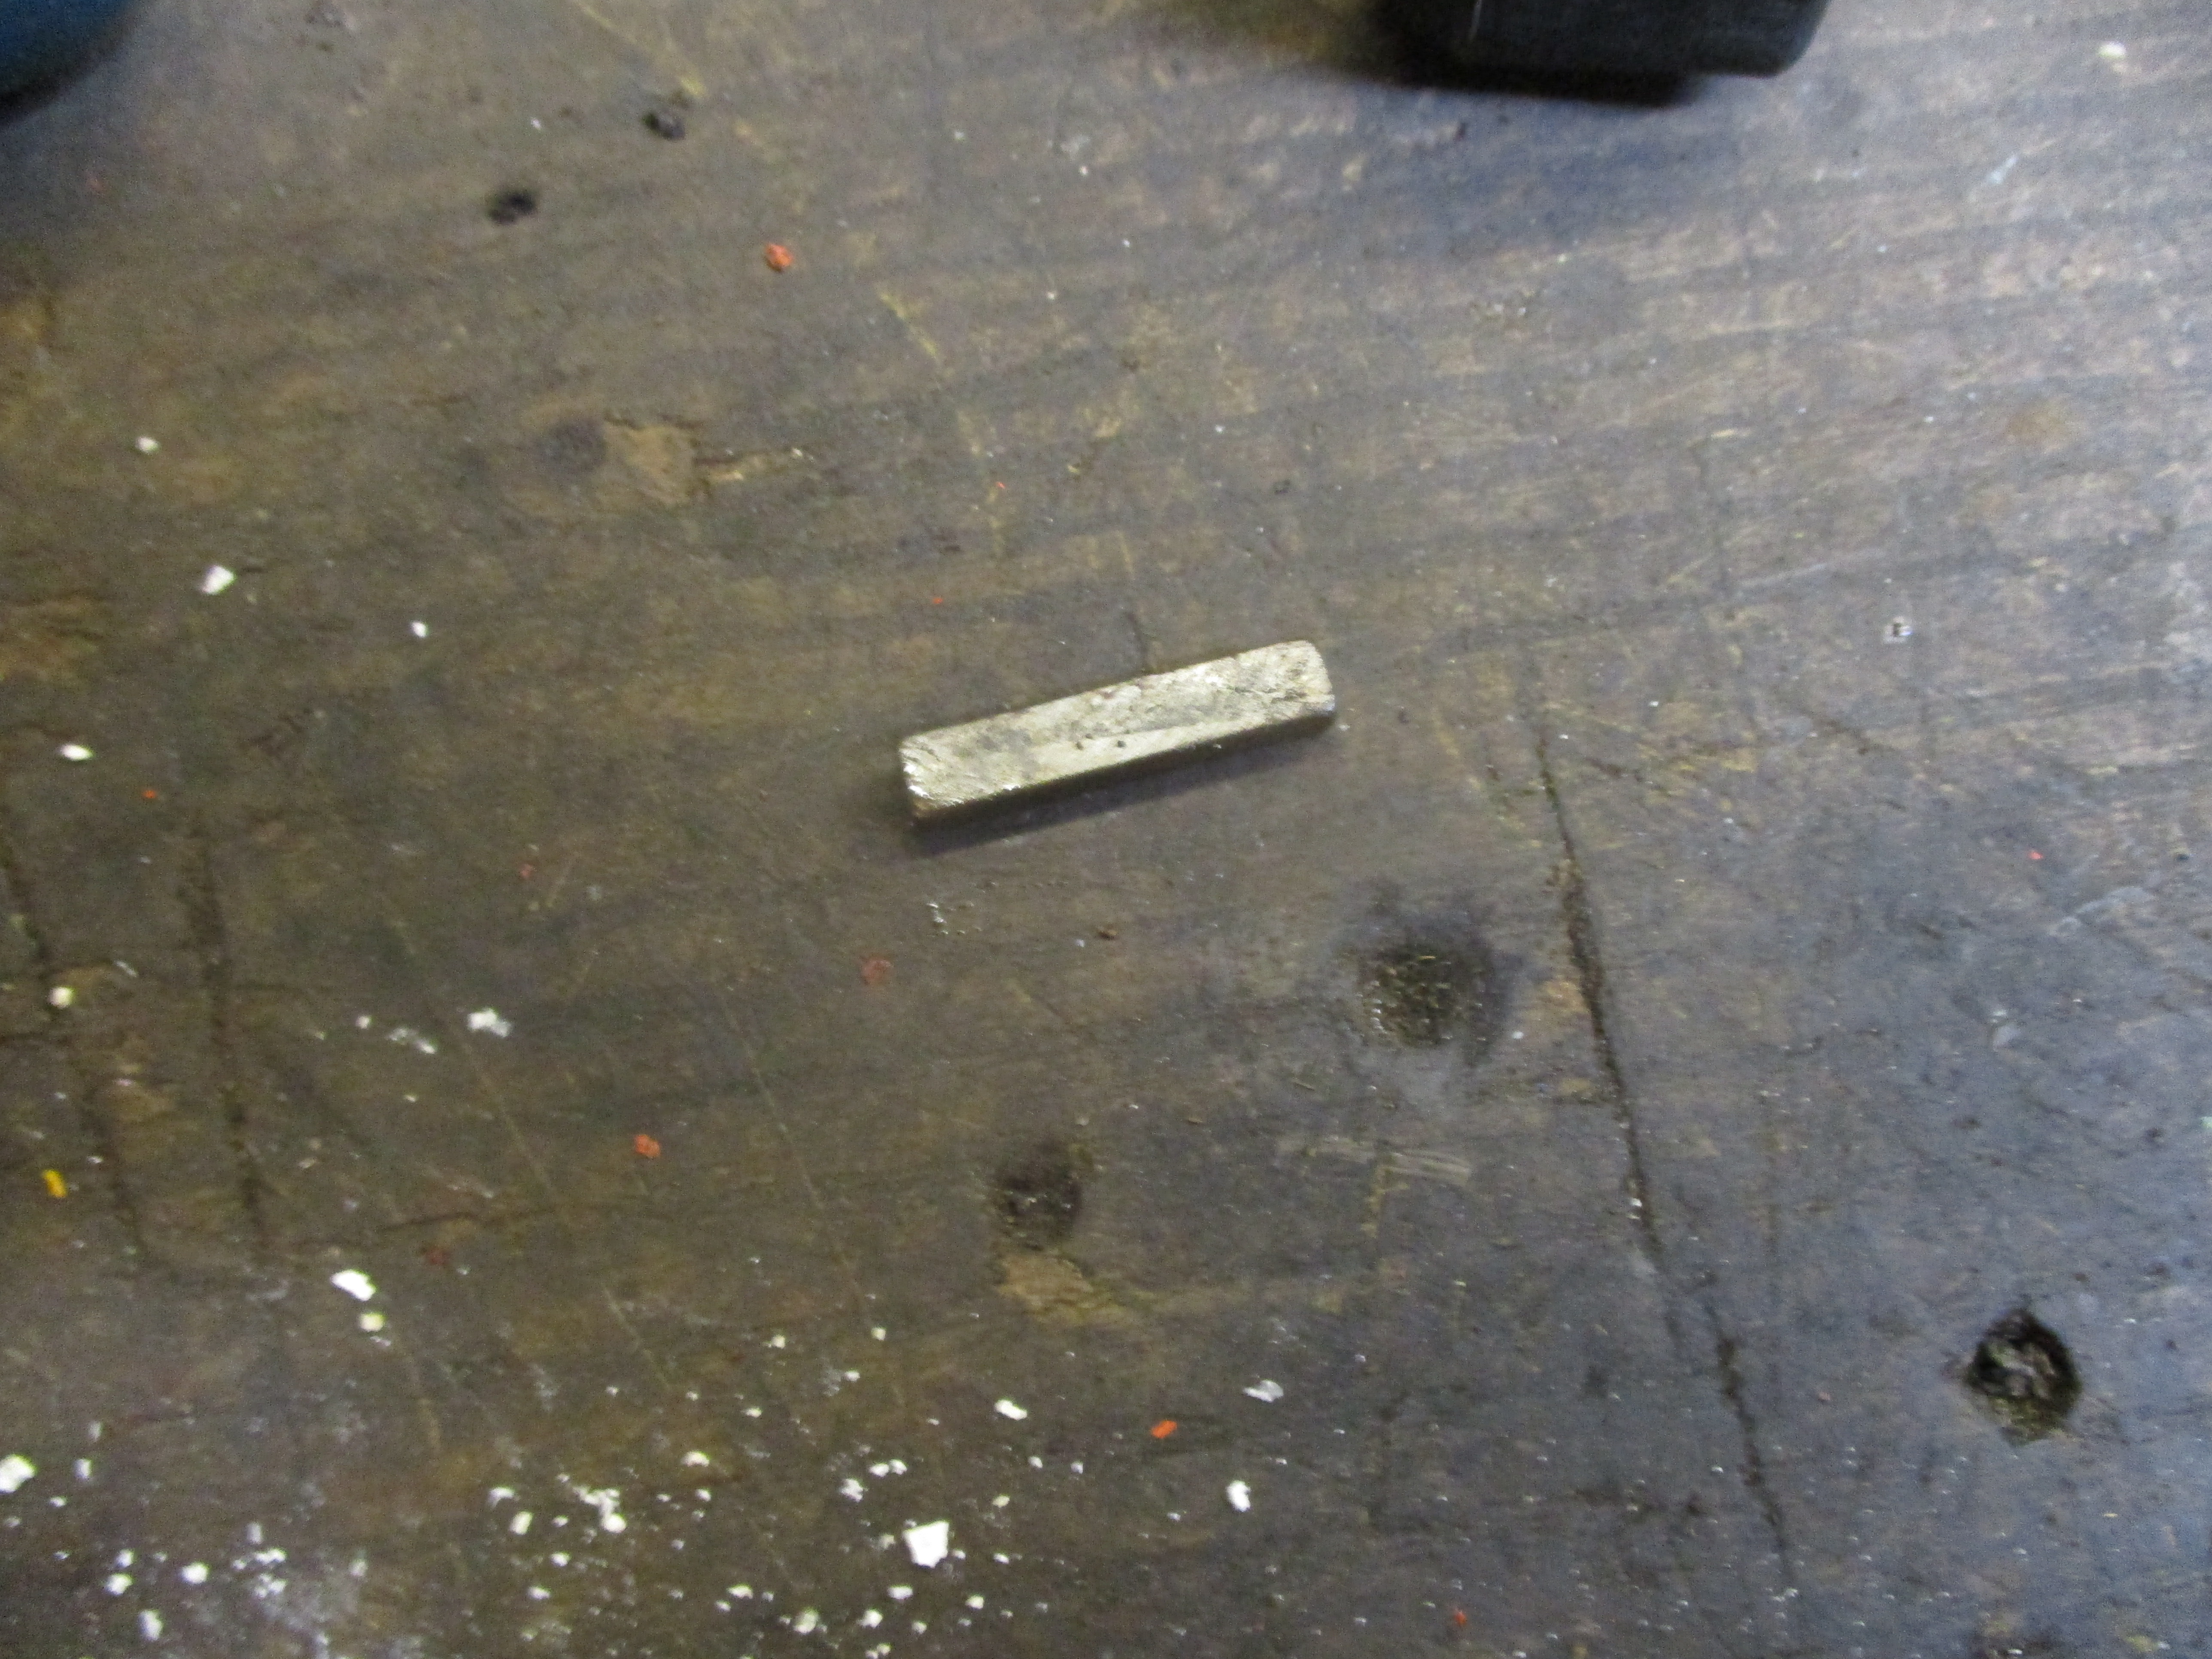 Engines like this have used many differently shaped shear keys for the flywheels over the years, plain ones like this show their age, the odd angled ones are later.
 I was able to mount the gearbox shaft end in soft jaws of my small vice. Working like this is much easier.
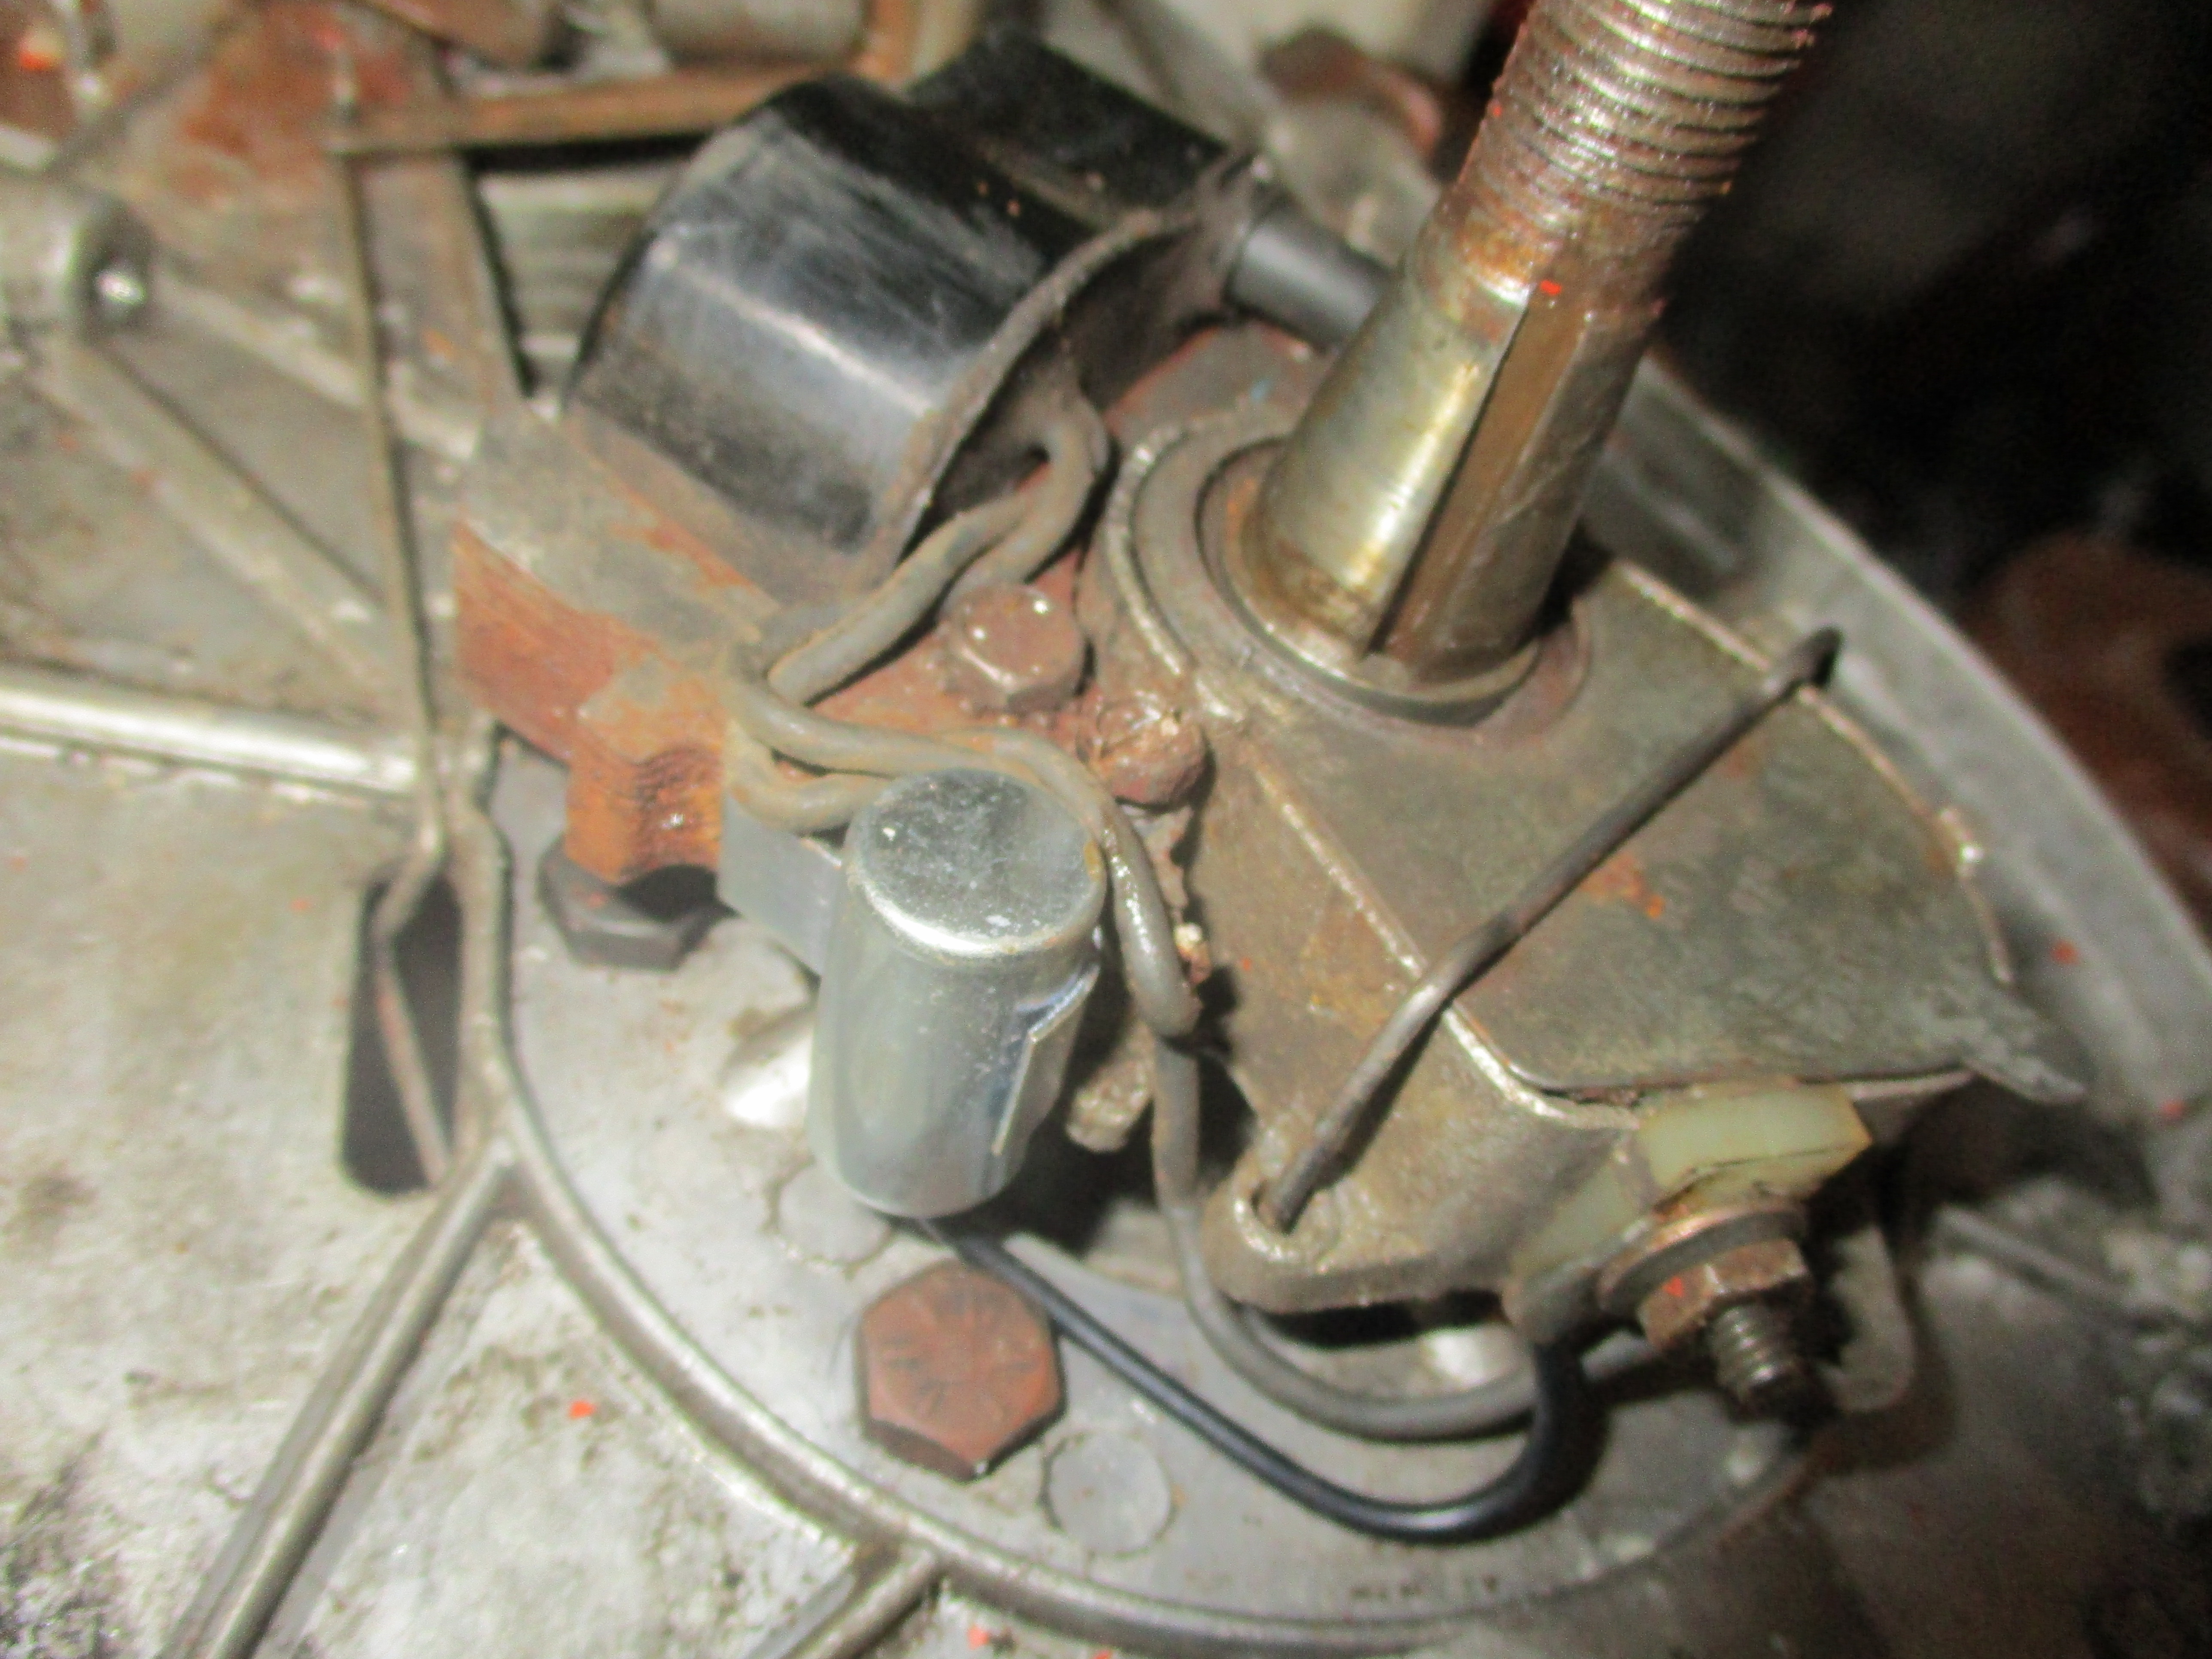
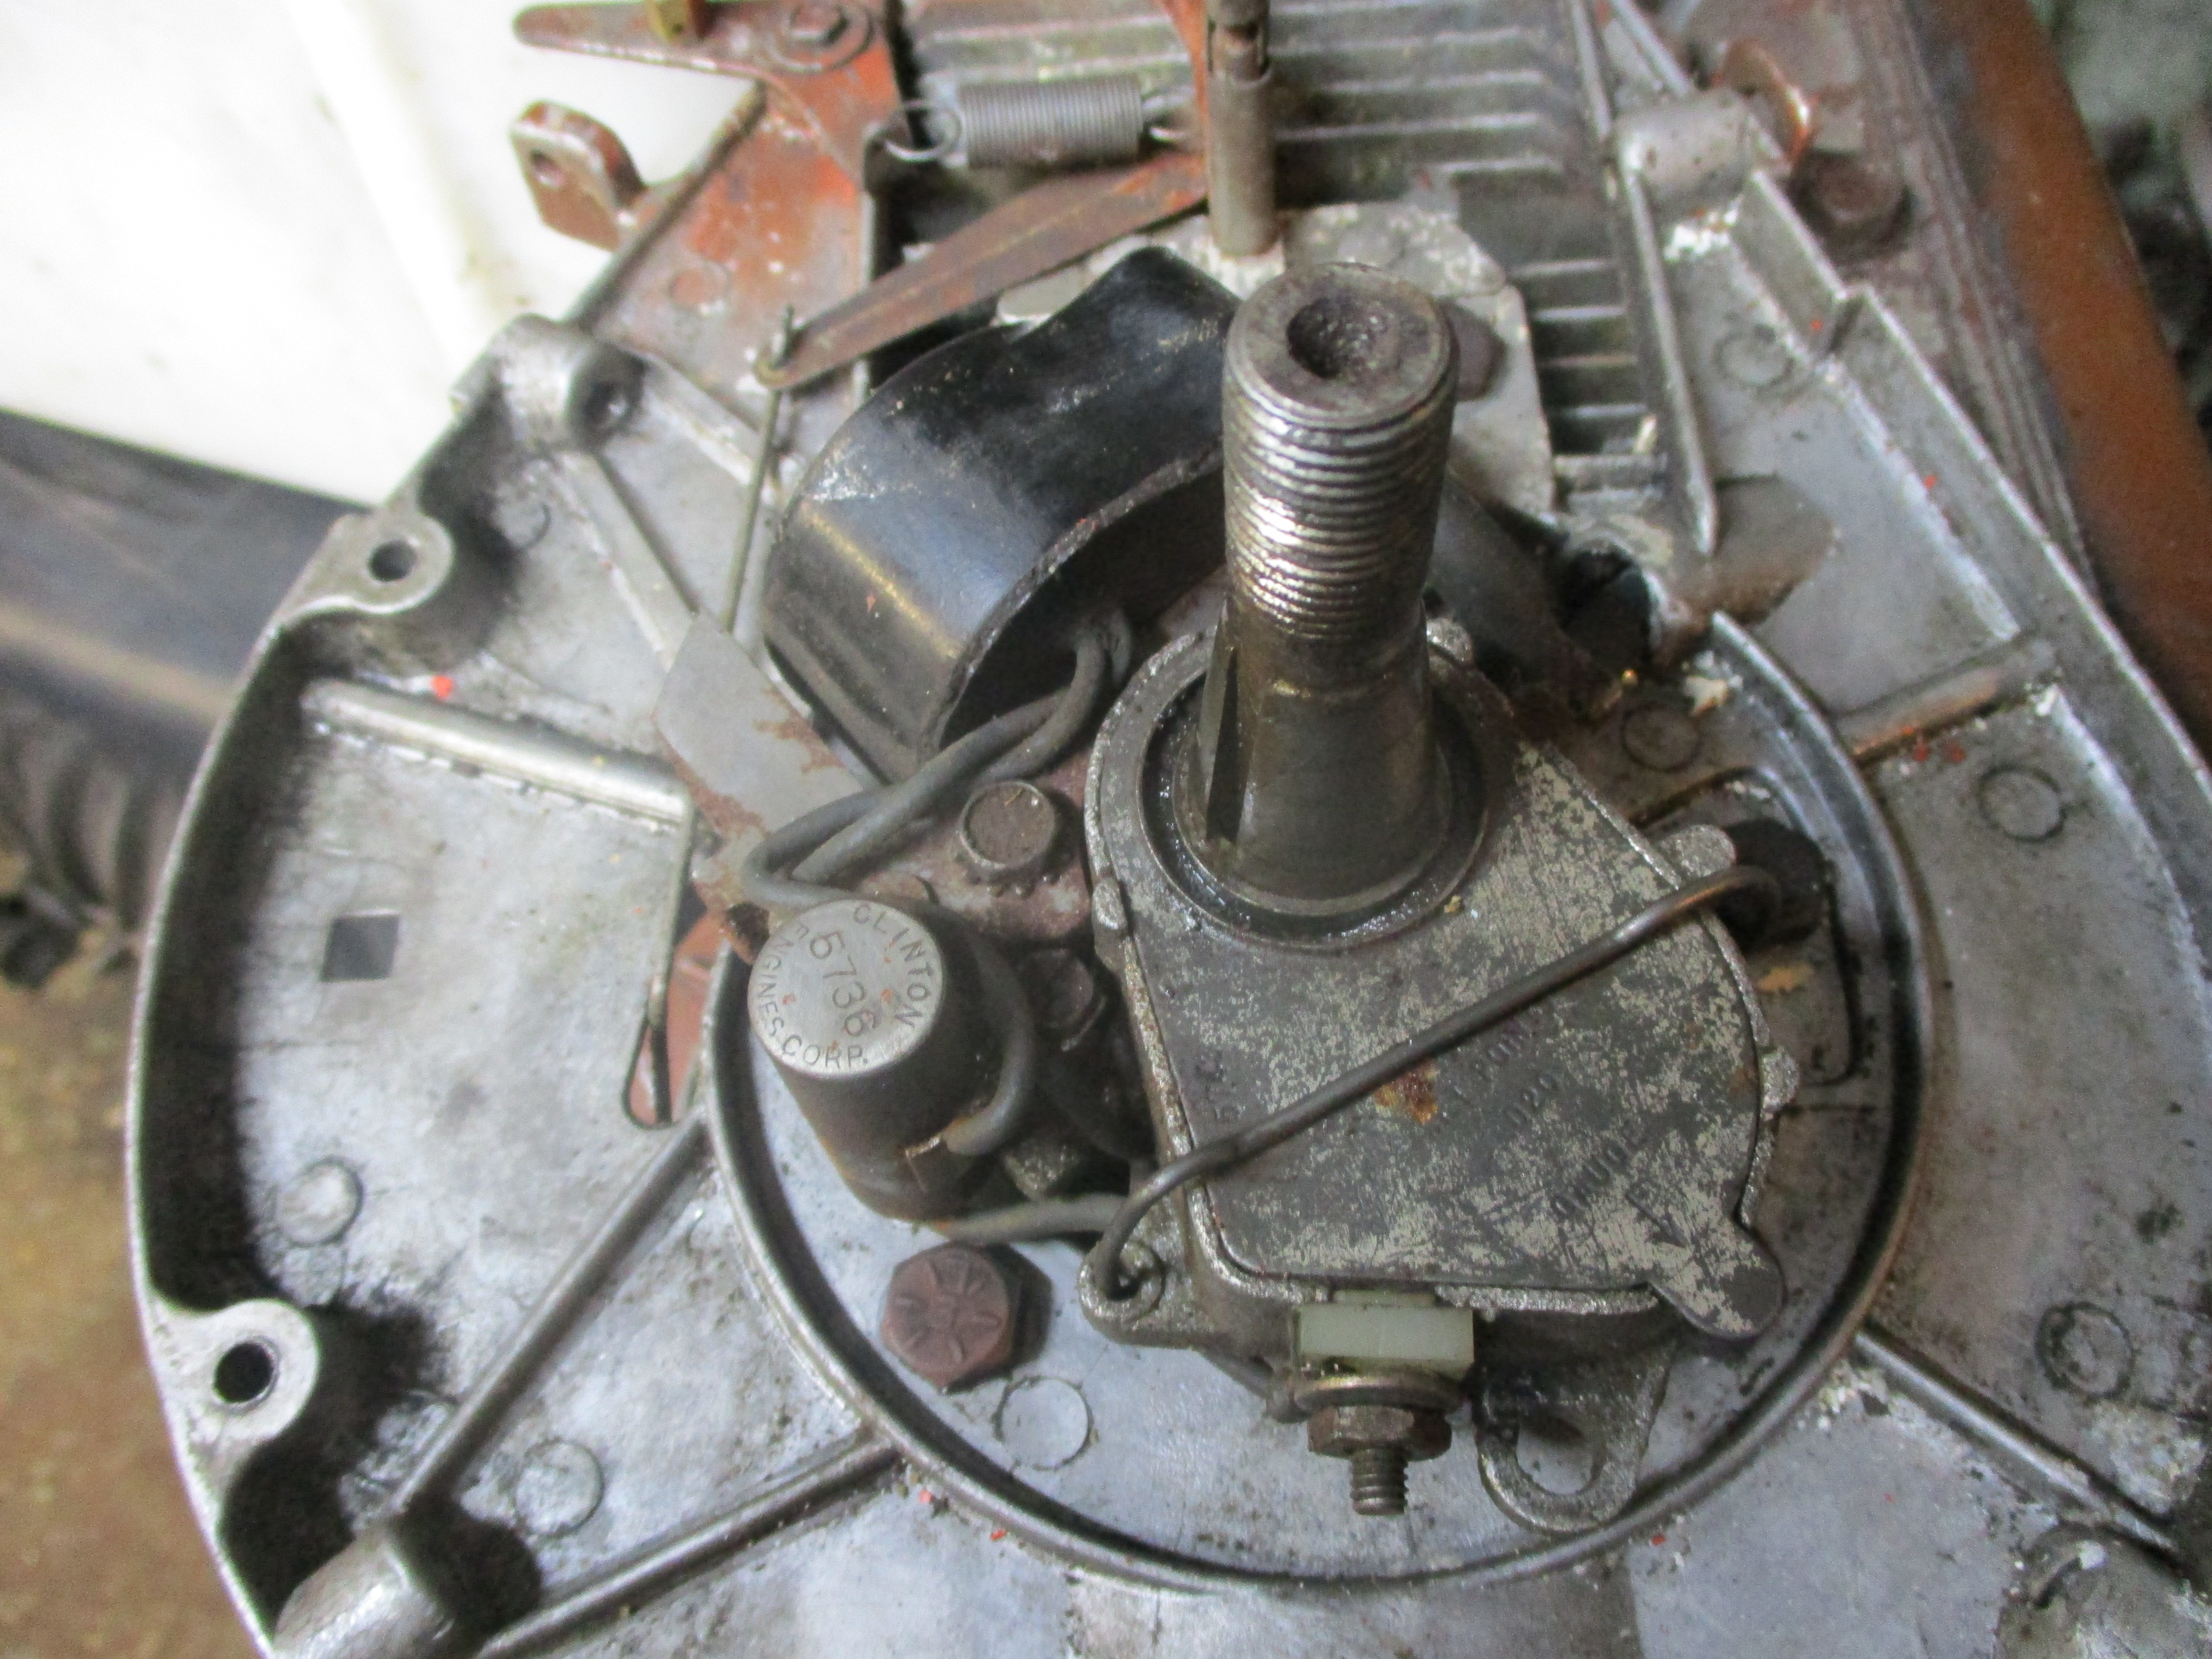 Set up looks like Aspera/Tecumseh, but may be Wico or Phelon etc.
Common set up here.
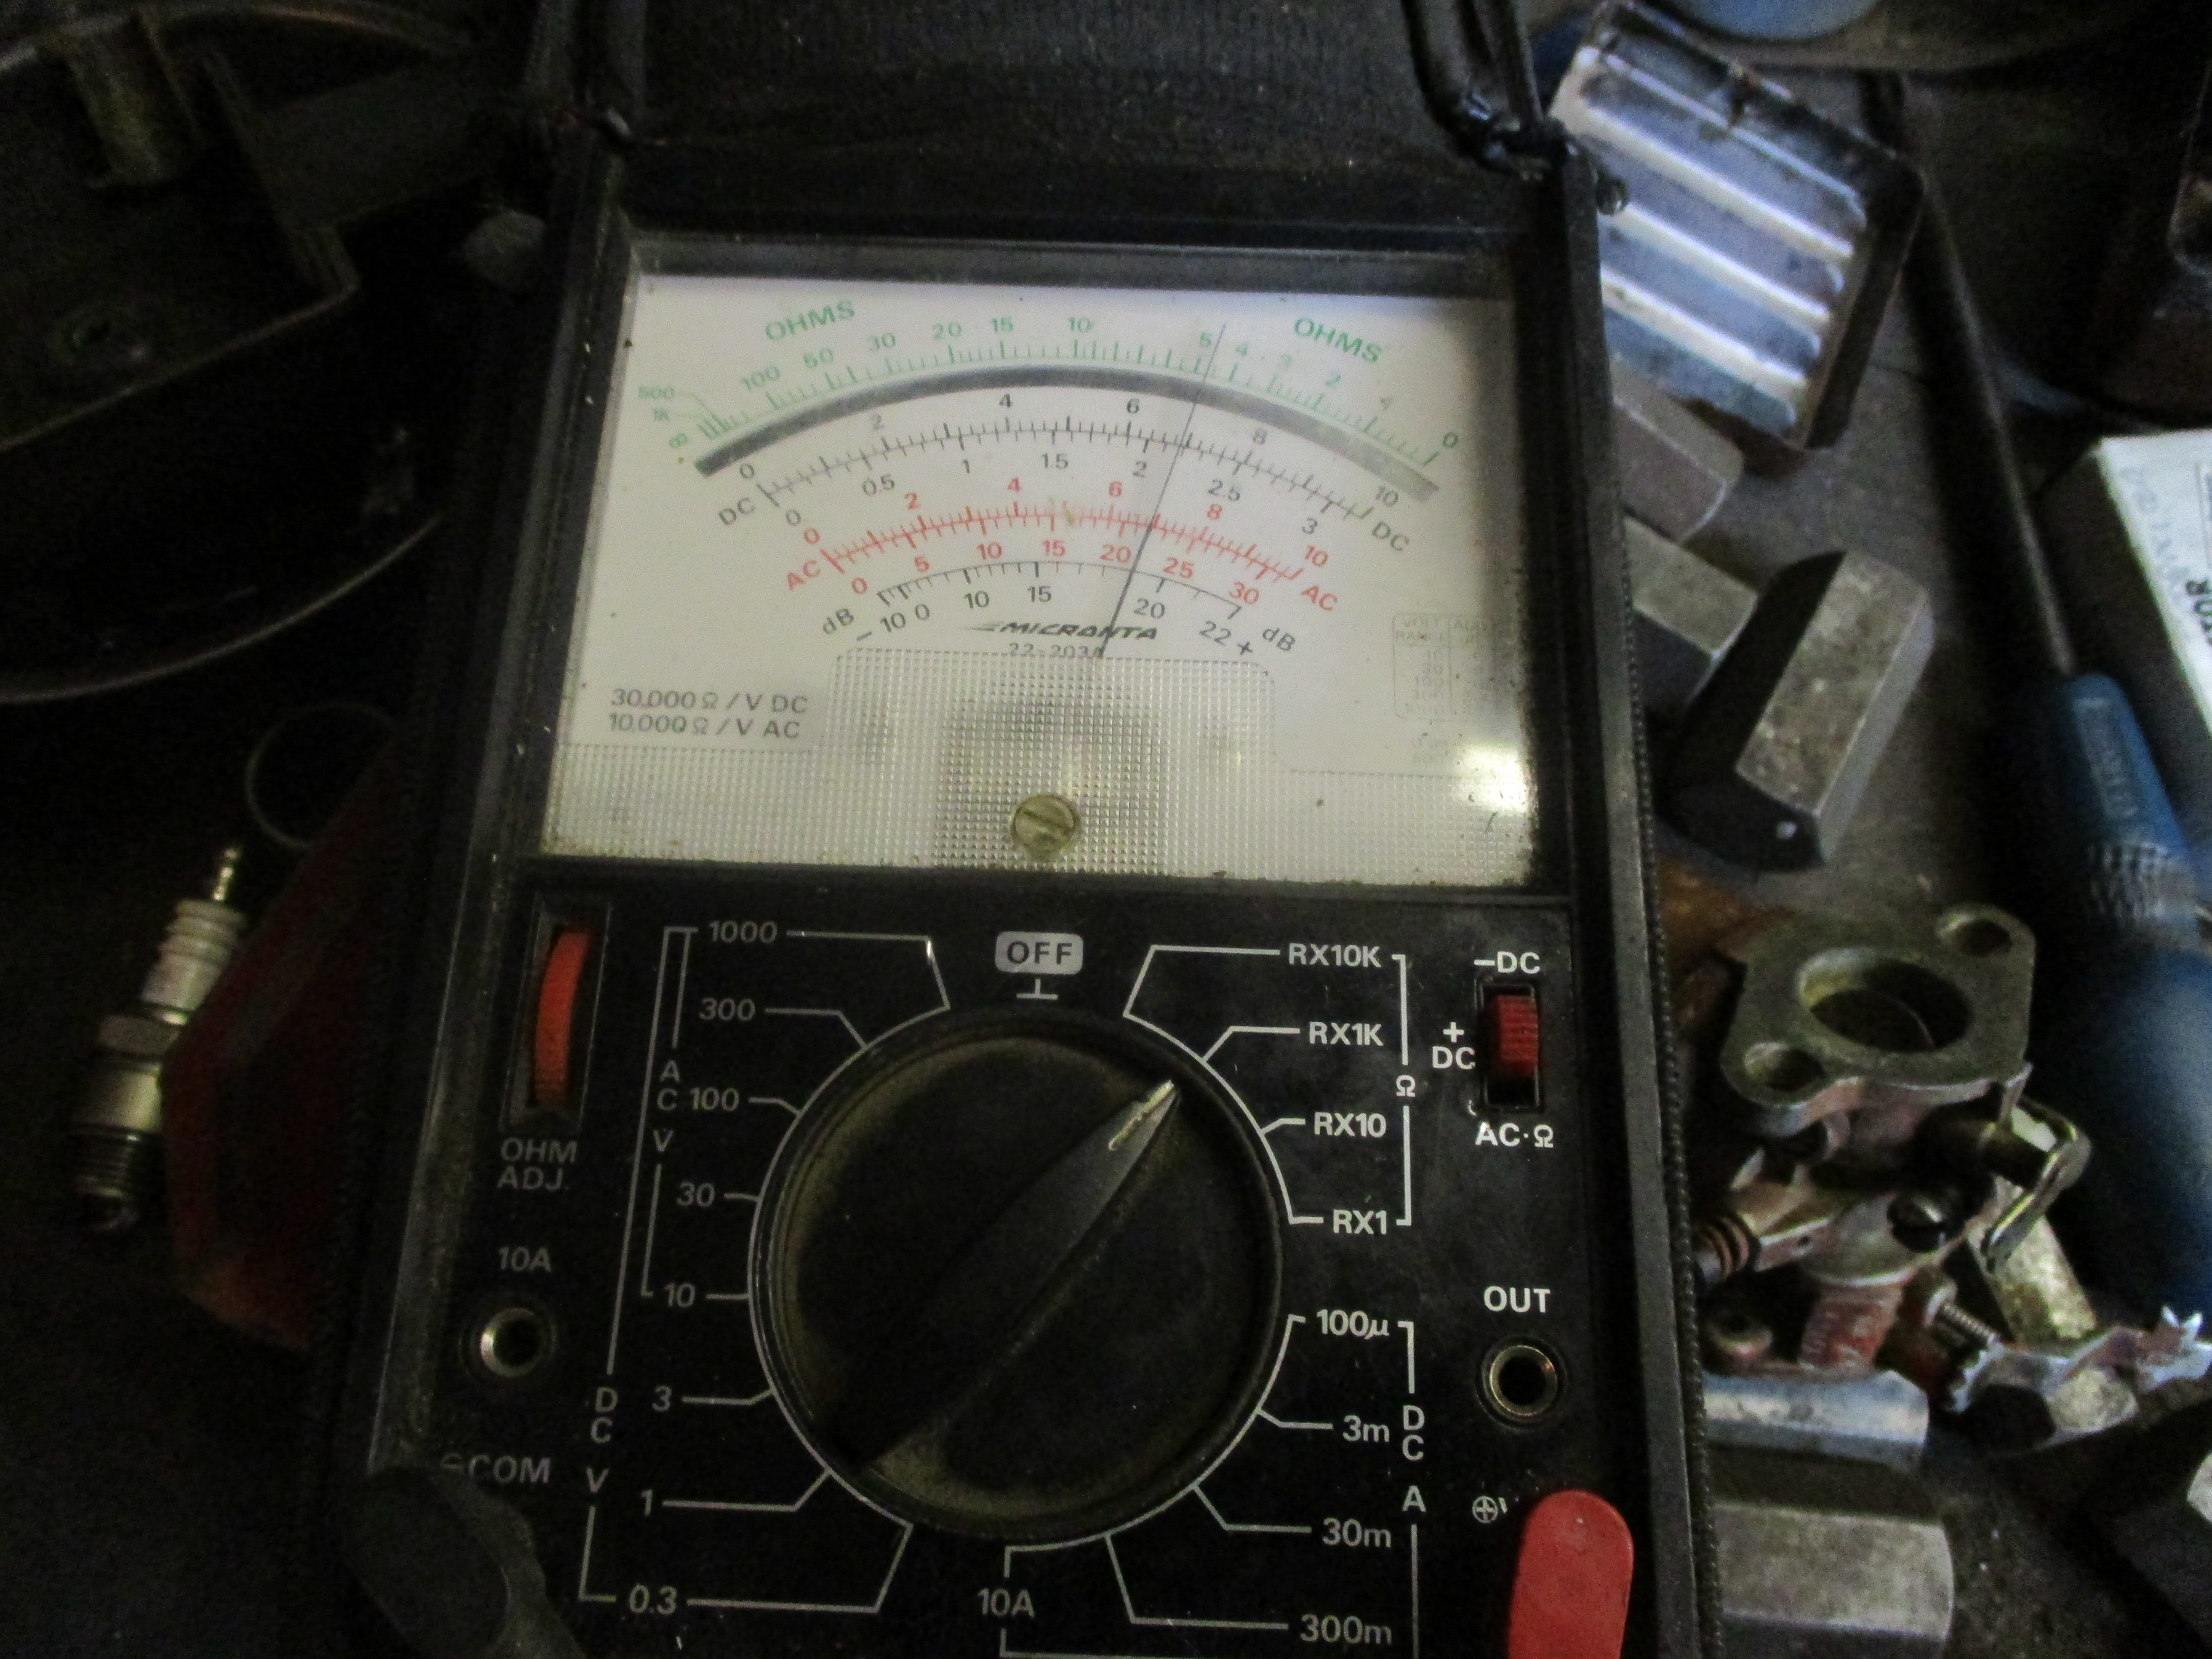
Old analogue multimeters are
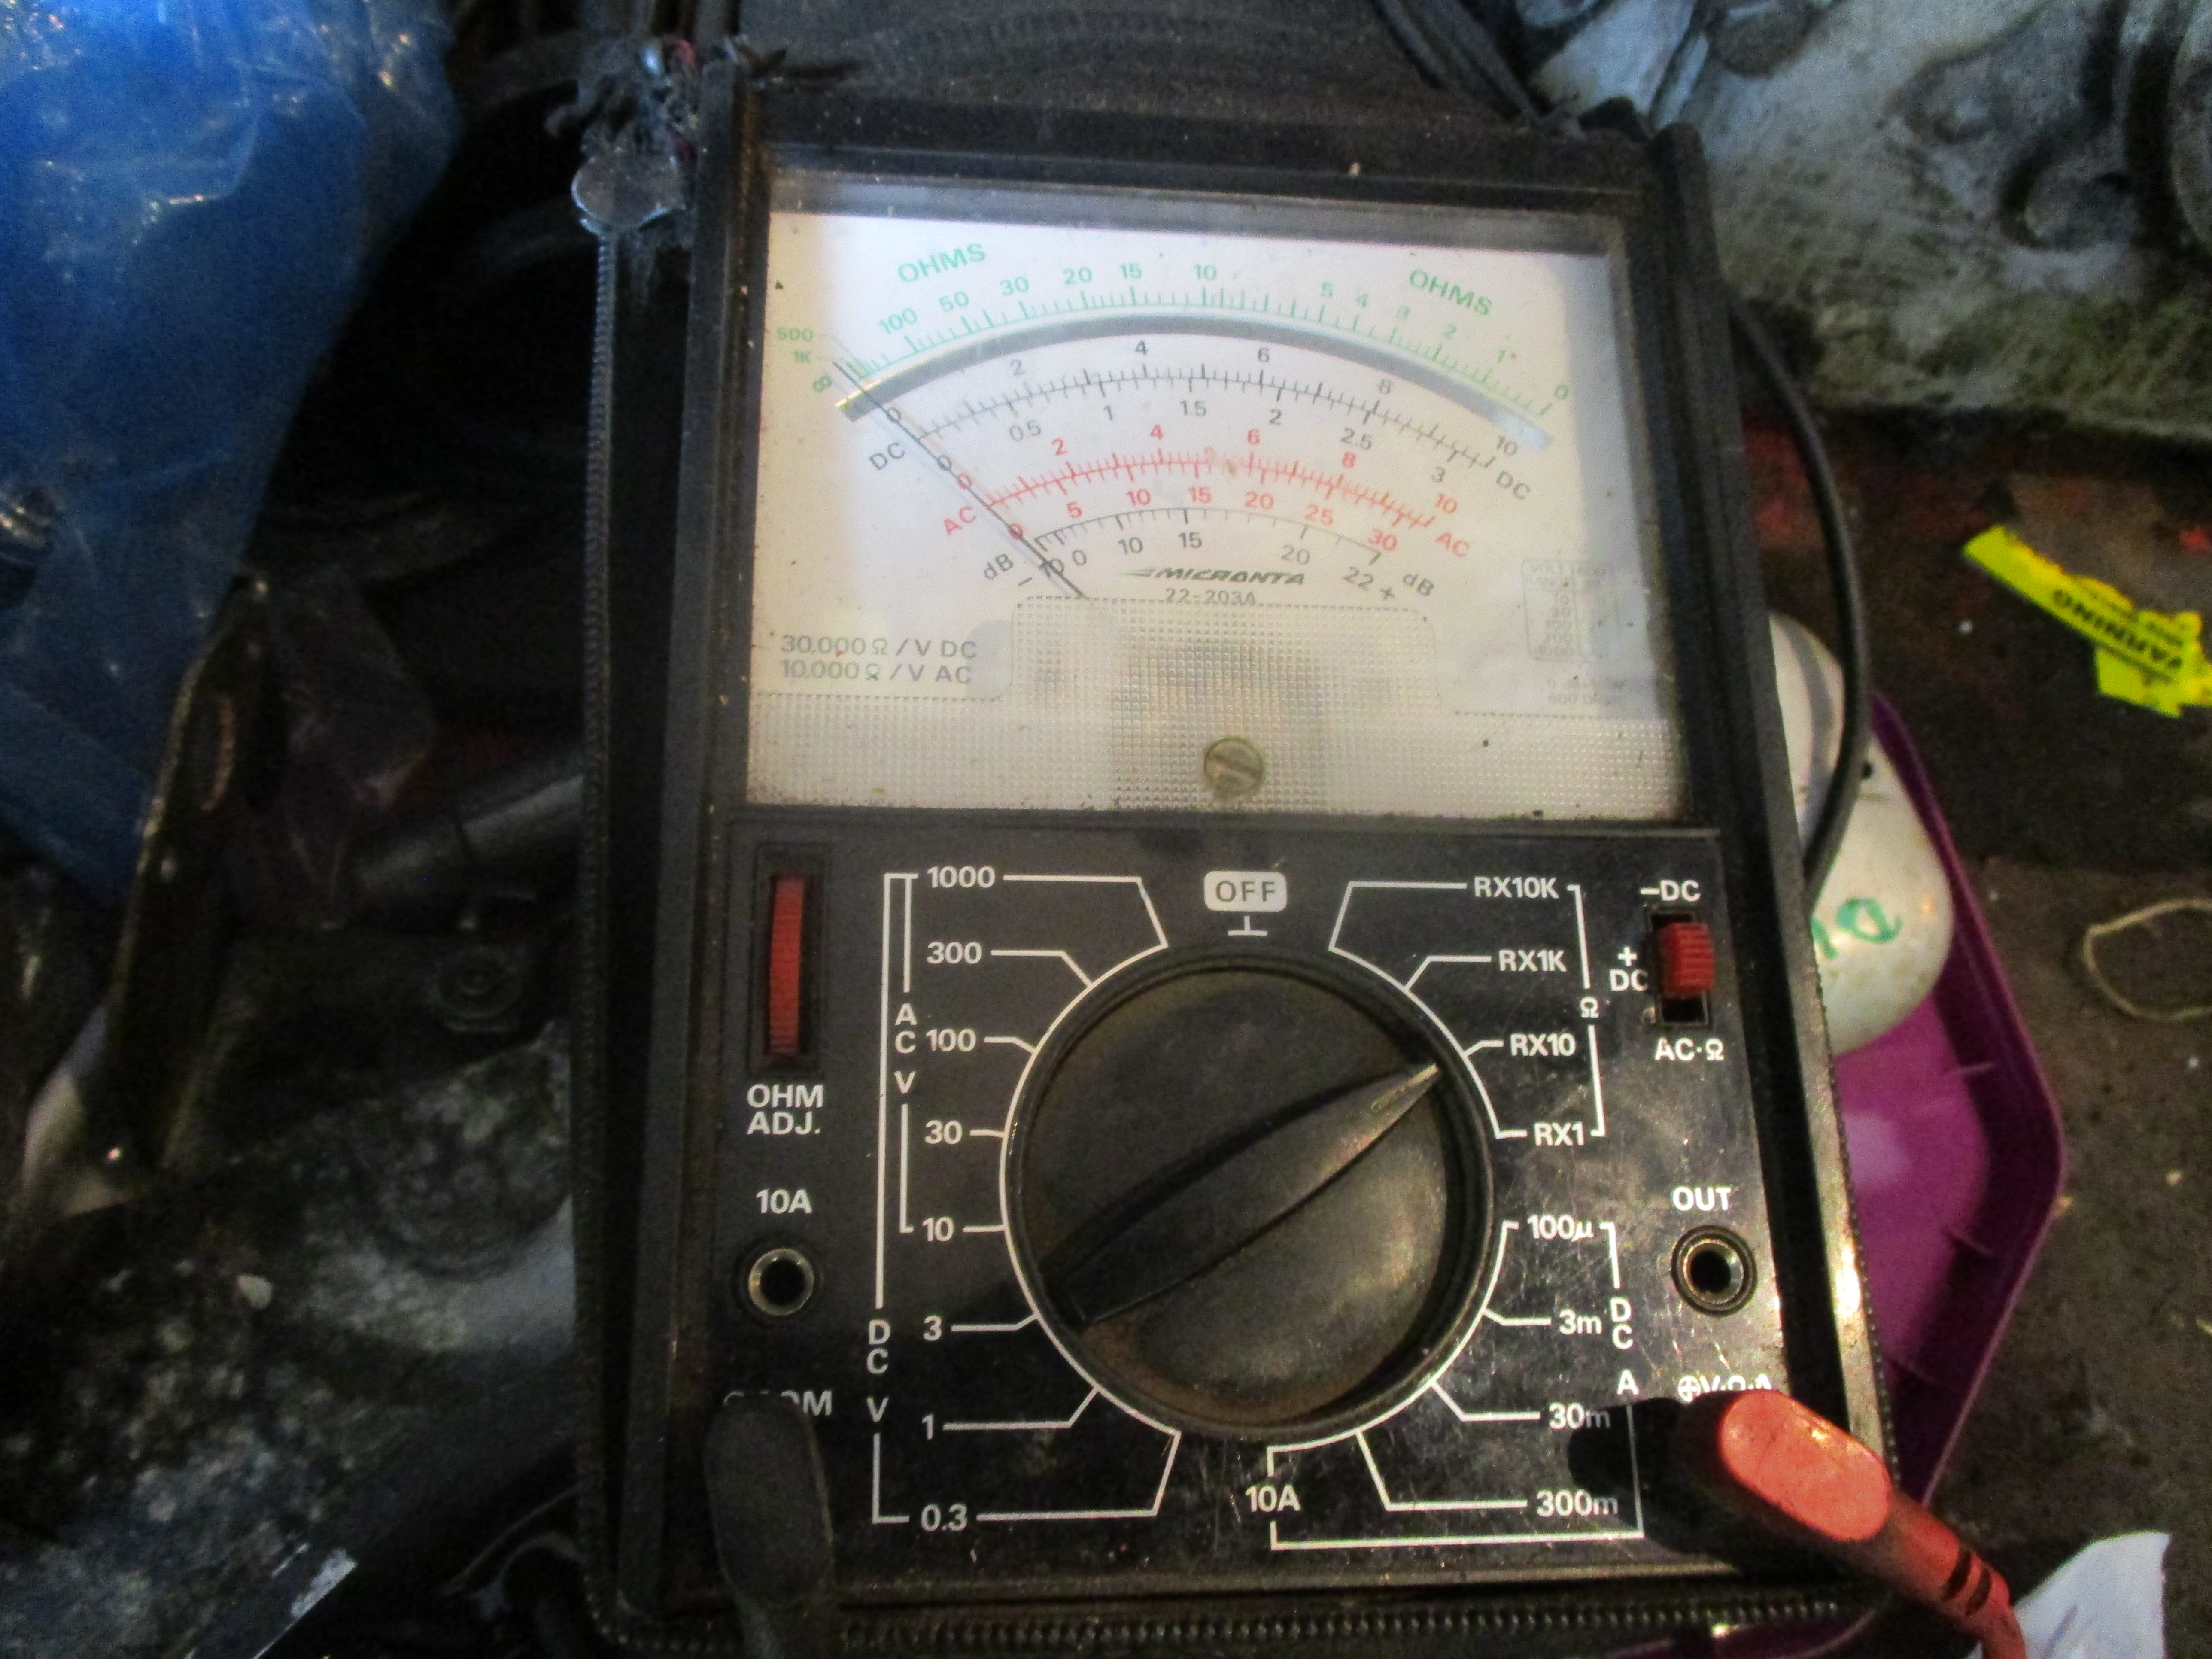 Old analogue multimeters are fine for mower work, testing of high tension windings is best left until you've removed the coil low tension and capacitor connections to earth, or you'll never be reading things correctly.
X10 of the meter scale showed not much, although it goes up to infinity, something was wrong.
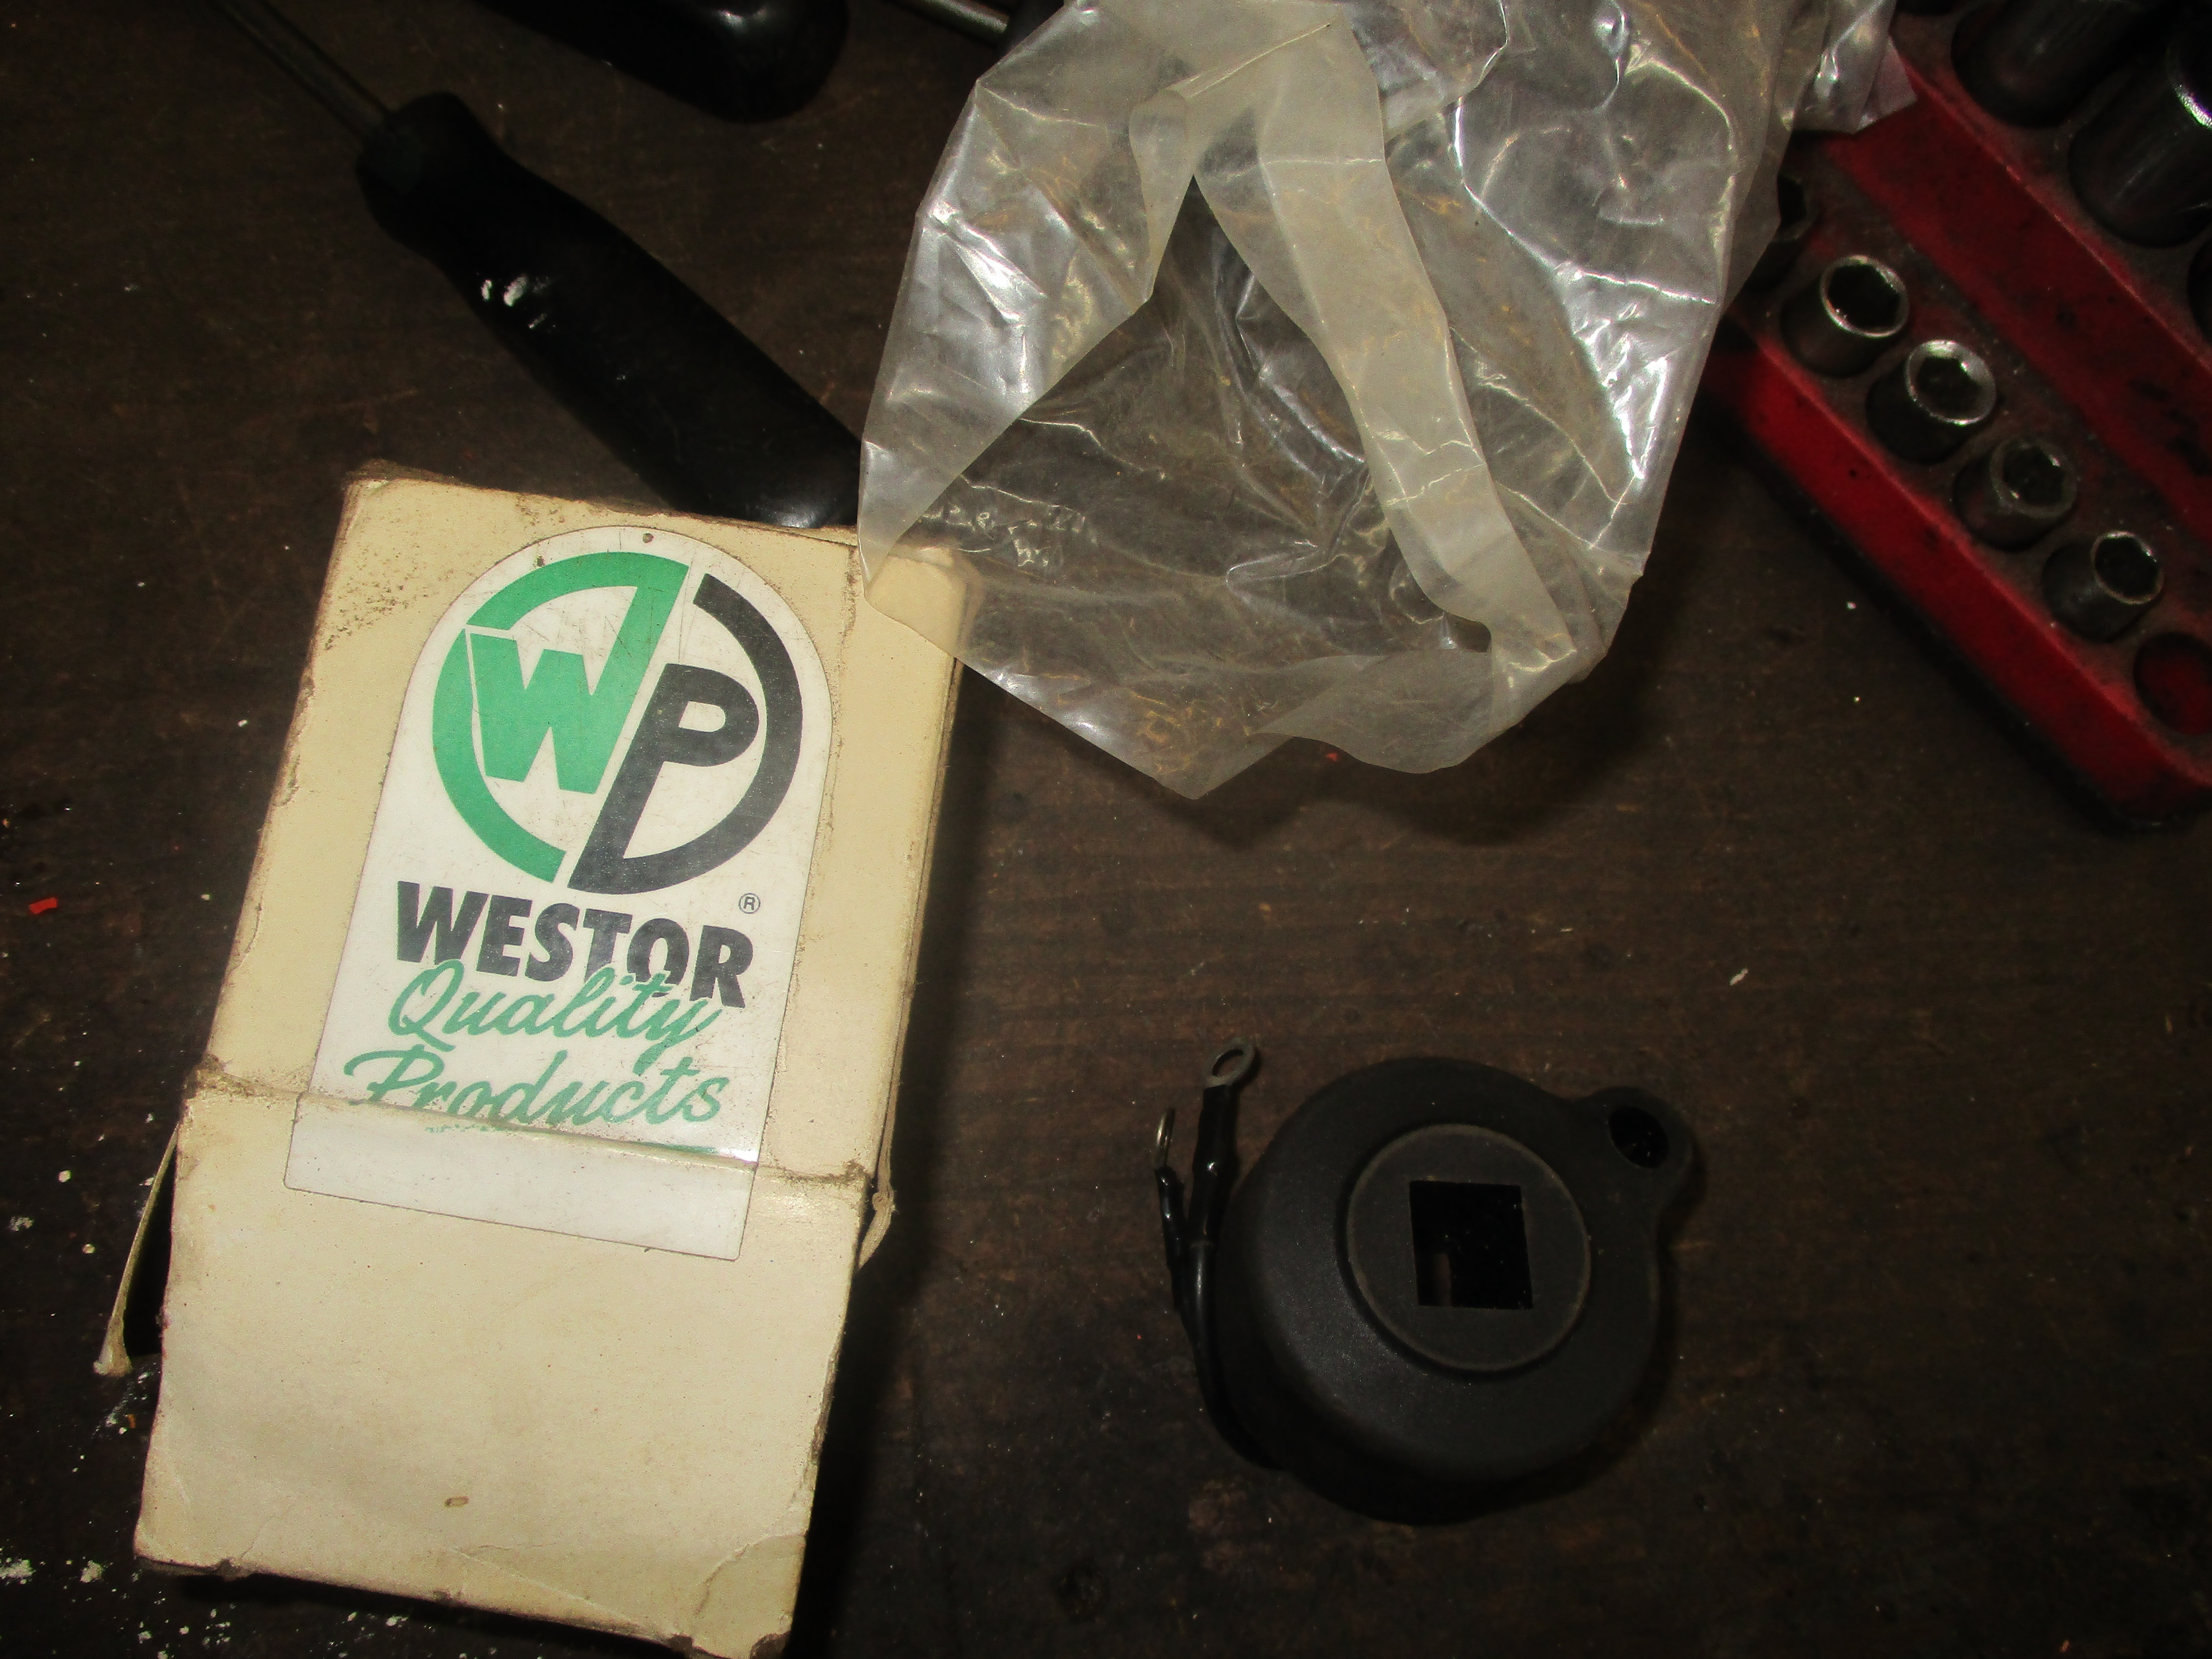
 I have plentiful stocks of new old stock parts, points were burnt, so I decided to try a new capacitor. About 22 Uf.
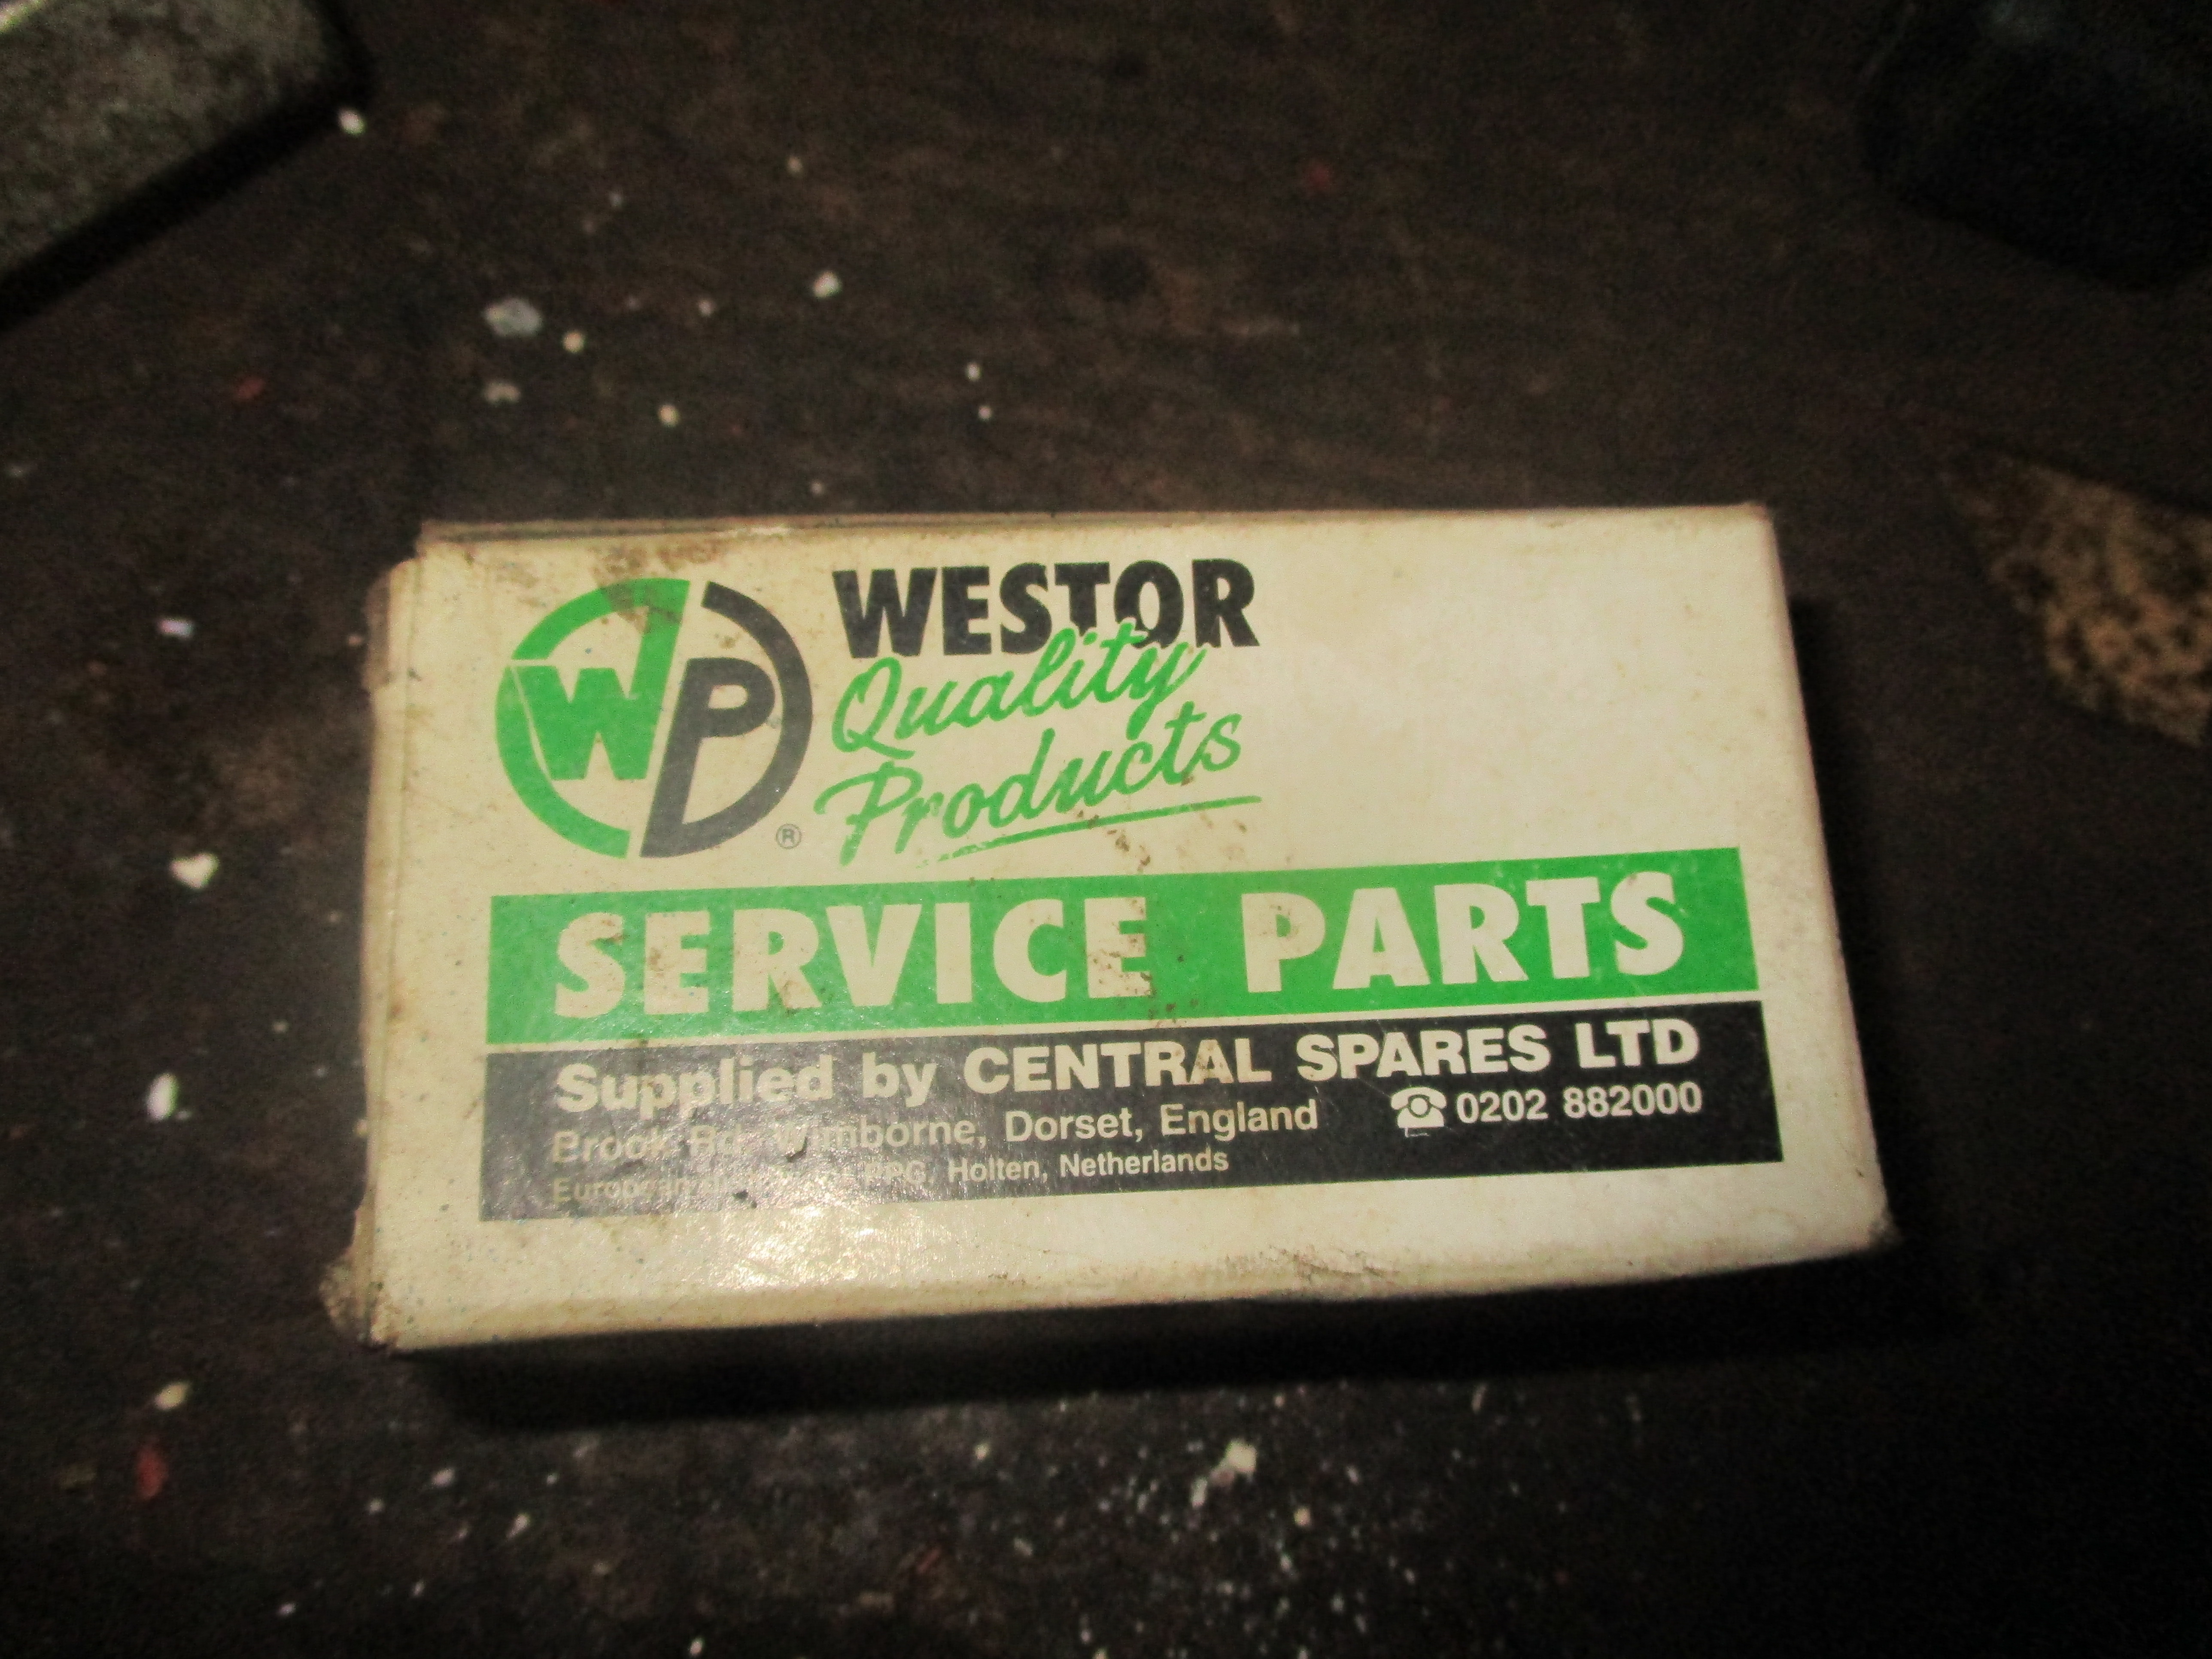
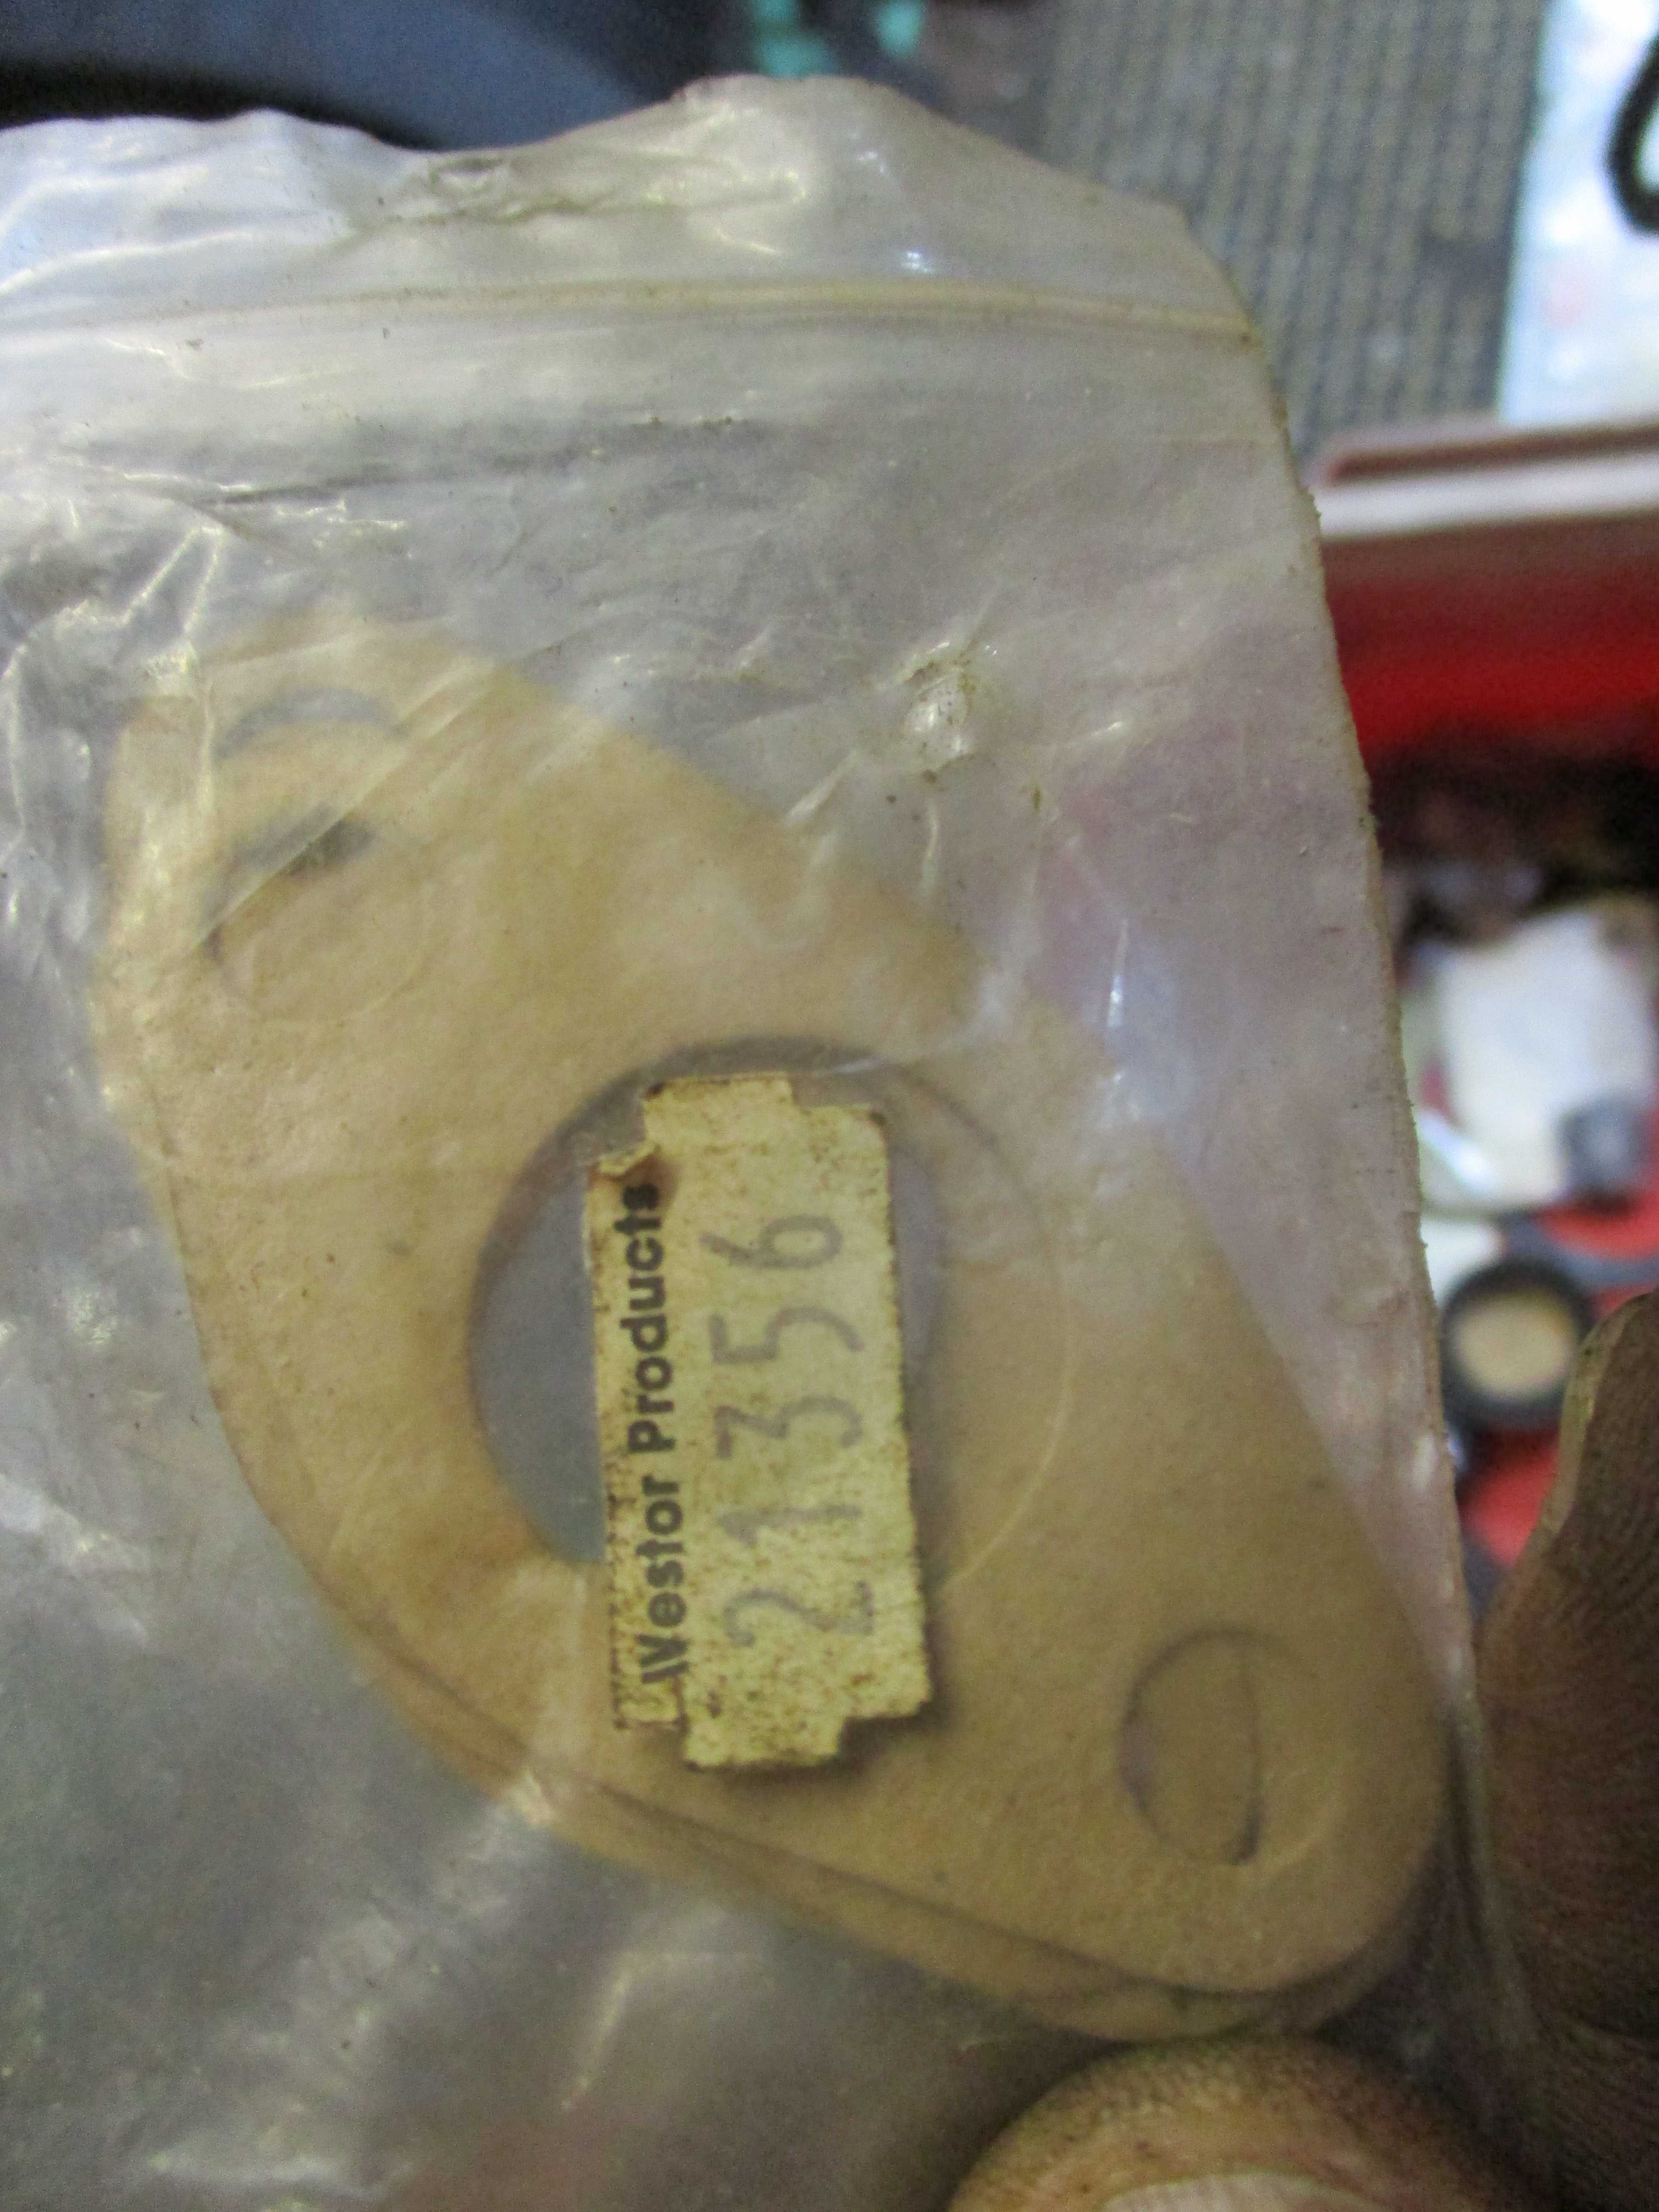
 Westor is an older name for Central Spares, probably Asian made, but they're better than a dud one.
New item fitted.
 New item fitted.
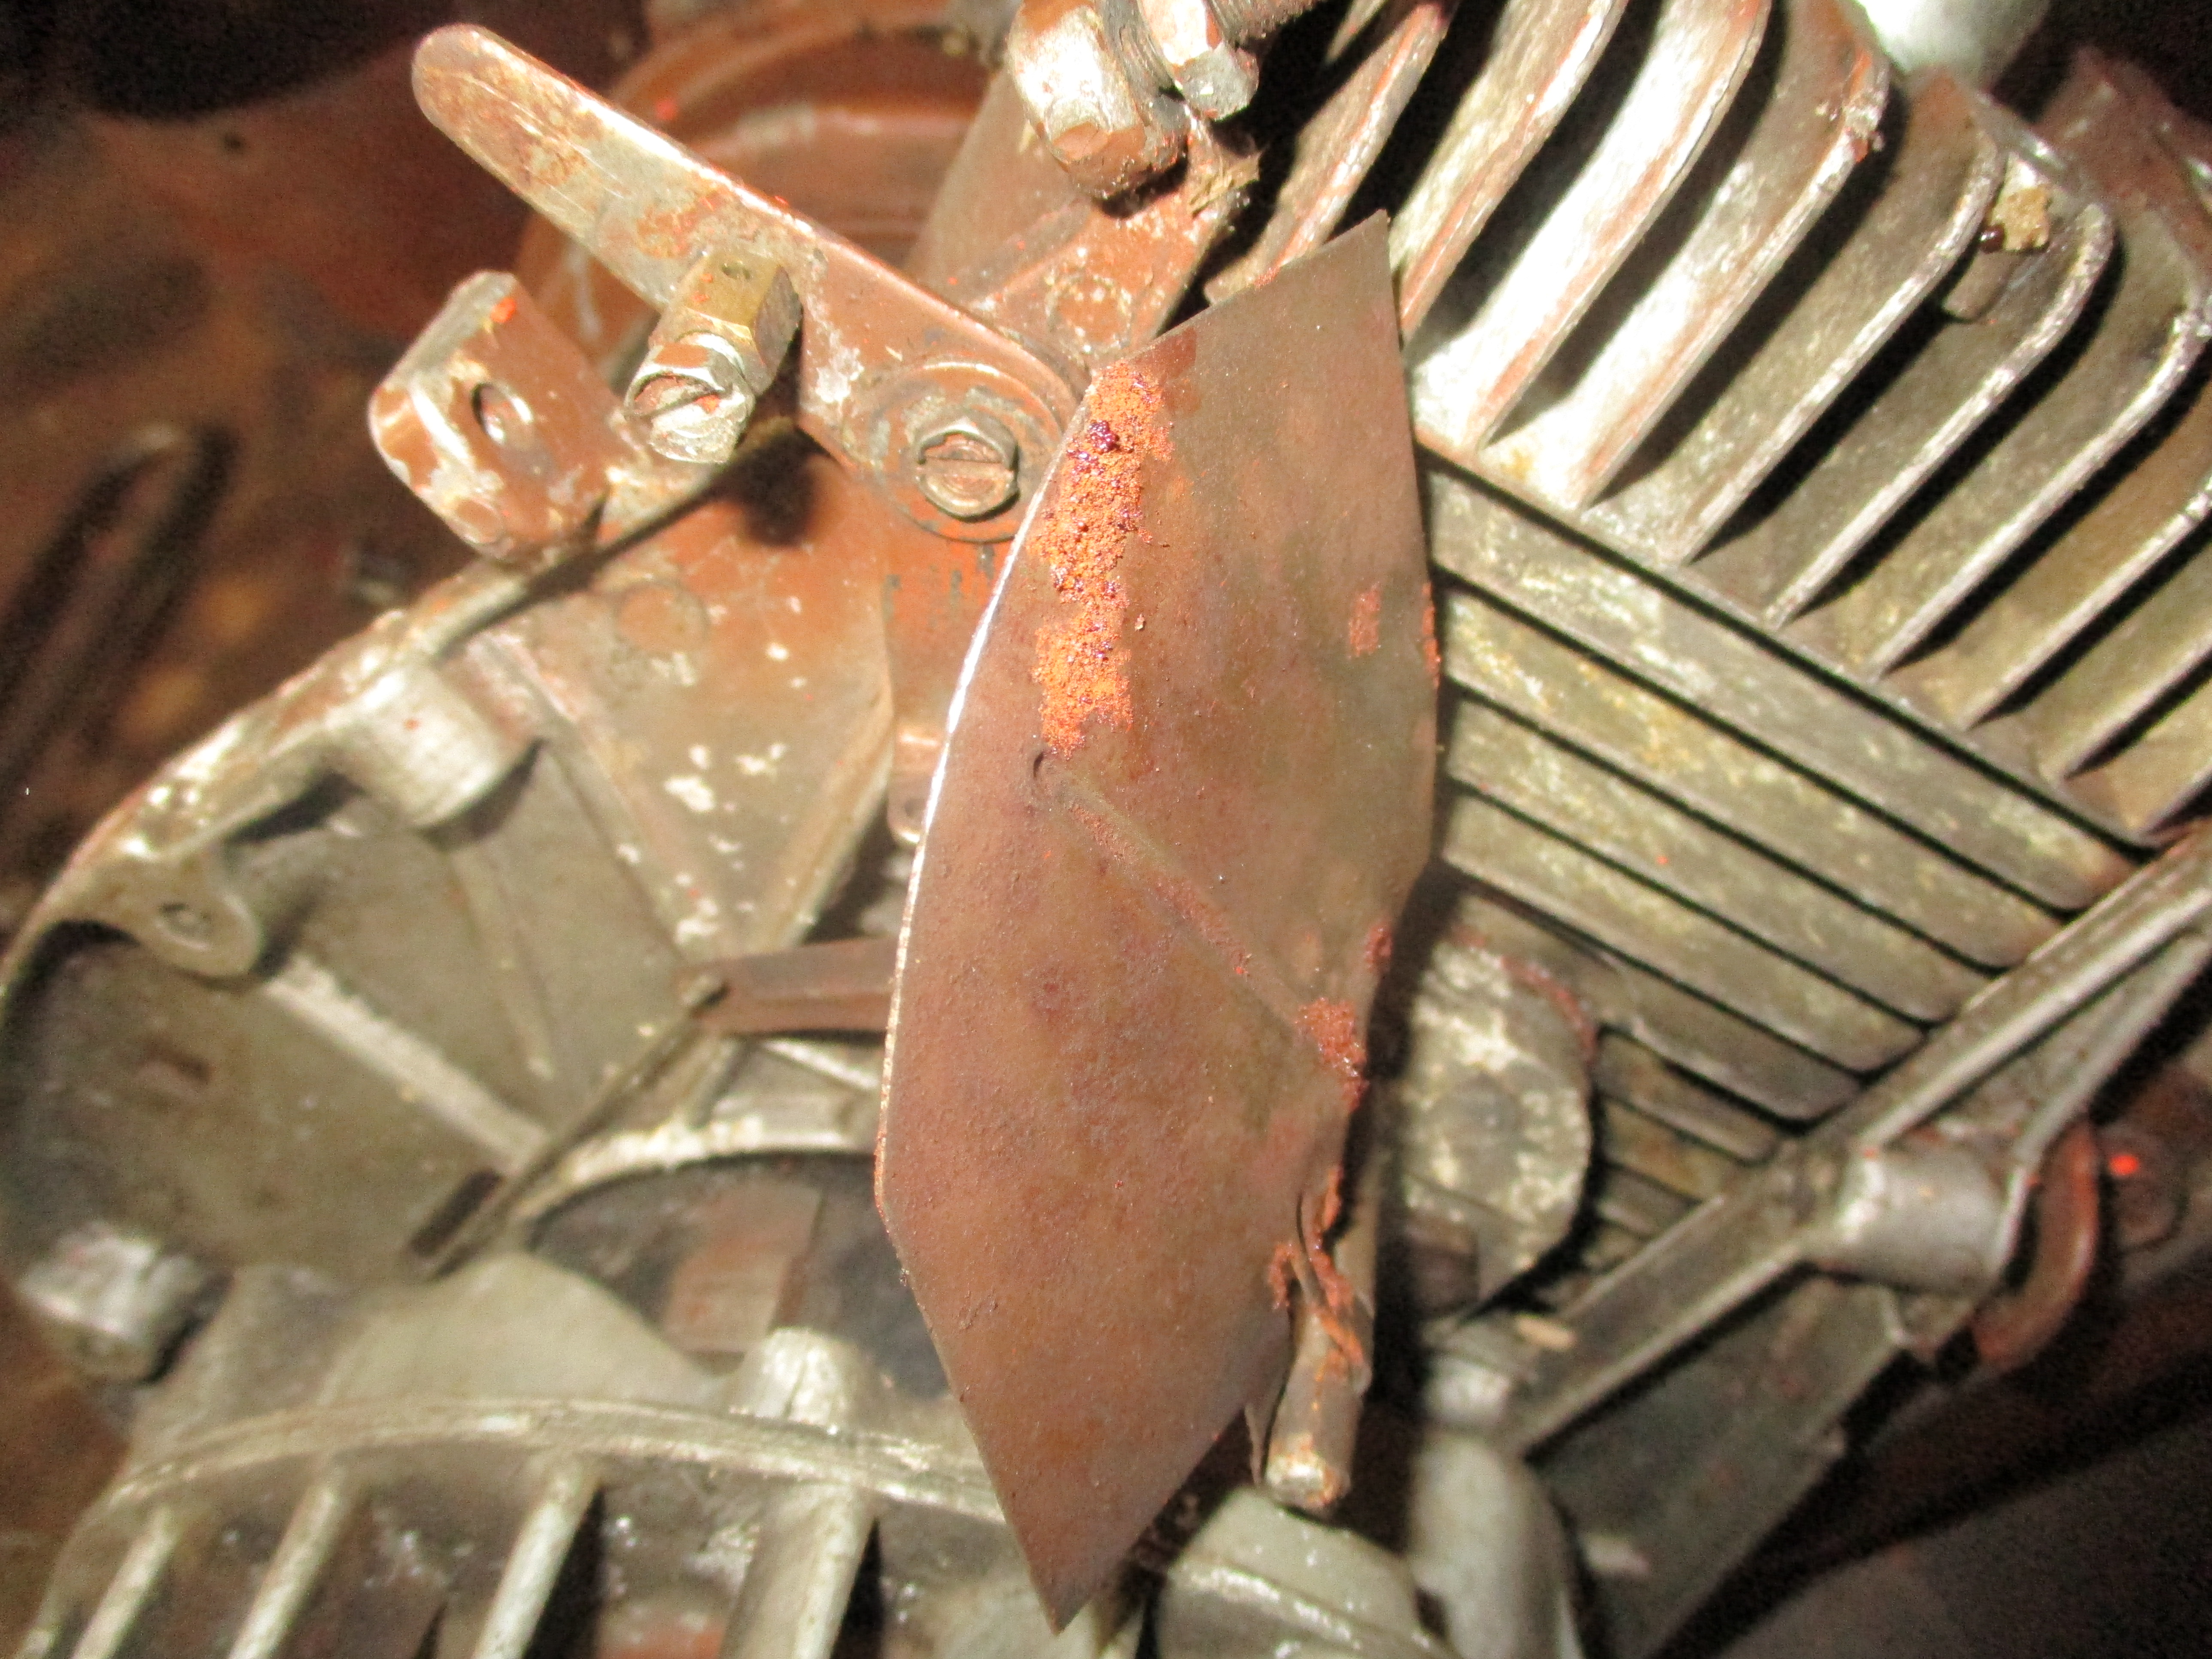
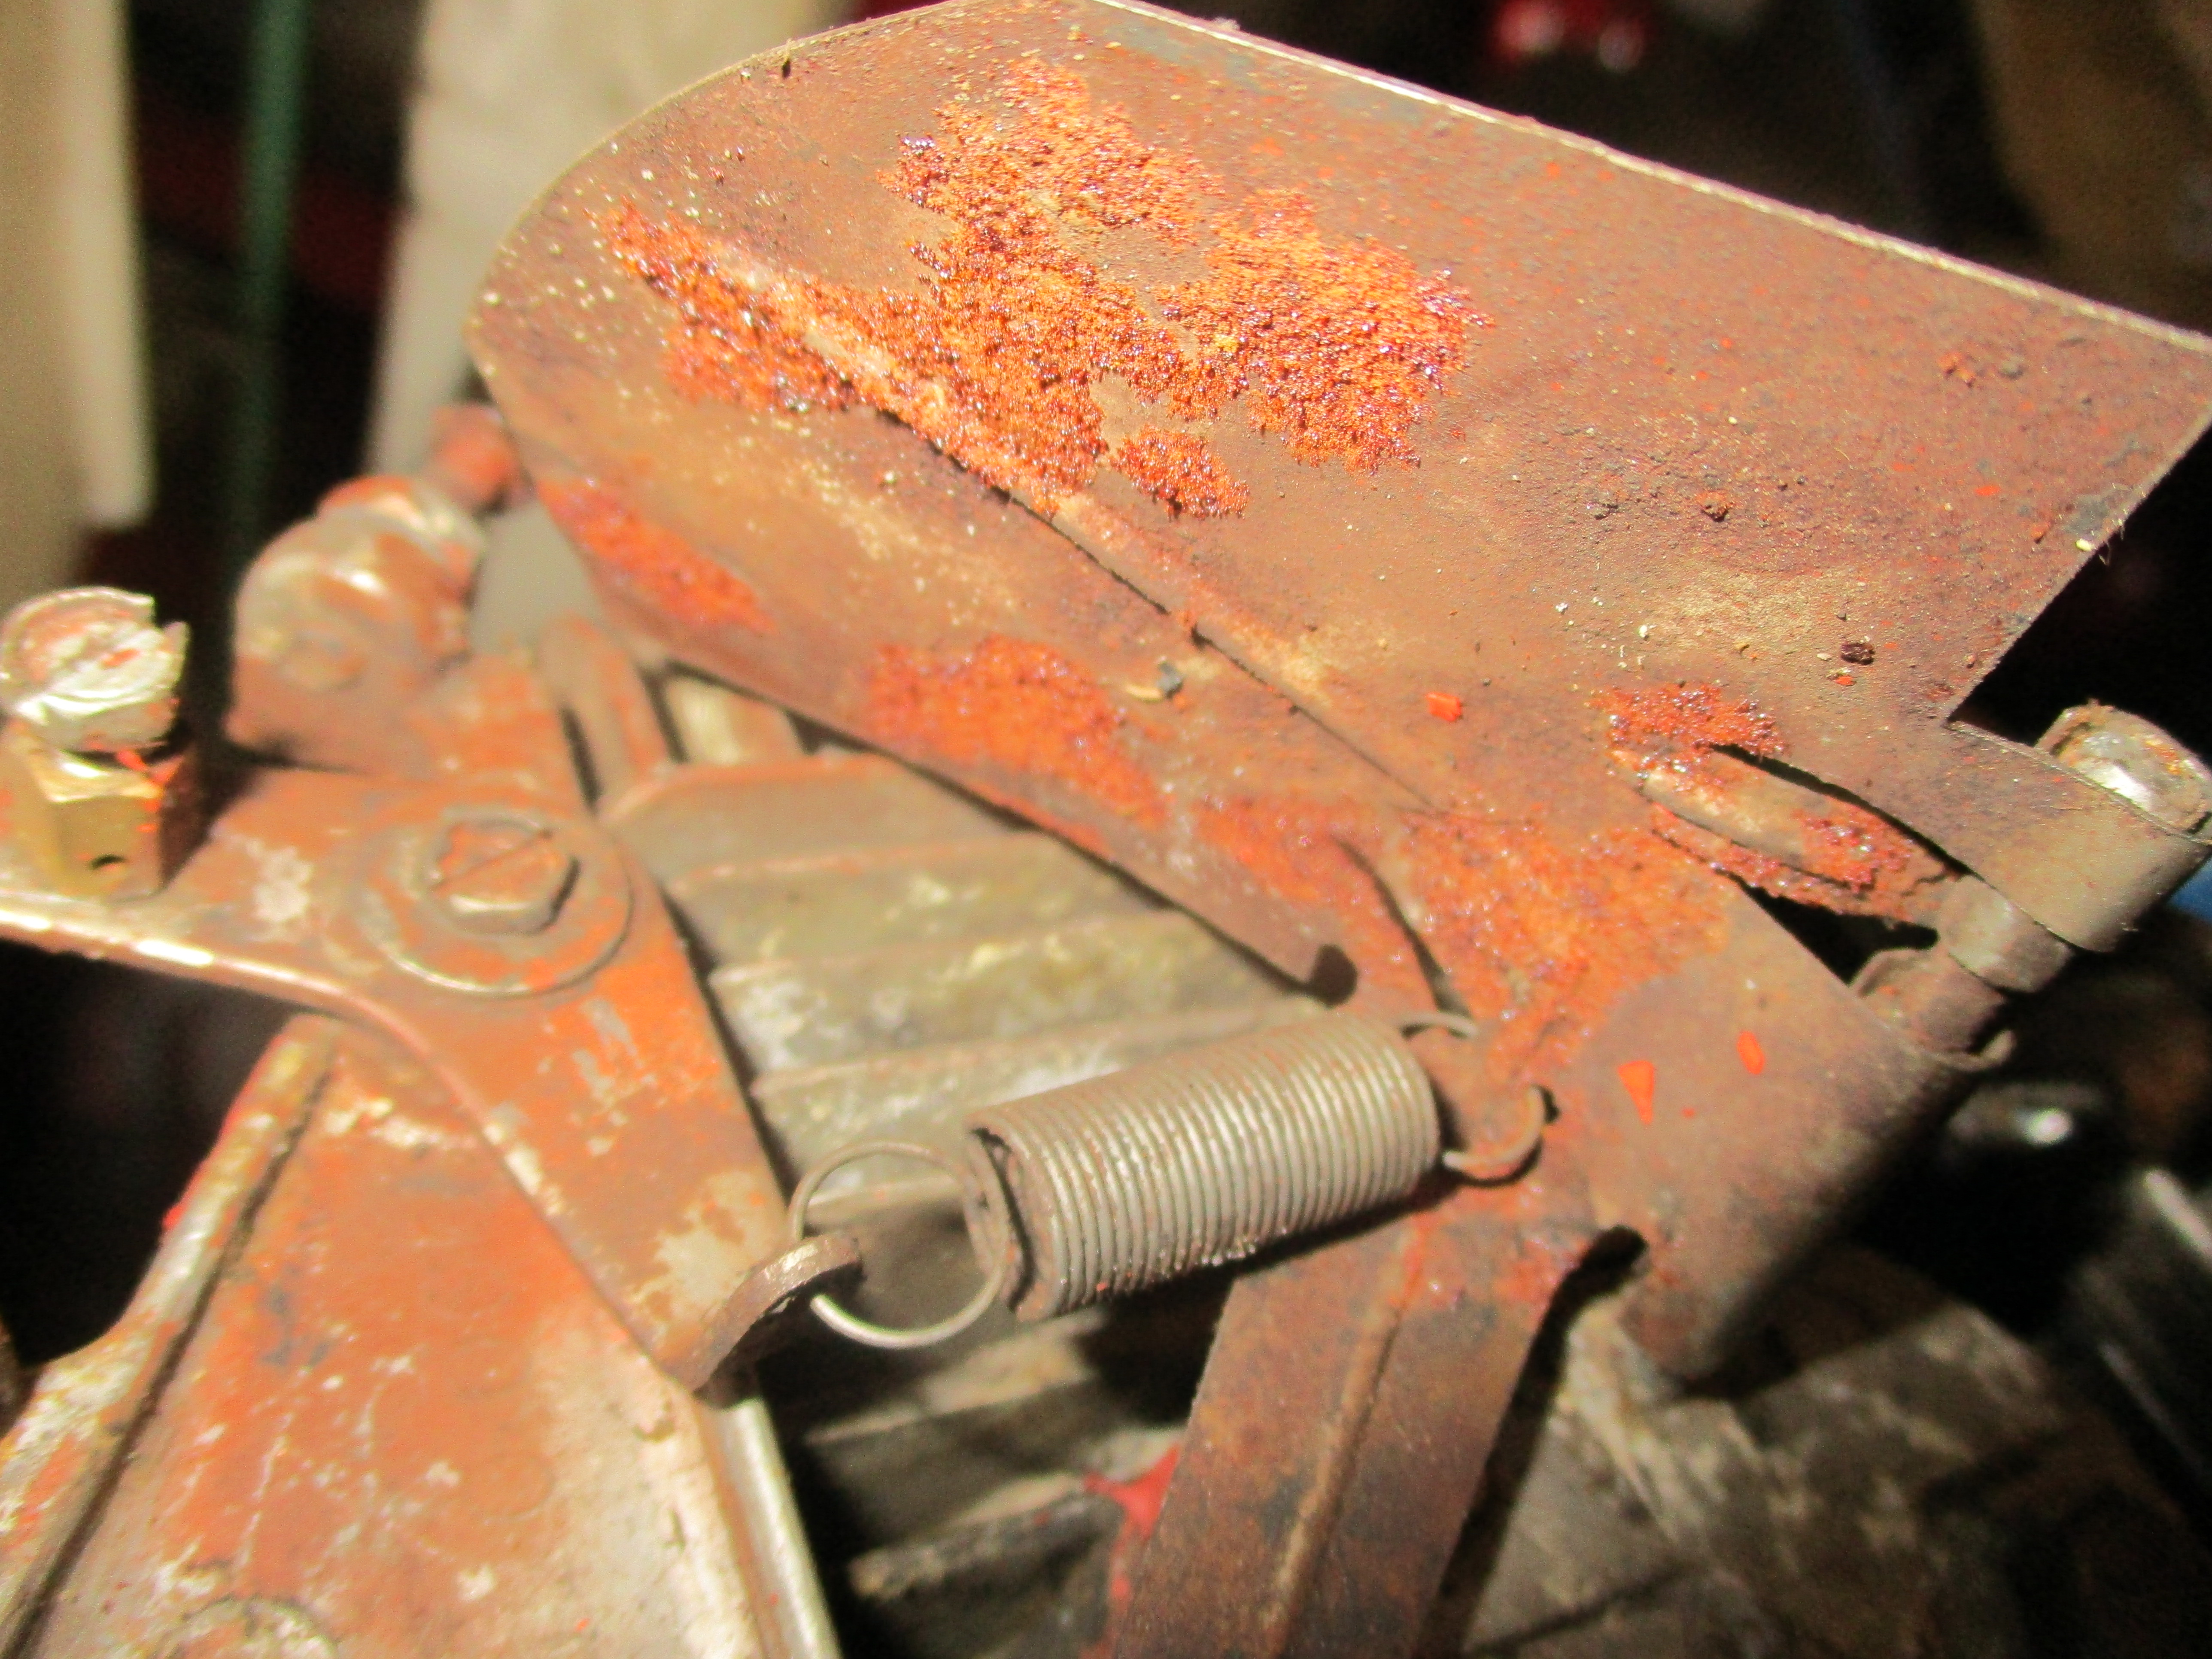 I expected the vane to be ally, but that's rust, I did take it off and bend it straight, whether or not I was right to do so.
 The magnets on the flywheel were fairly good and clean already.
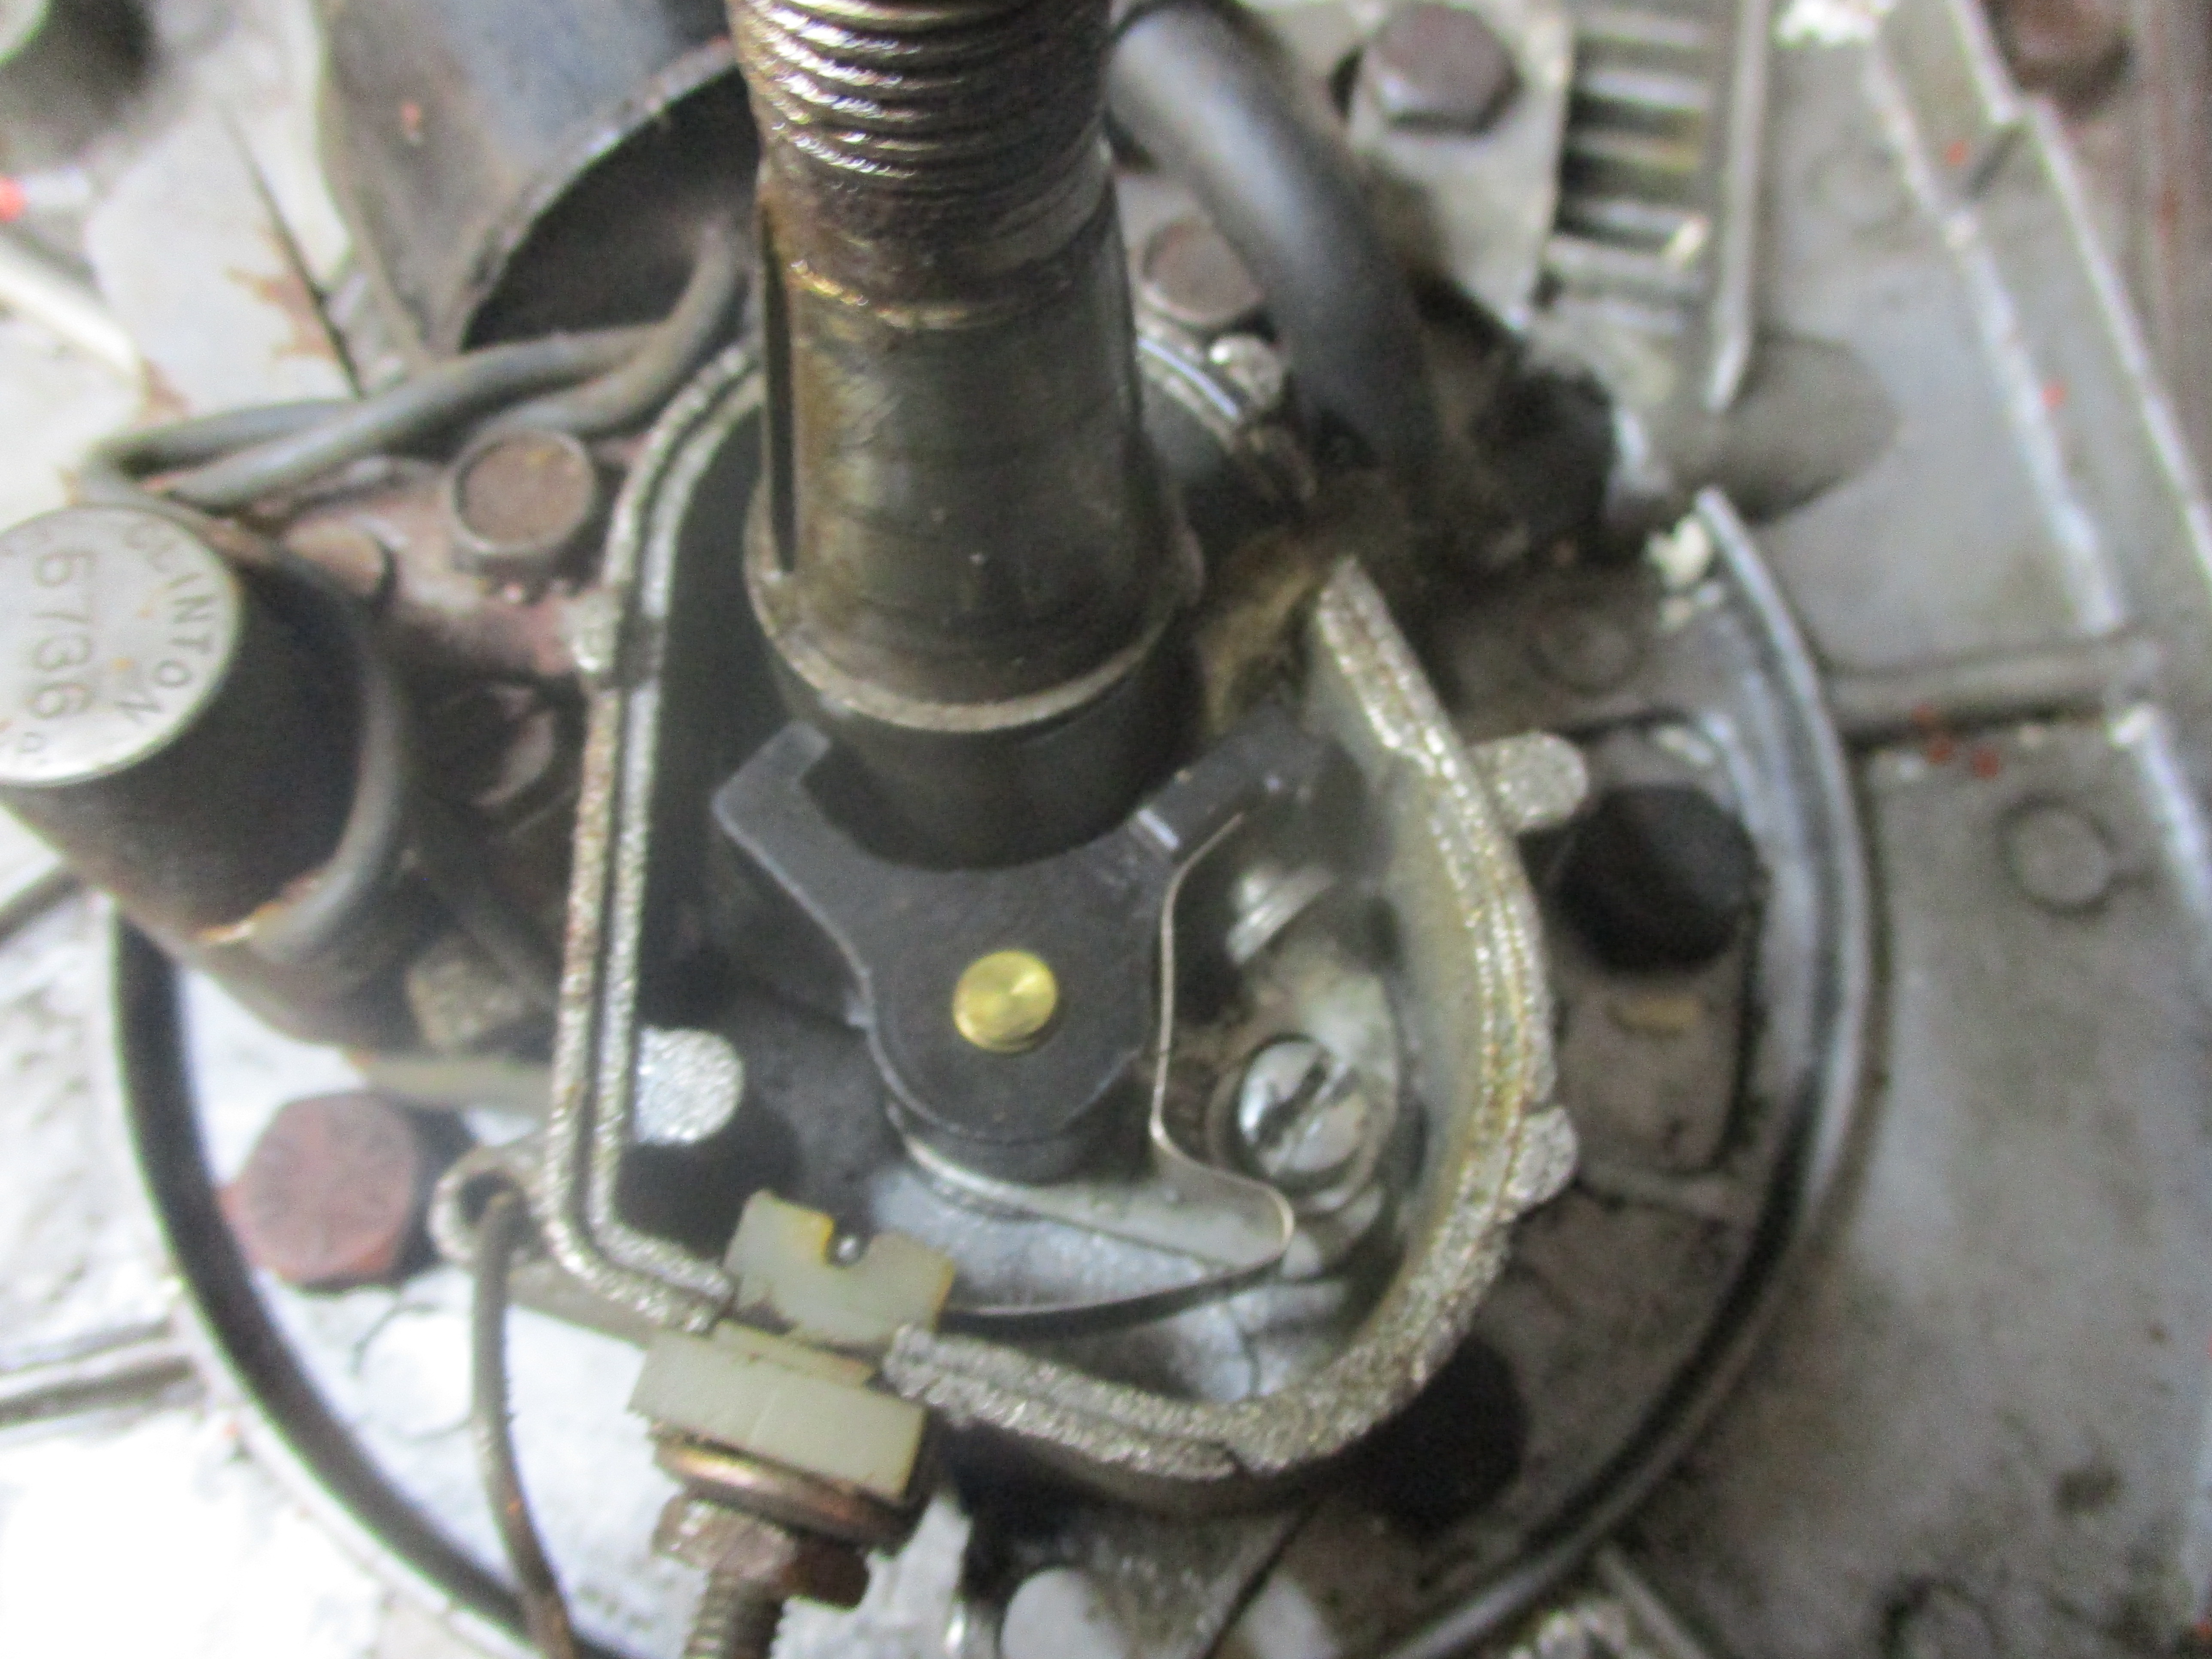
 I made a big mistake here, I thought the pip mark on the removable points cam to be the place to adjust points gap, with heel on cam.
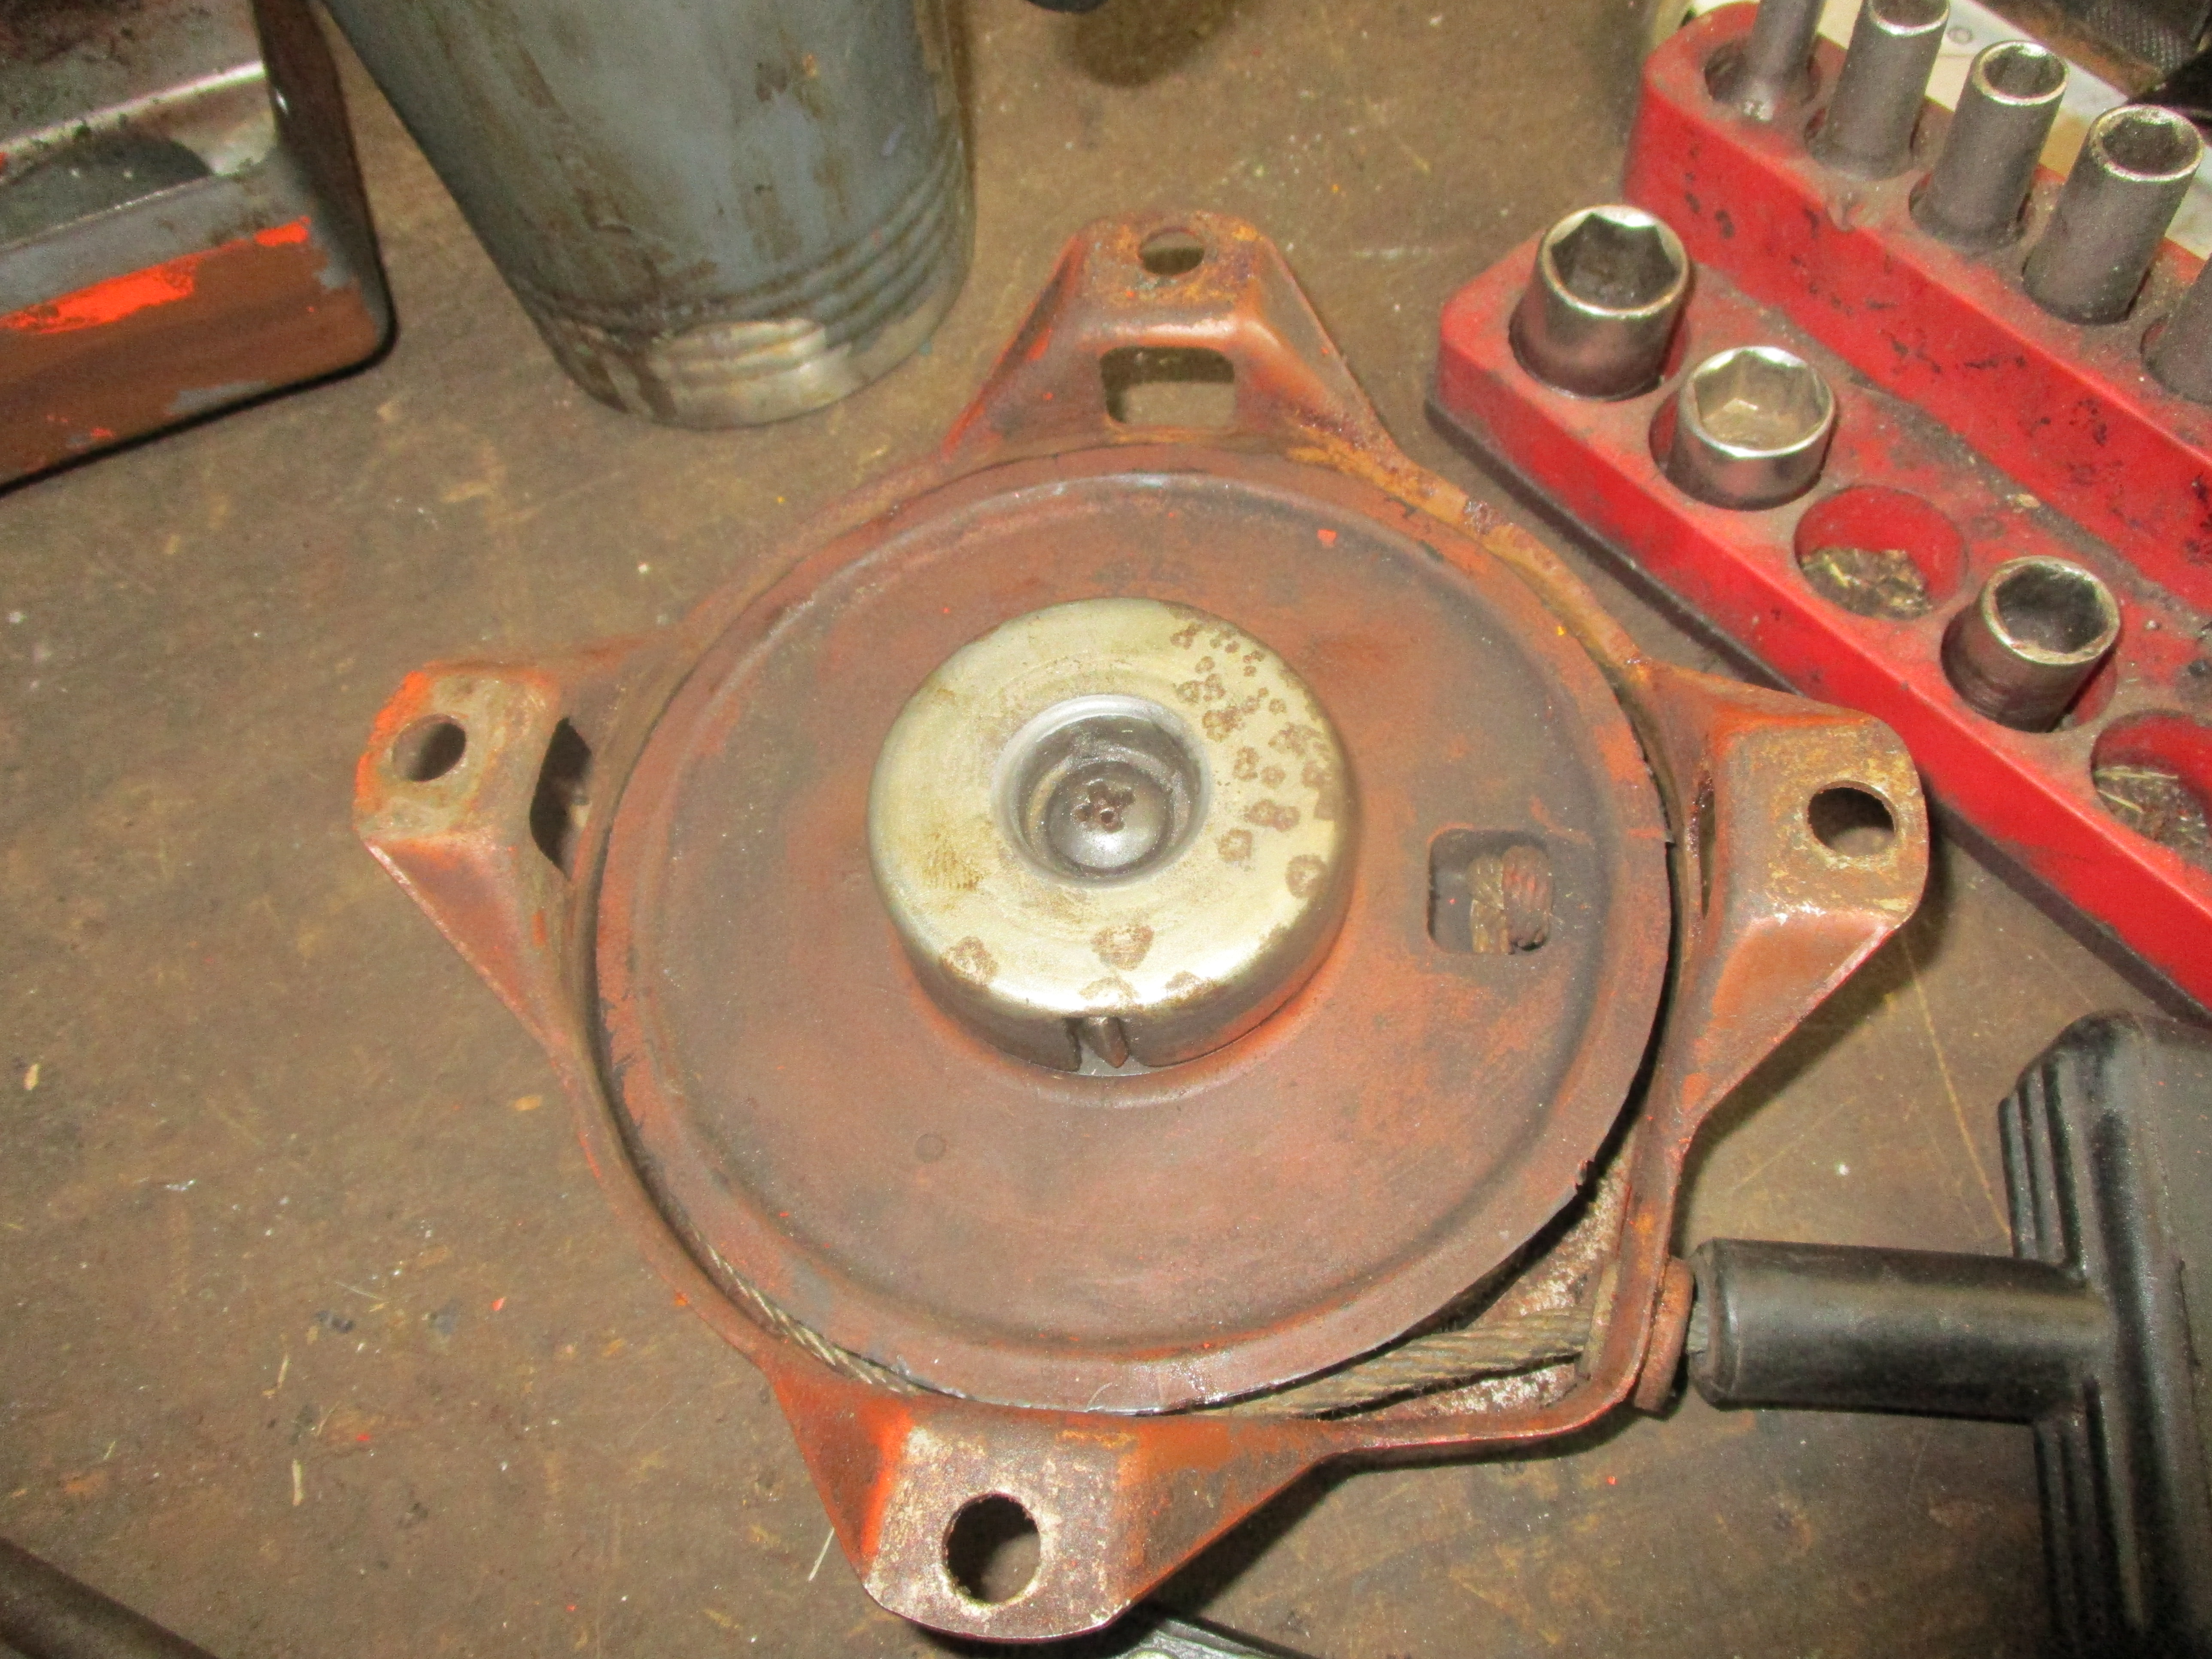
 To prevent any skidding, I cleaned up the inner cup face on starter, to help ratchet pawl to grip better.
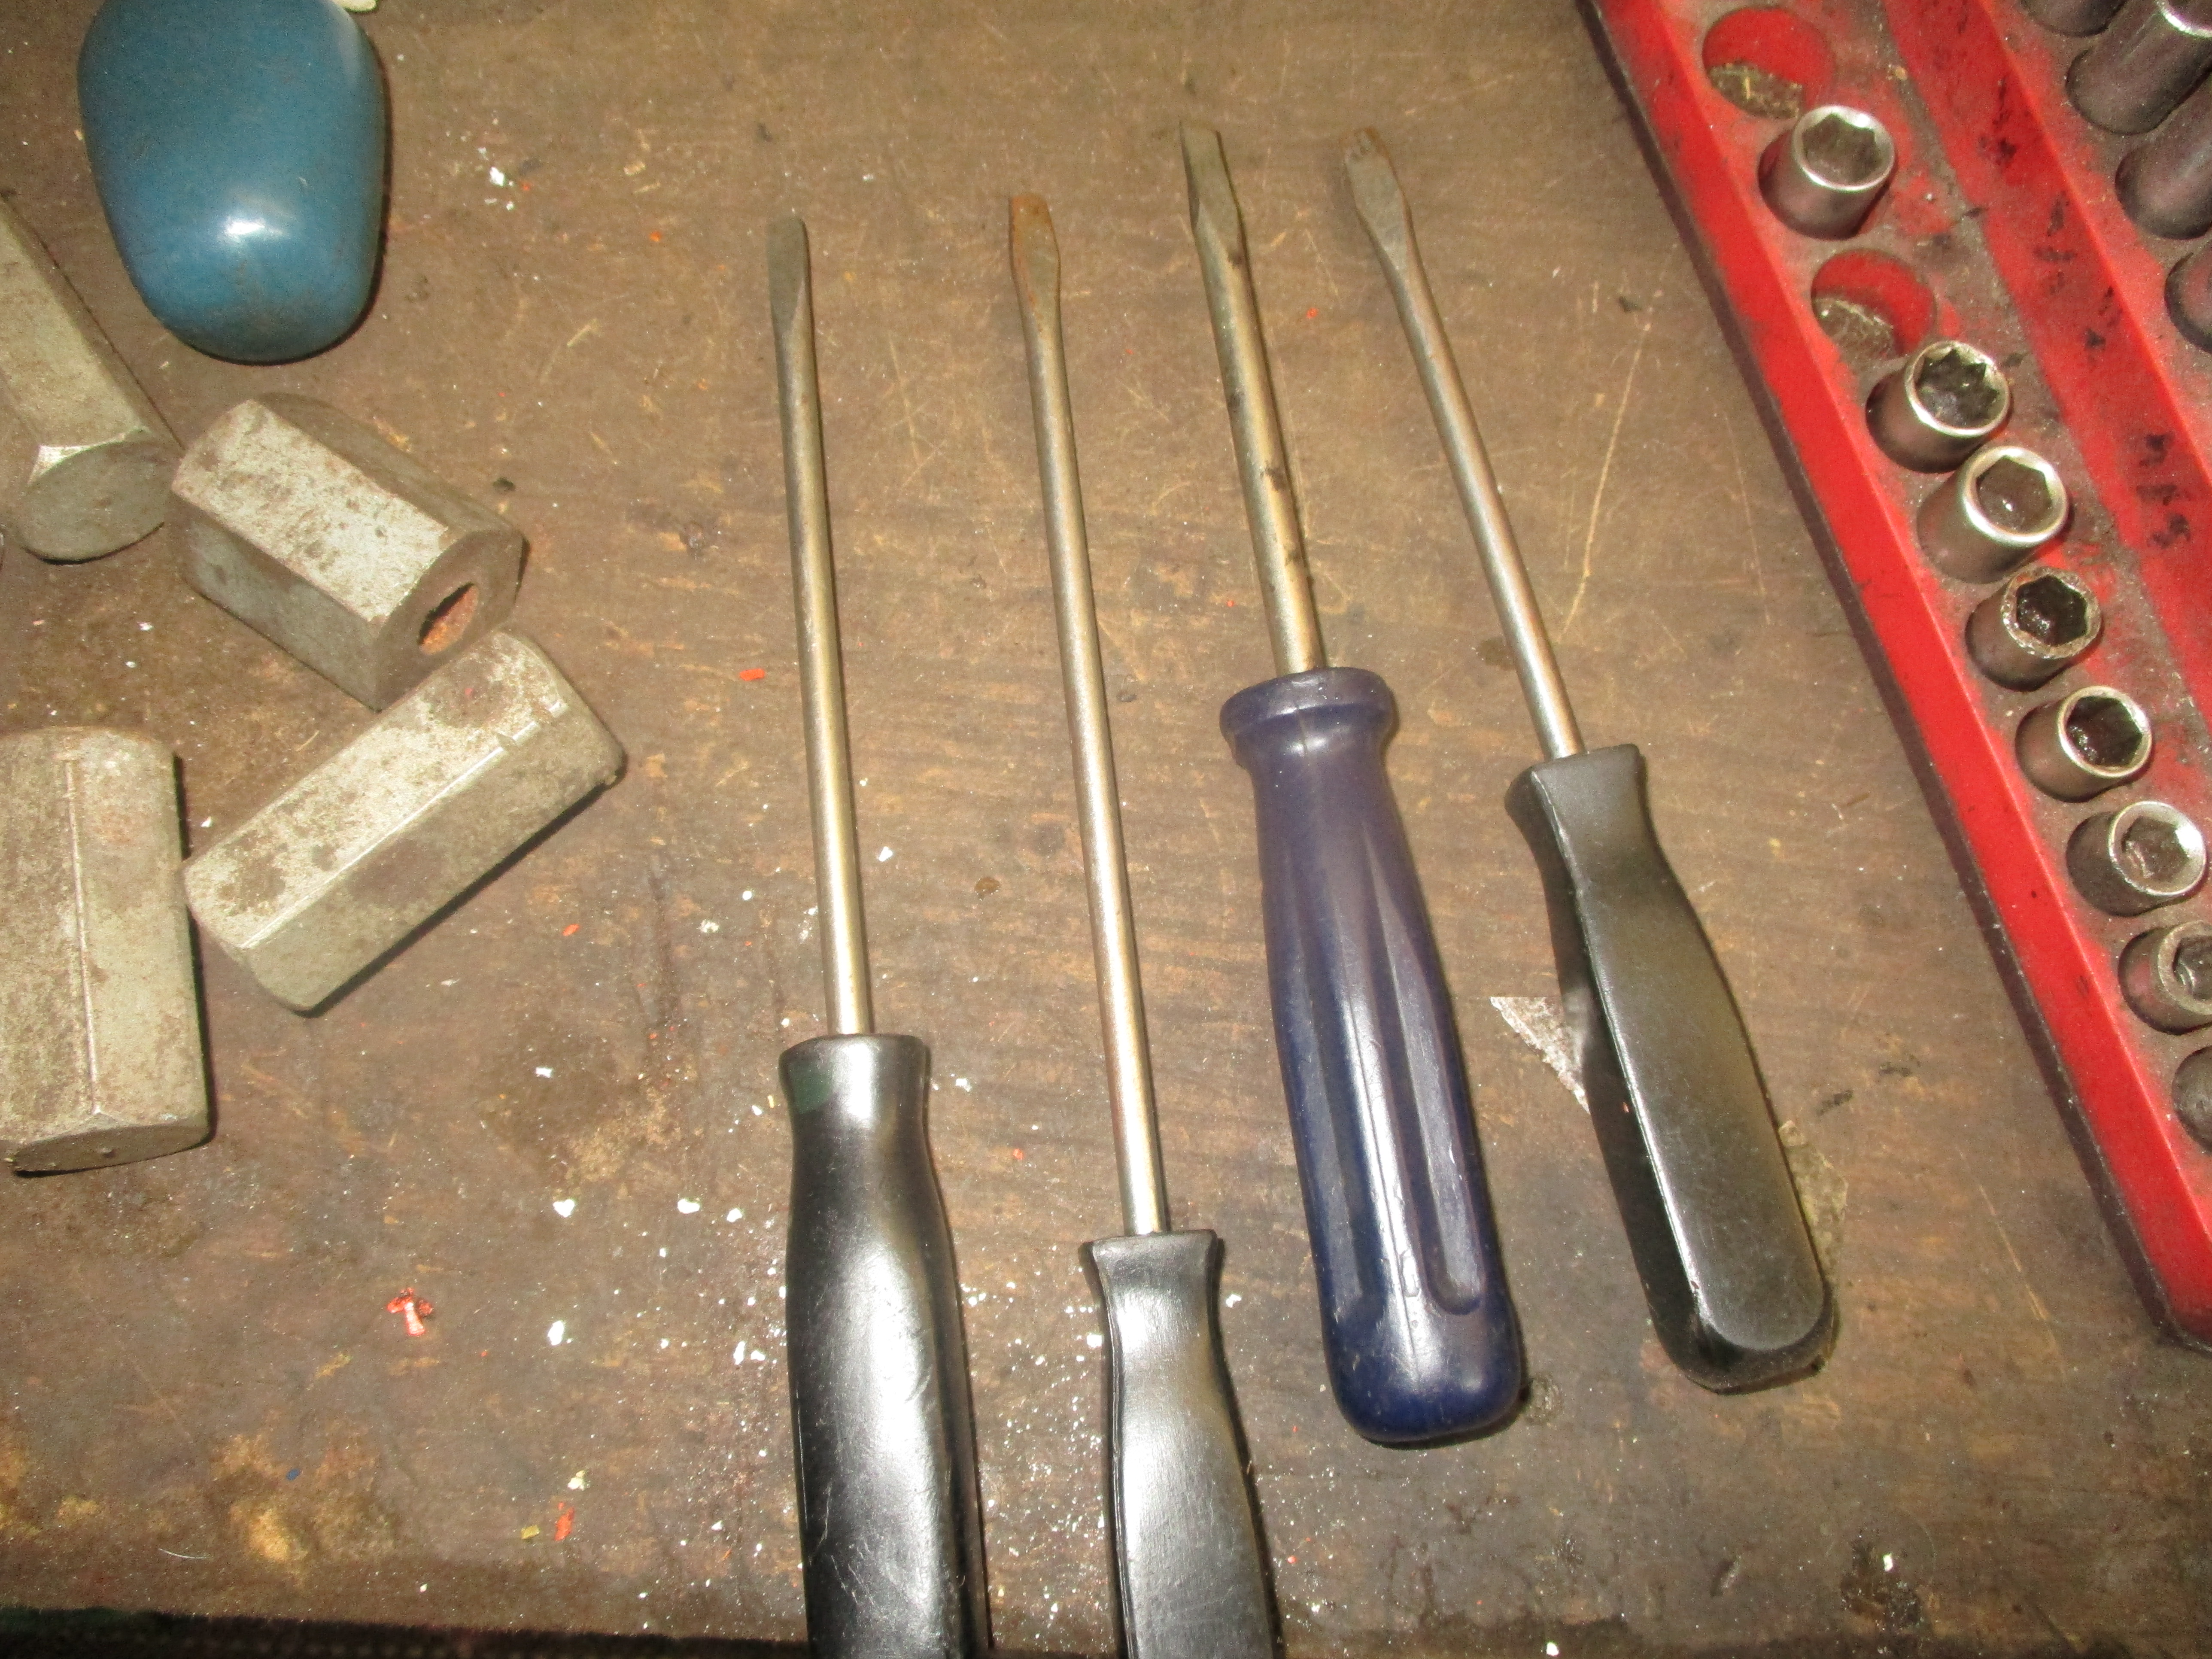 For stripping out the carbs and partricularly removing main jets, I keep dedicated slotted screwdrivers that are used for nothing else.
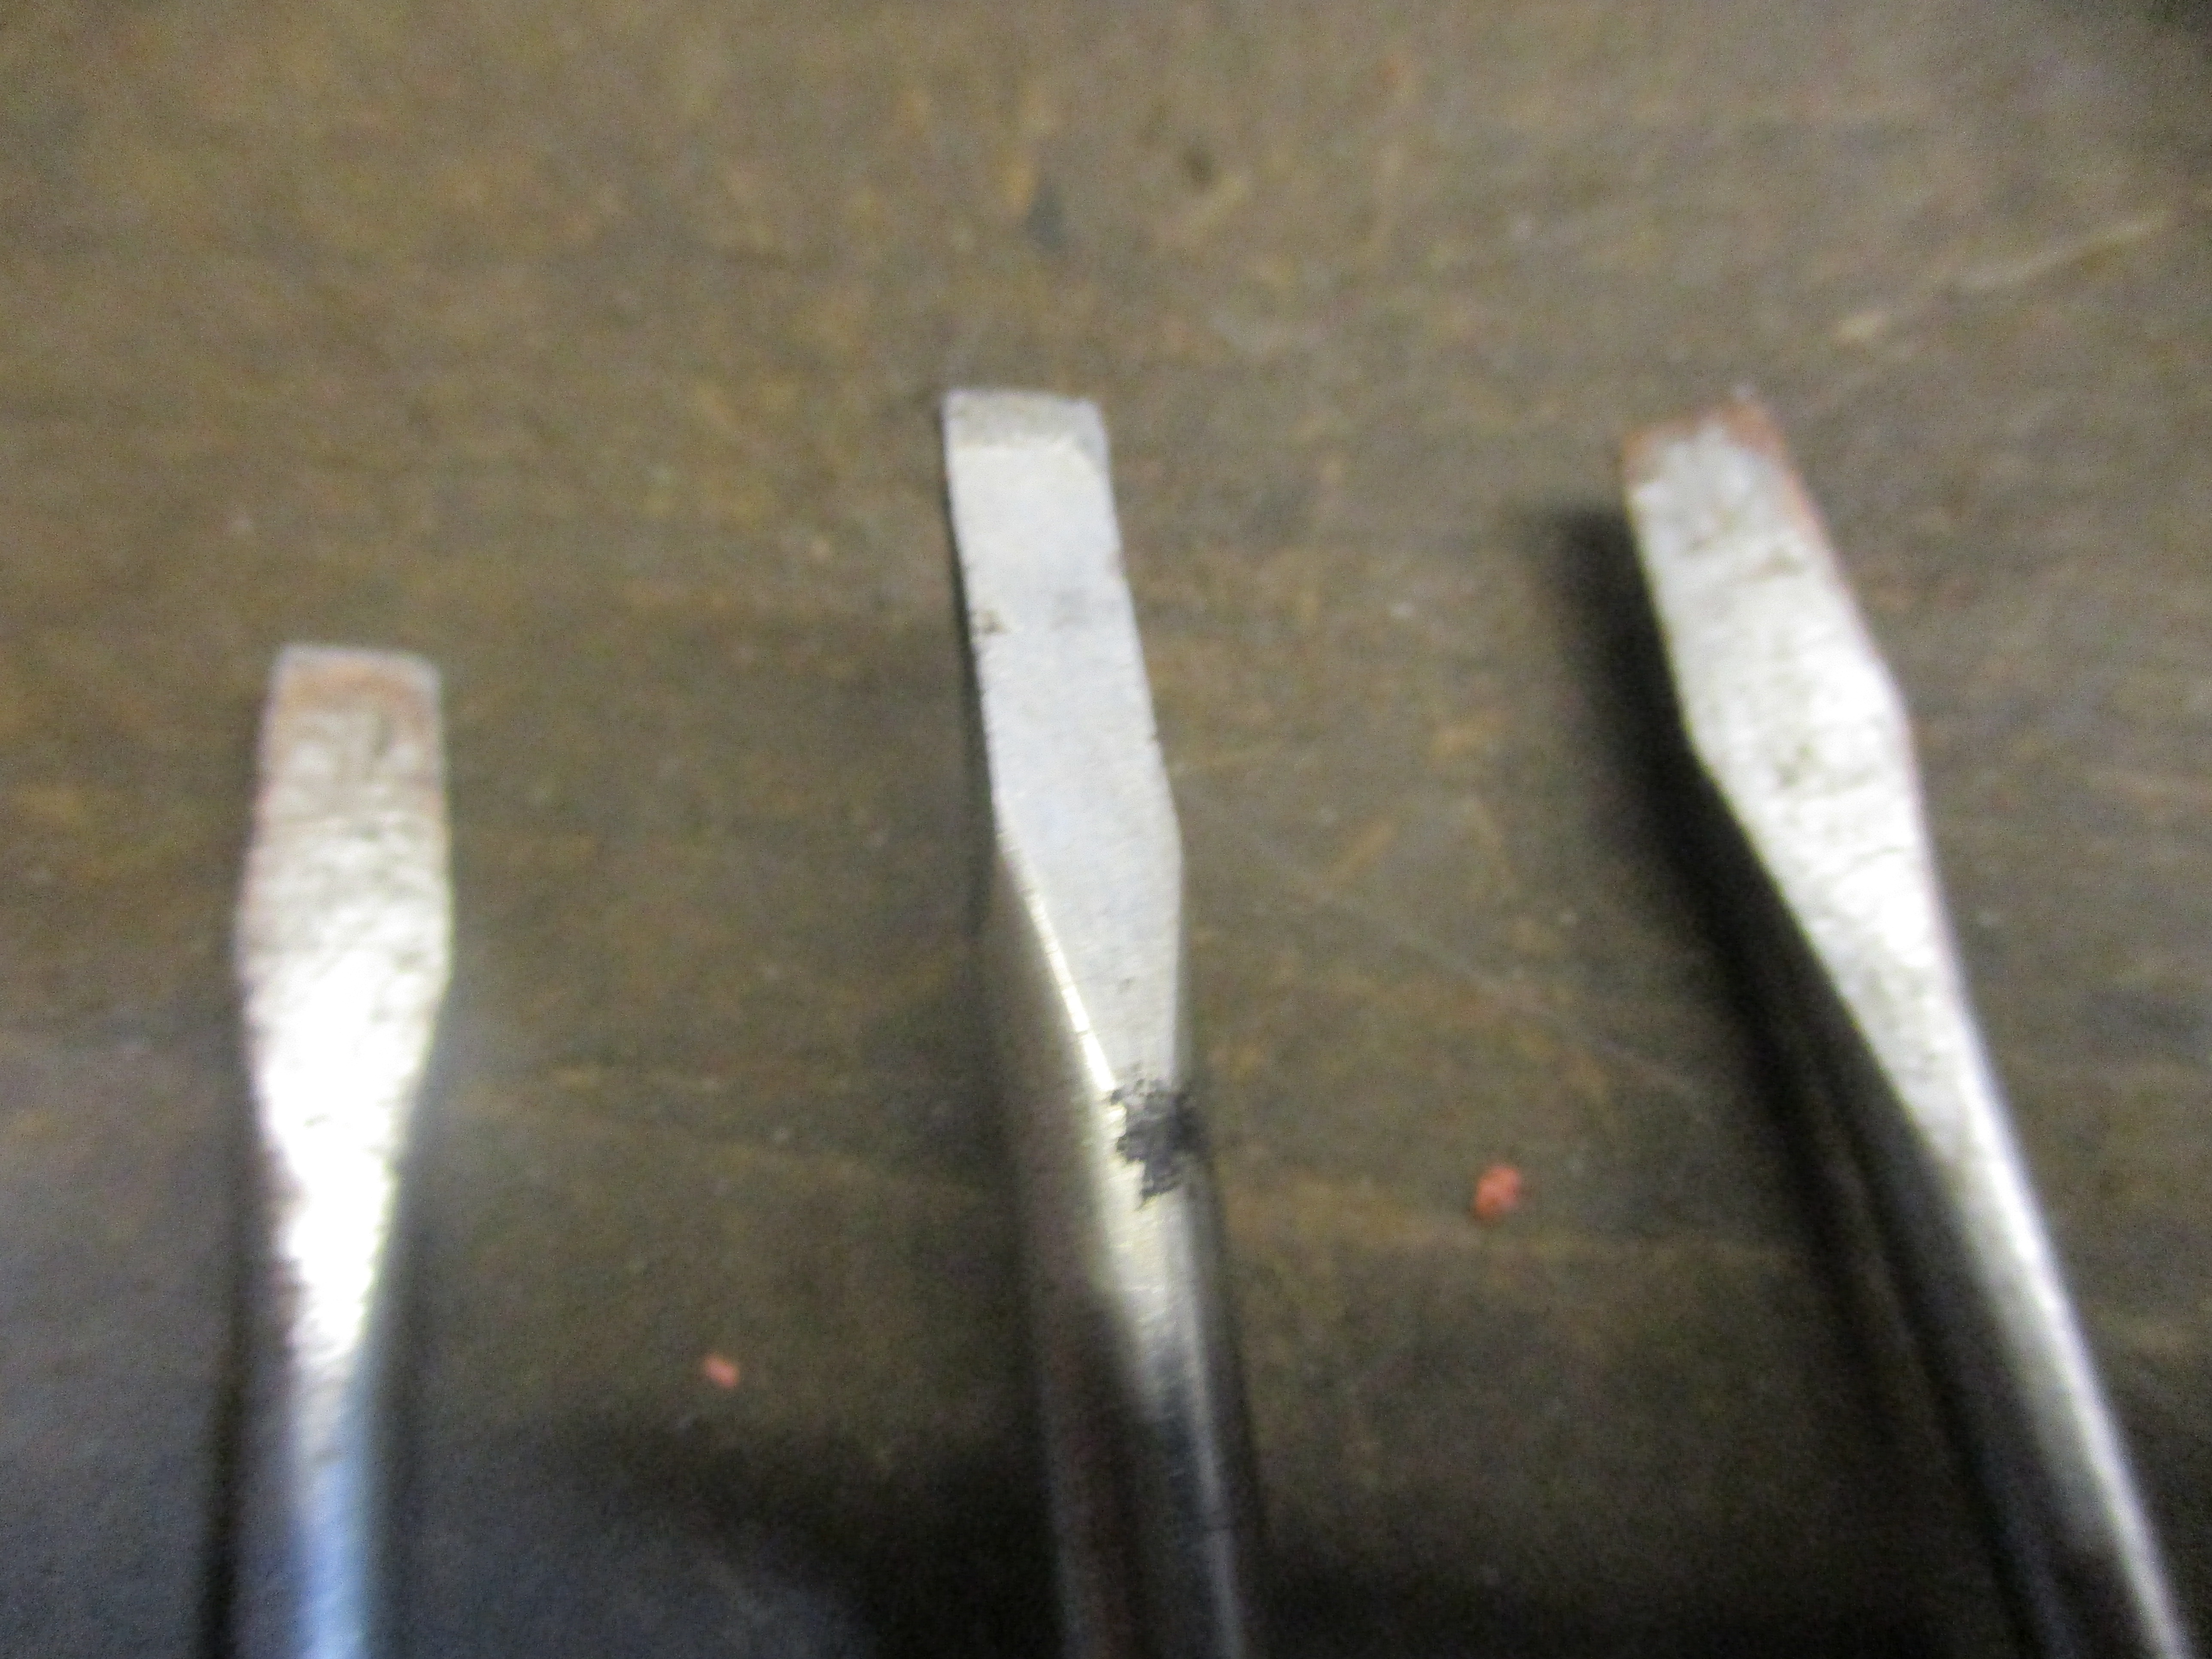 You can't expect to remove brass jets with a tool you've using as a chisel!
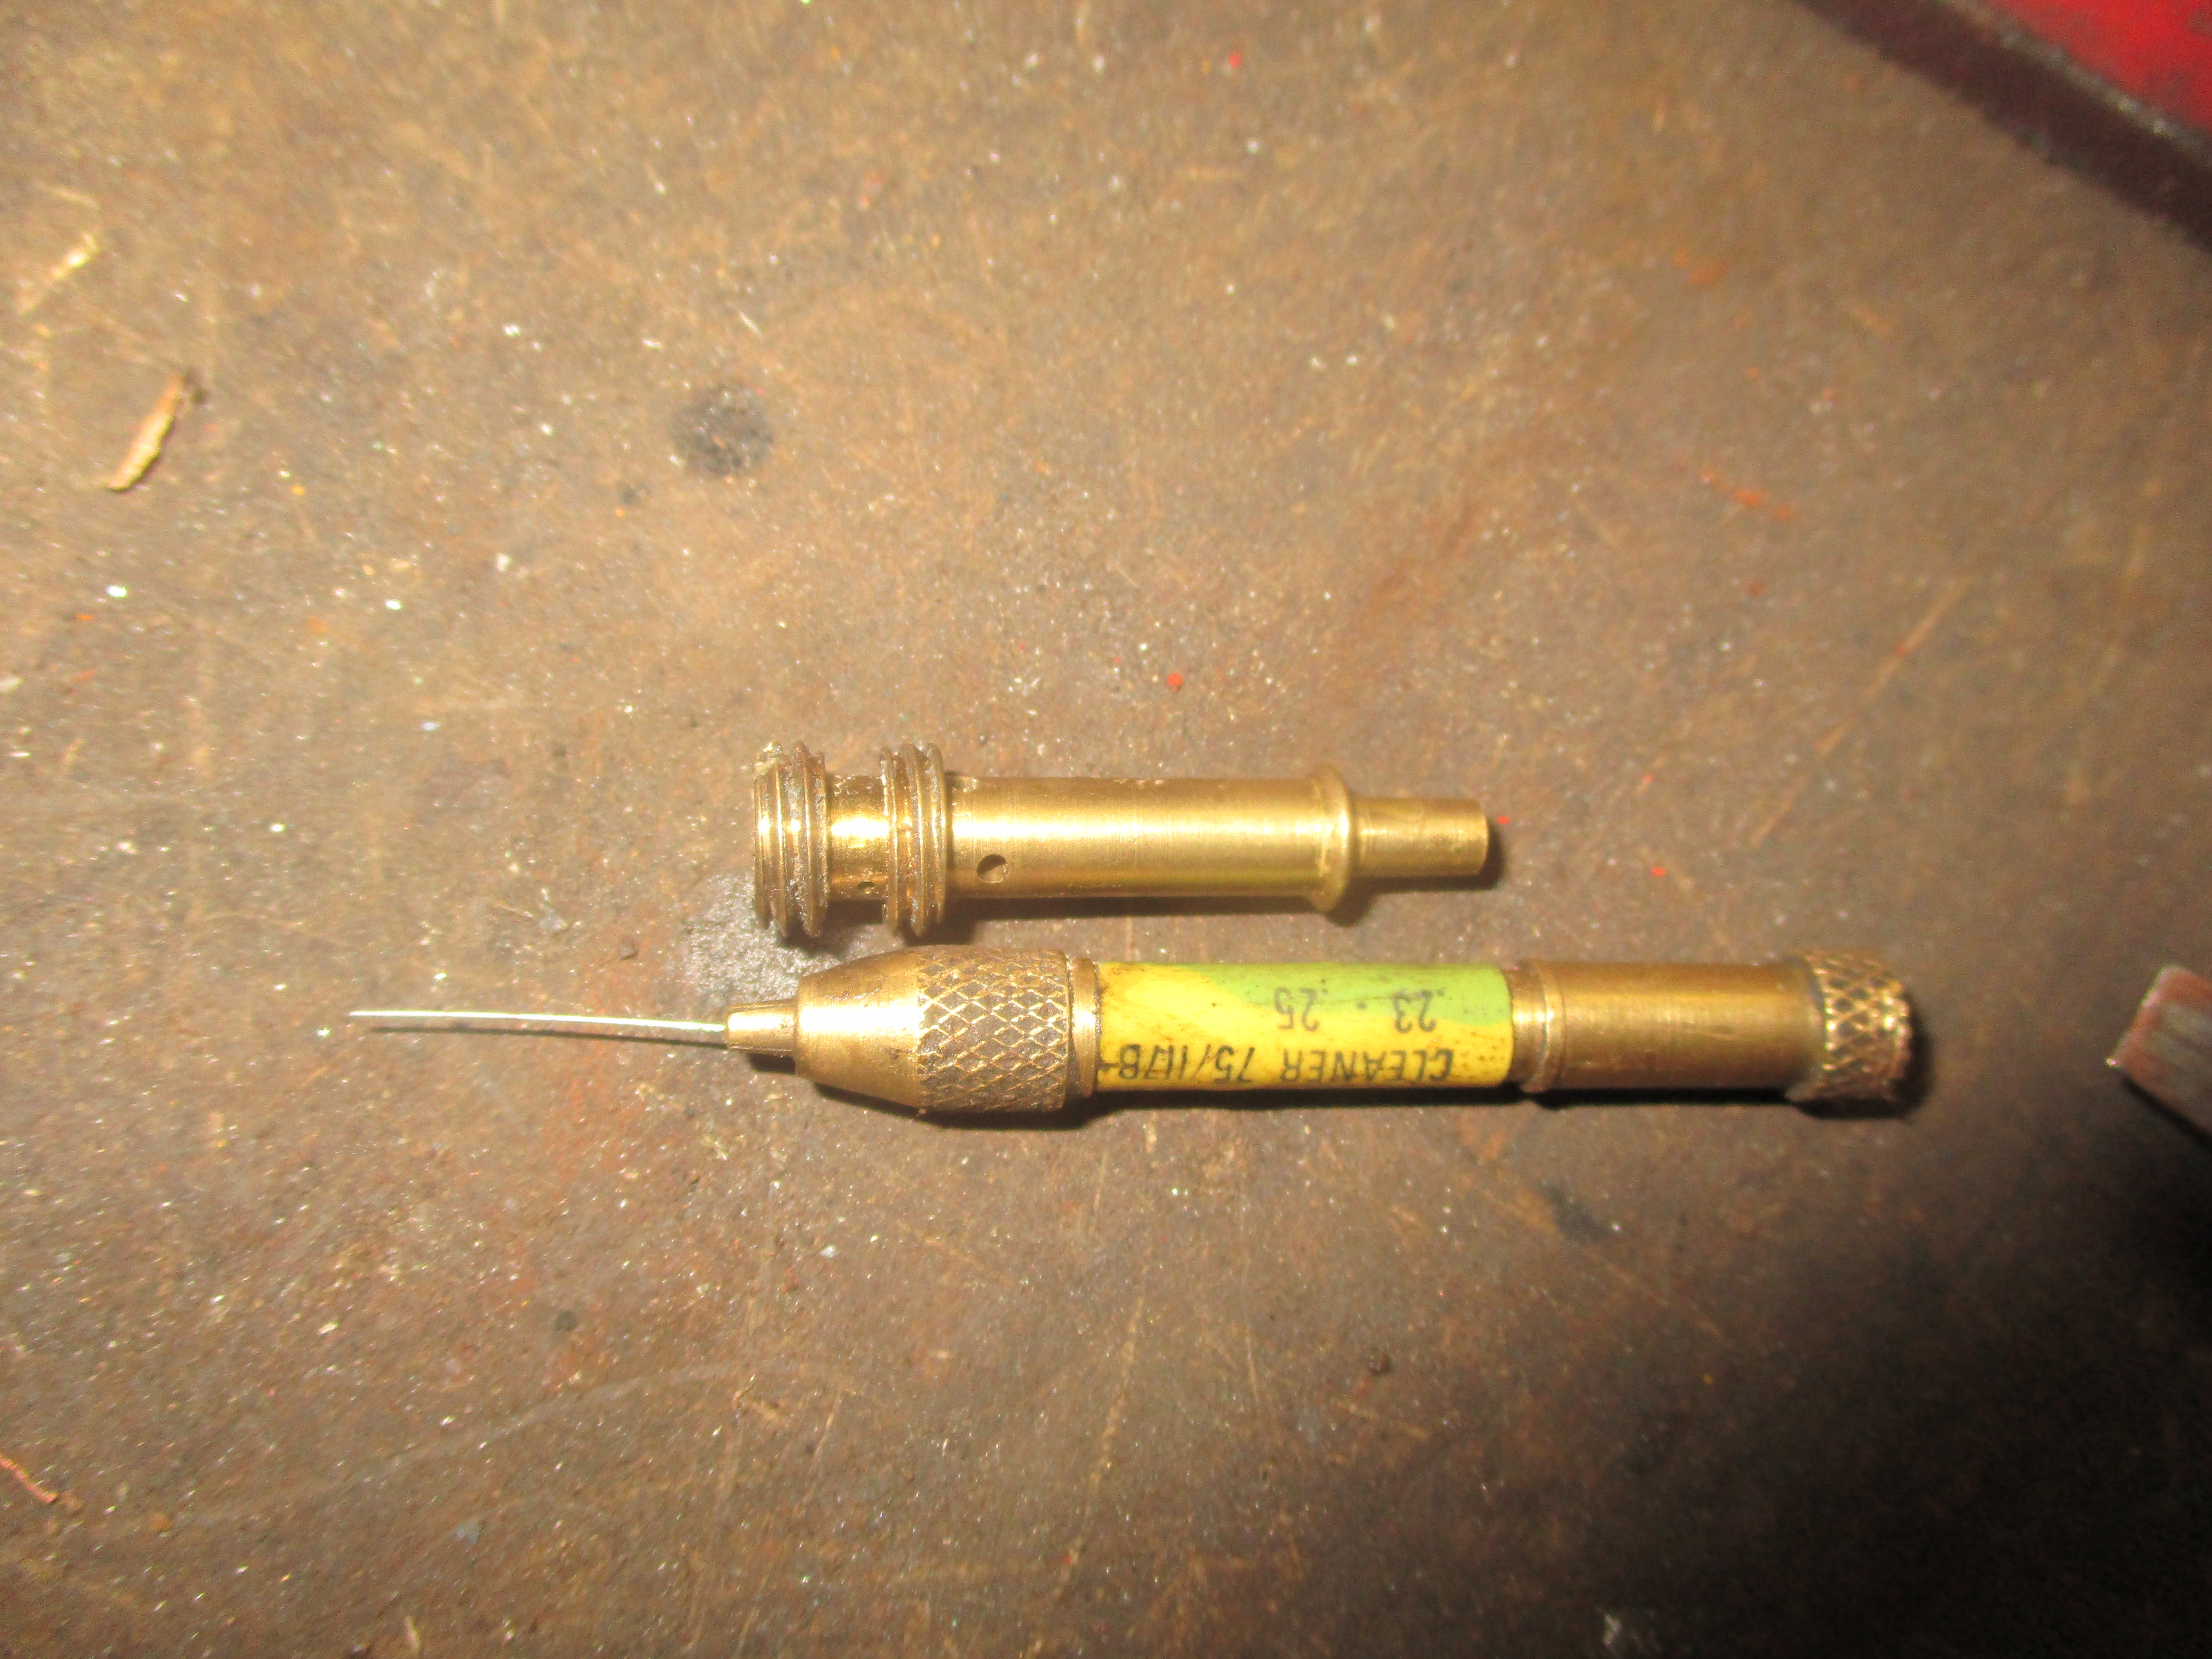 The trade DOES use pieces of wire to clean out jets, Honda service tools include a set, I use this 11 thous spray nozzle jet cleaner or a set of acetylene gas welding nozzle cleaning wires.
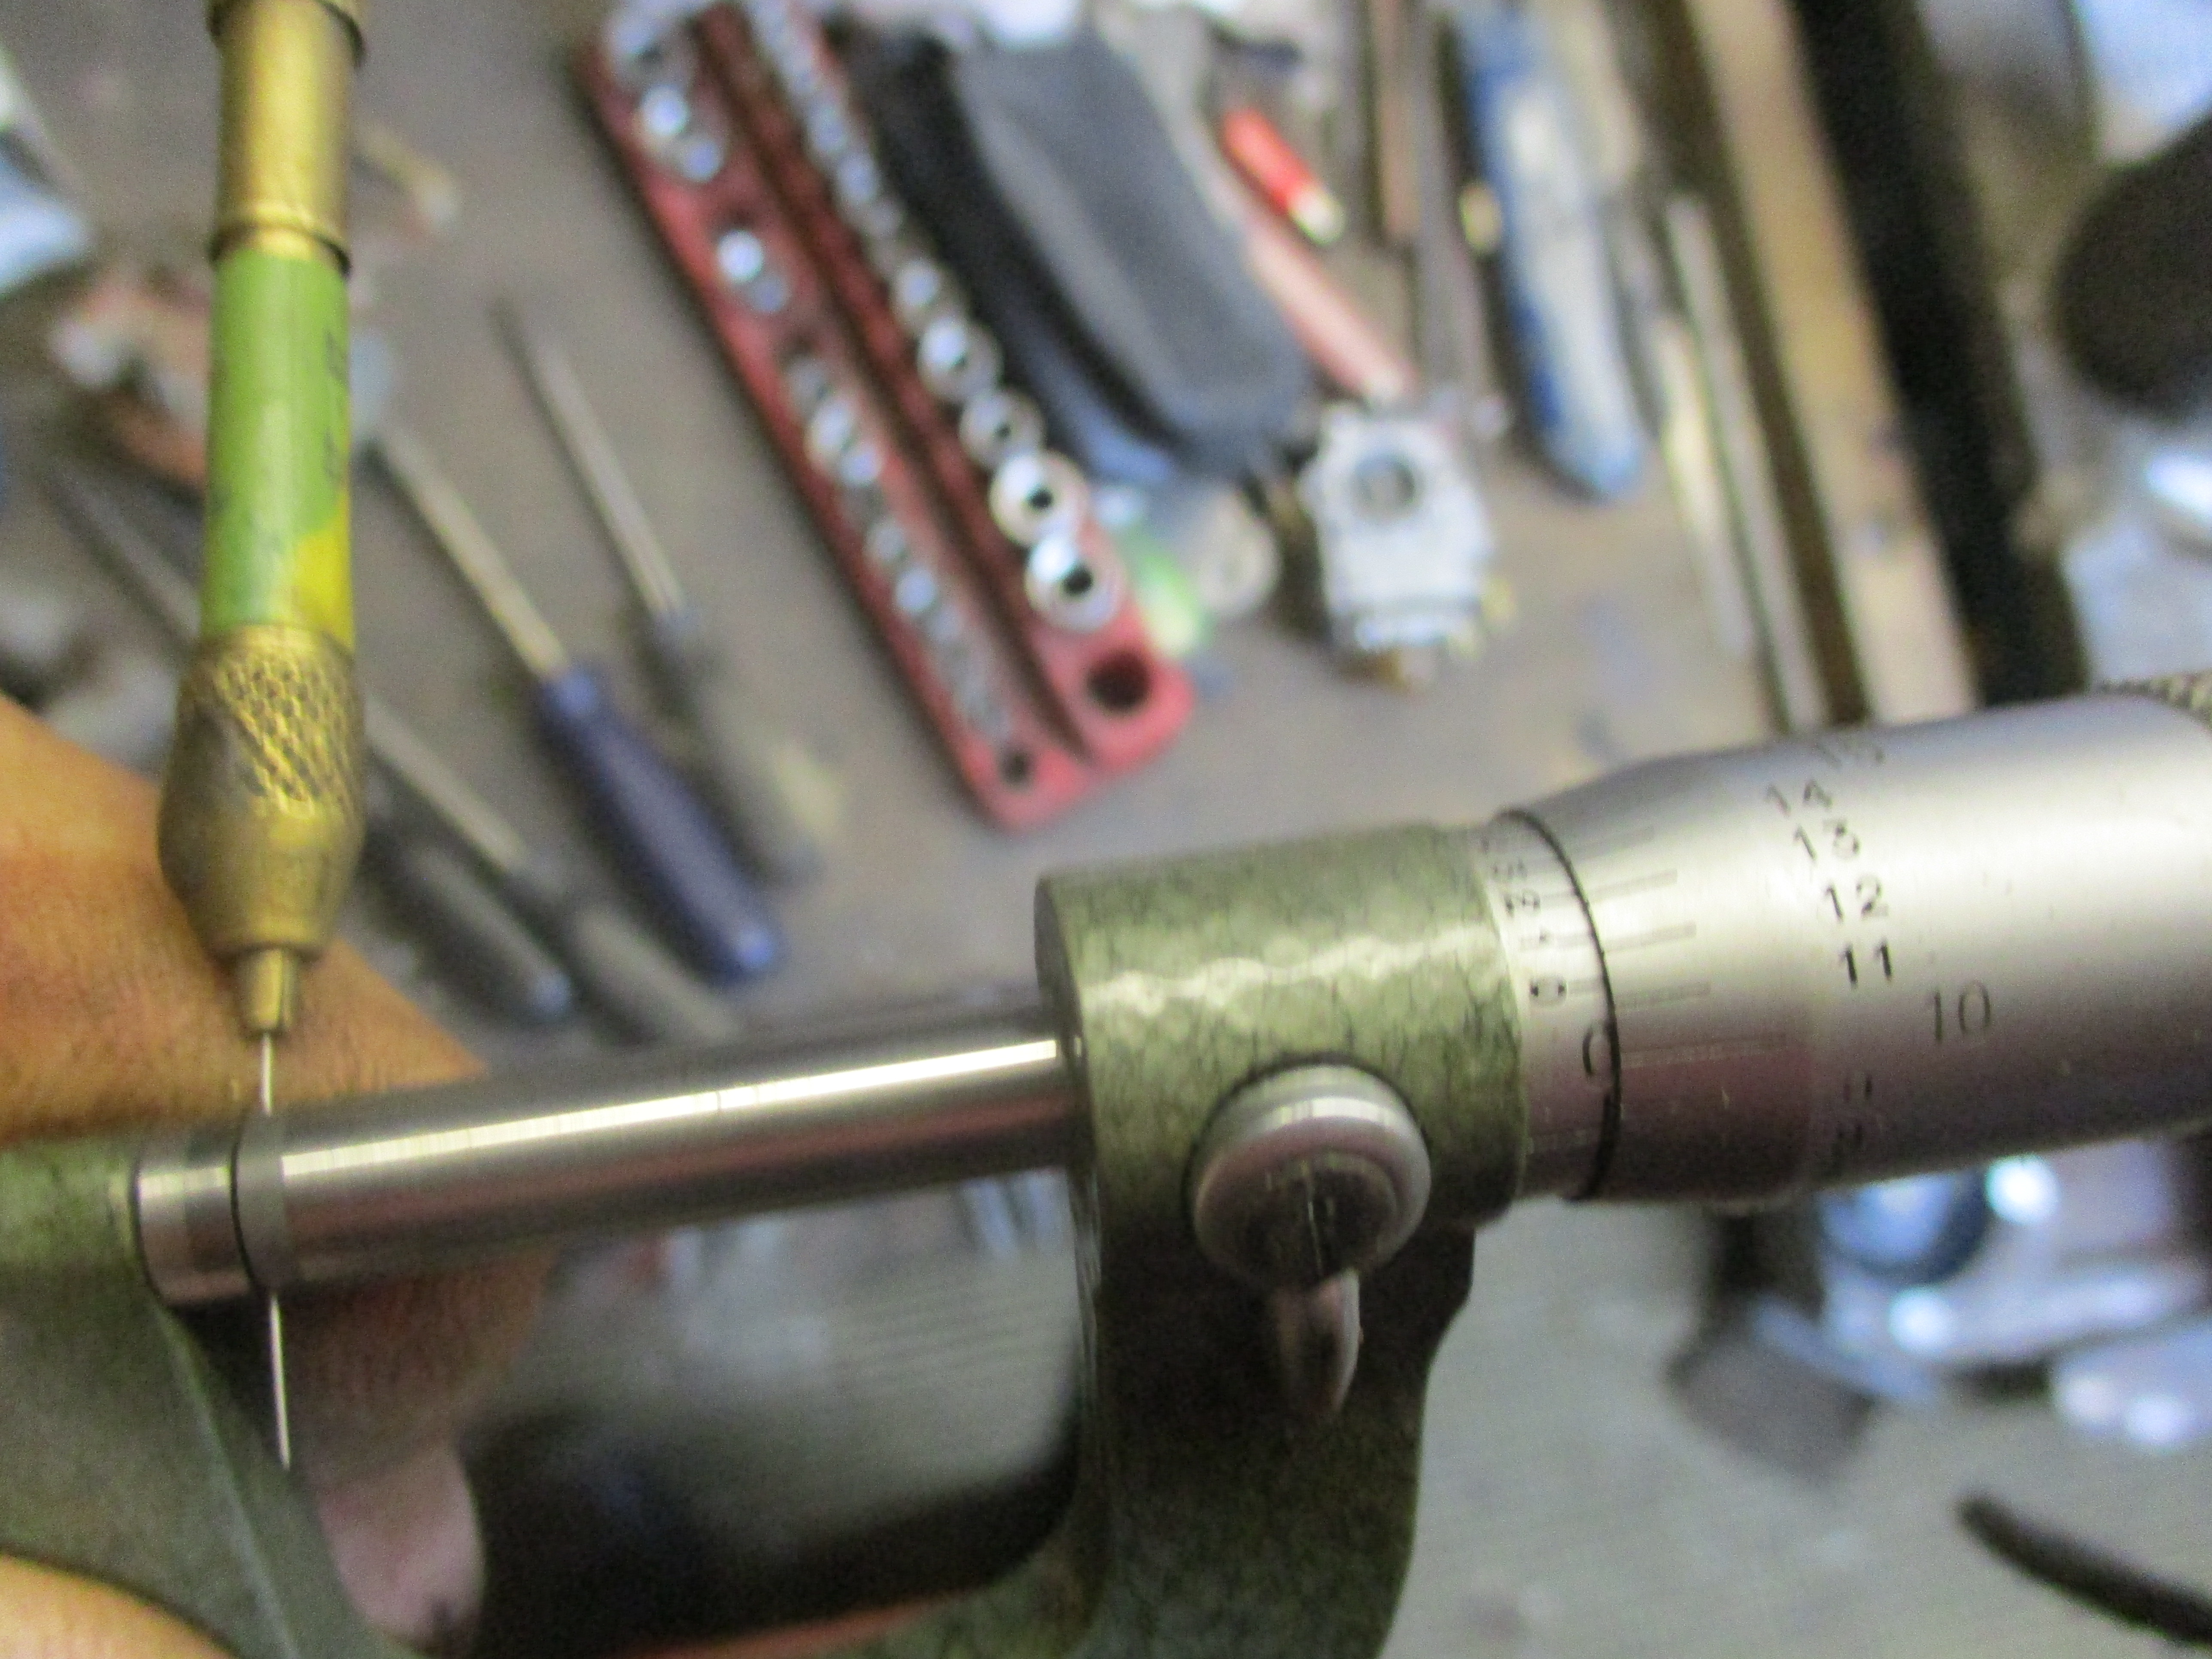 Still too big for some places.
 Walbro carb here, Del'Orto introduced kits like this later on to Qualcast/Bosch machines, due to weak running.
 Time to get out a new HT coil and test then compare the ohms readings. One on machine went 7,000 ohms, new one in box went about 5,000, original seemed fine to me, a dead short or open circuit would be calling for a replacement.
One new old stock Aspera
 One new old stock Aspera/Tecumseh (type) coil, even if it will not fit, a good idea of what it reads gives a good idea of state of original.
 Old part number still visible.
 A lot more work to fit this, that is if it's suitable though, but I was happy with old one.
Knew I had carb. gaskets too somewhere.
 Fits a treat.
 Now have plenty of compression, a good spark and carb. is cleaned out and re-fitted, I'm making some progress at last.
I now use Google on this site
 I now use Google on this site and am now able to insert type under pics, great!
I trial fitted the fuel tank, only to find two of the cowling screws were shared by some tank mounting holes, I then found after removing them, that there was no way to even get the shared lower tank mounting holes aligned because they were already filled by two of the reed mounting block items, so I had to remove the carb. again to fit the tank, the awkwardness told me that fitting a new piece of clear fuel tubing now would be a good idea, which I did, to the carb. end.
 Some tank mountings.
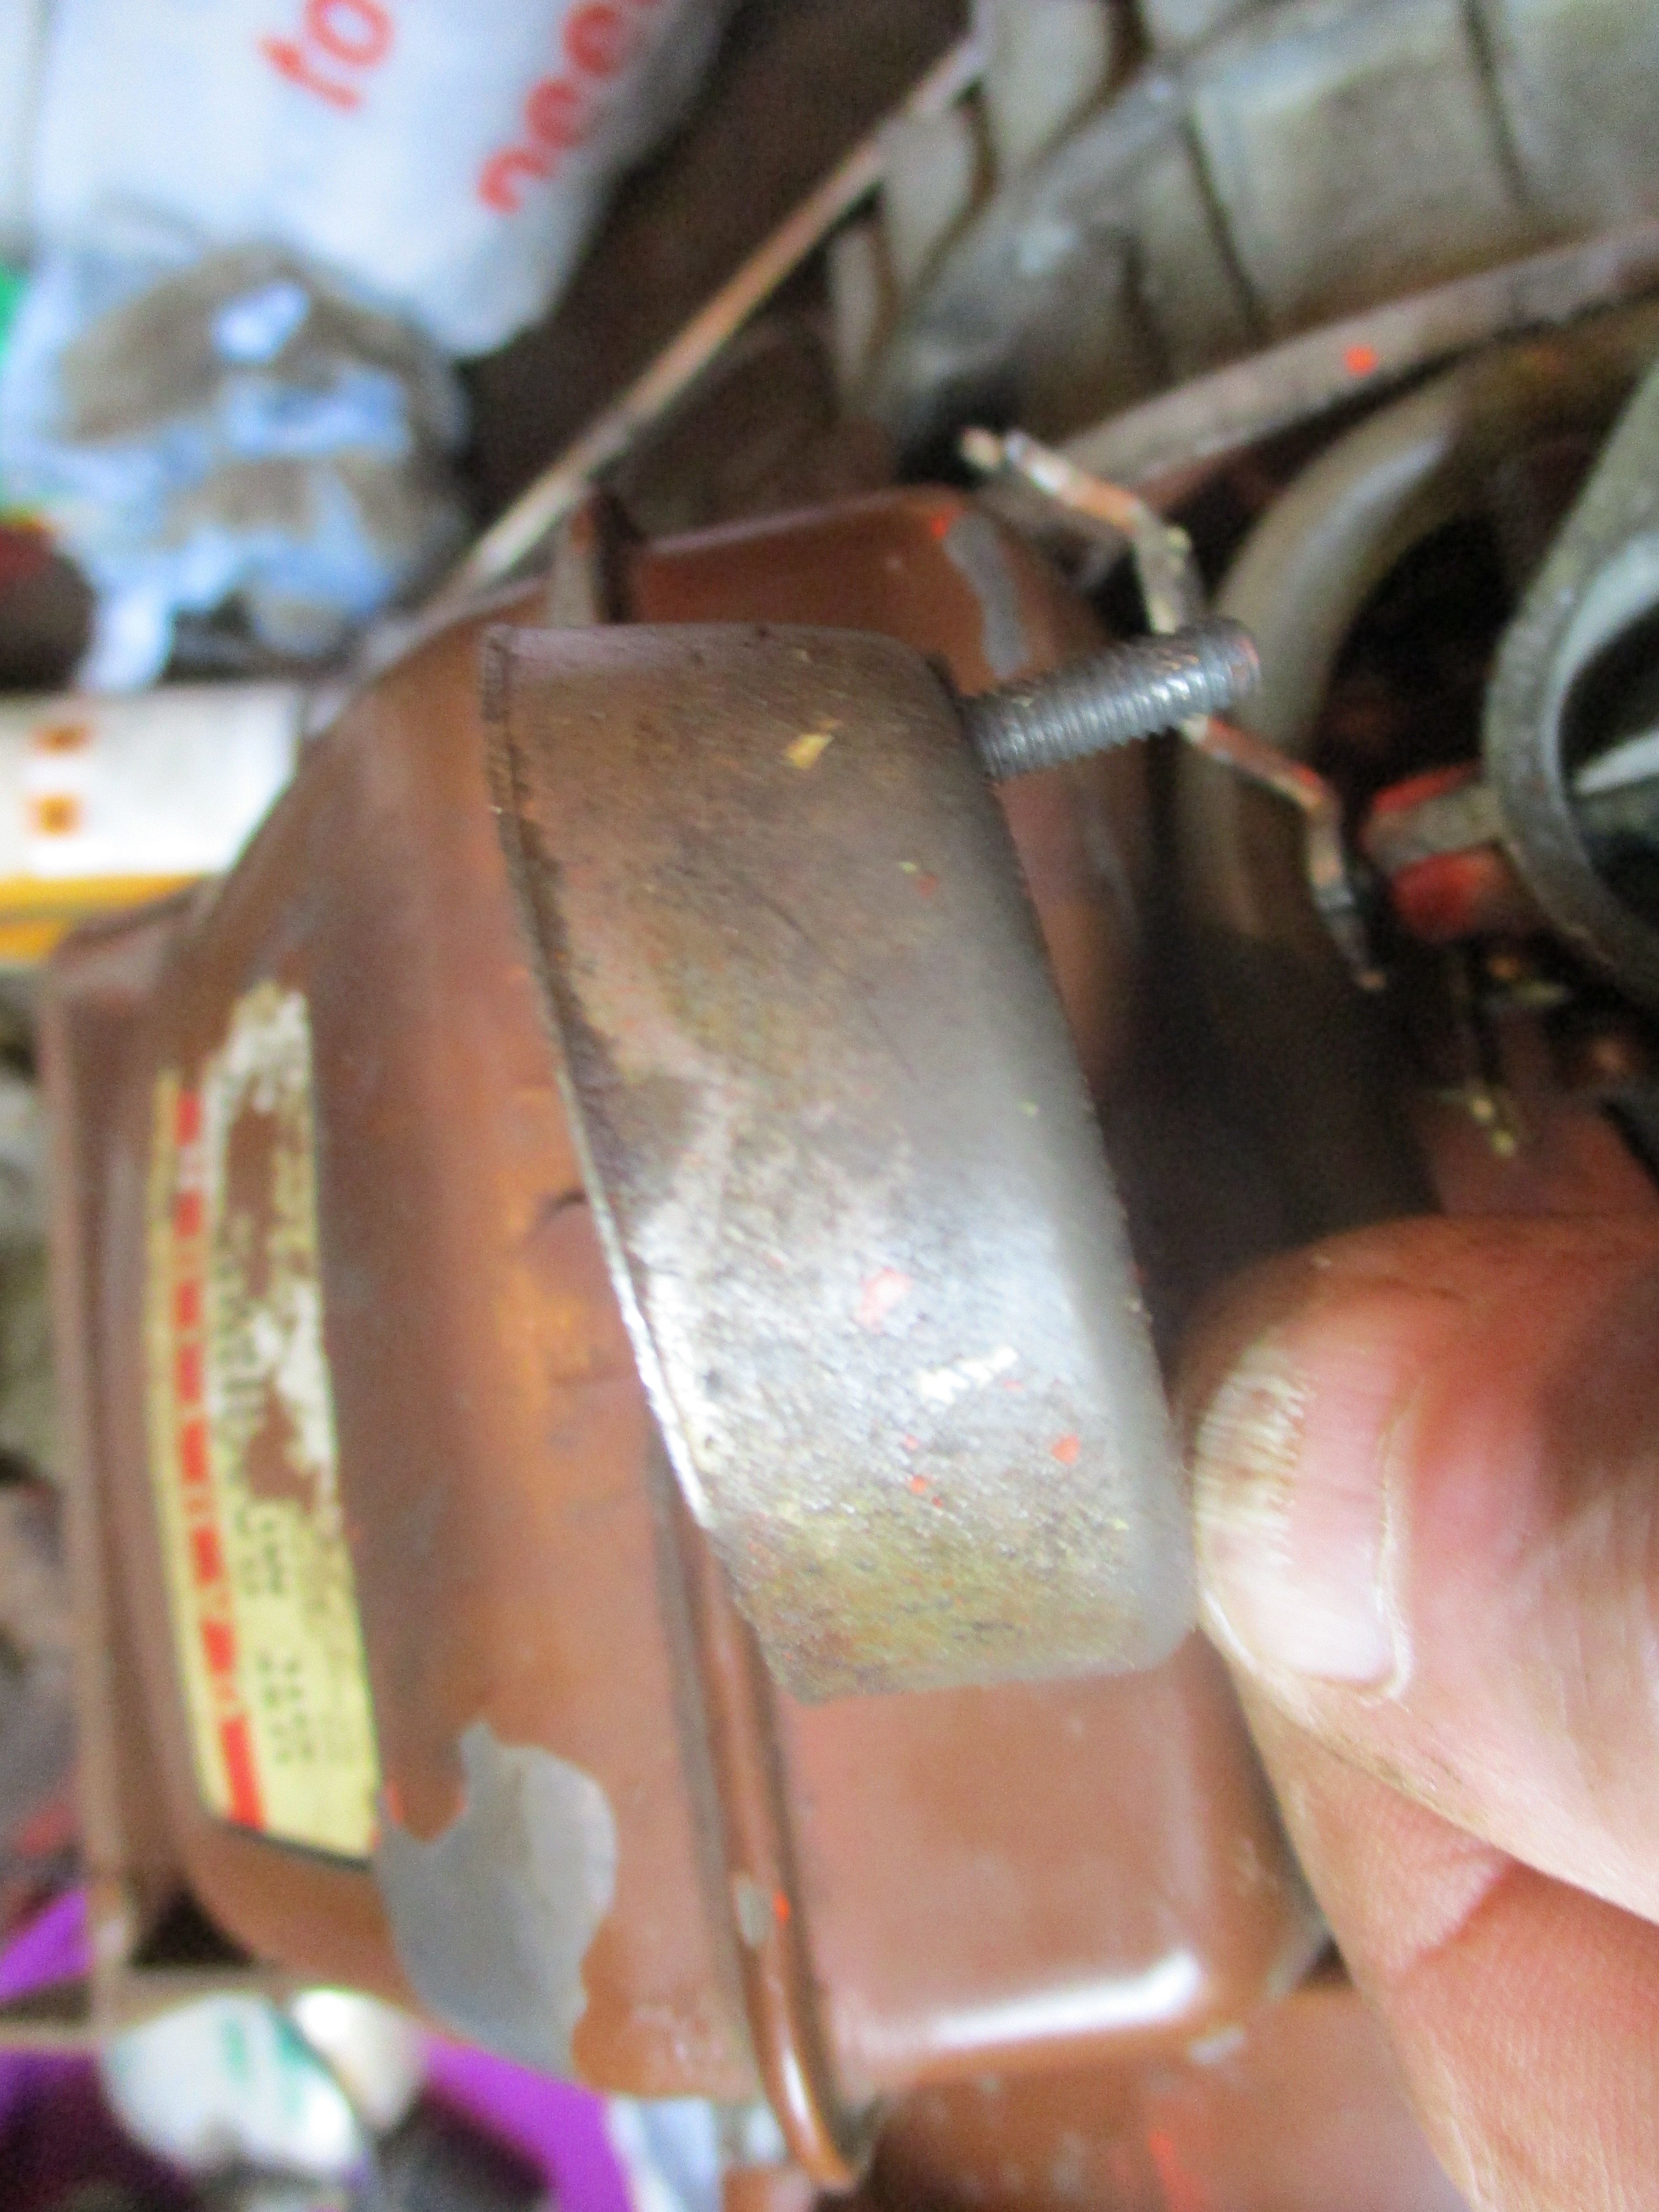
 One looked like an imposter, having wrong head style but all appeared to be good old Whitworth, the slightly longer ones went on to the thicker steel area of bracktry.
 The top two reed housing screws now tightened down onto the lower tank mounting holes.
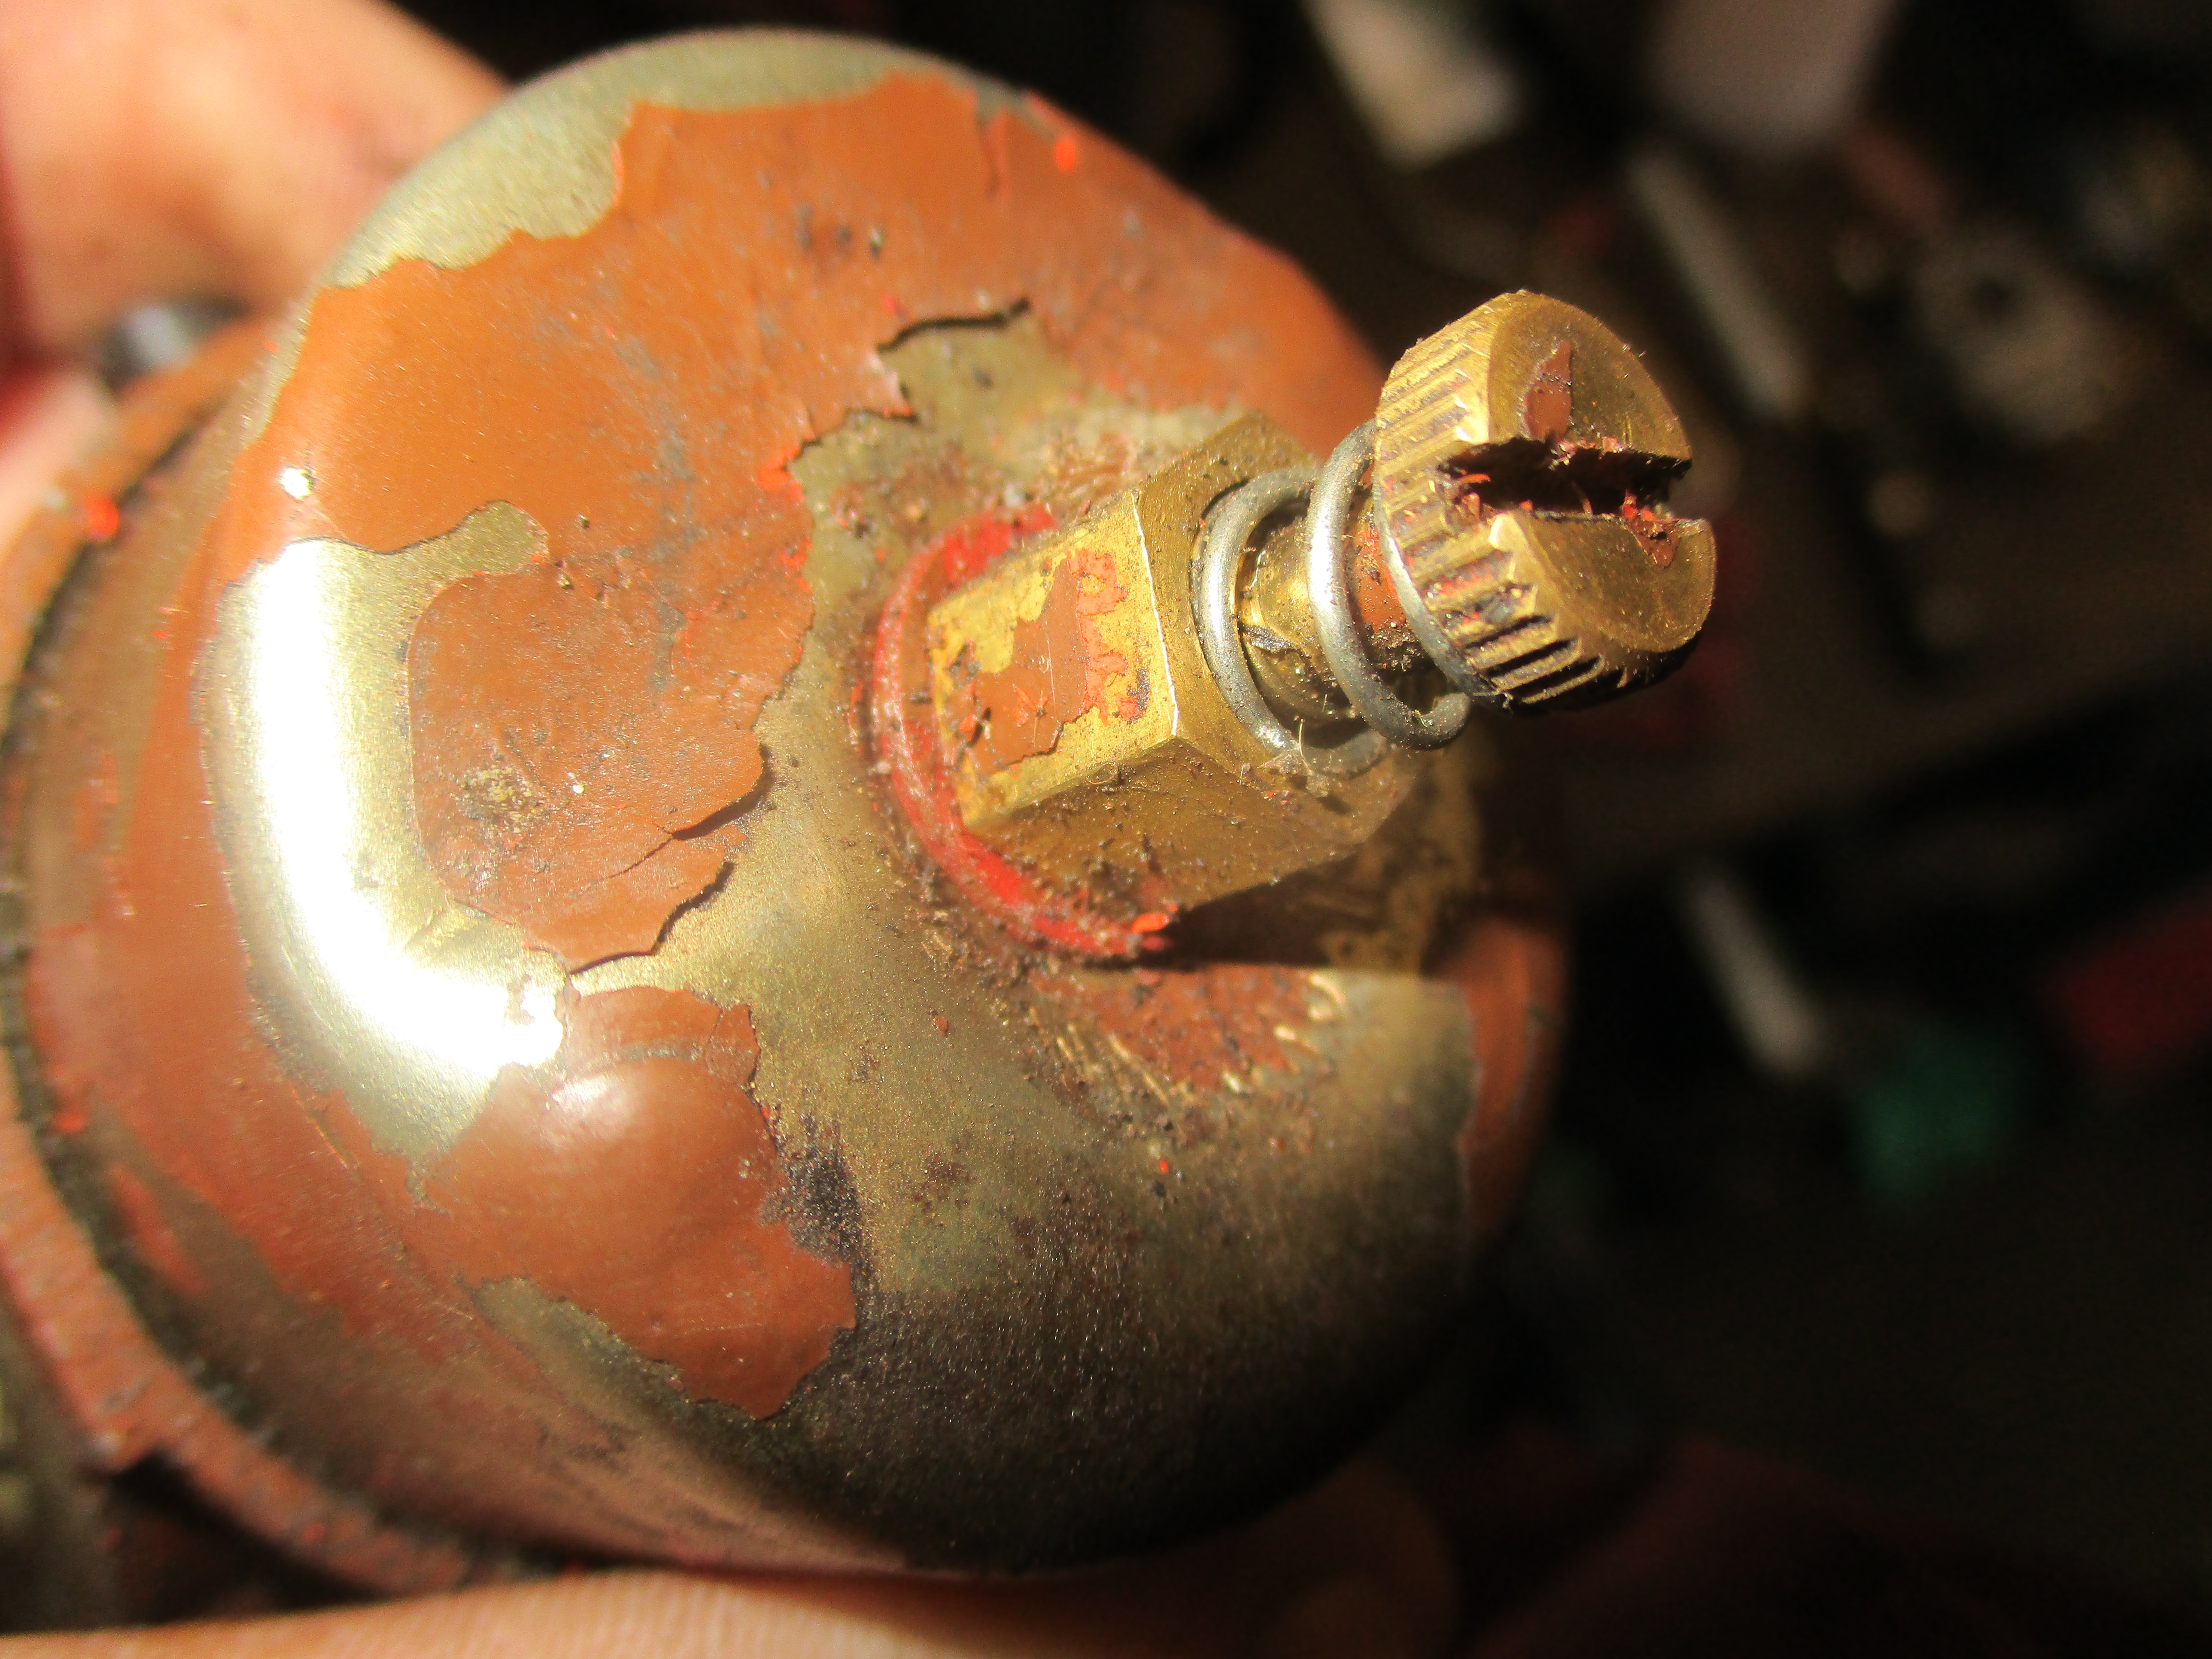
 I measured the new piece of tube to old one and added a bit to cover broken off end. The outer carb. washer and nut here were an easy fix.

I had a job to see the inner carb. mounting, let along get a washer and unf nut onto it.

I finally managed to get a washer on using long nosed pliers, but a nut and then tighten it up?
 Sometimes the 'long way around' ends up by being a lot quicker, with the cowling off it was a lot easier.
 See?
See?
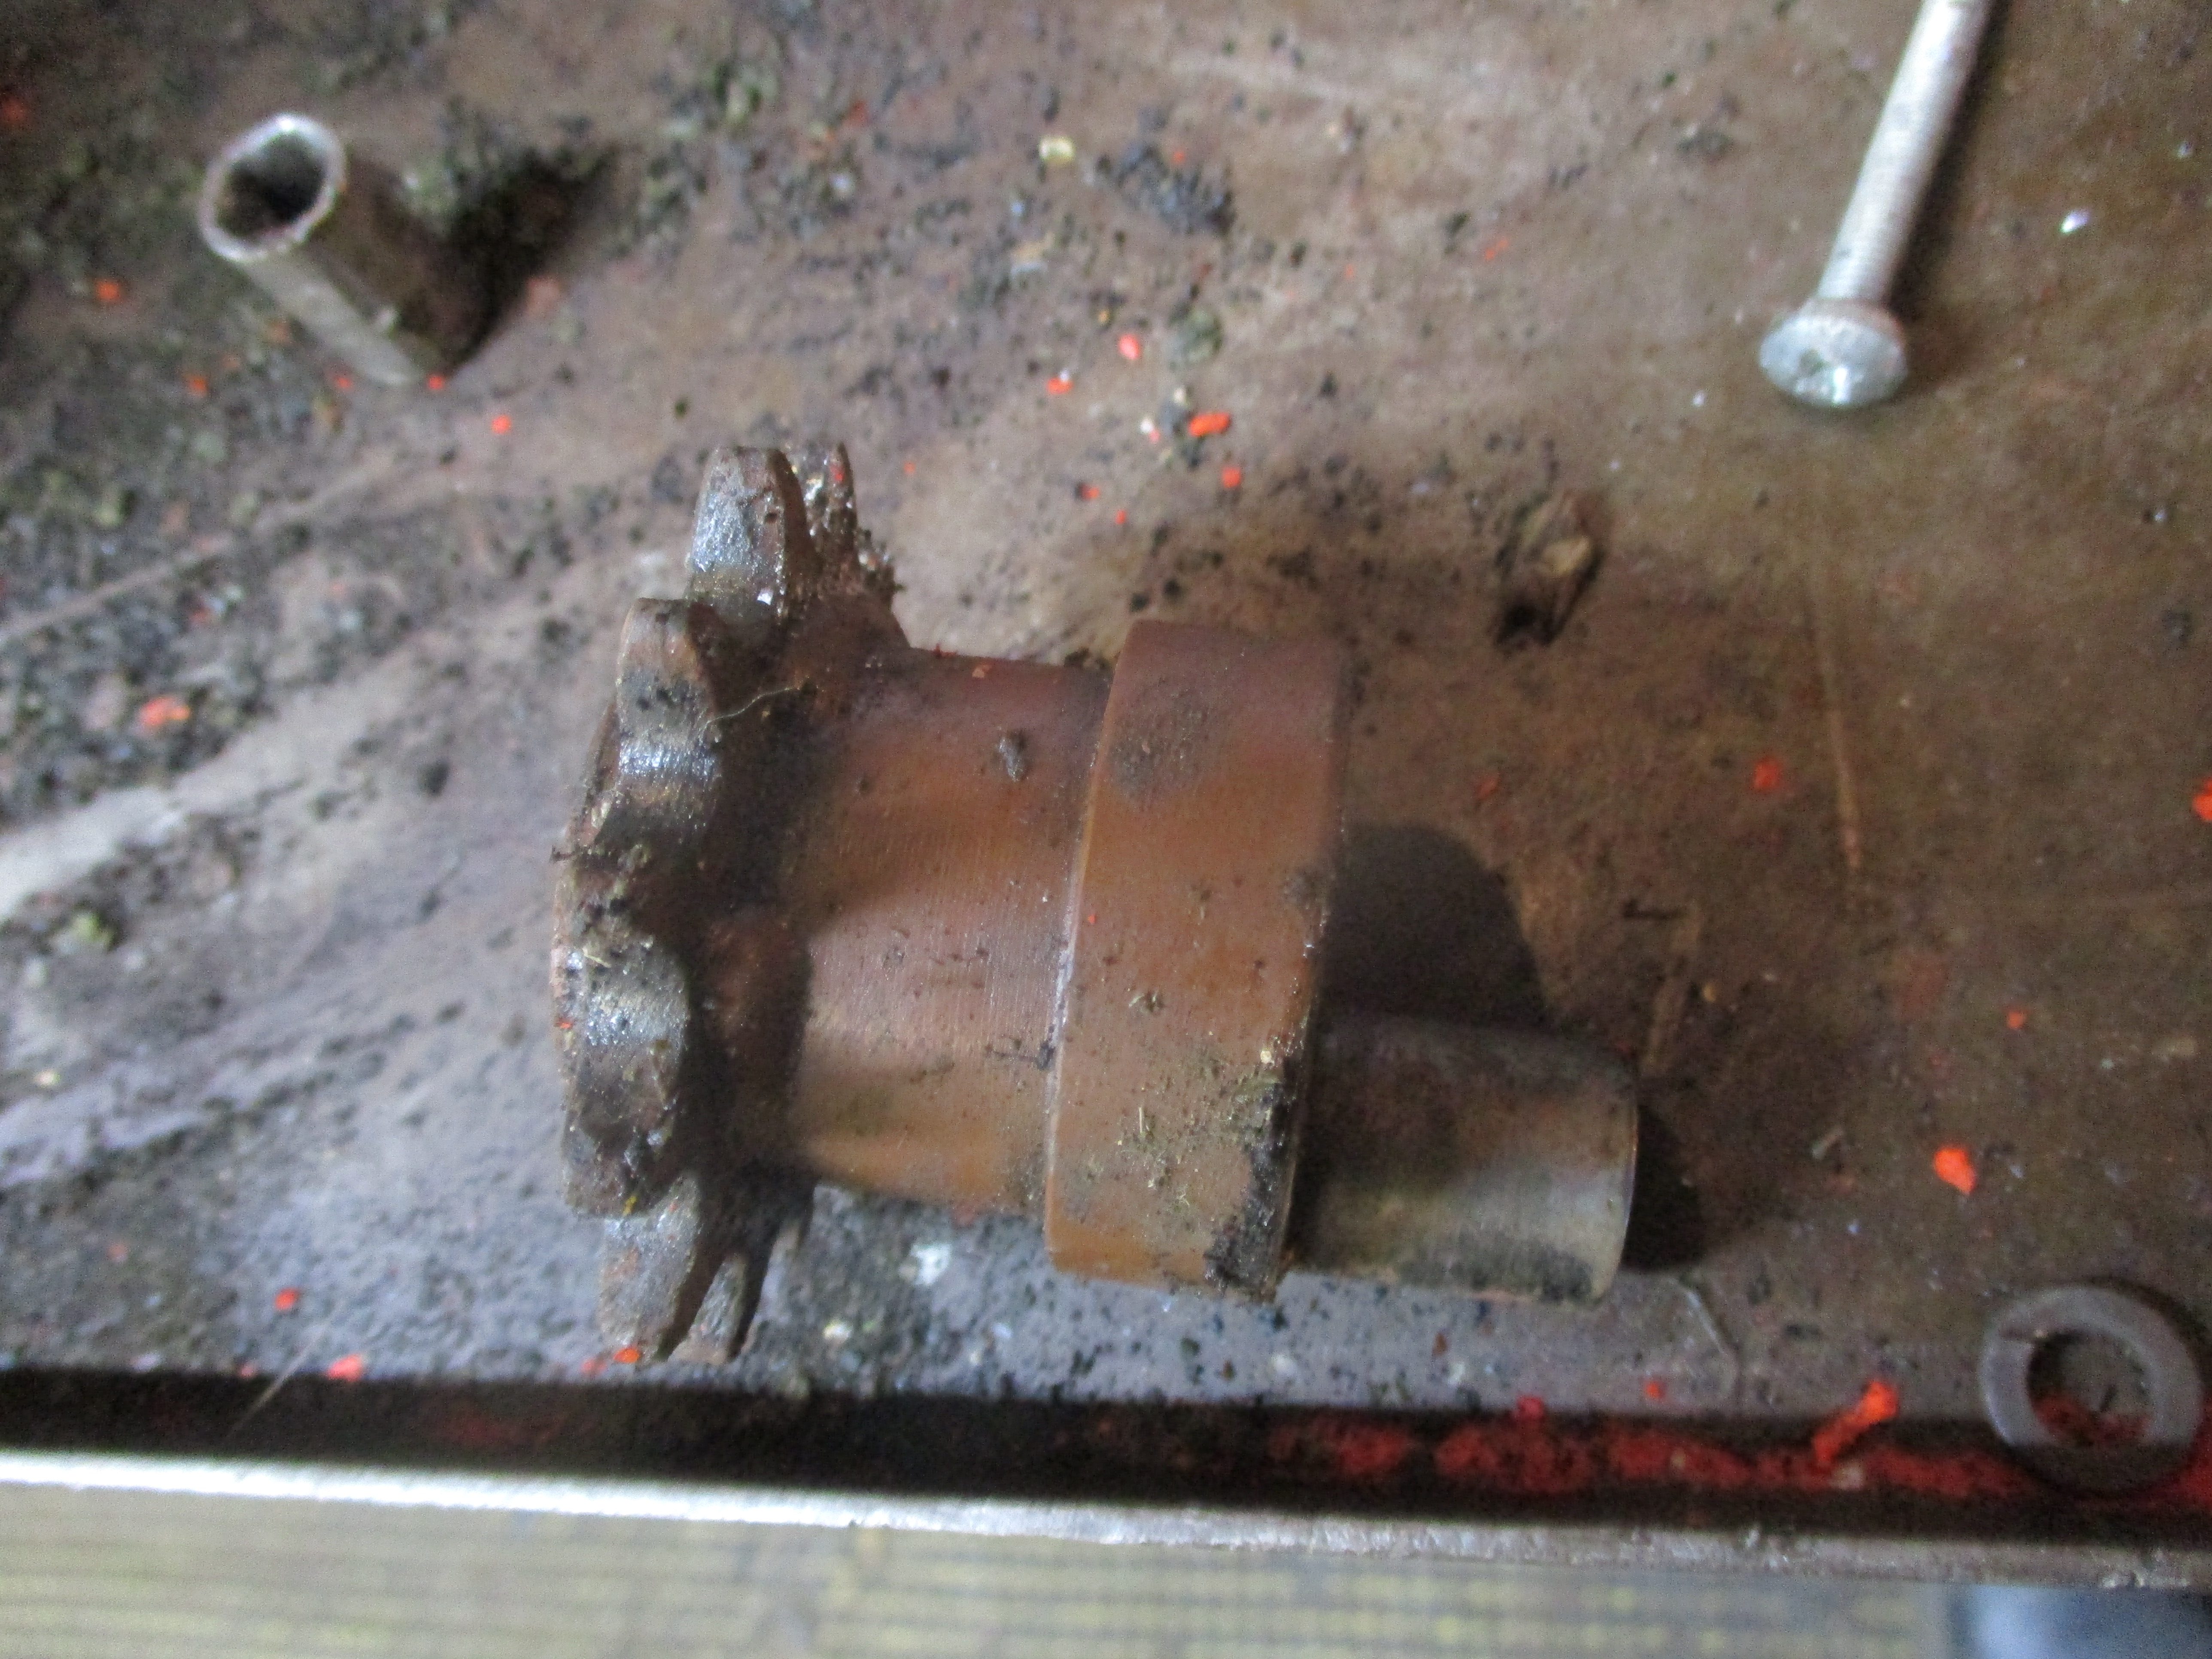
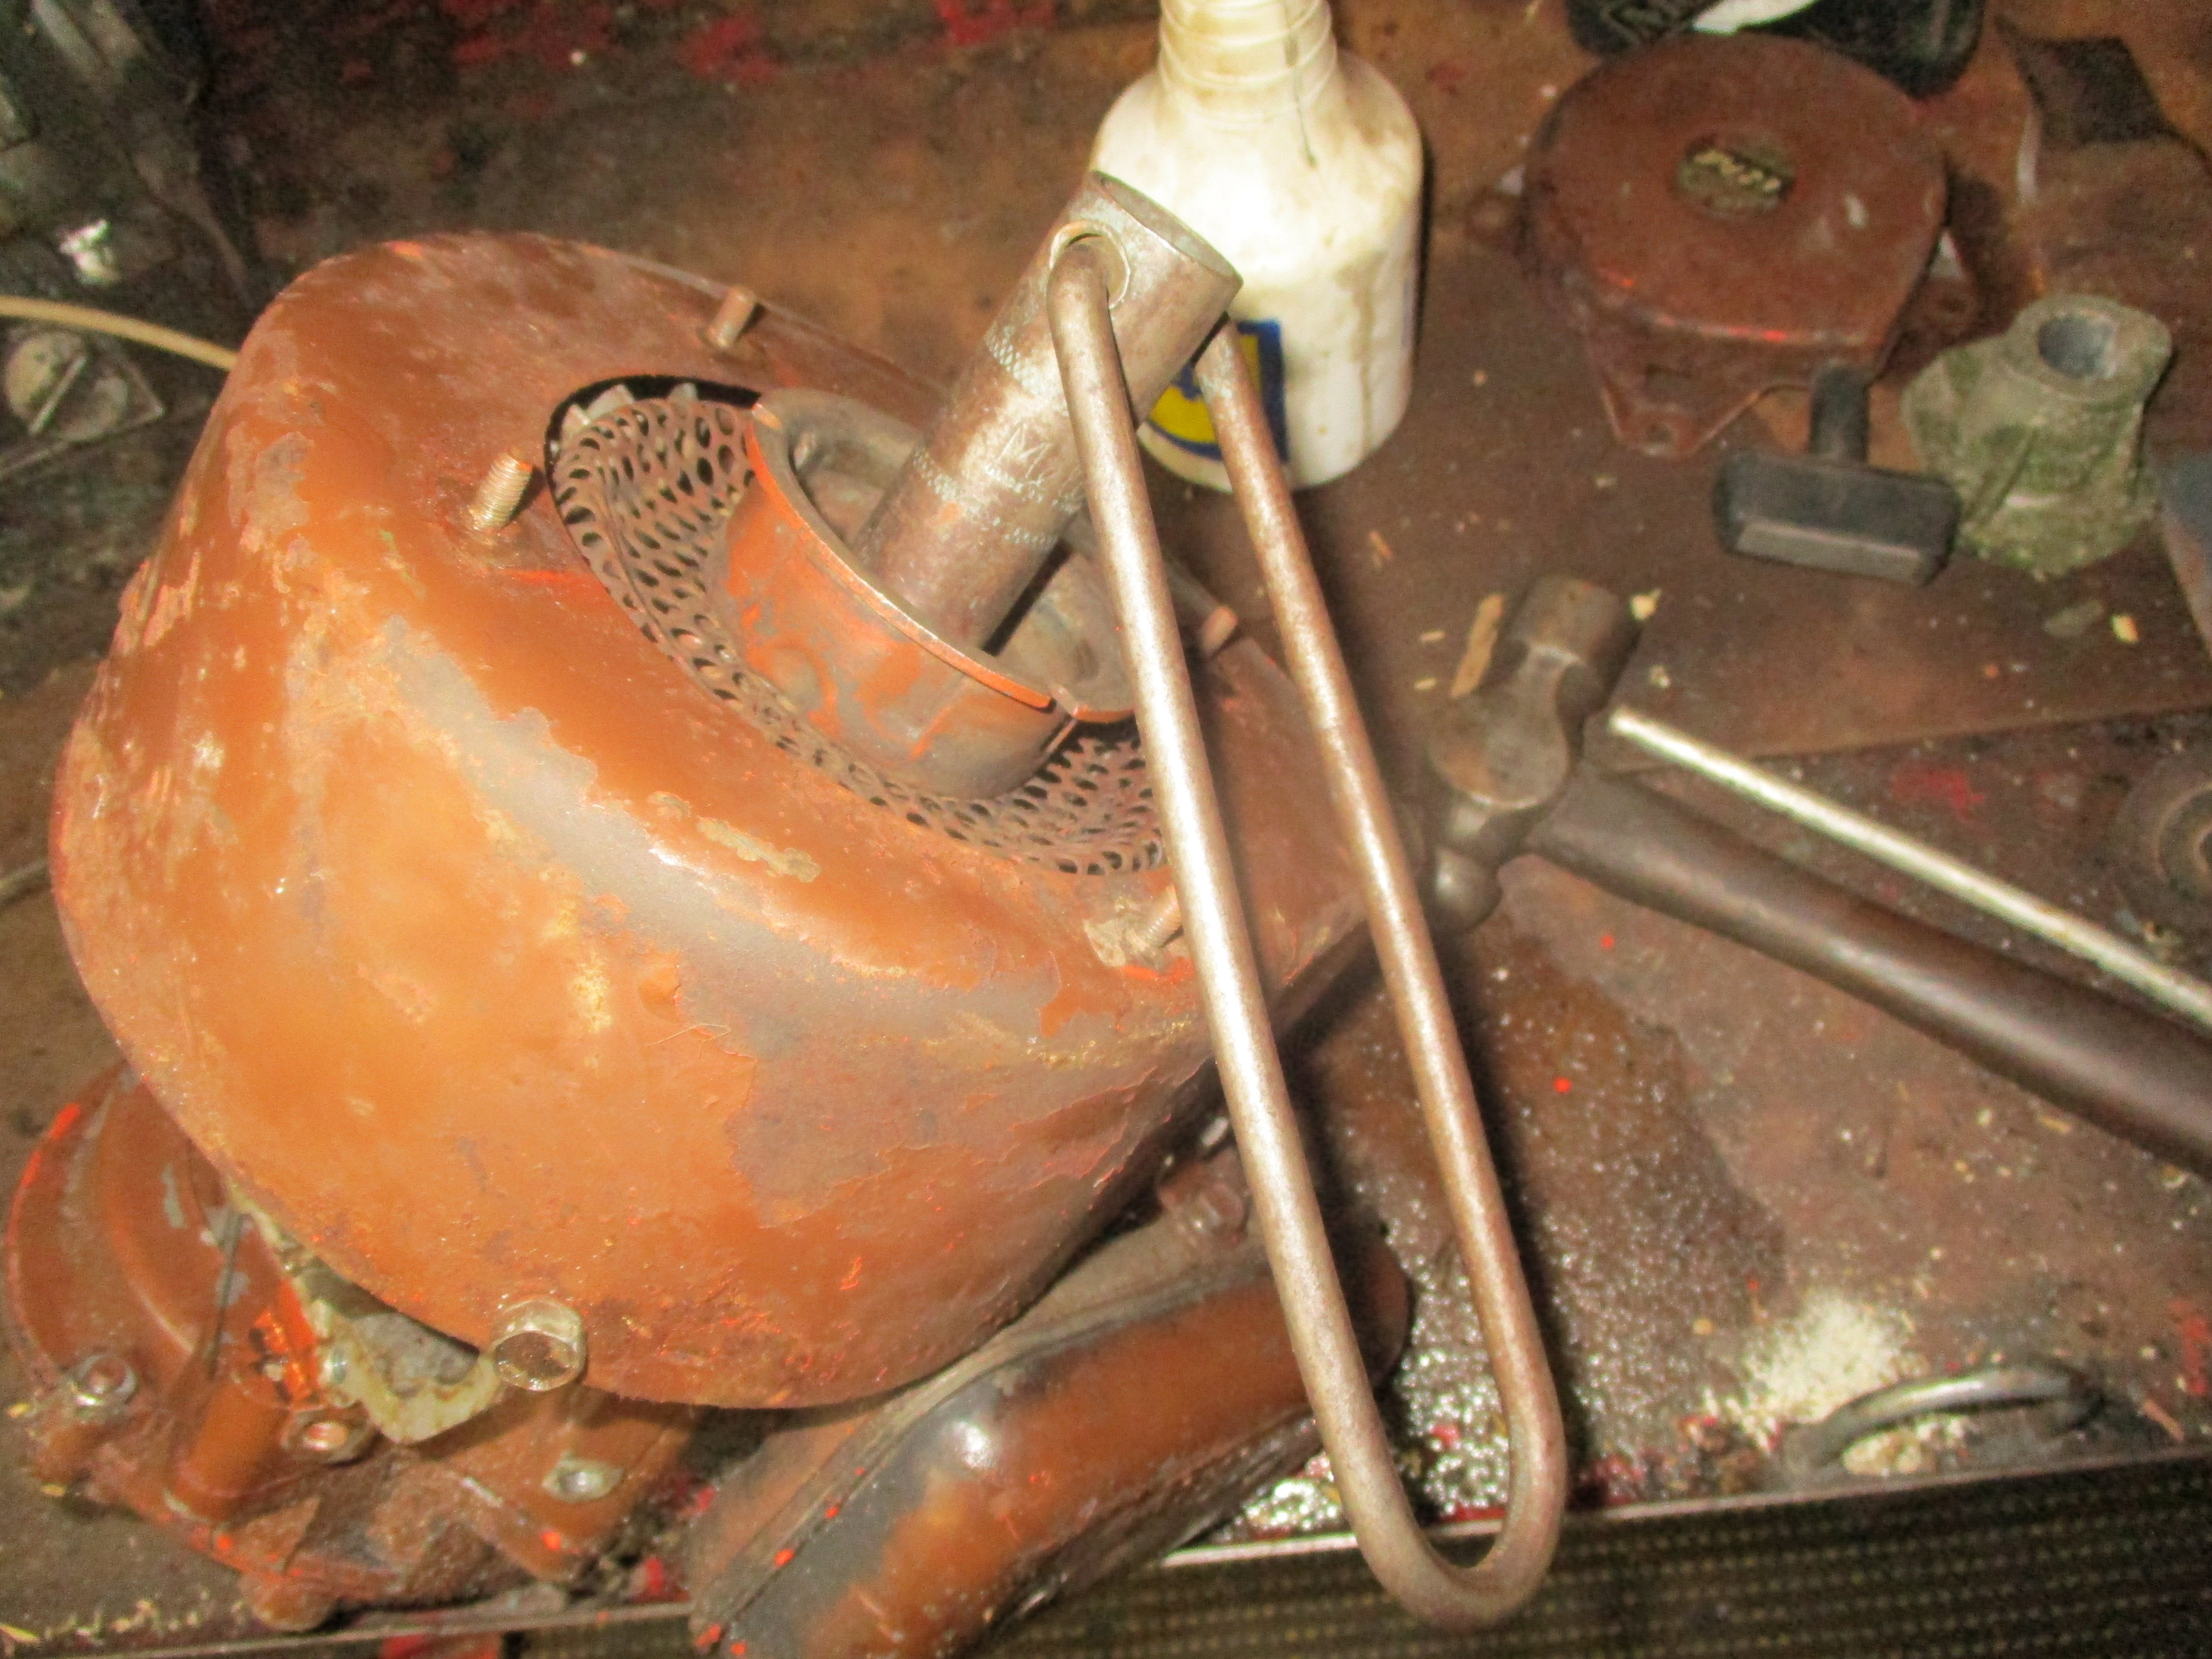
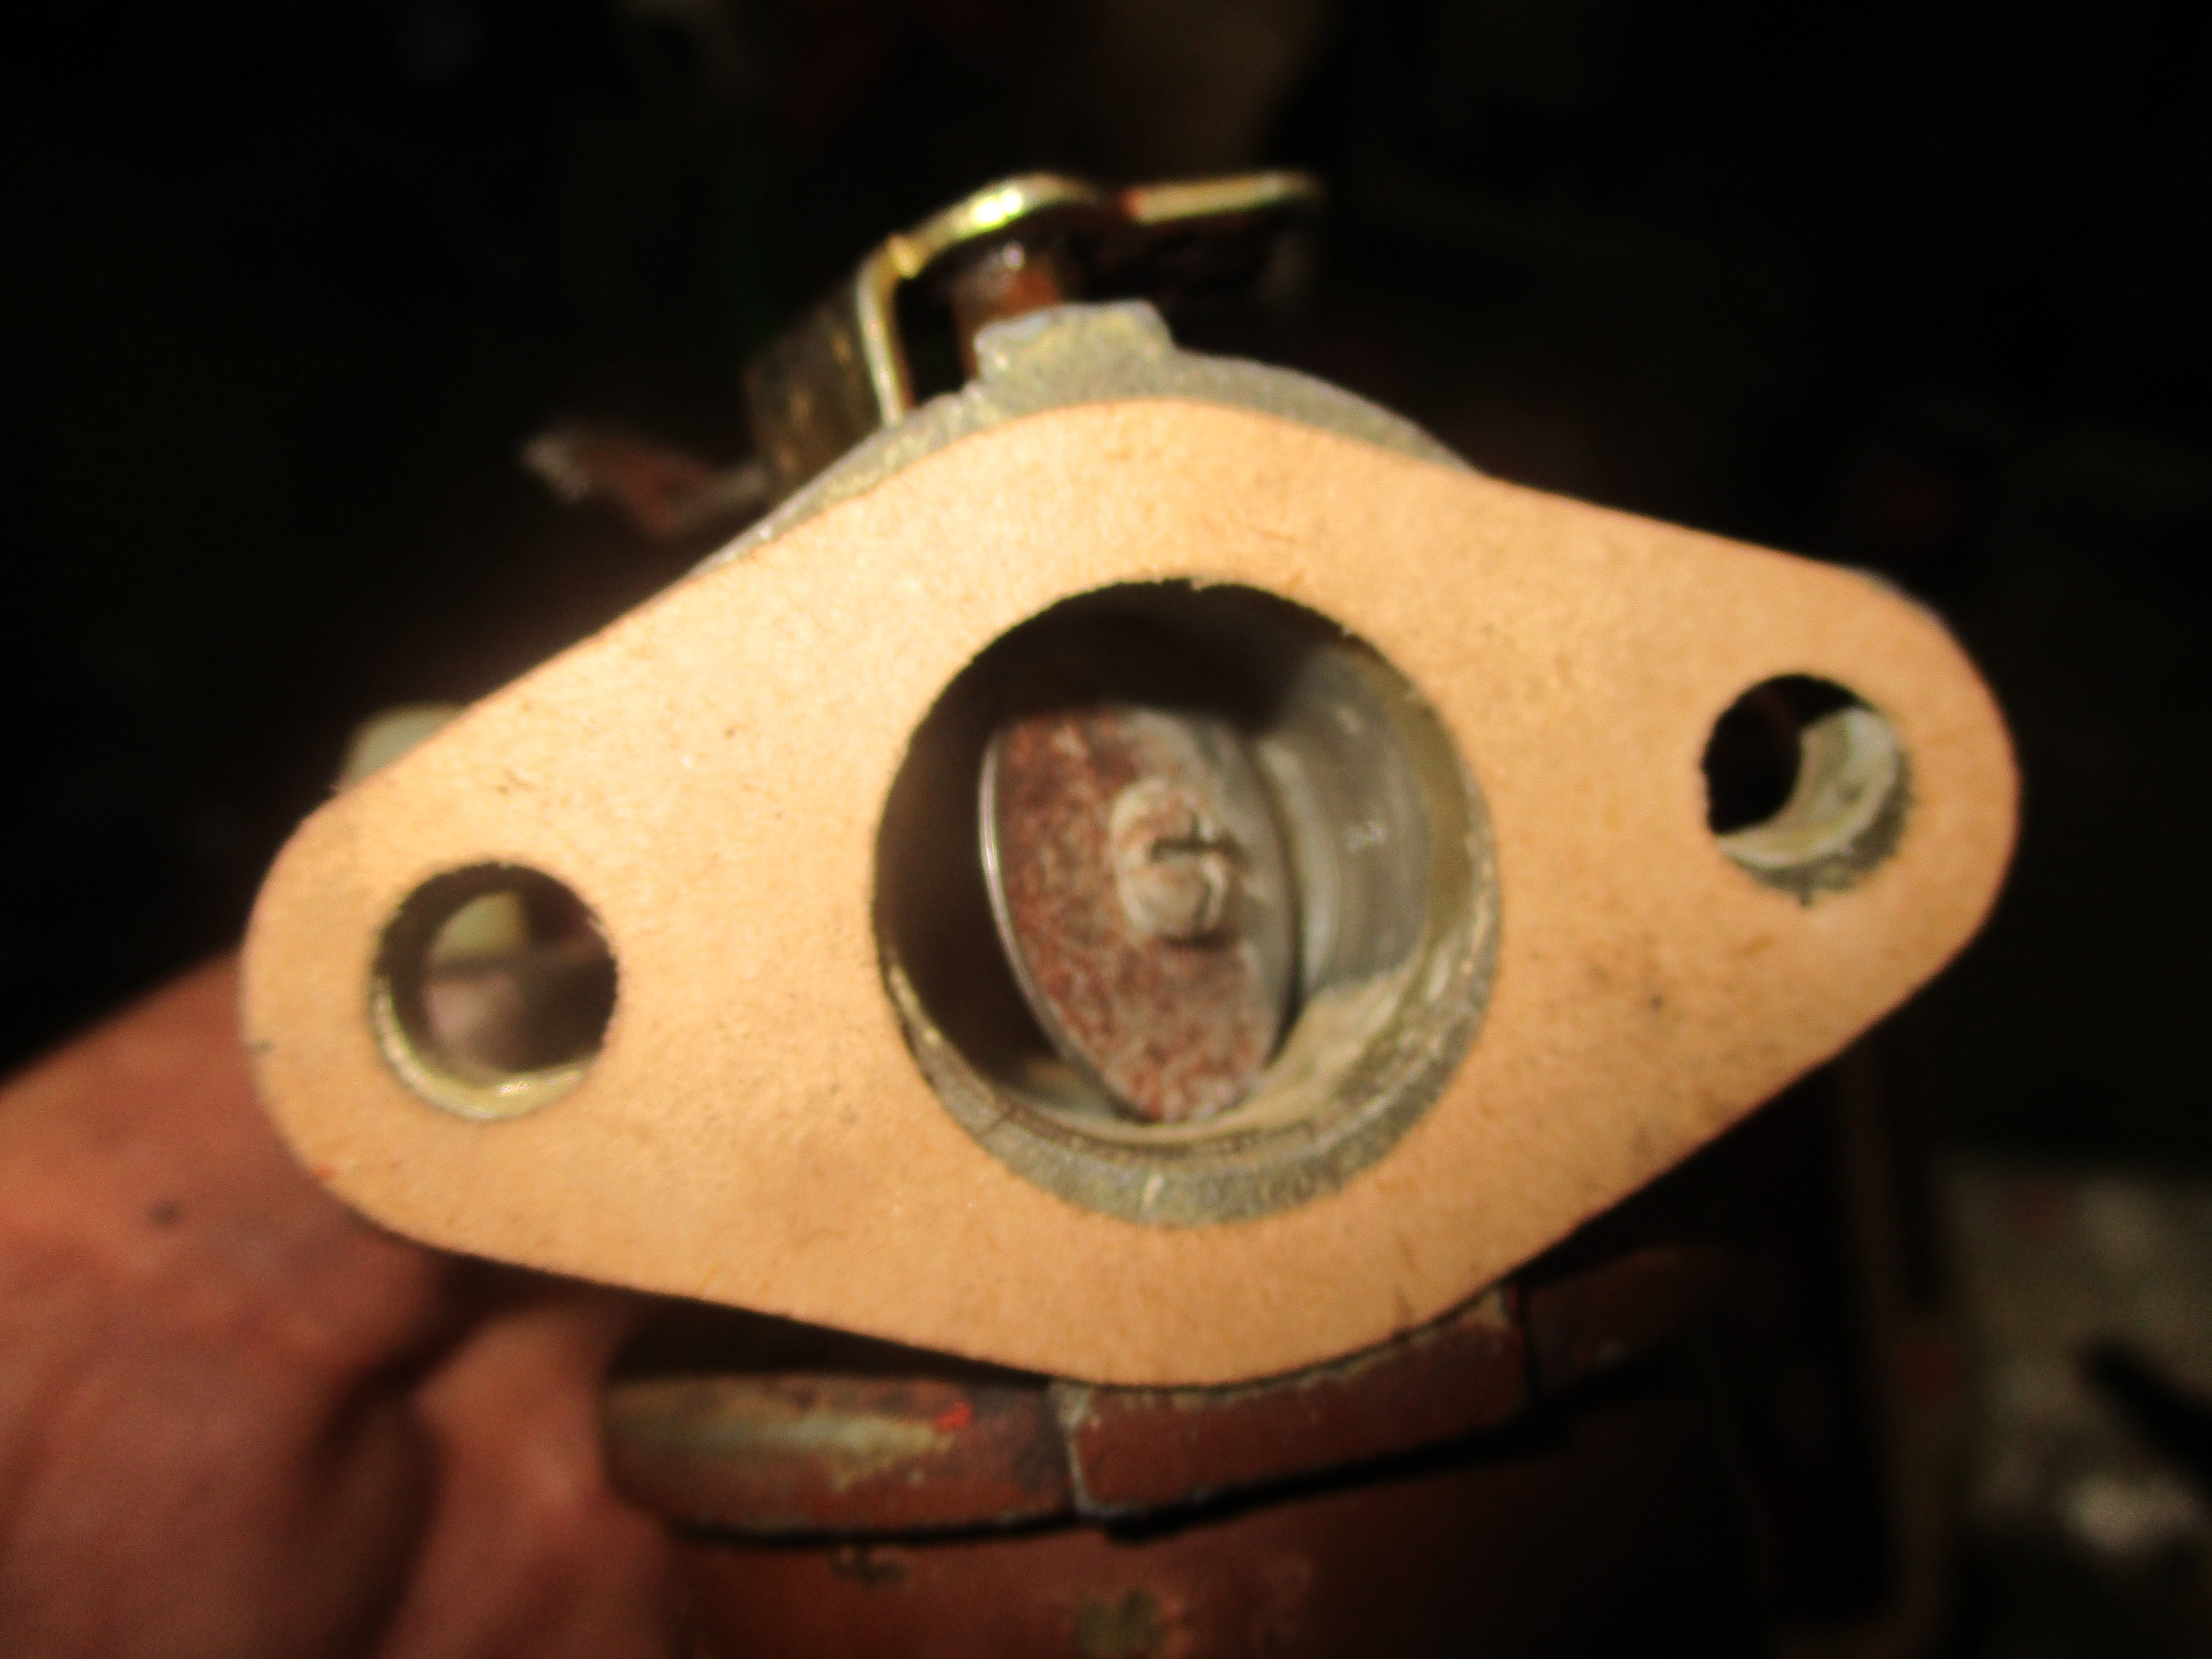
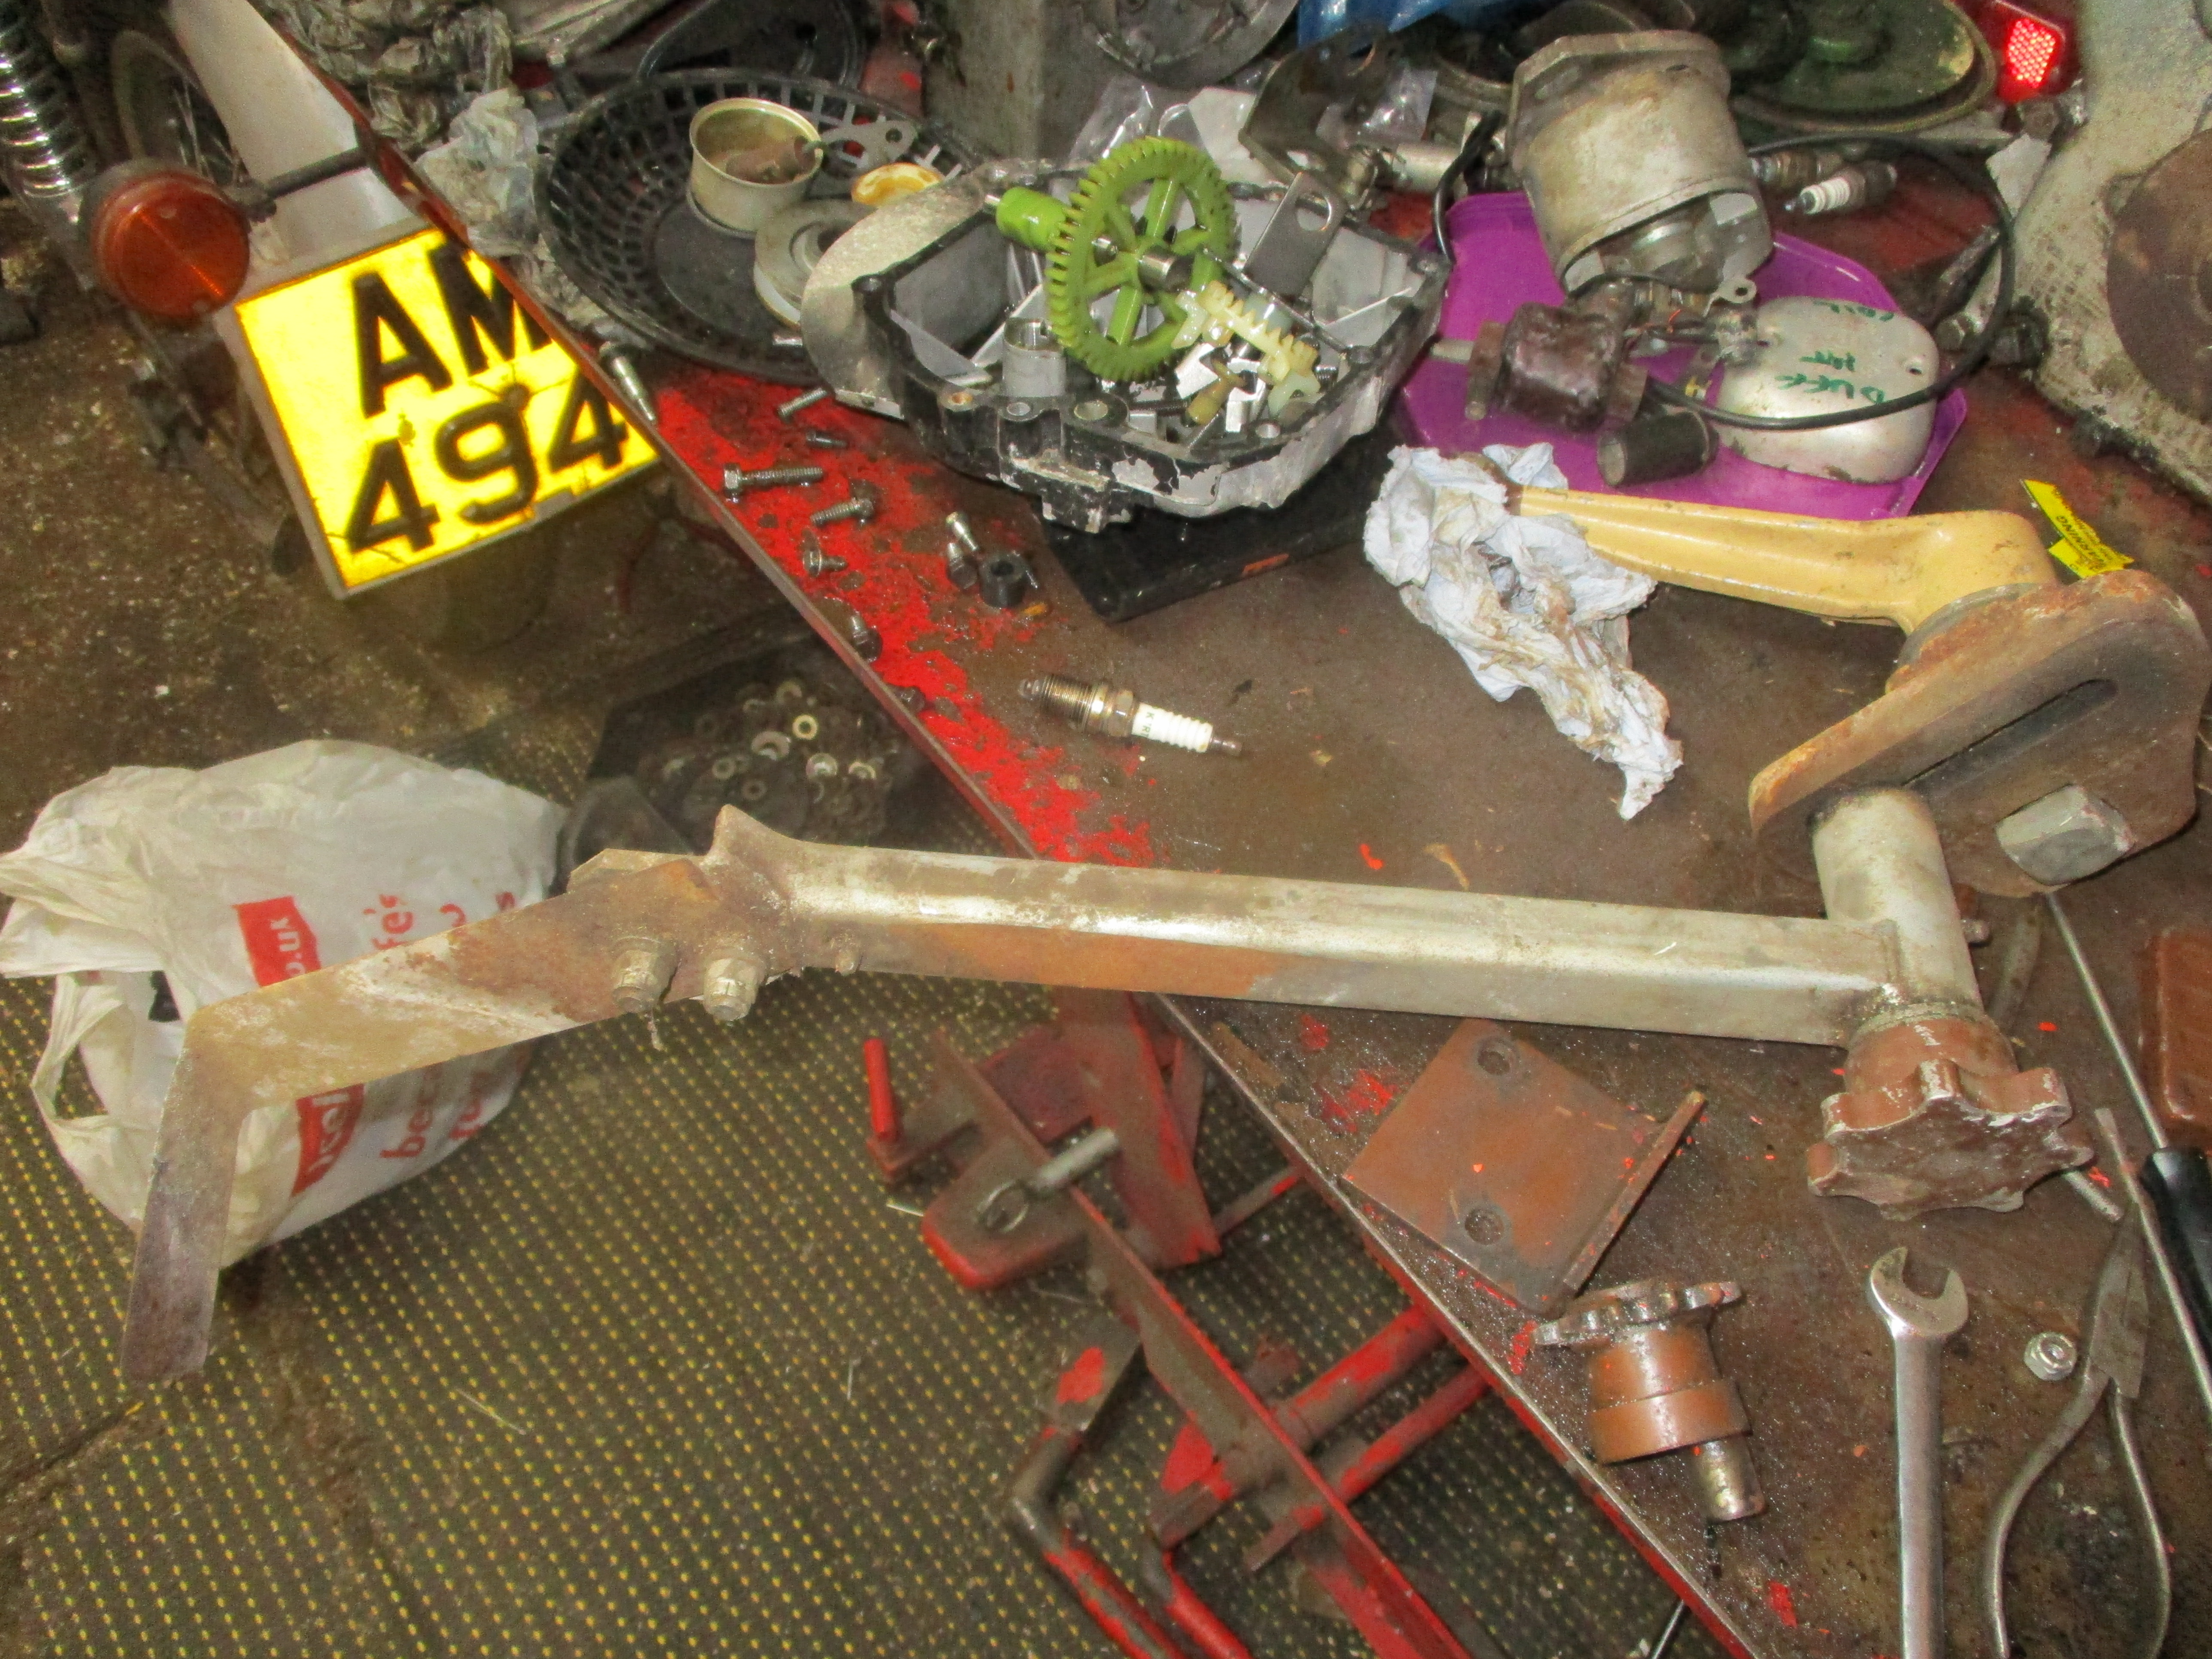
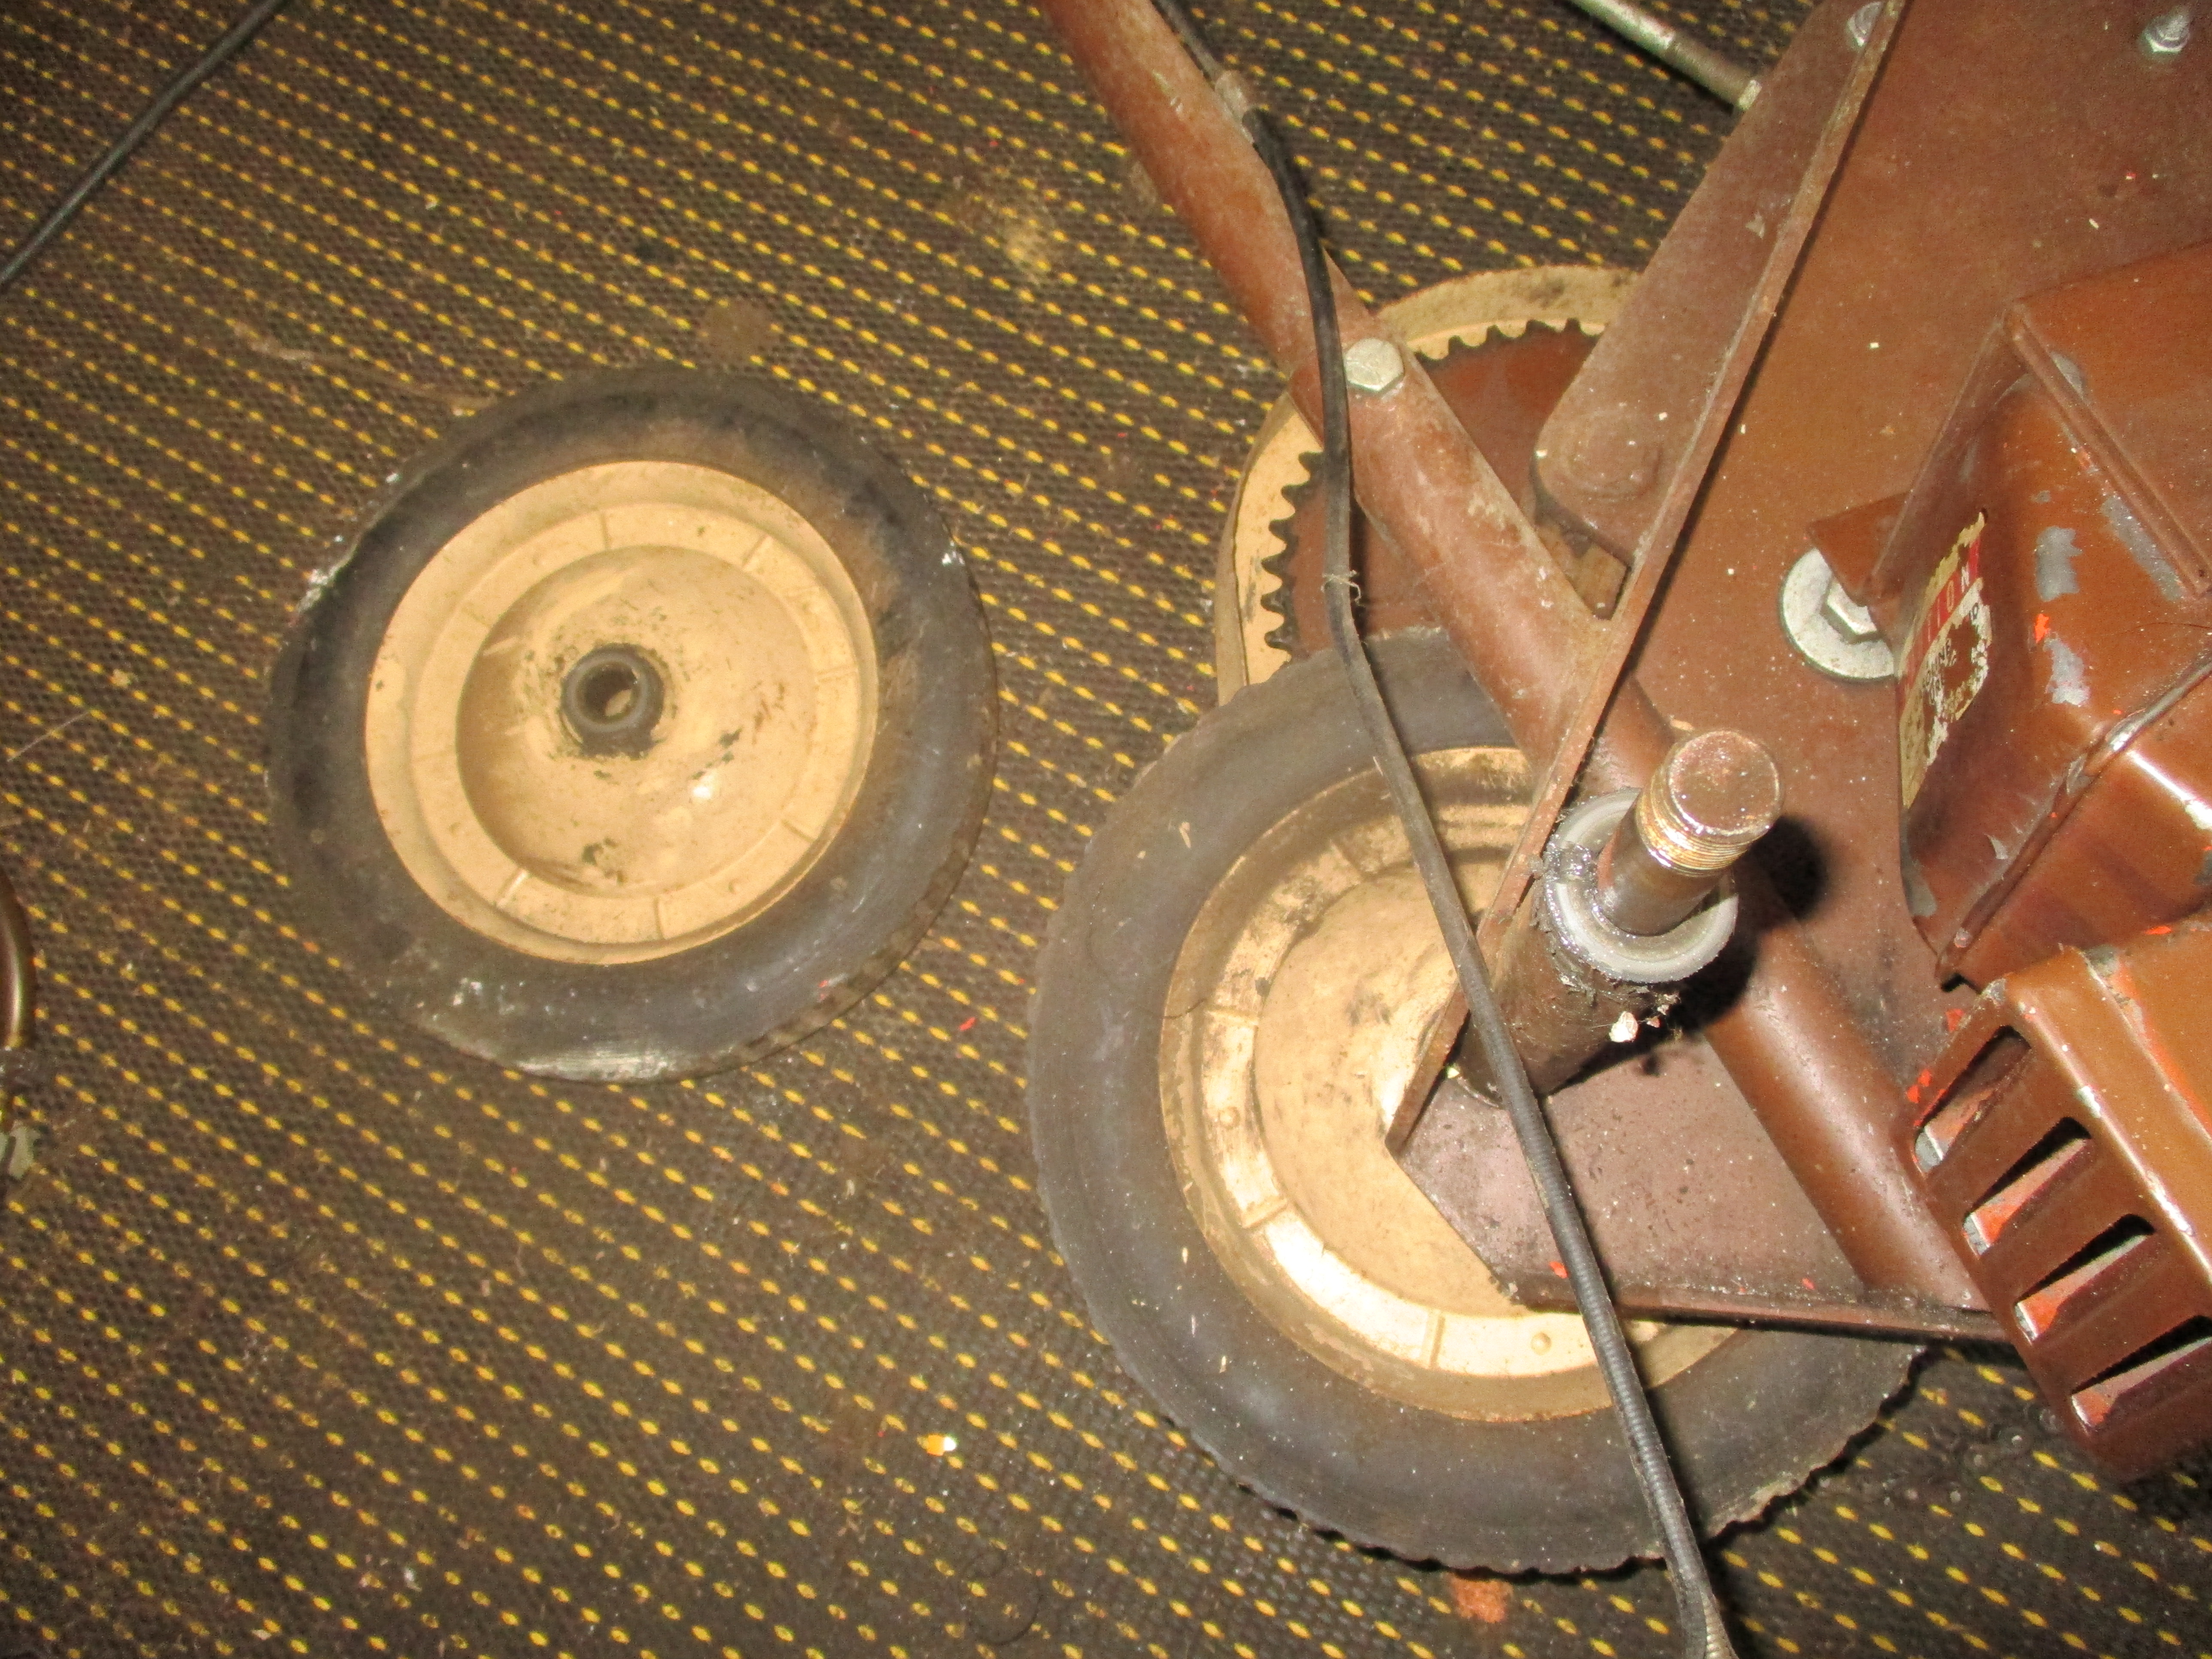
Went back to the container and found more parts, this is the main drive sprocket which fixes onto the gearbox output.
 This part looks as if someone stood on it, goes into the air filter box.
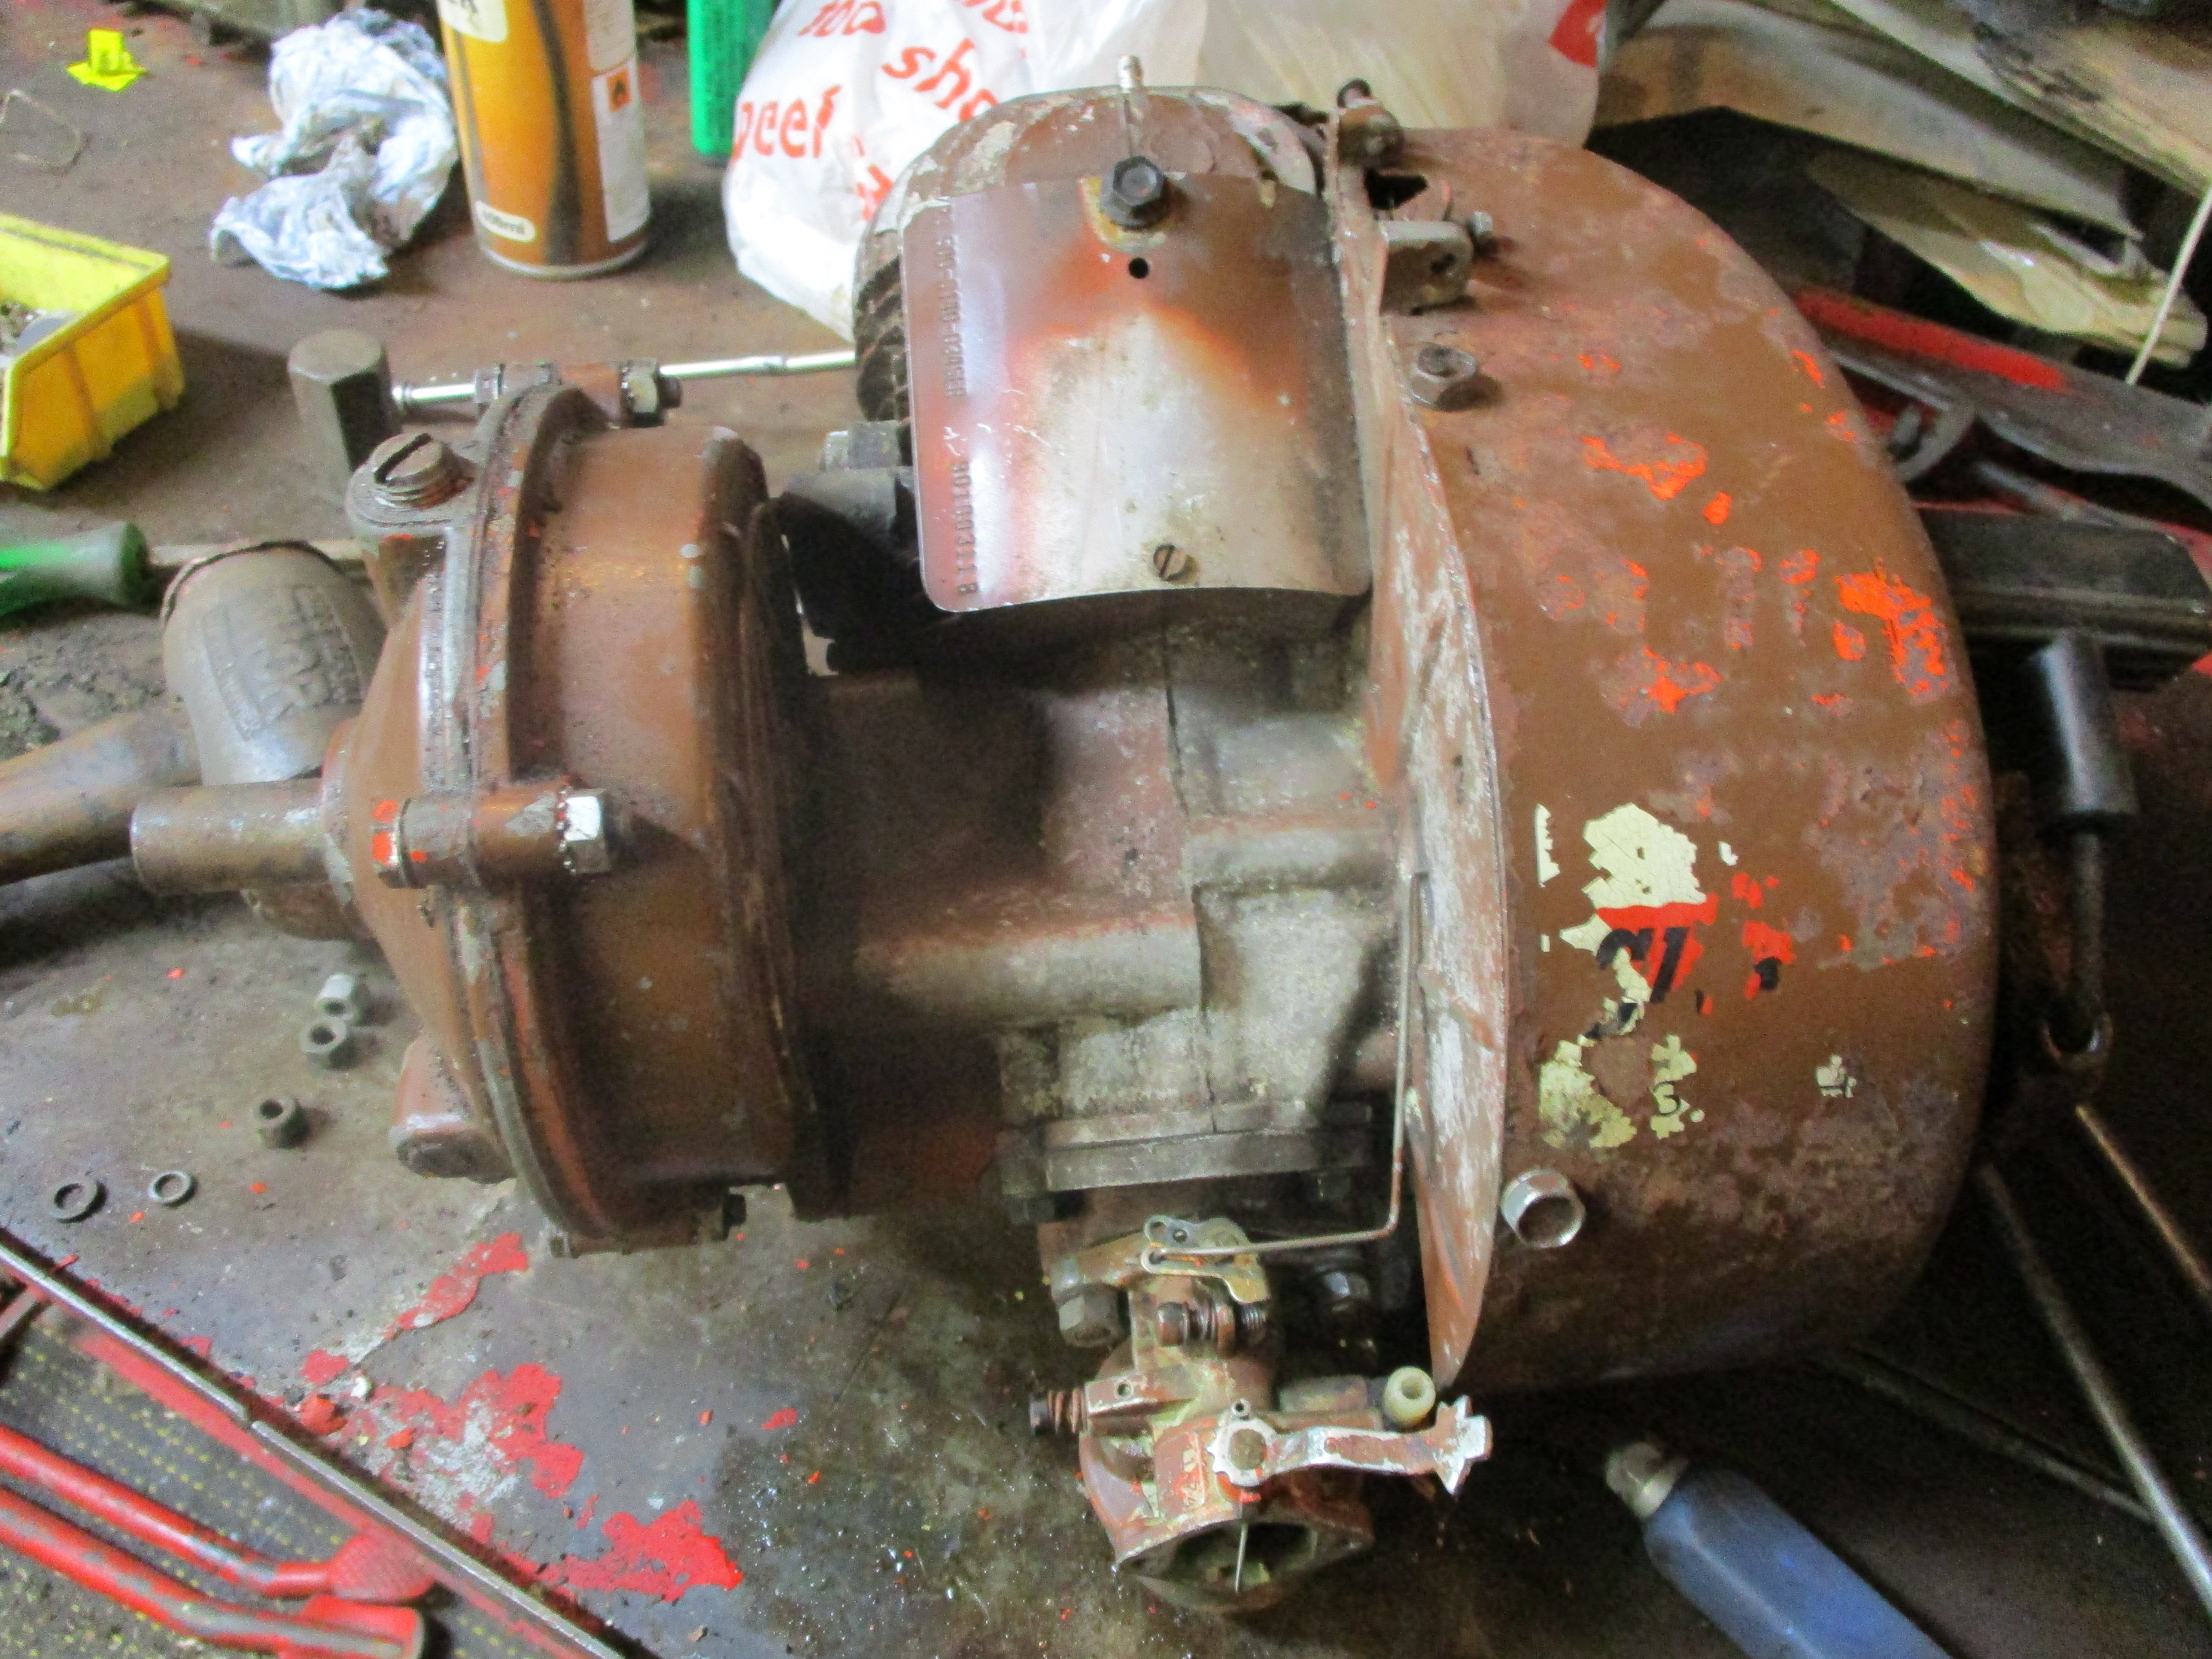
Time to try fitting the
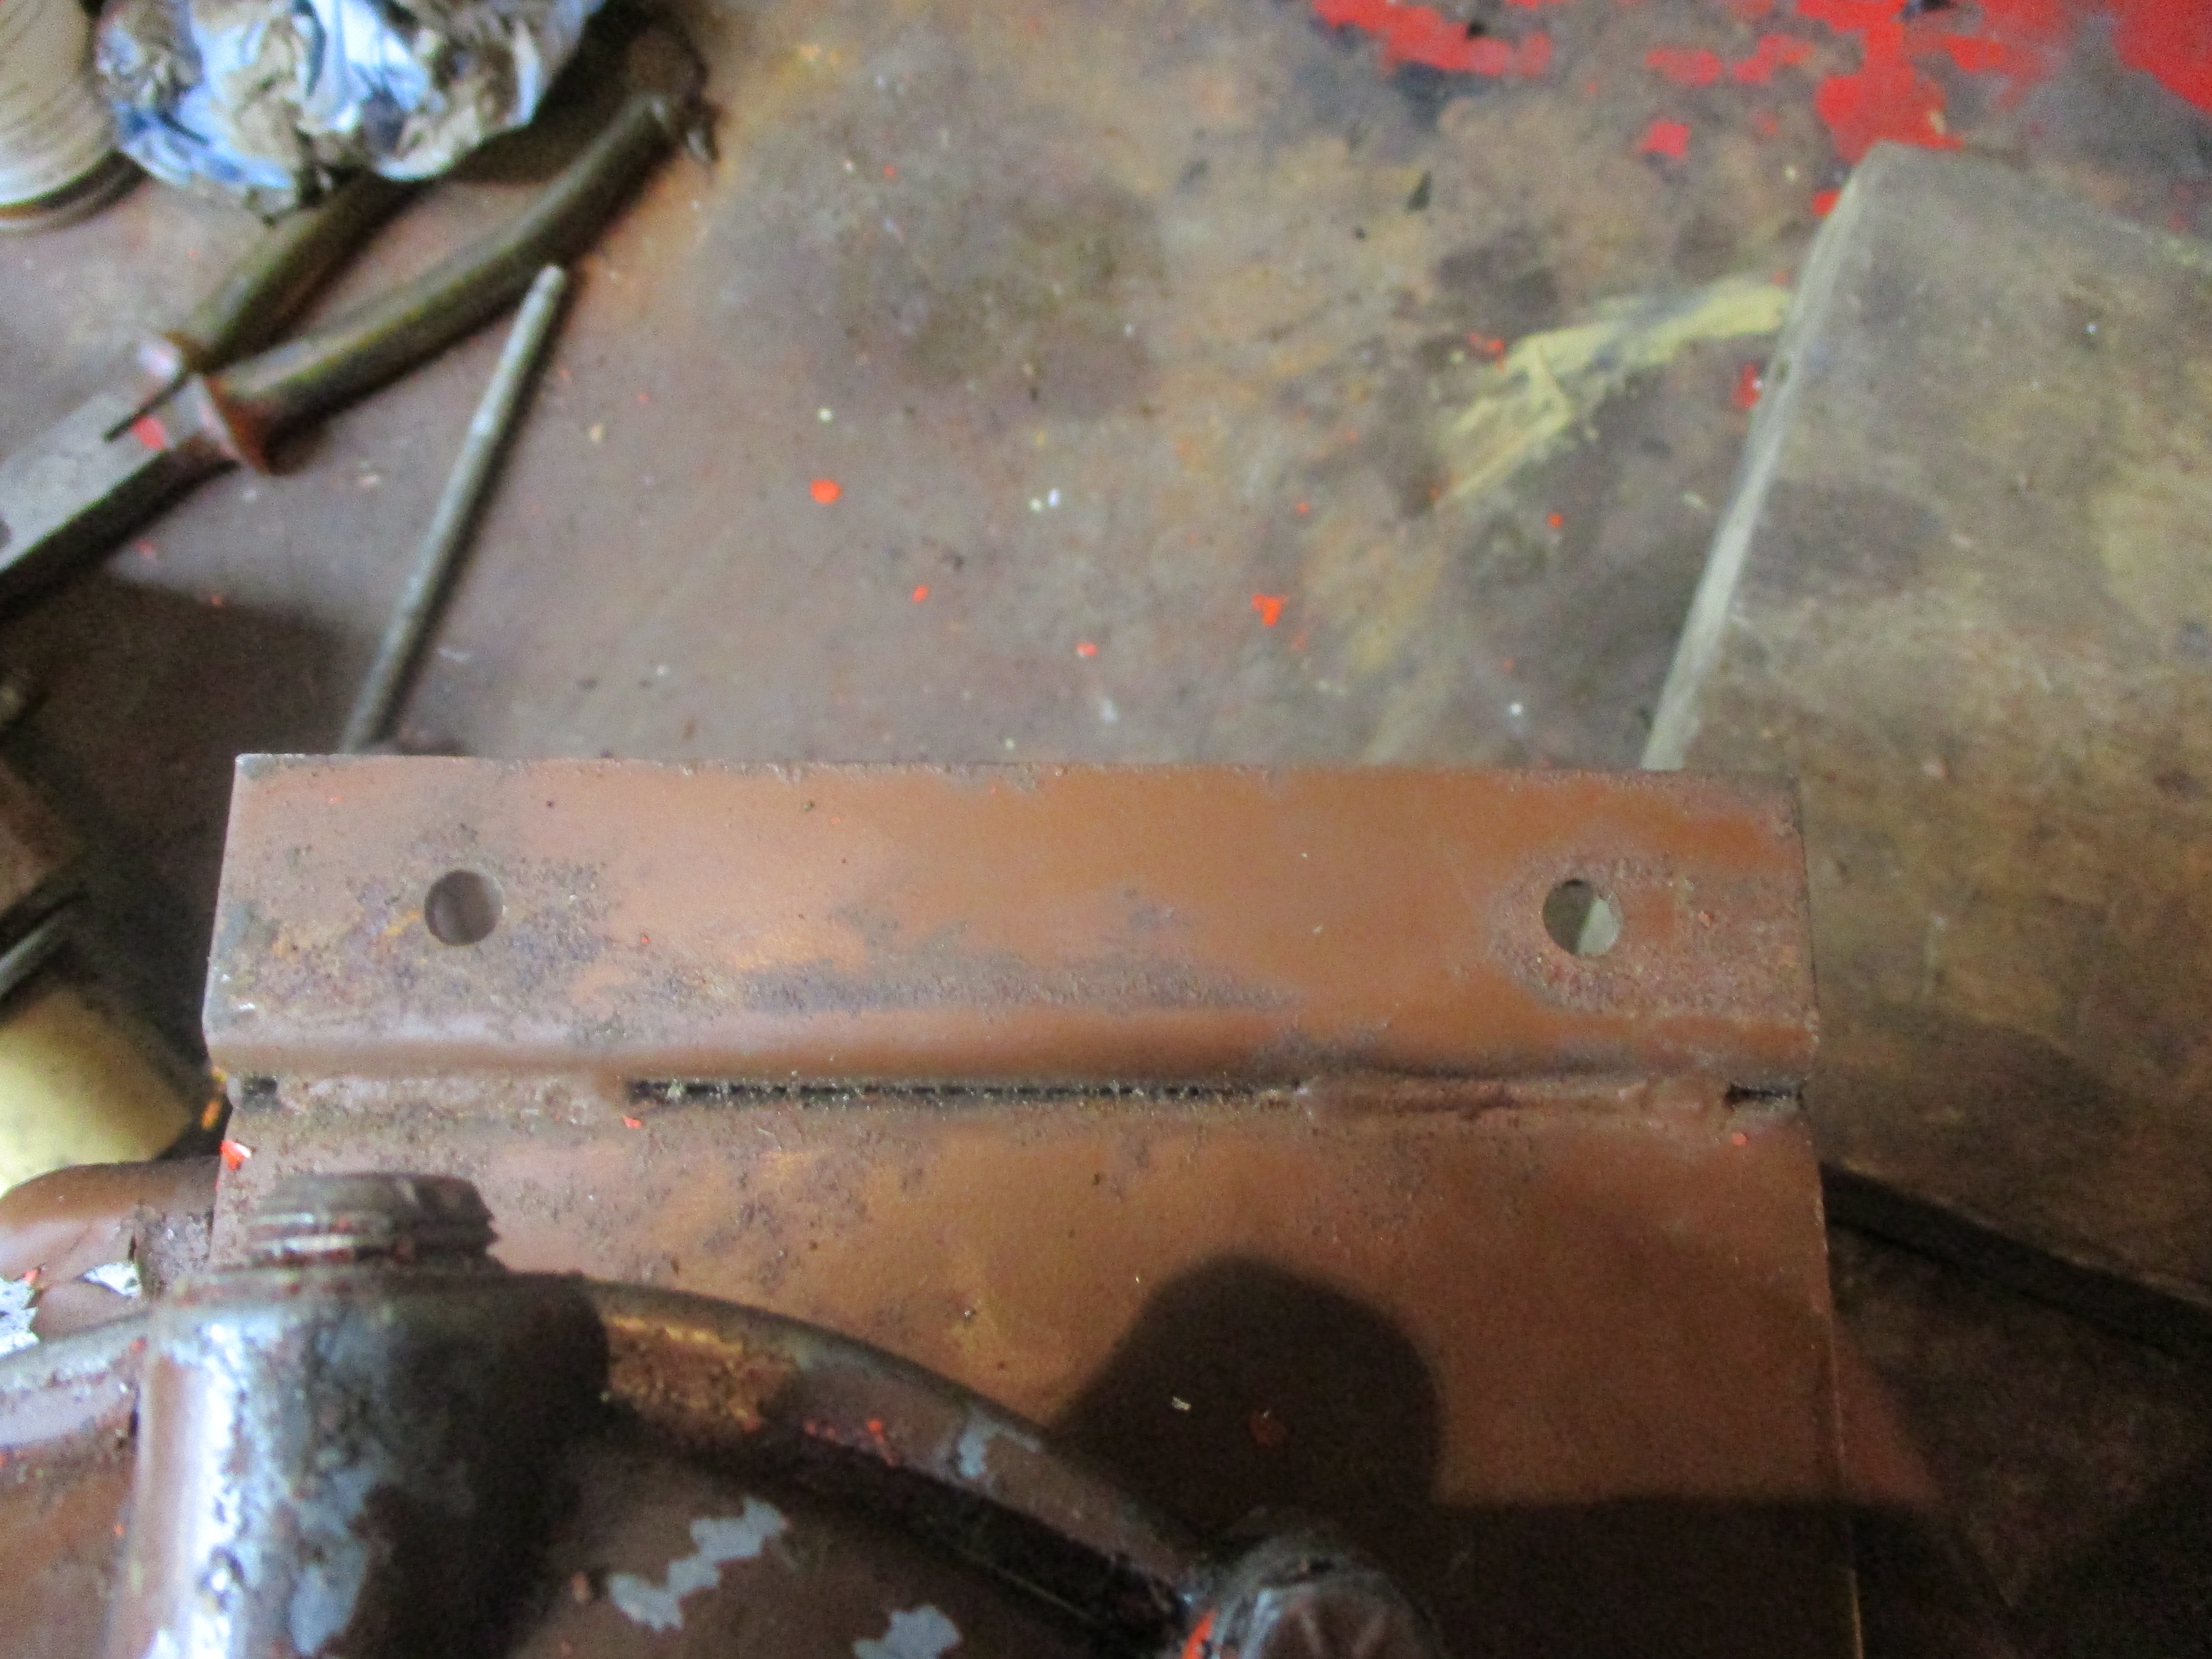
 Time to try fitting the repaired engine back into the frame again. It wasn't easy, one wheel kept fouling the air filter, carb. appeared to be near the floor, markings for gearbox oil were not level, nothing lined up at all, bolts or screws went in from sprockets side, but no holes in the thick sheet steel frame actually seemed to line up with any on the engine. One of the pitfalls of leaving it too long before a rebuild.
 Engine has to go in this way, only drive shaft is this side.
 The working end that cuts the turf, I've looked on the 'net and modern models have about five attachments, they also use Honda or other four stroke engines, I've seen one working on YouTube.
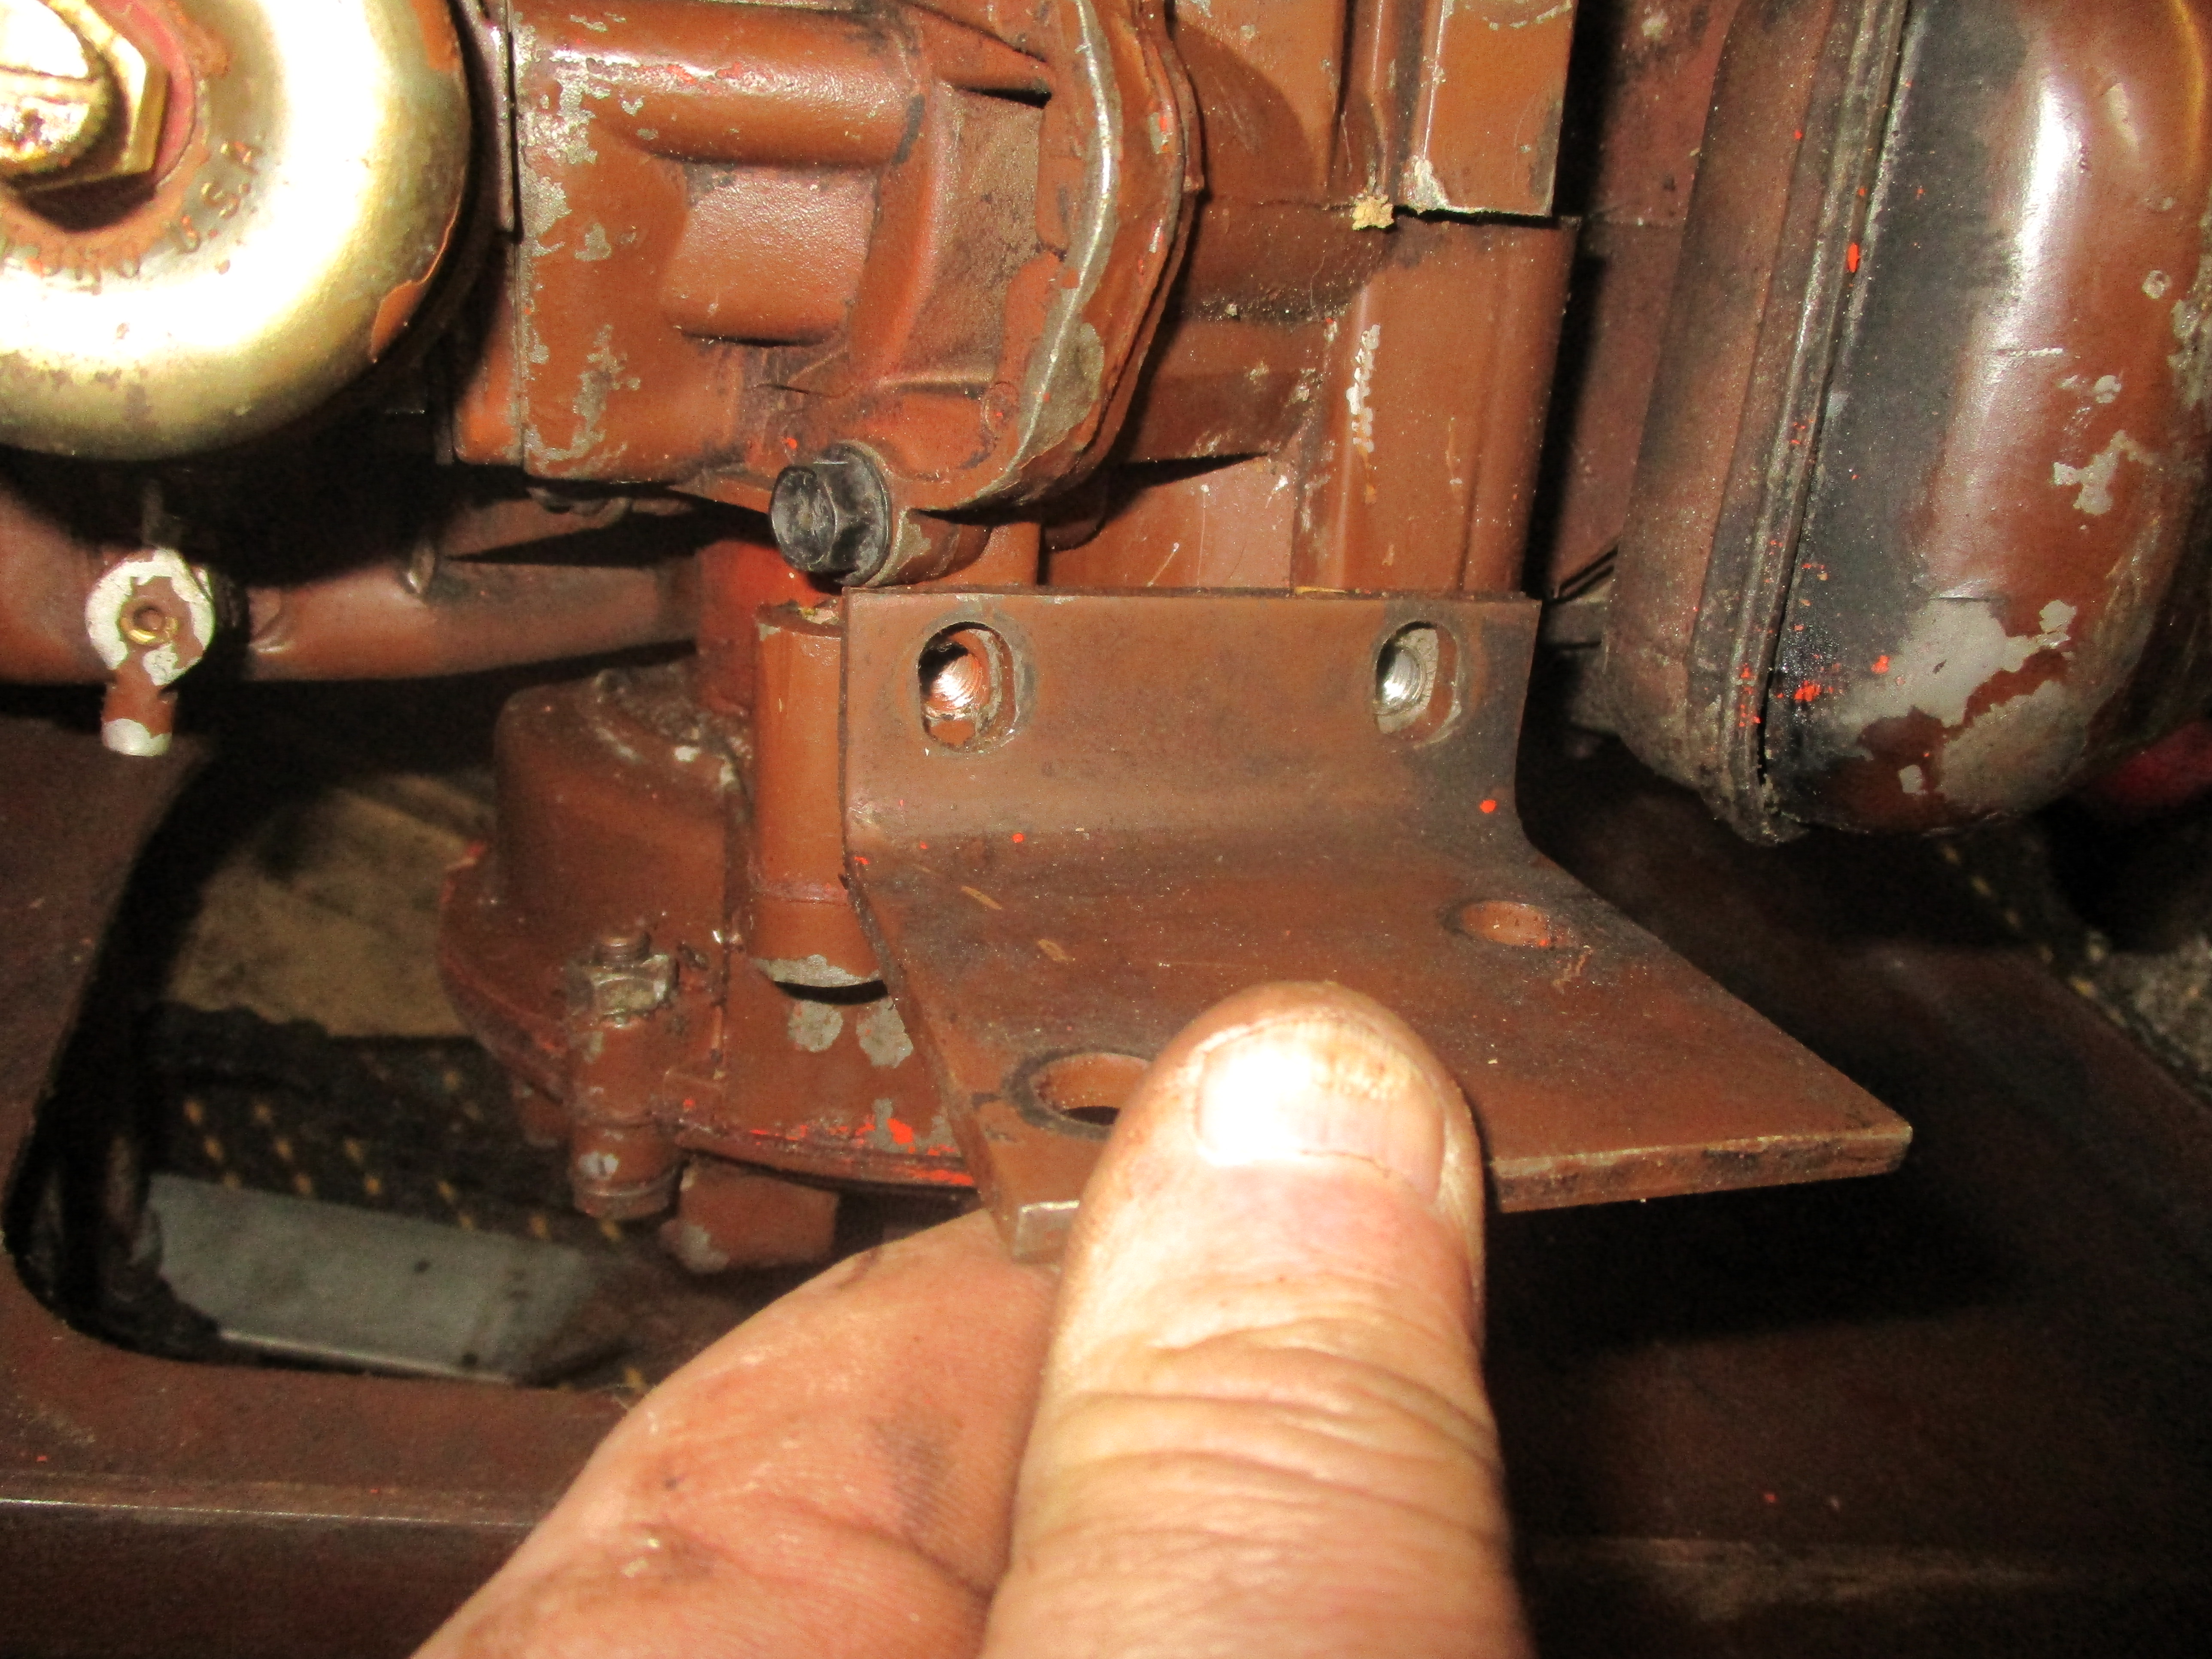
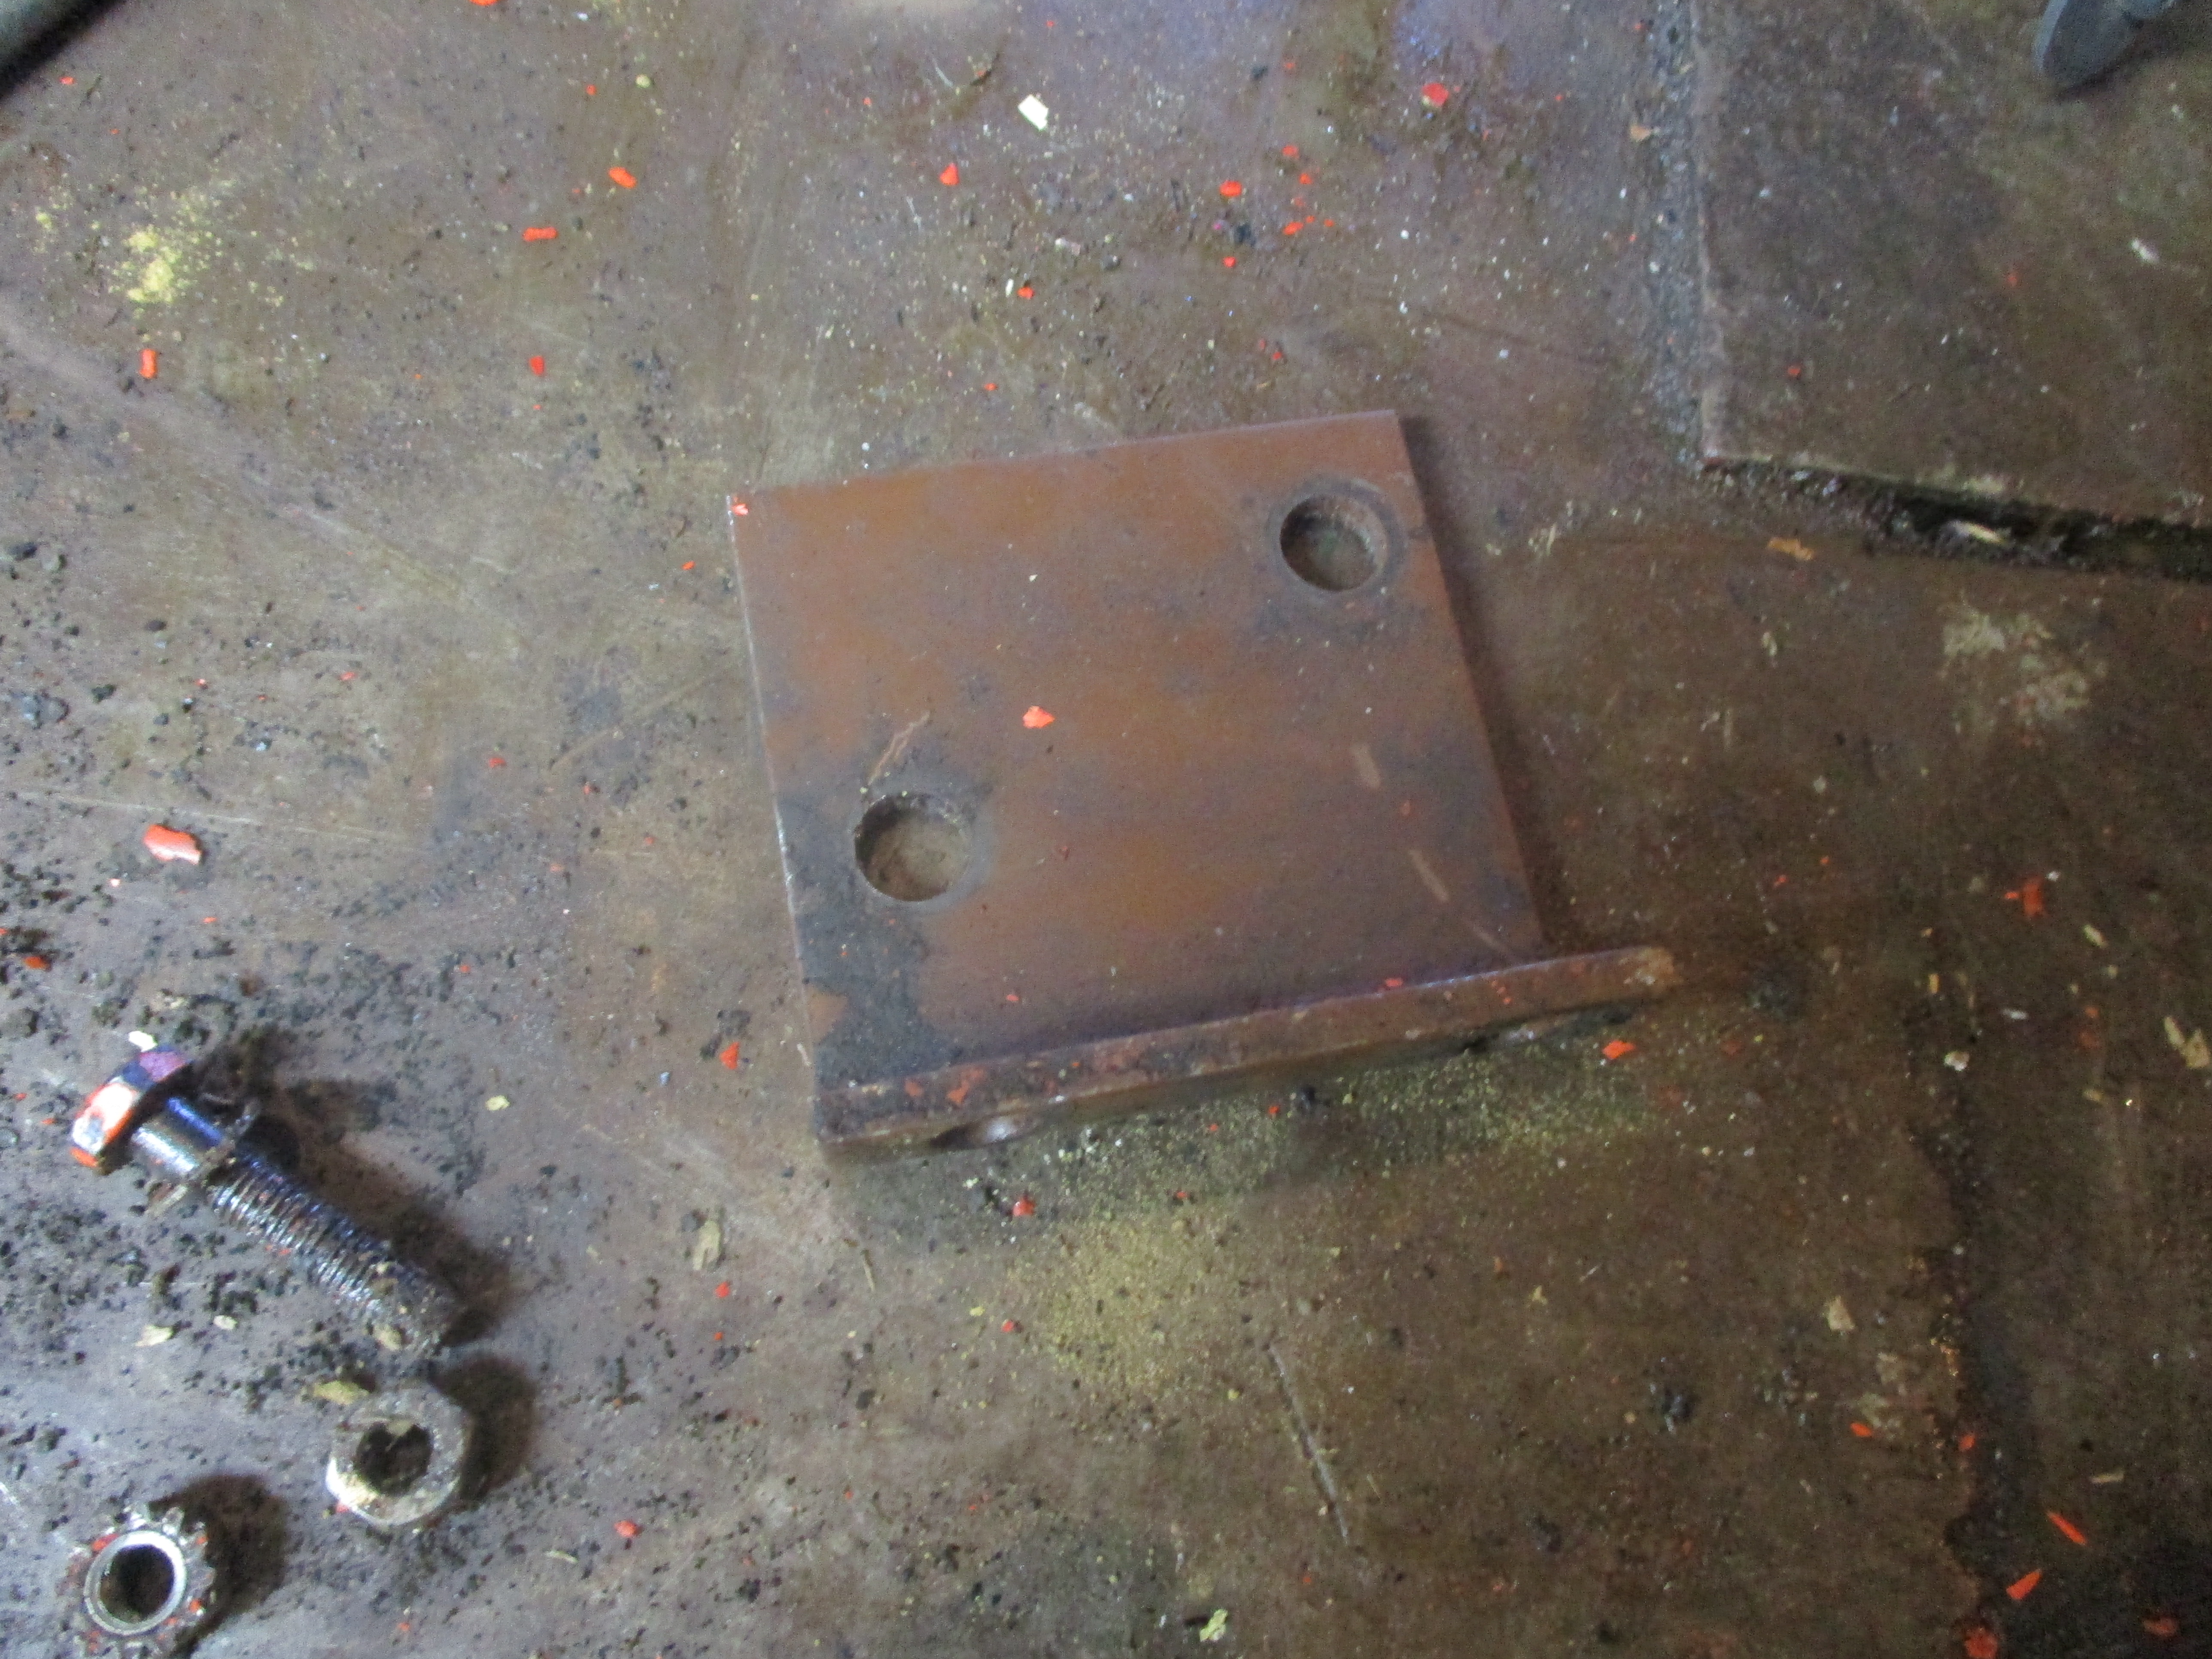 Another small bracket turned up too. The screw and nut came off the gearbox casings, where I thought maybe were some double mountings.
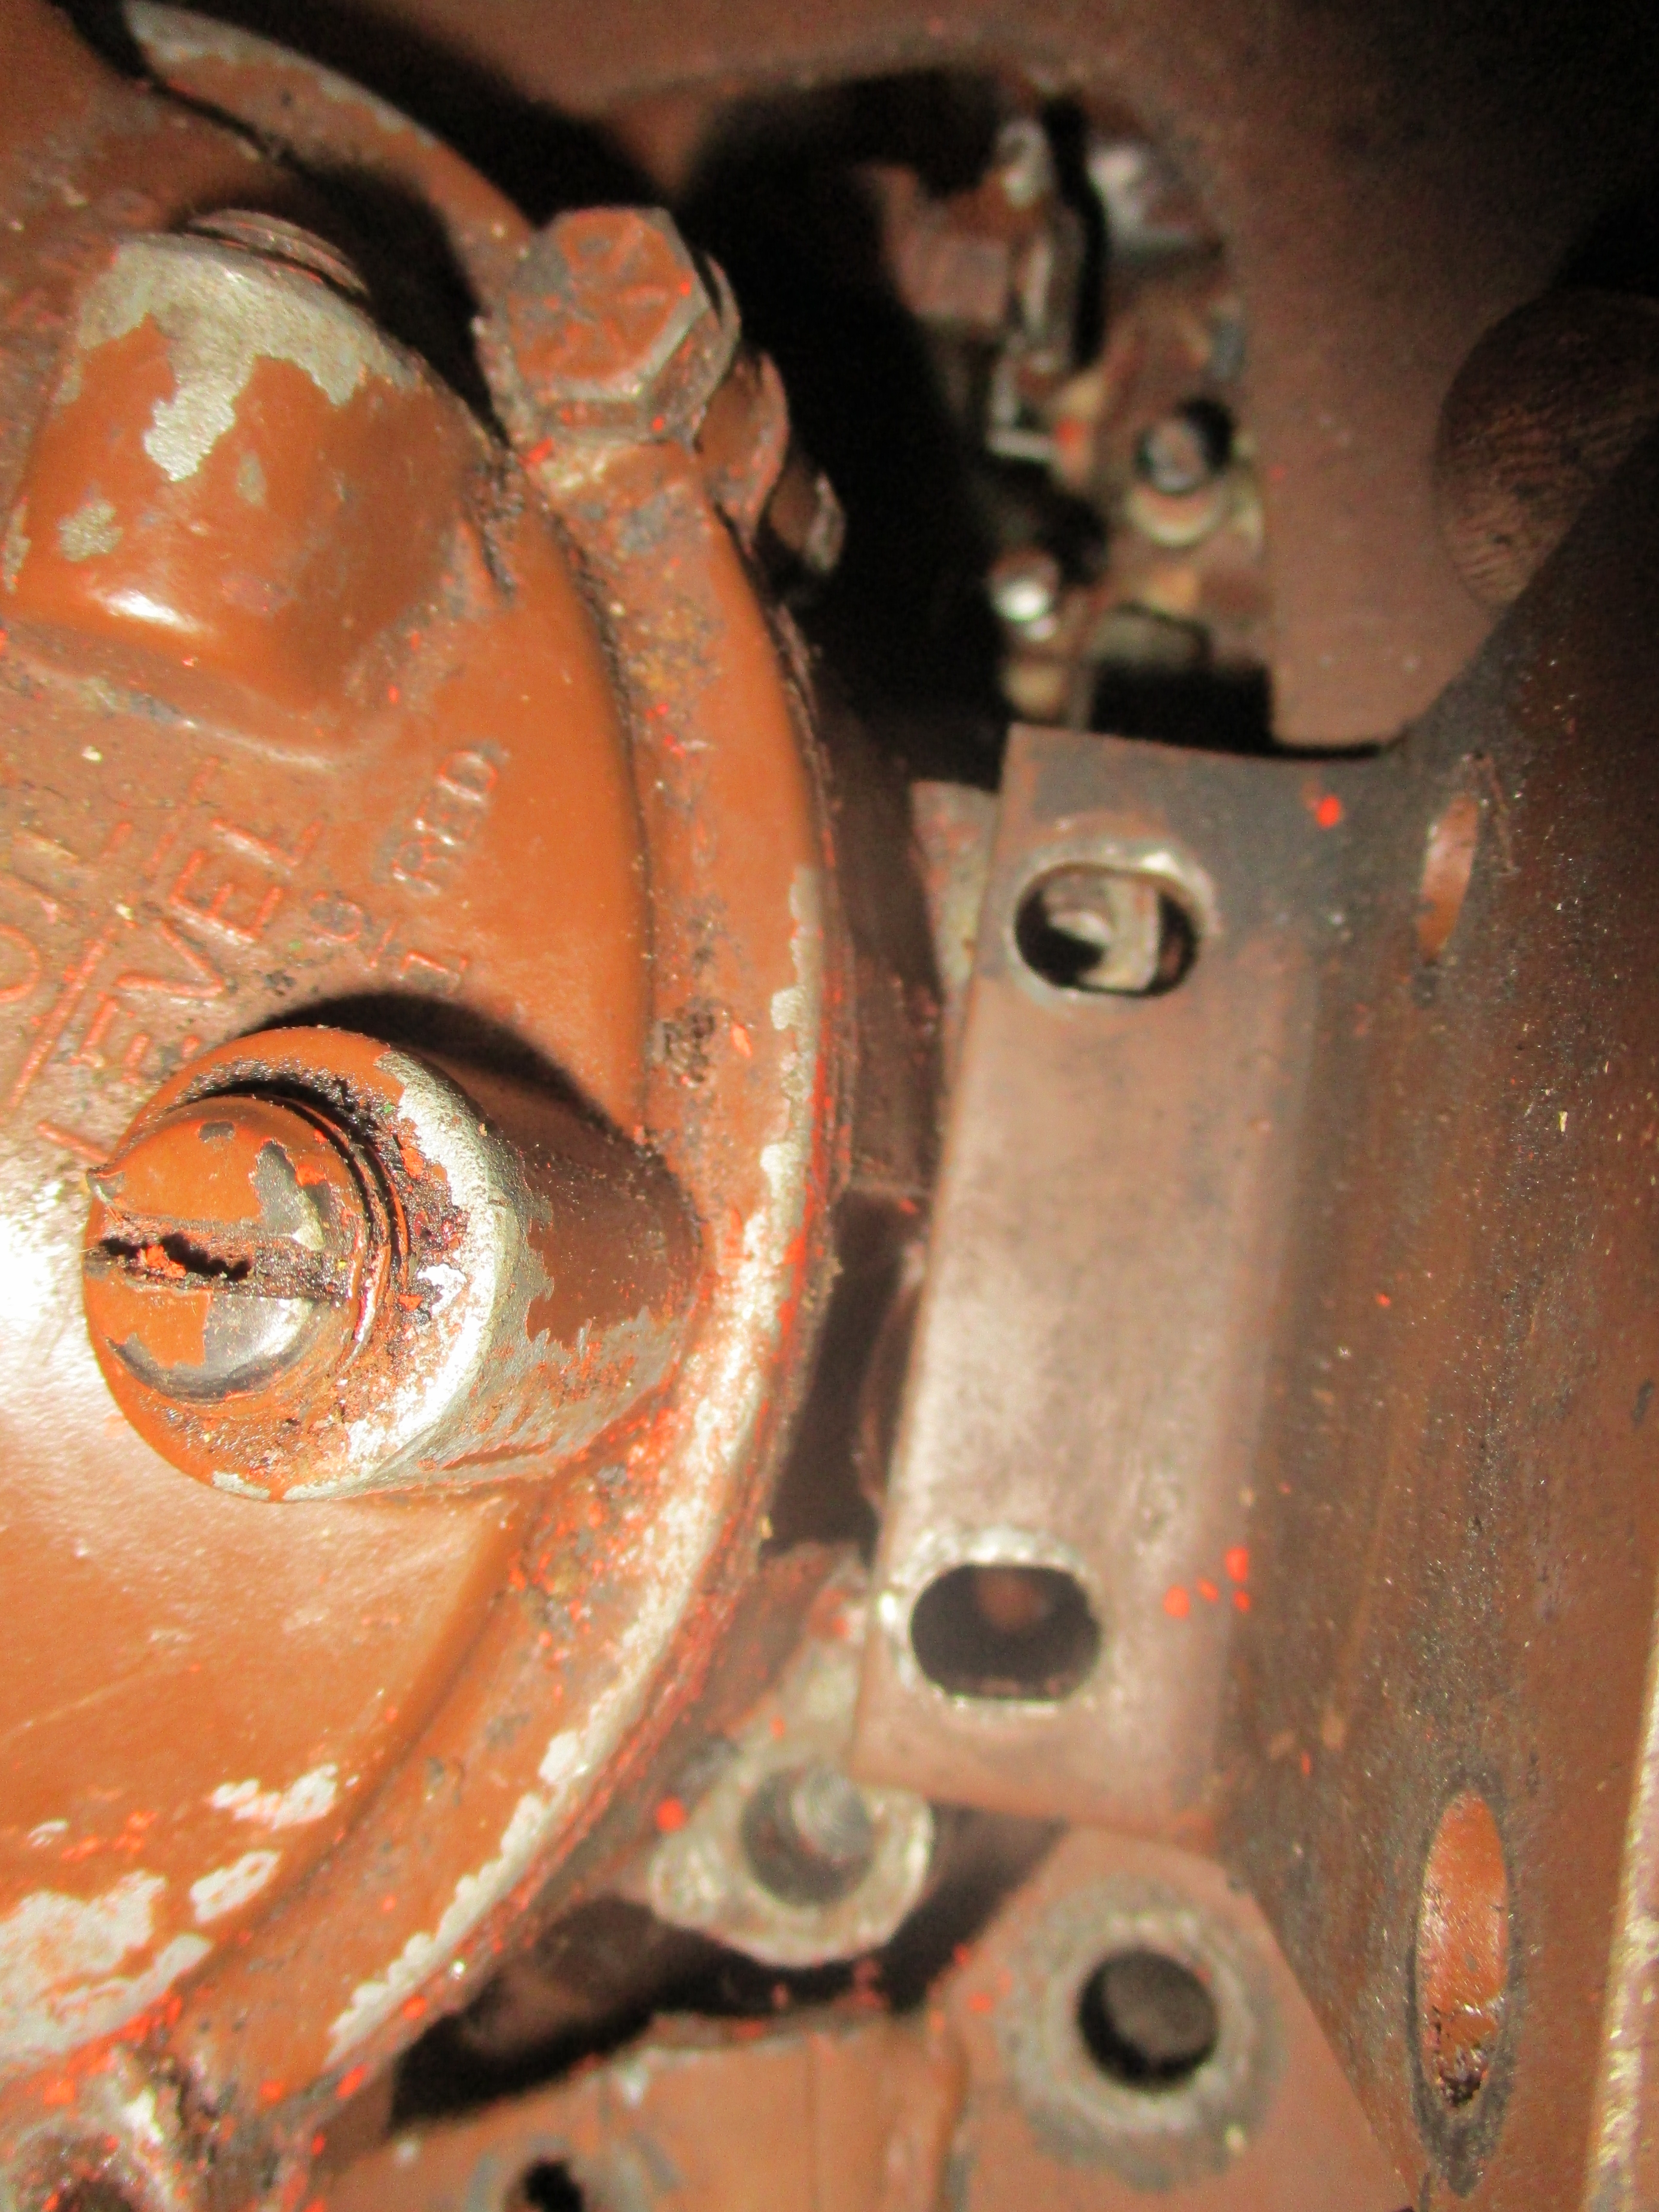
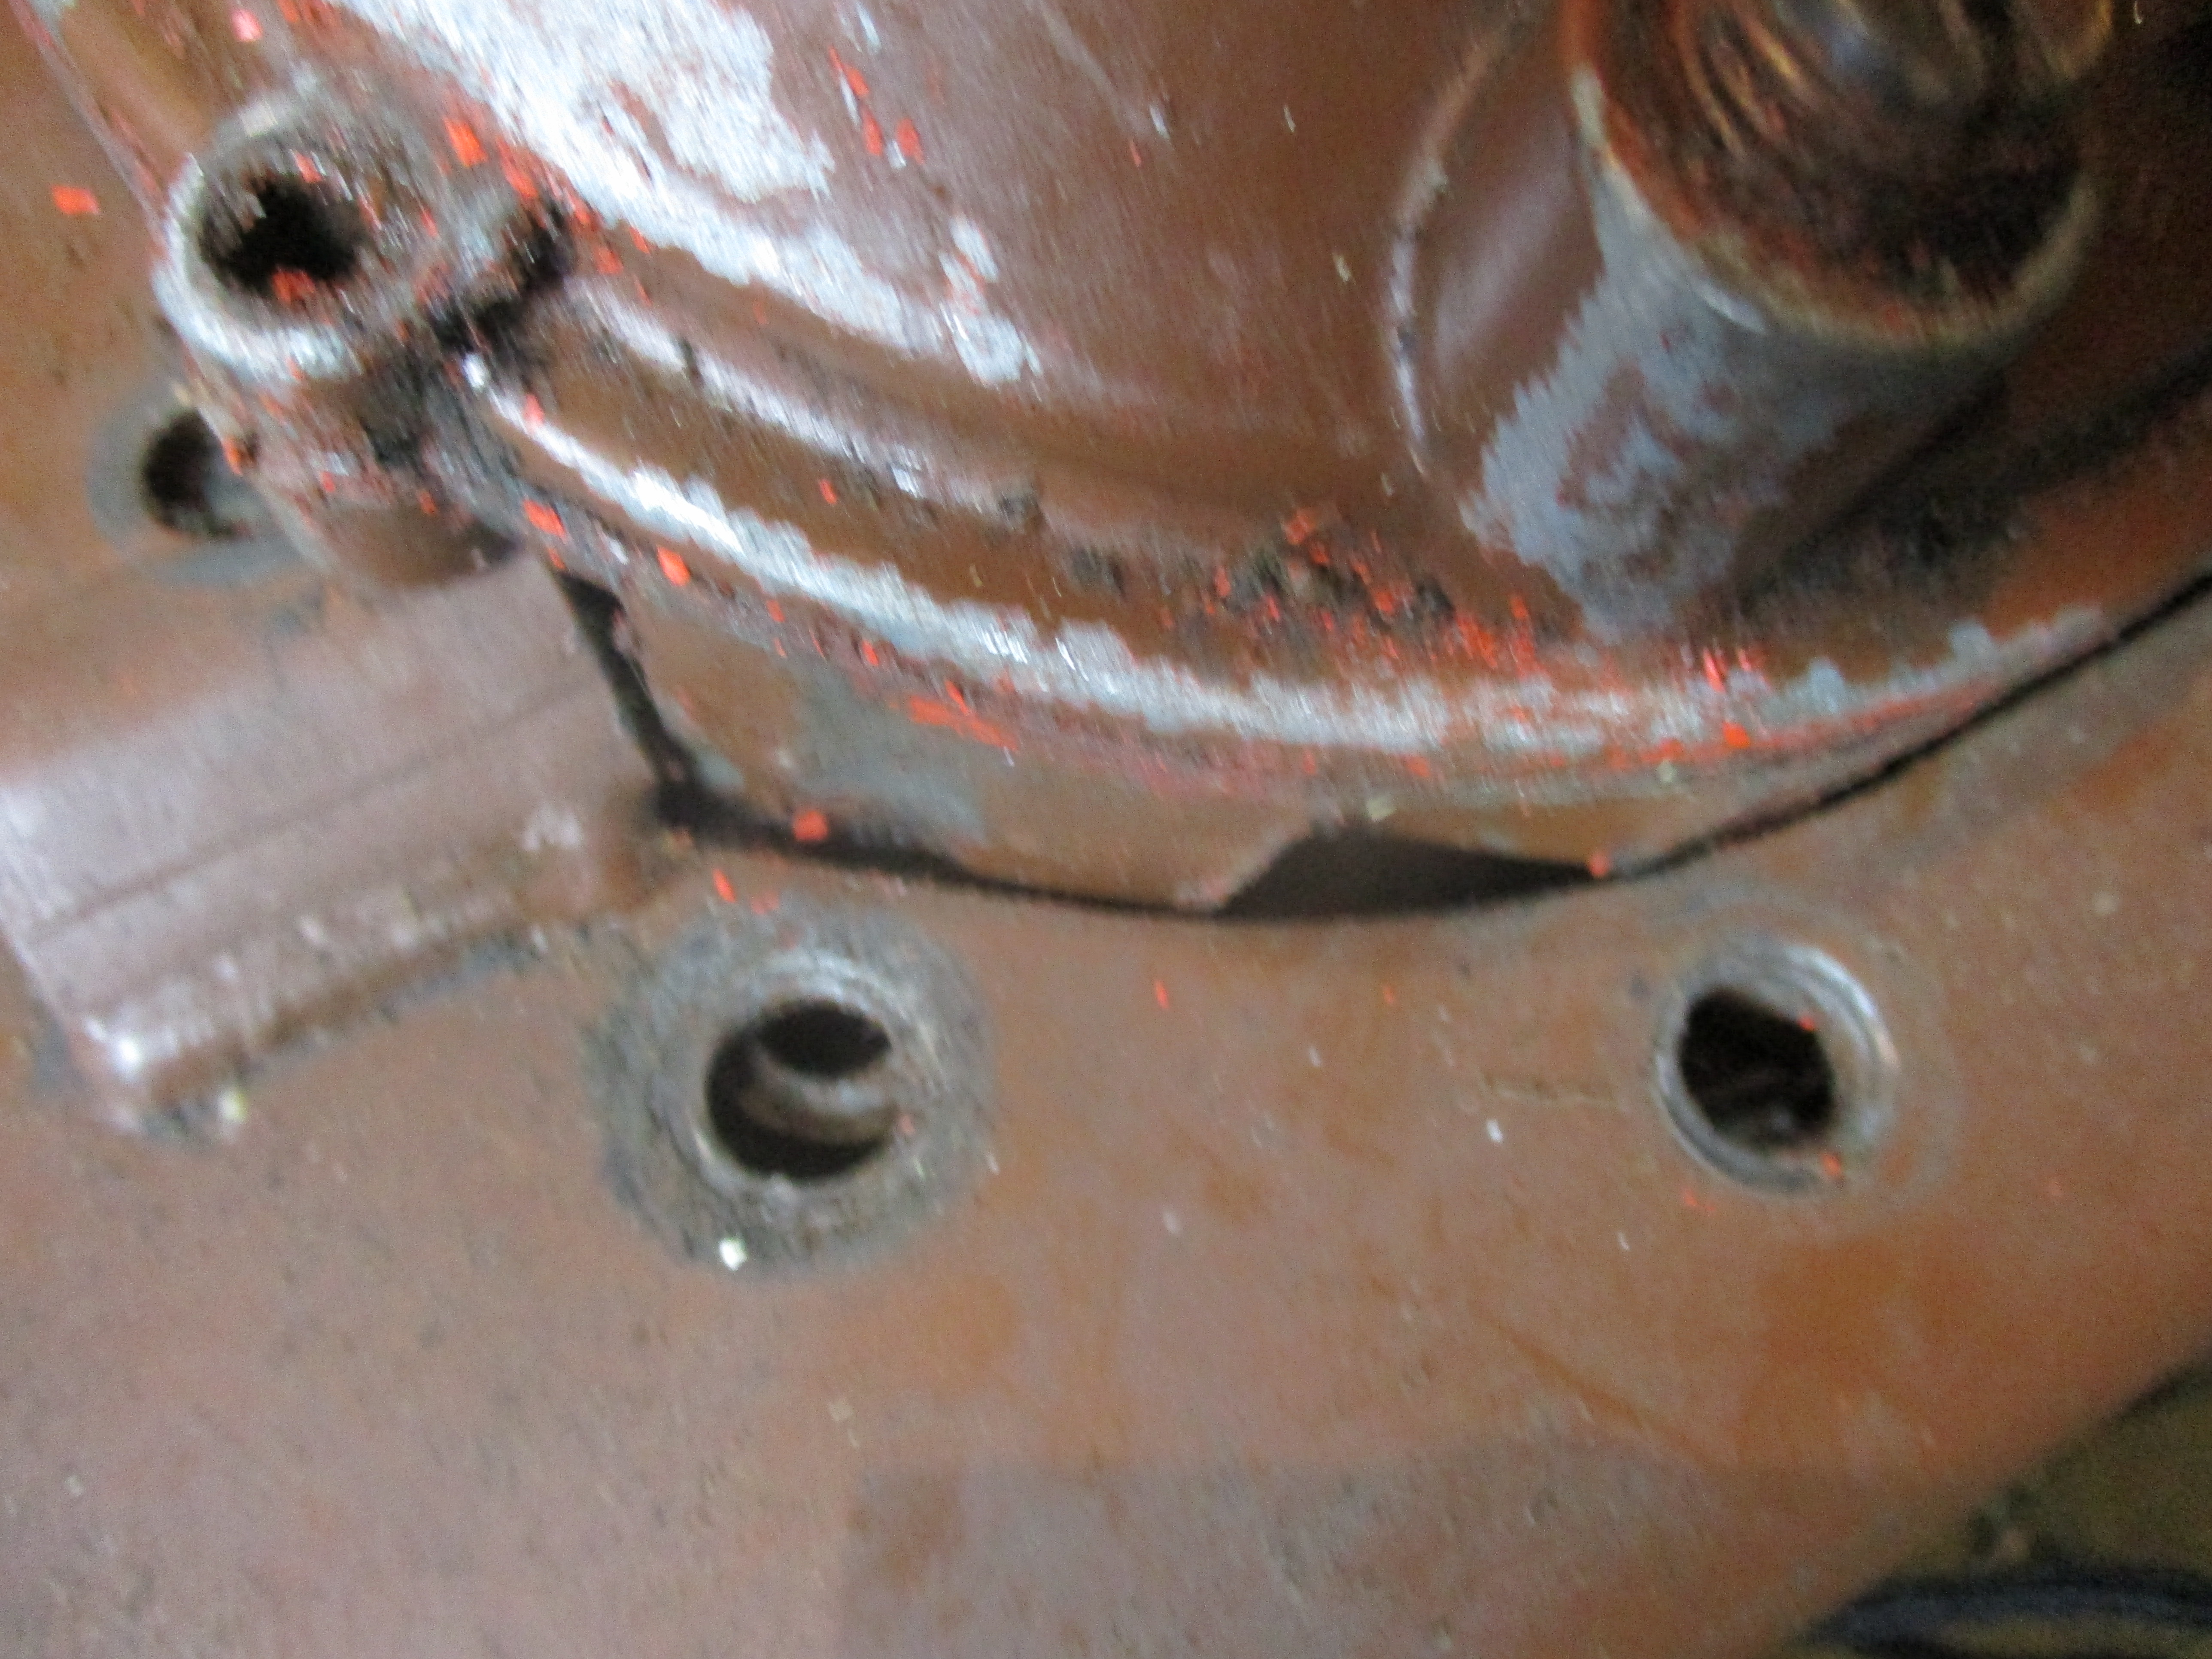 Two very likely looking holes in both engine casing and frame were not as close as I'd hoped.
 Some holes seemed to fit nothing.
 I thought these two holes took the screws from the gearbox casing, but neither did, maybe there were other engine options, the two stroke is and was favoured for its lightness, power and smaller size, although this engine has a carb. with float, many other two strokes will work at almost any angle, with right carb. no crankcase oil to worry about is key.
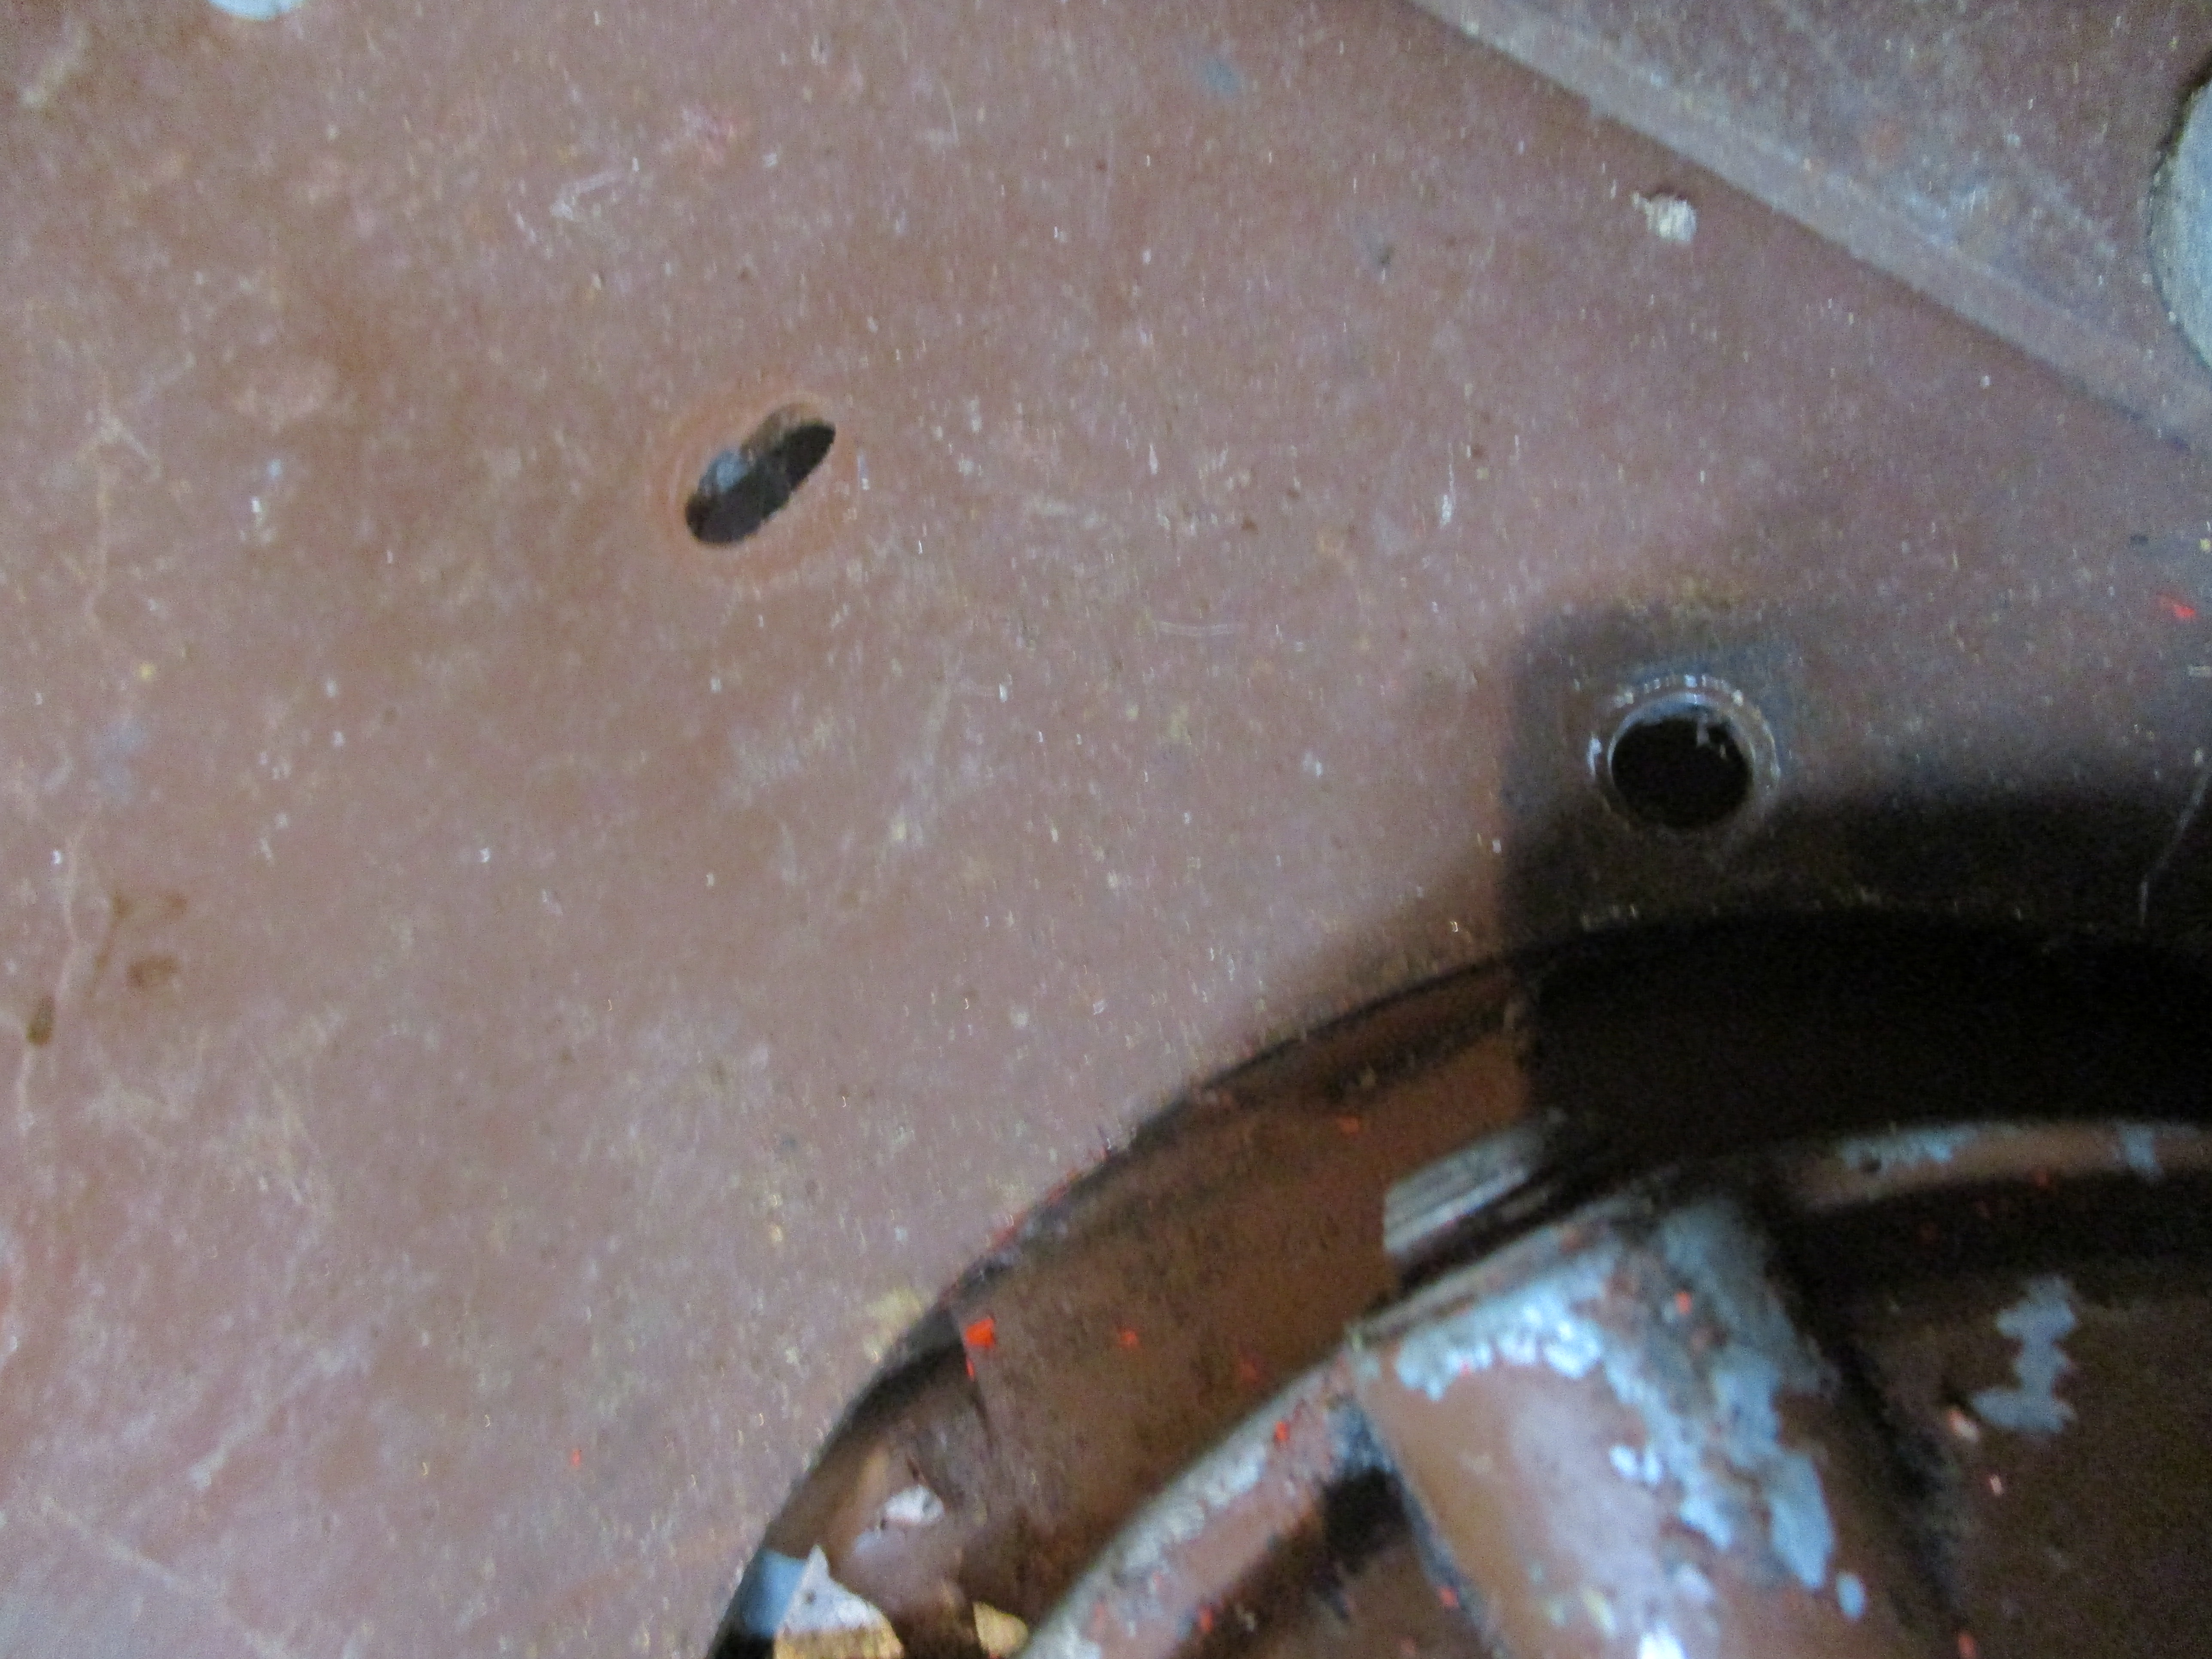
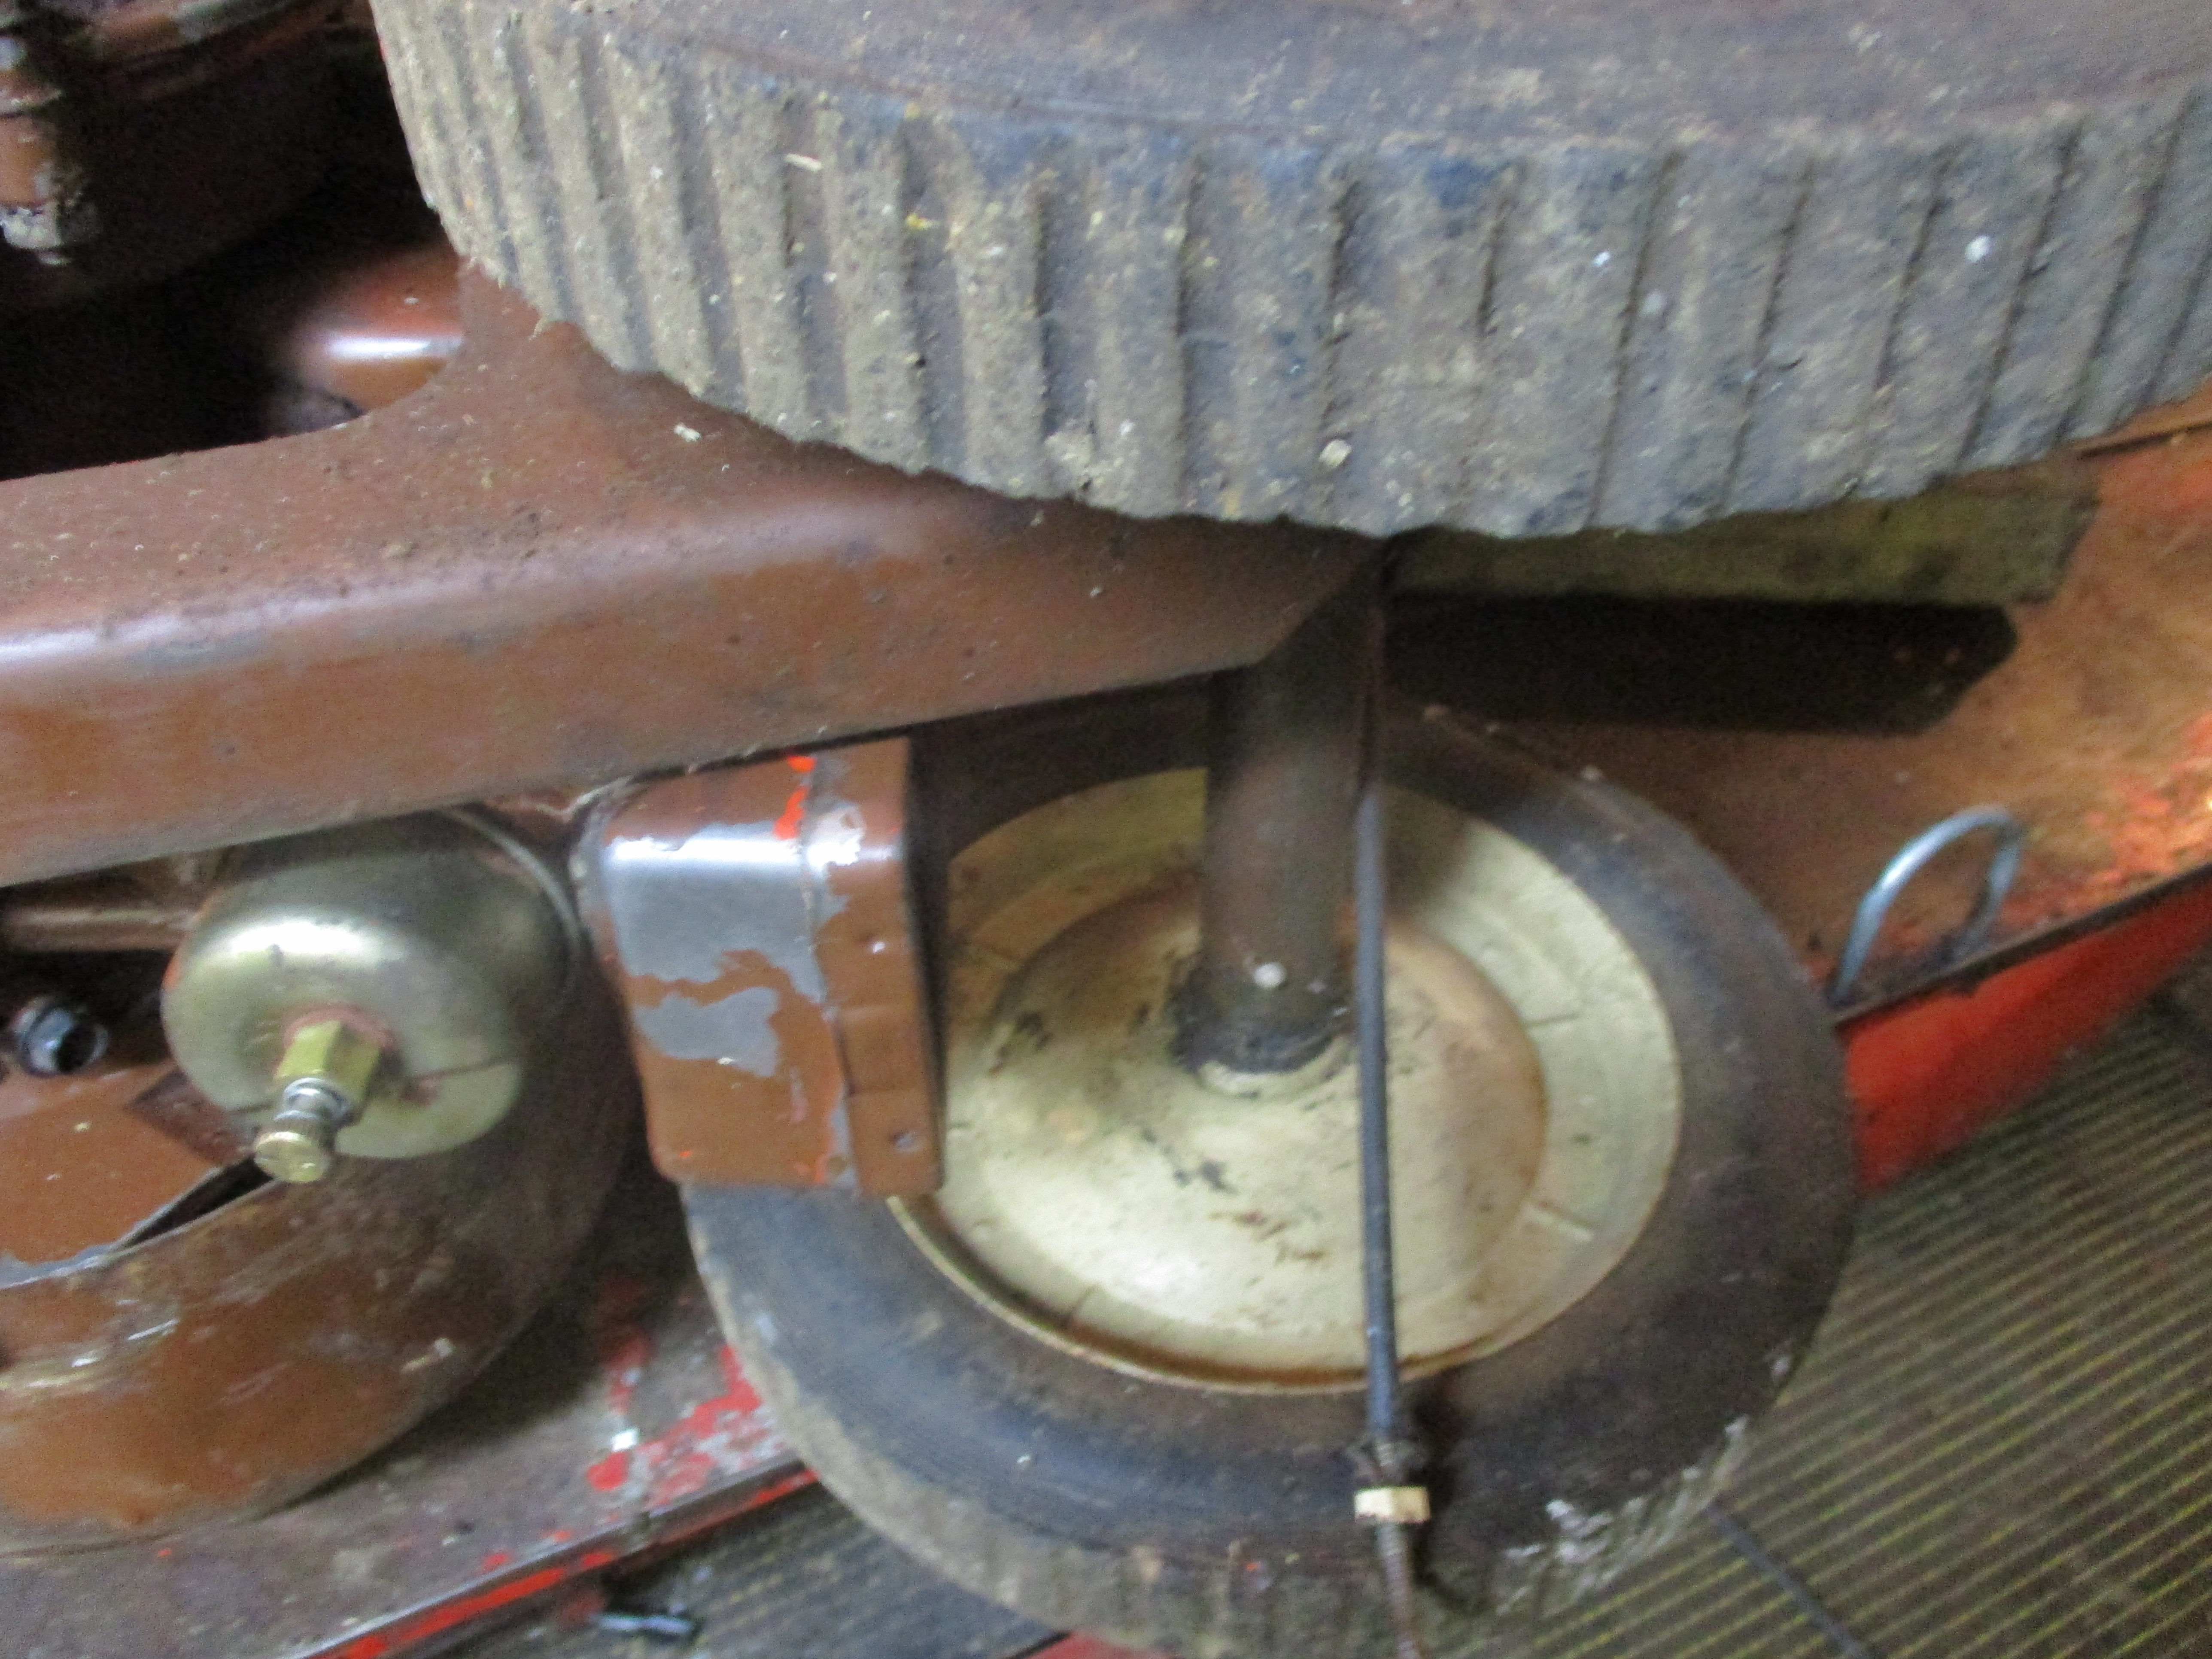
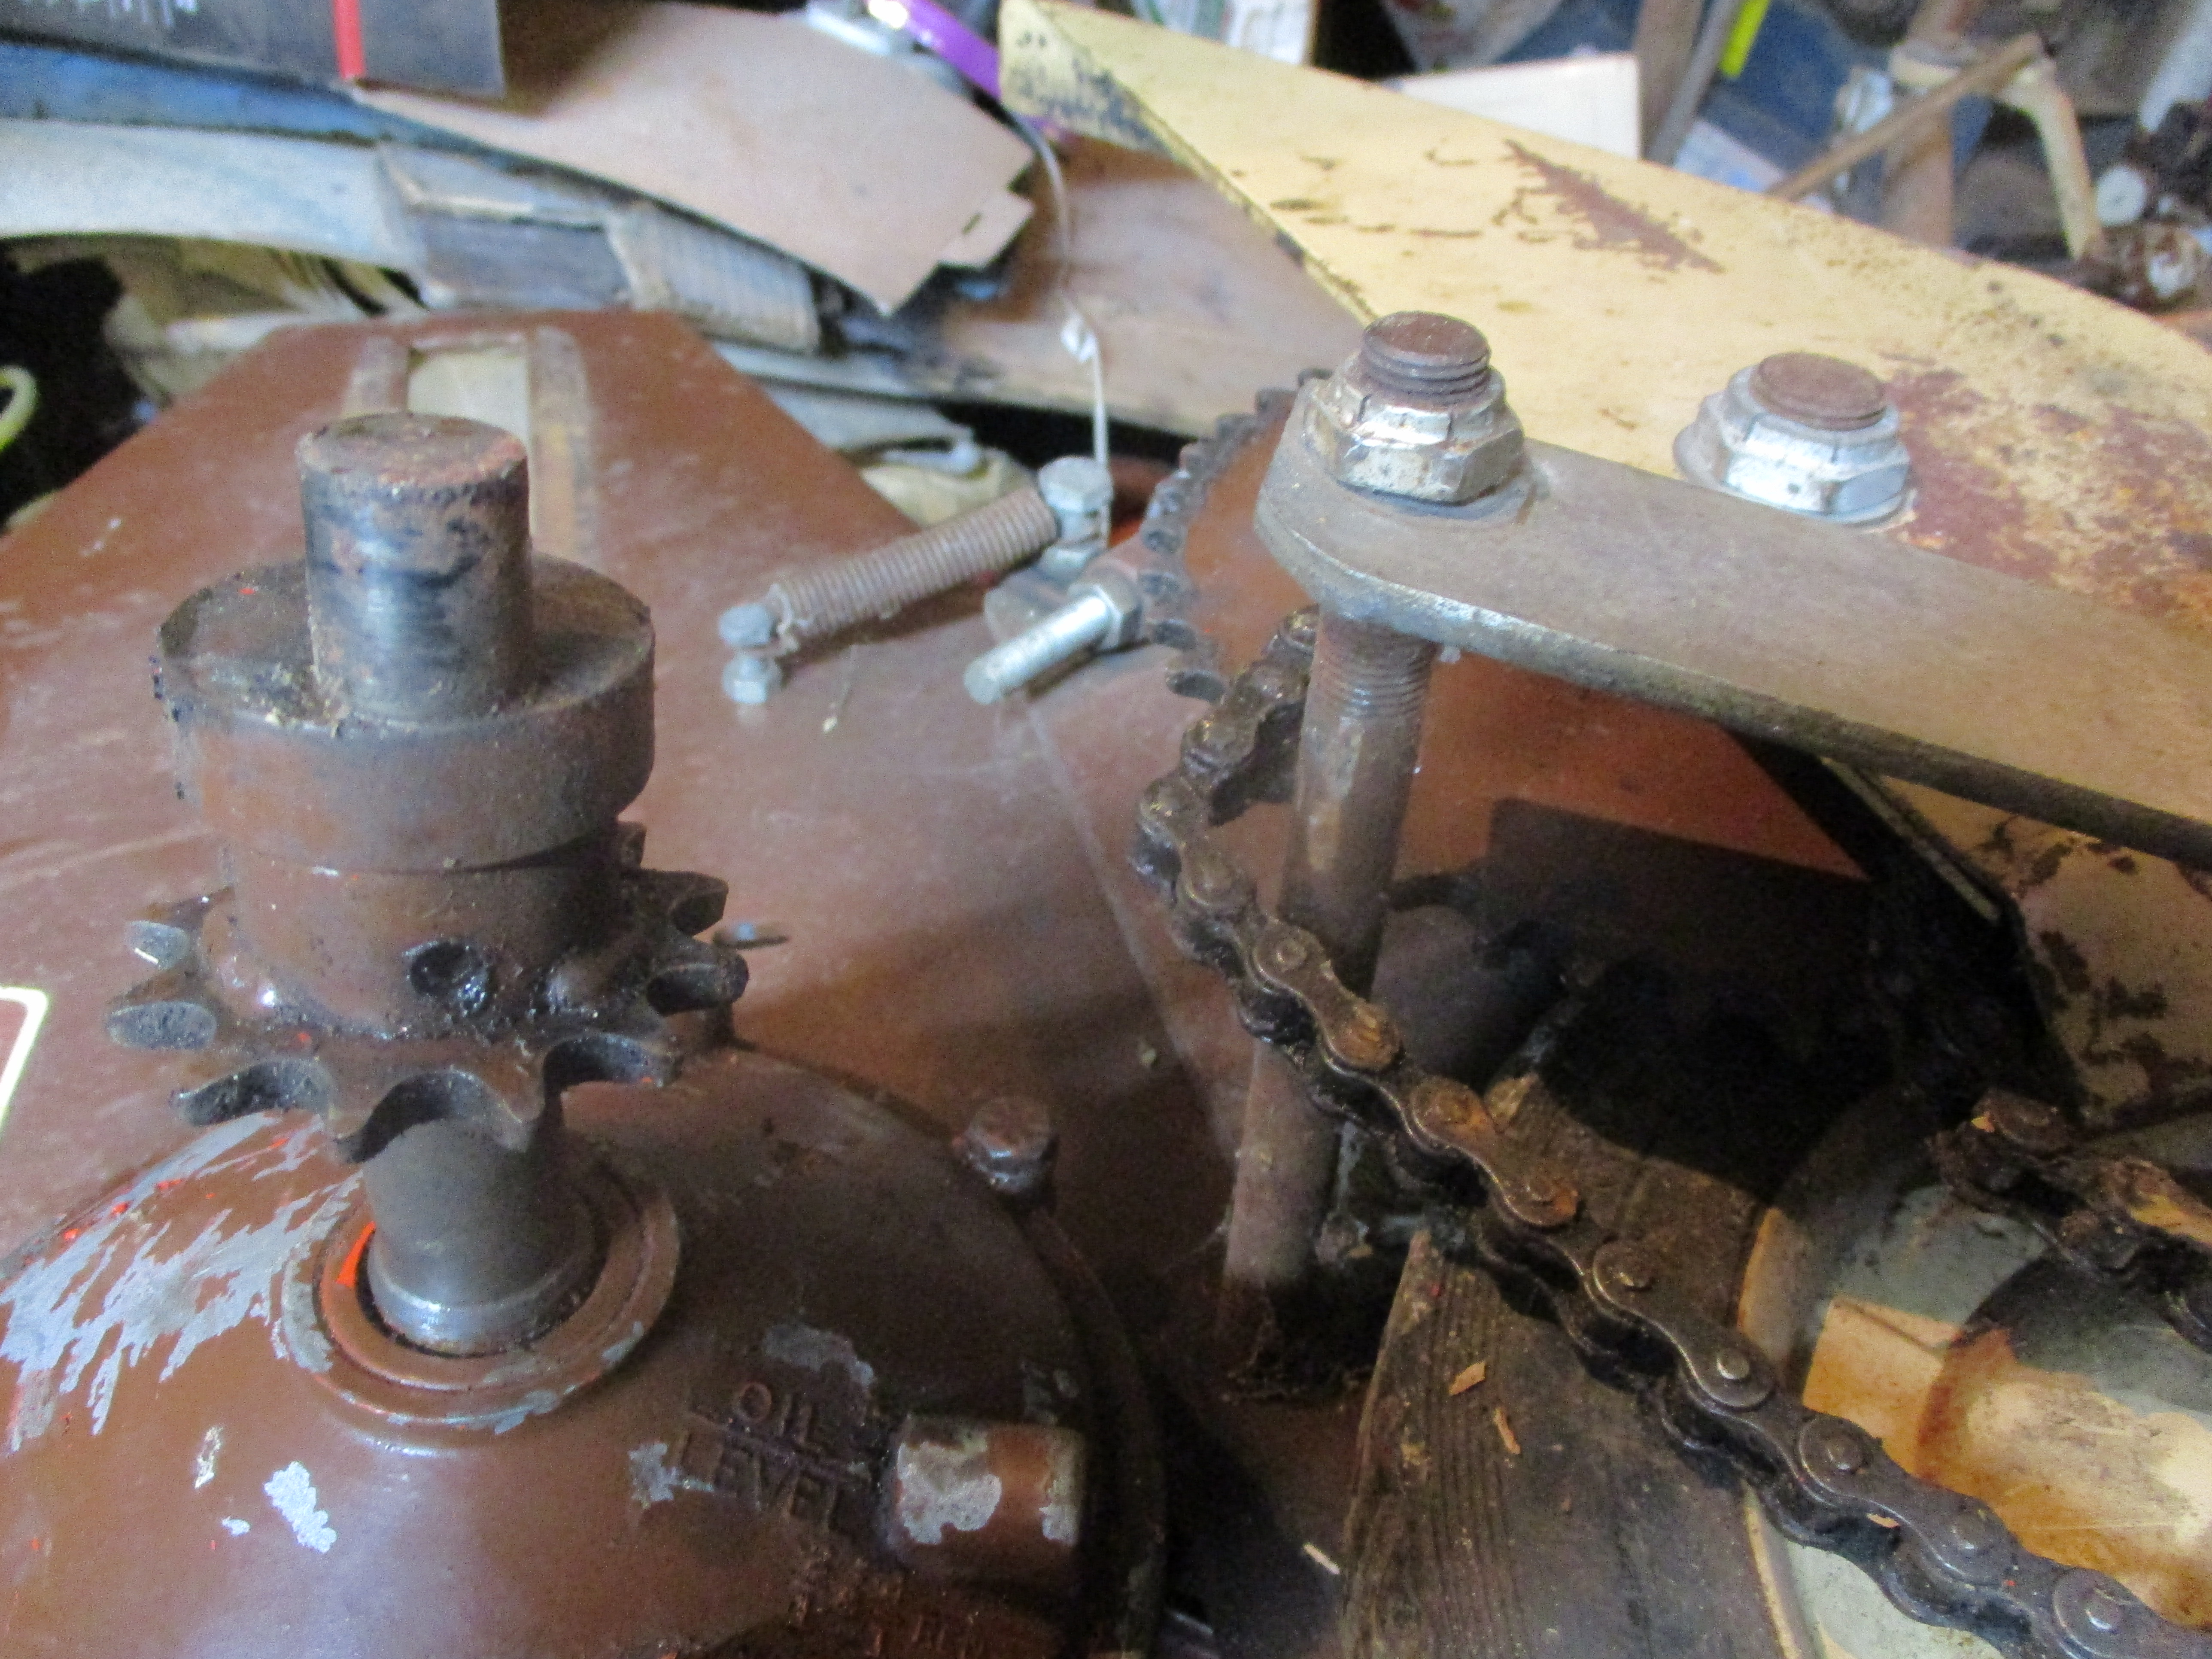 At least the drive and driven sprockets are on right side and near each other.
 The small bent bracket doesn't fit here.
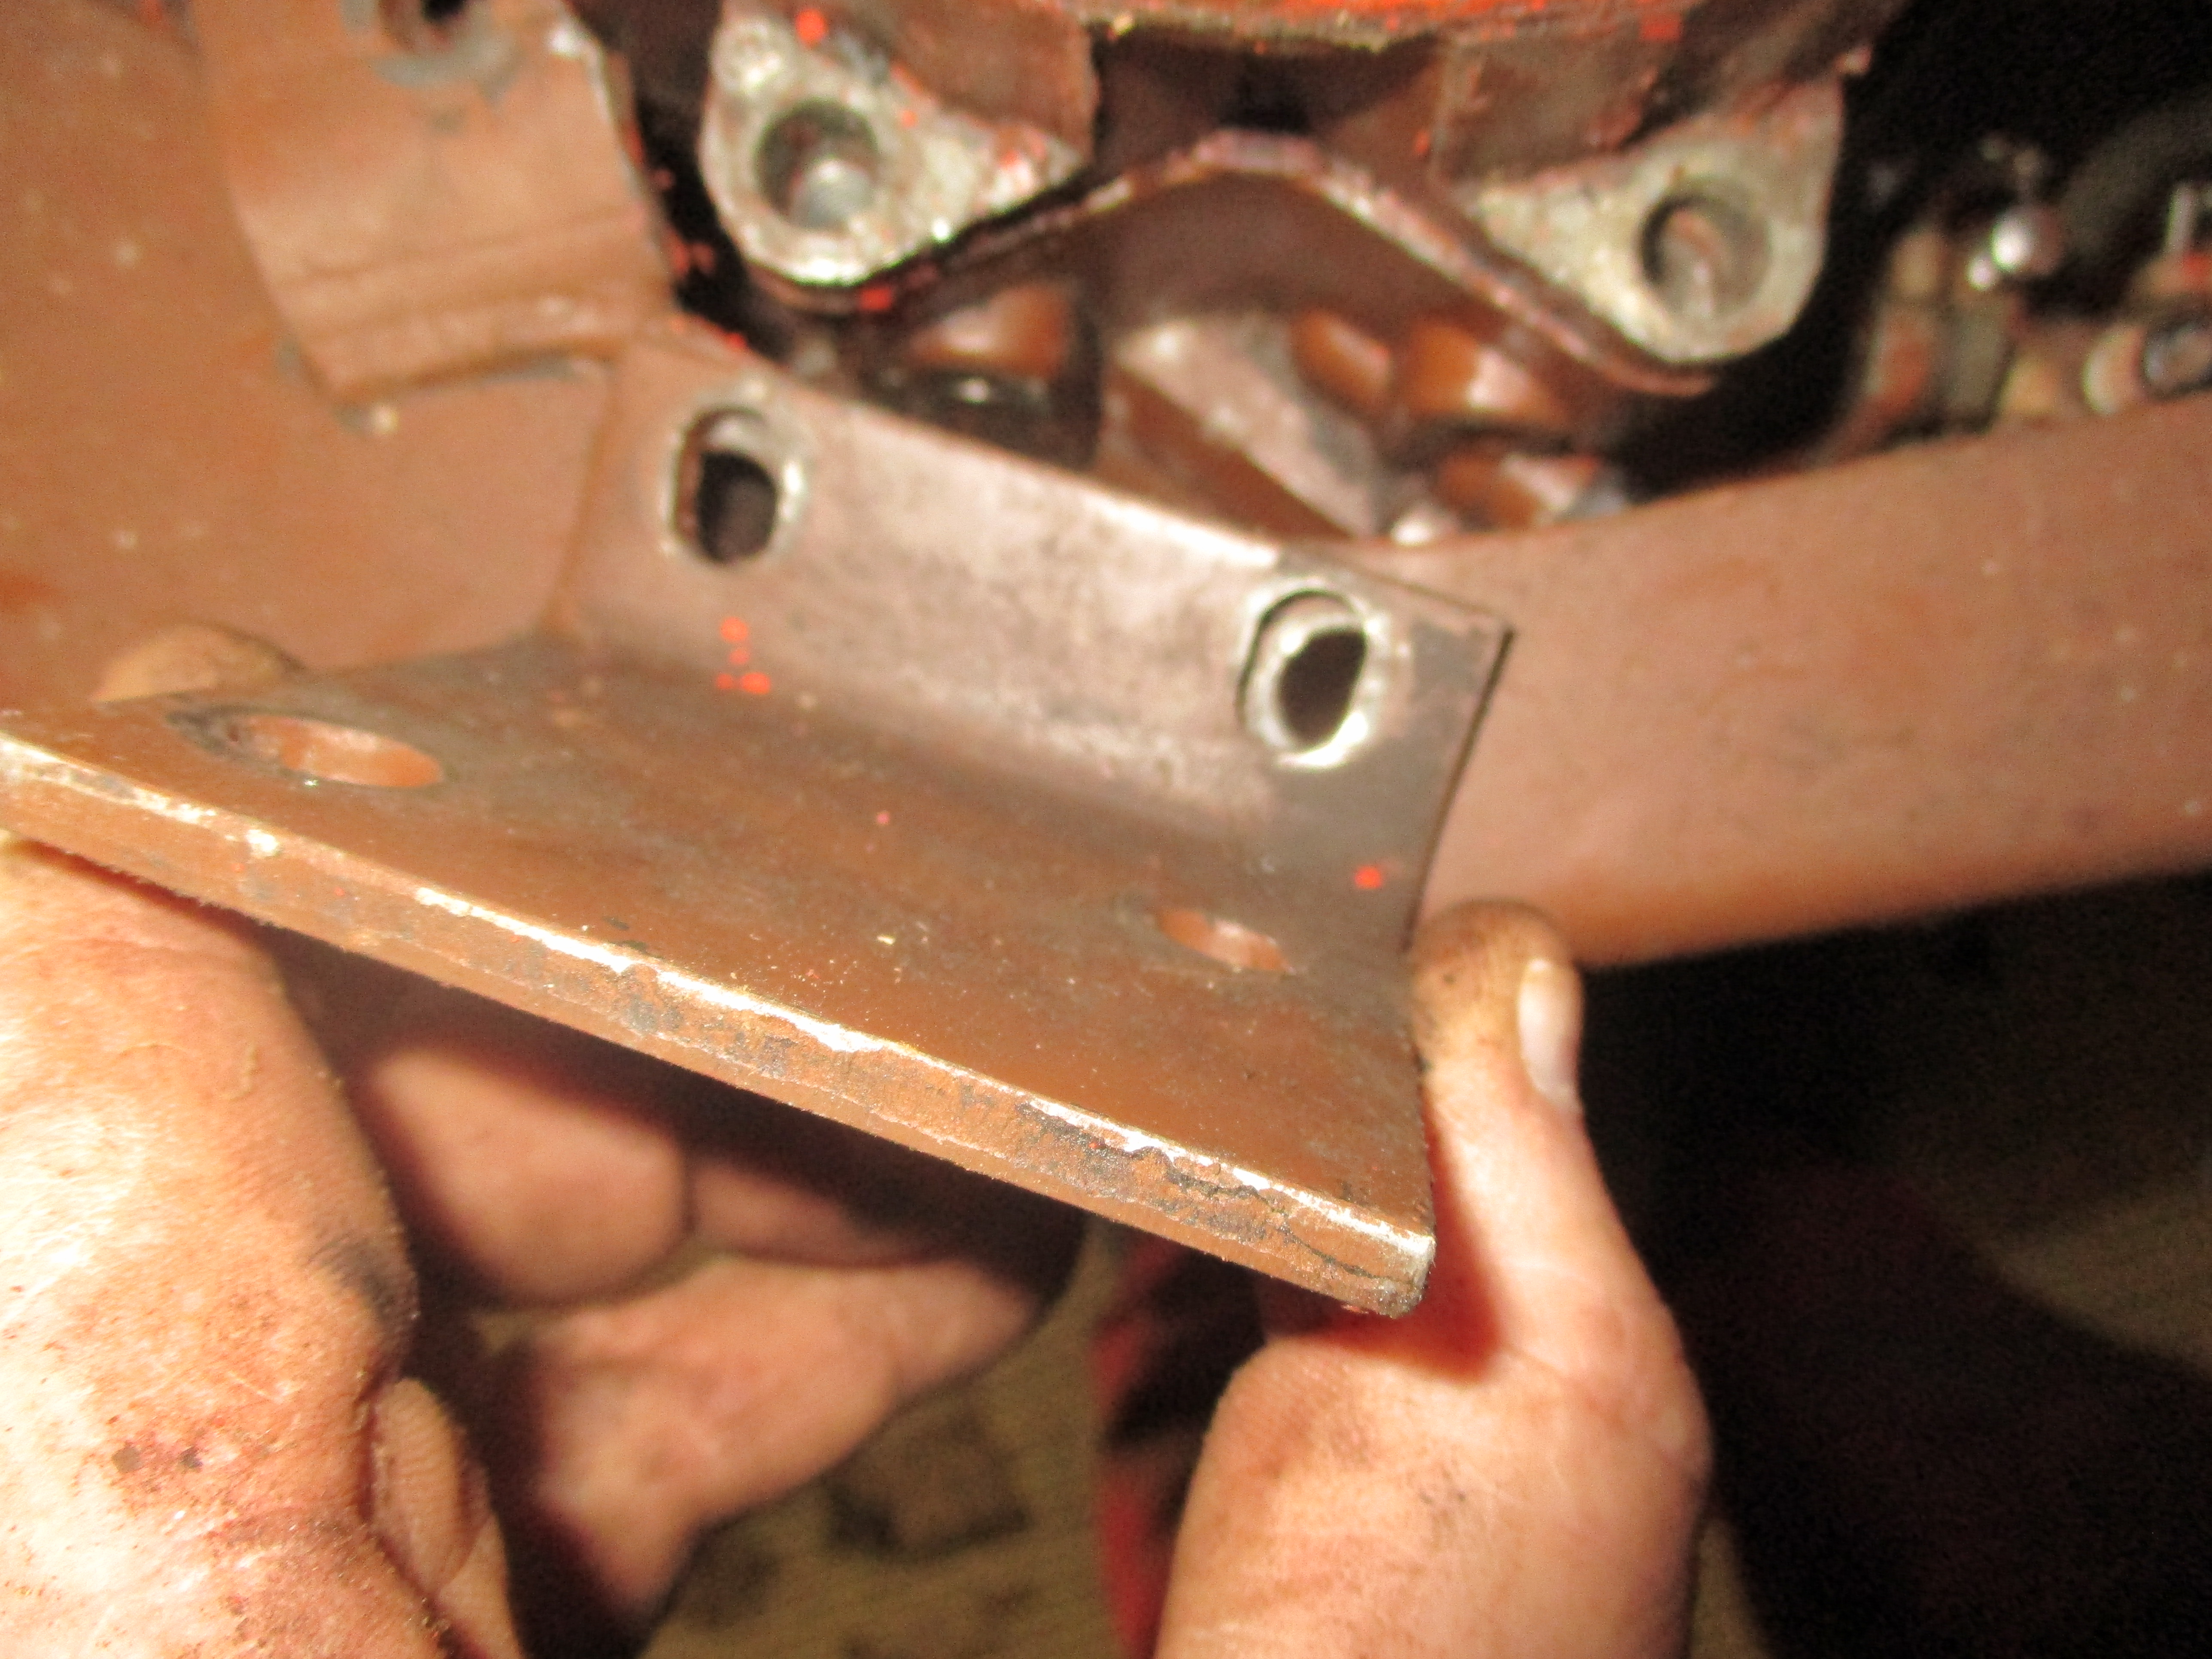 On frame here is more likely.
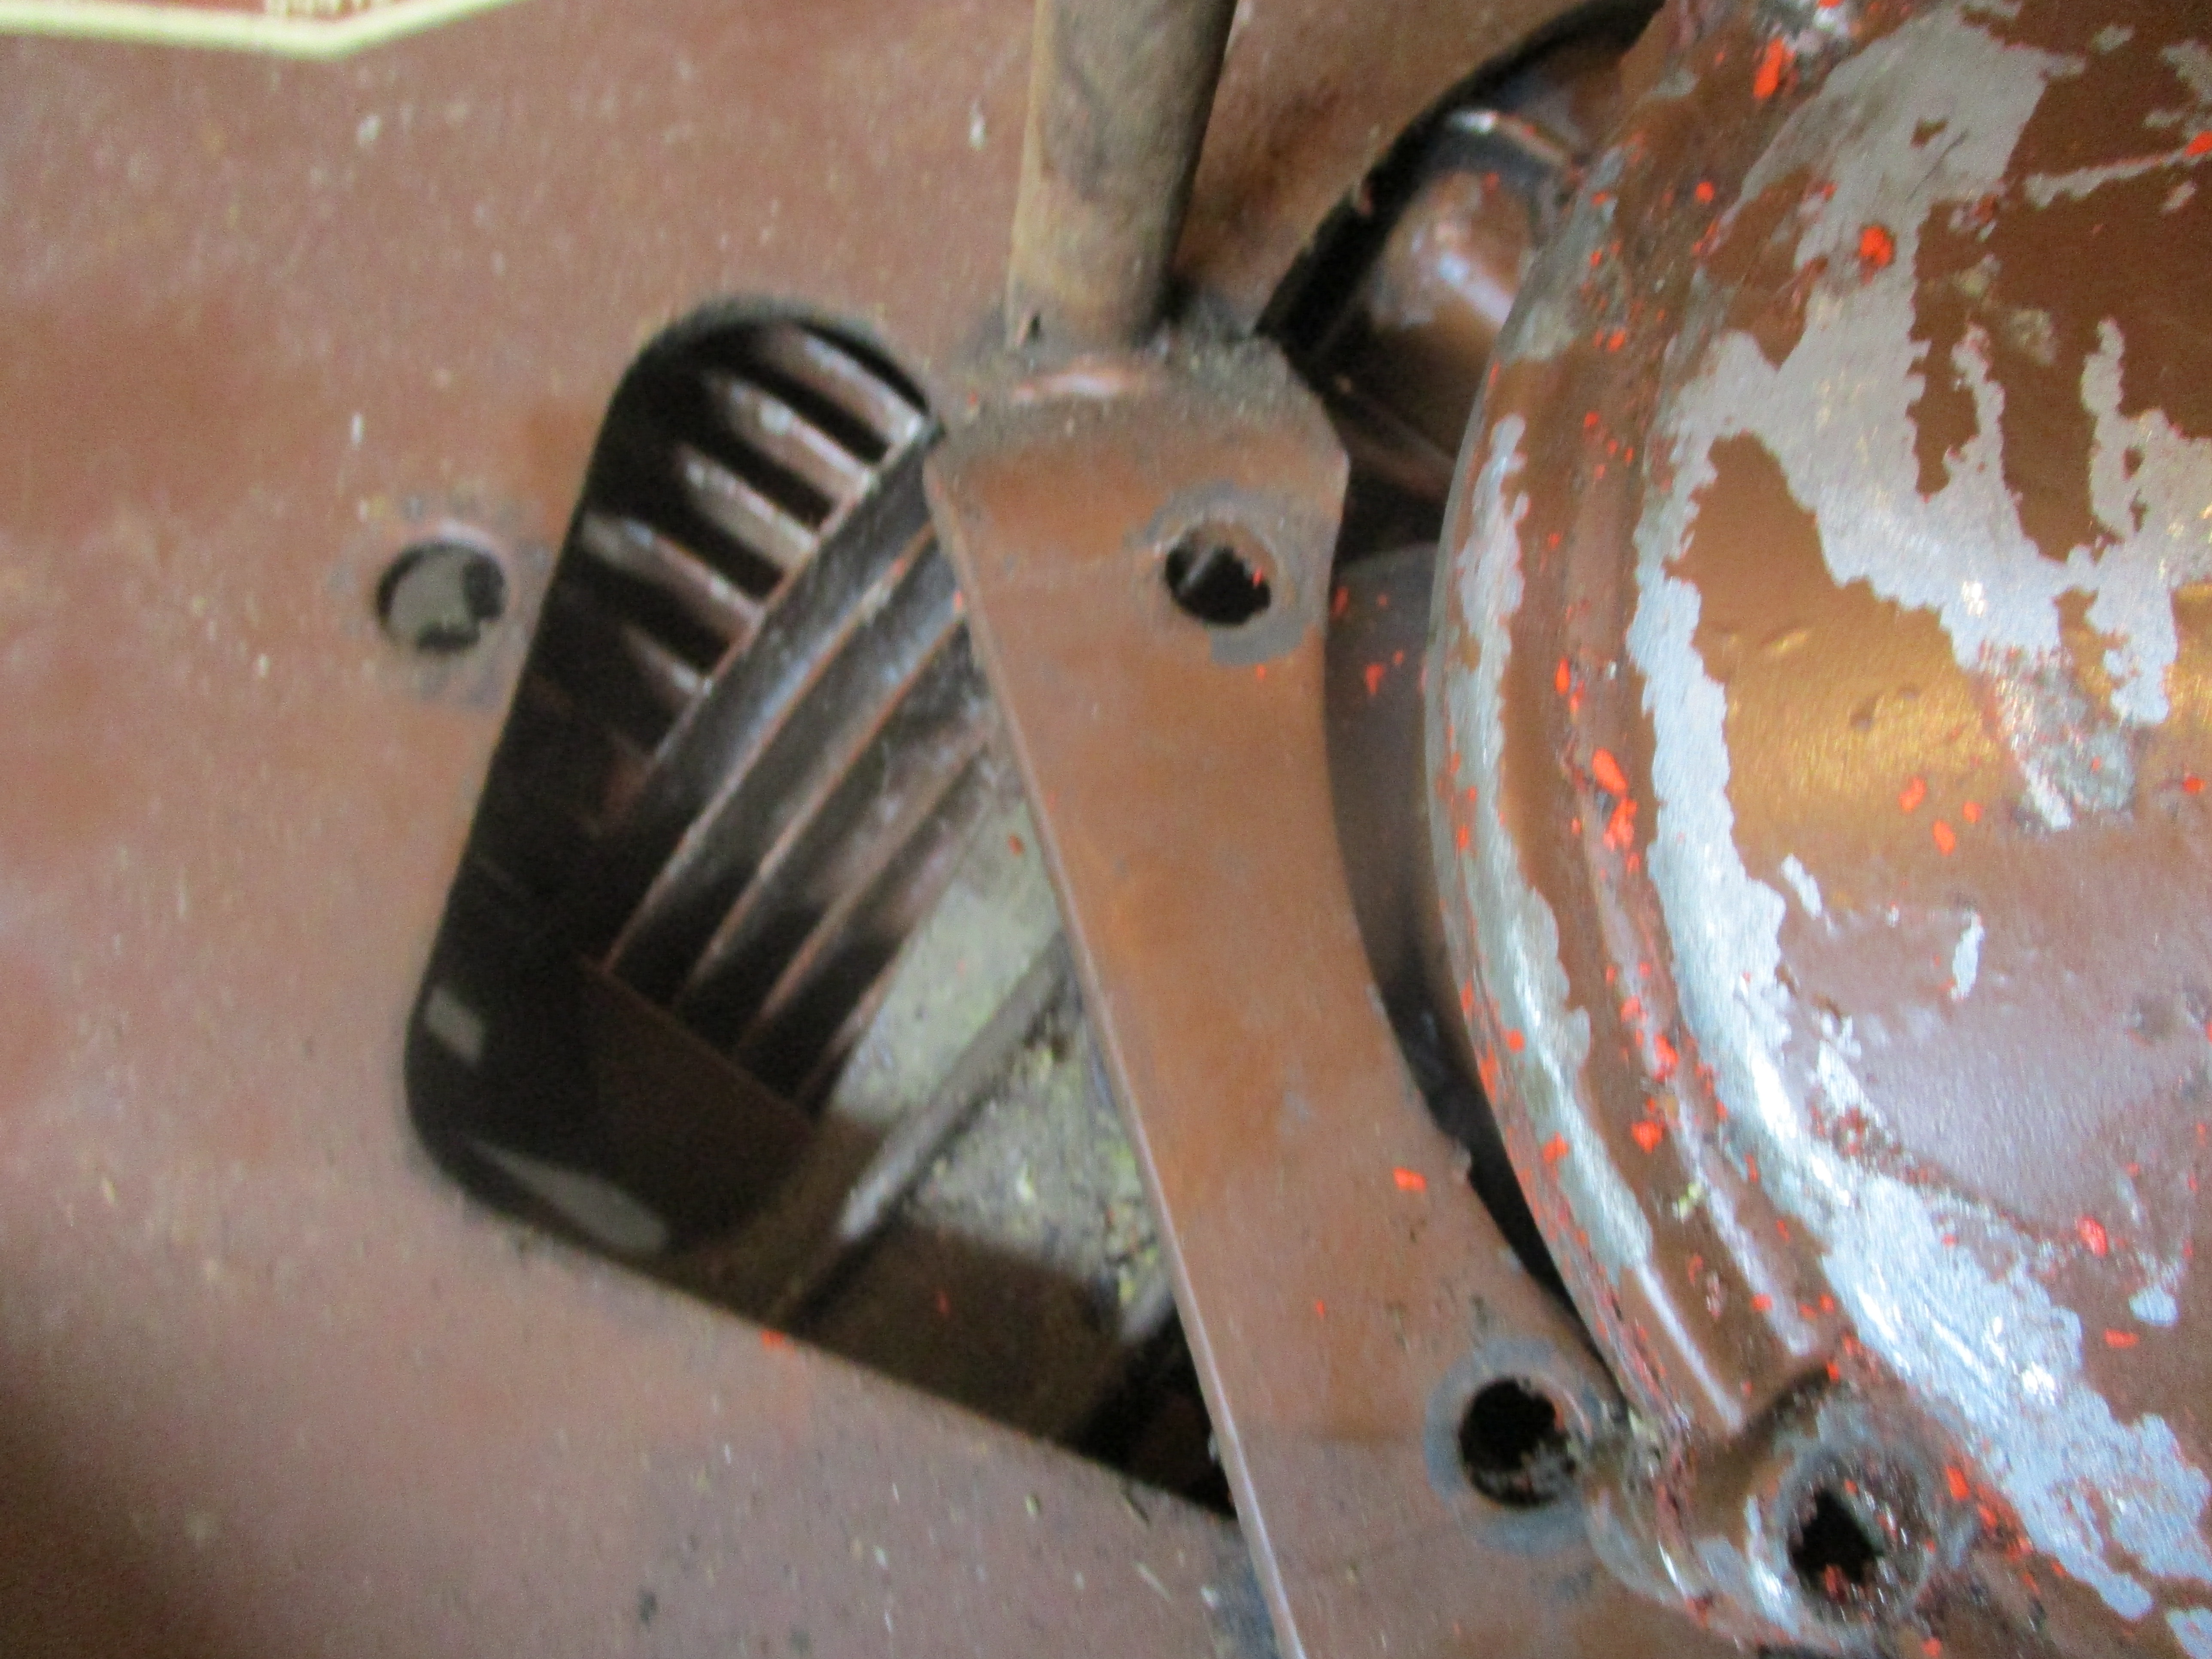
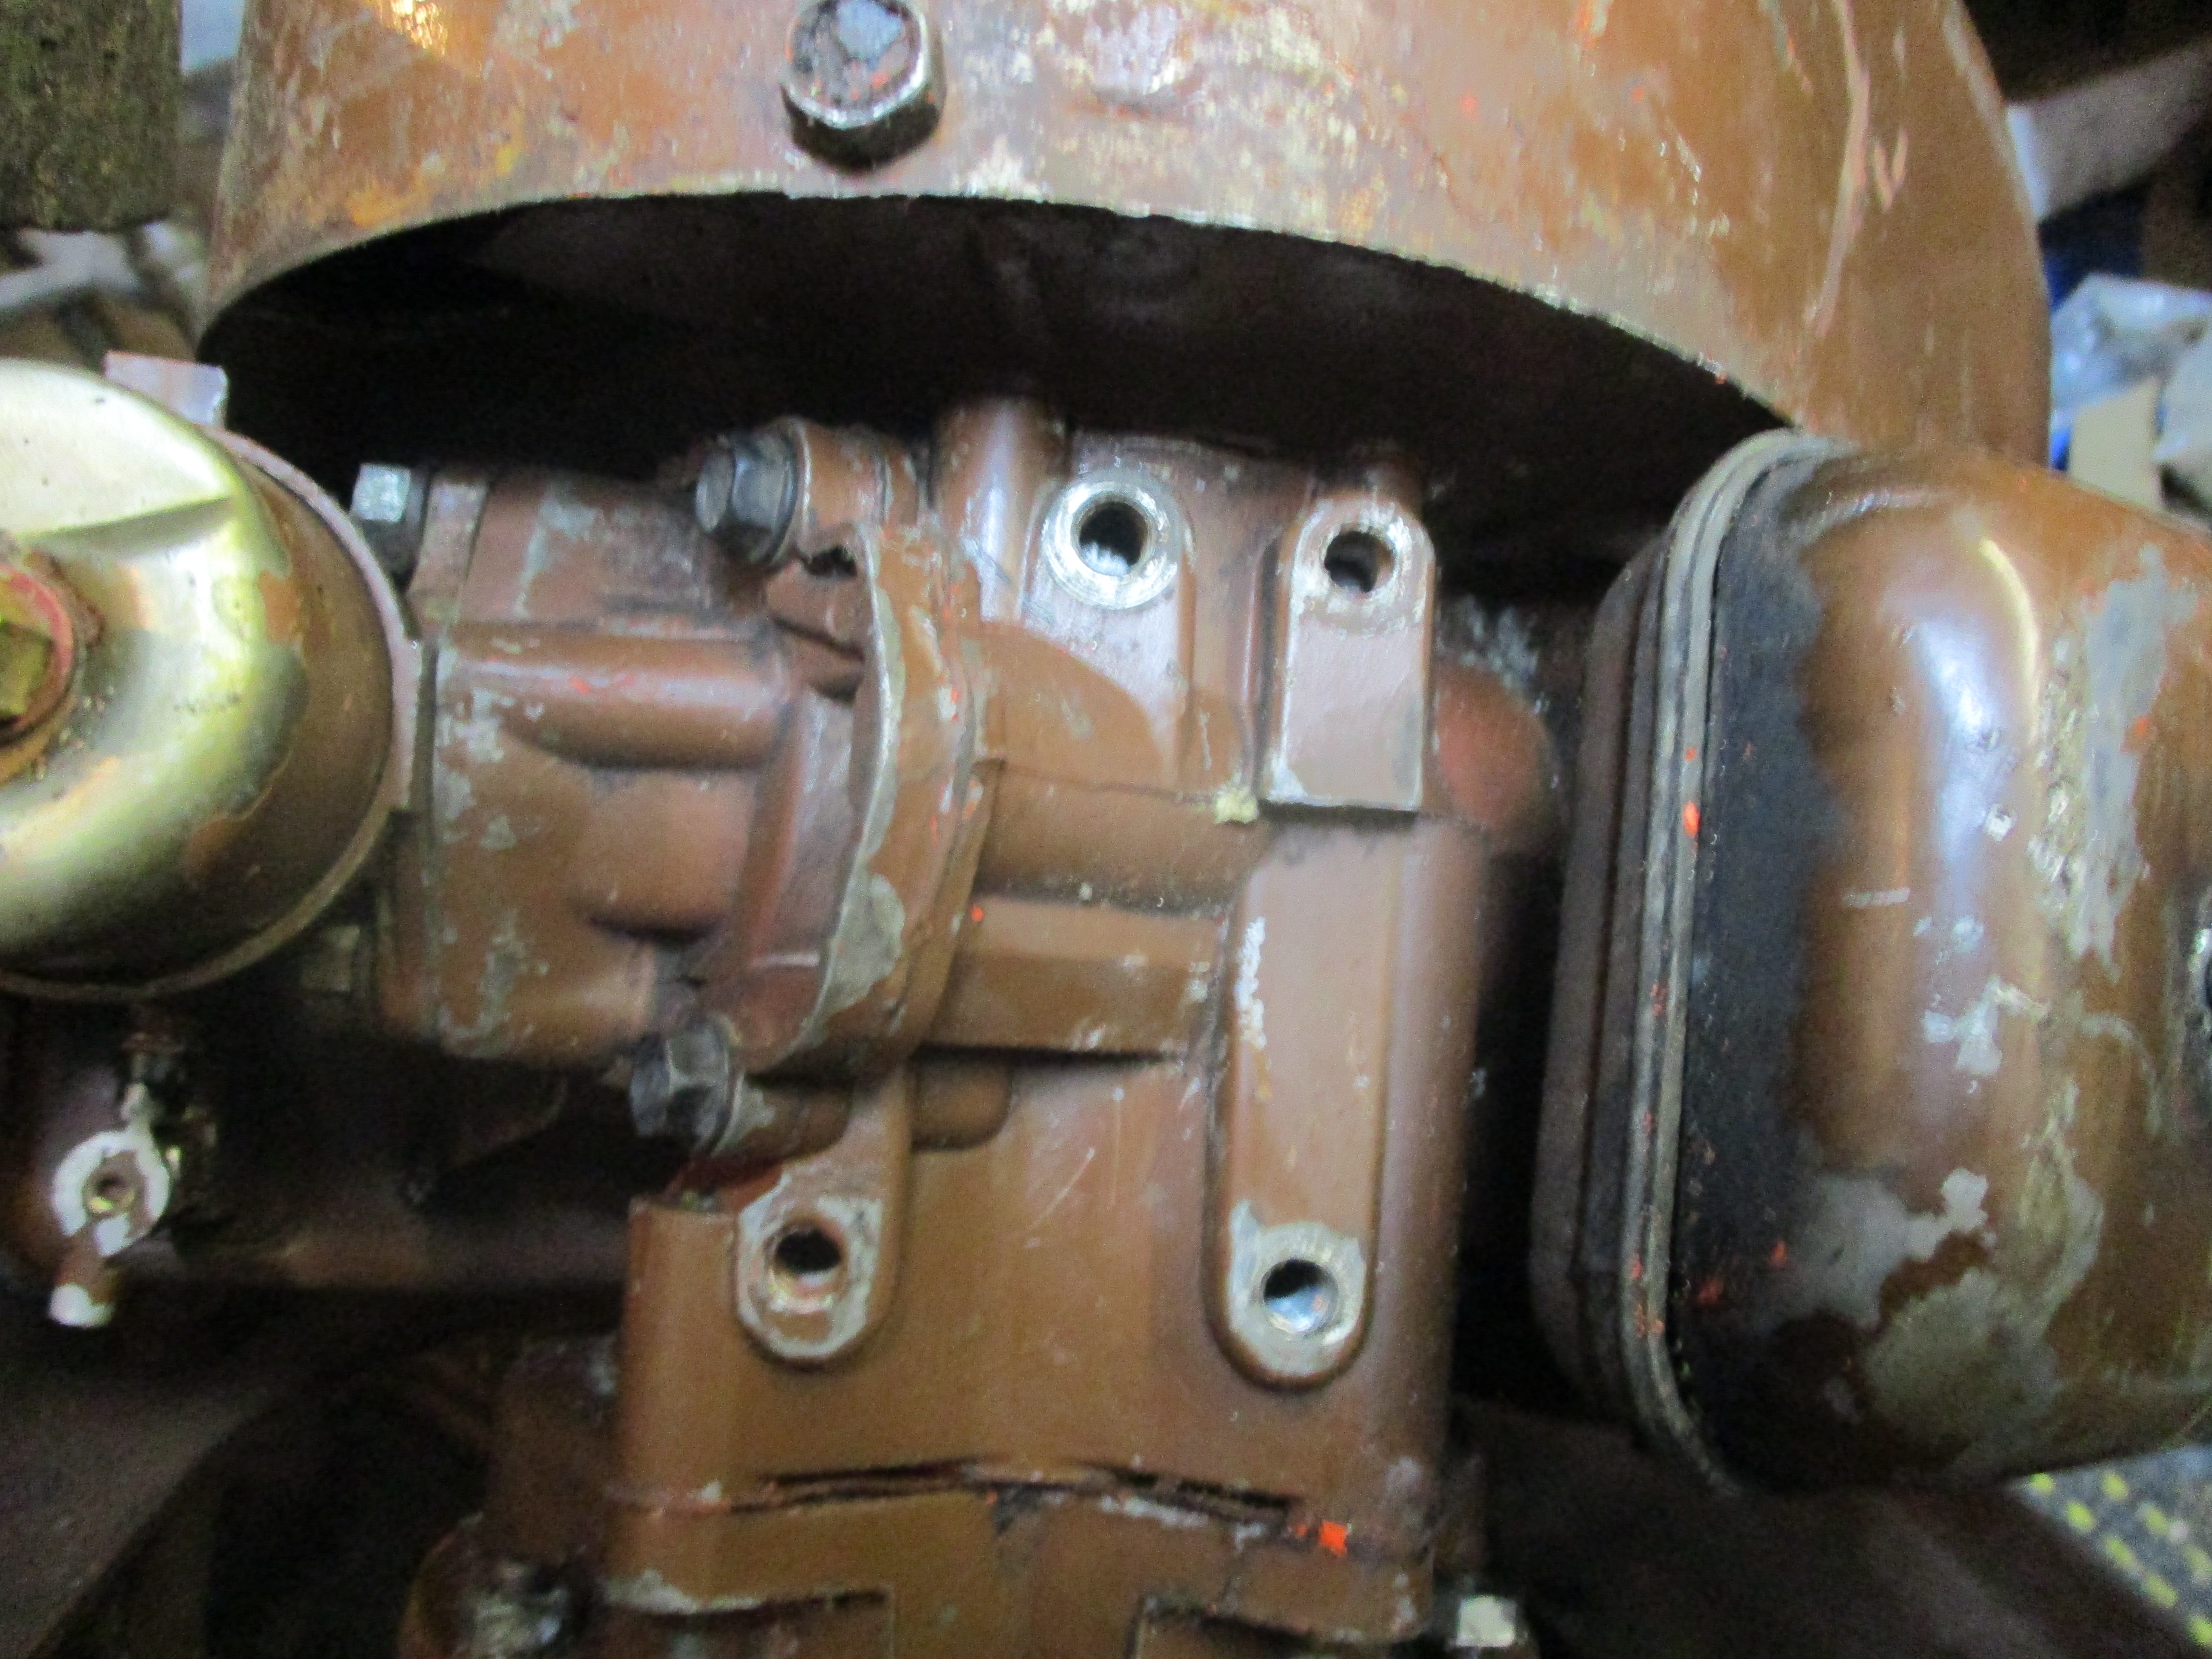
 Carb. and air filter look so wrong here.
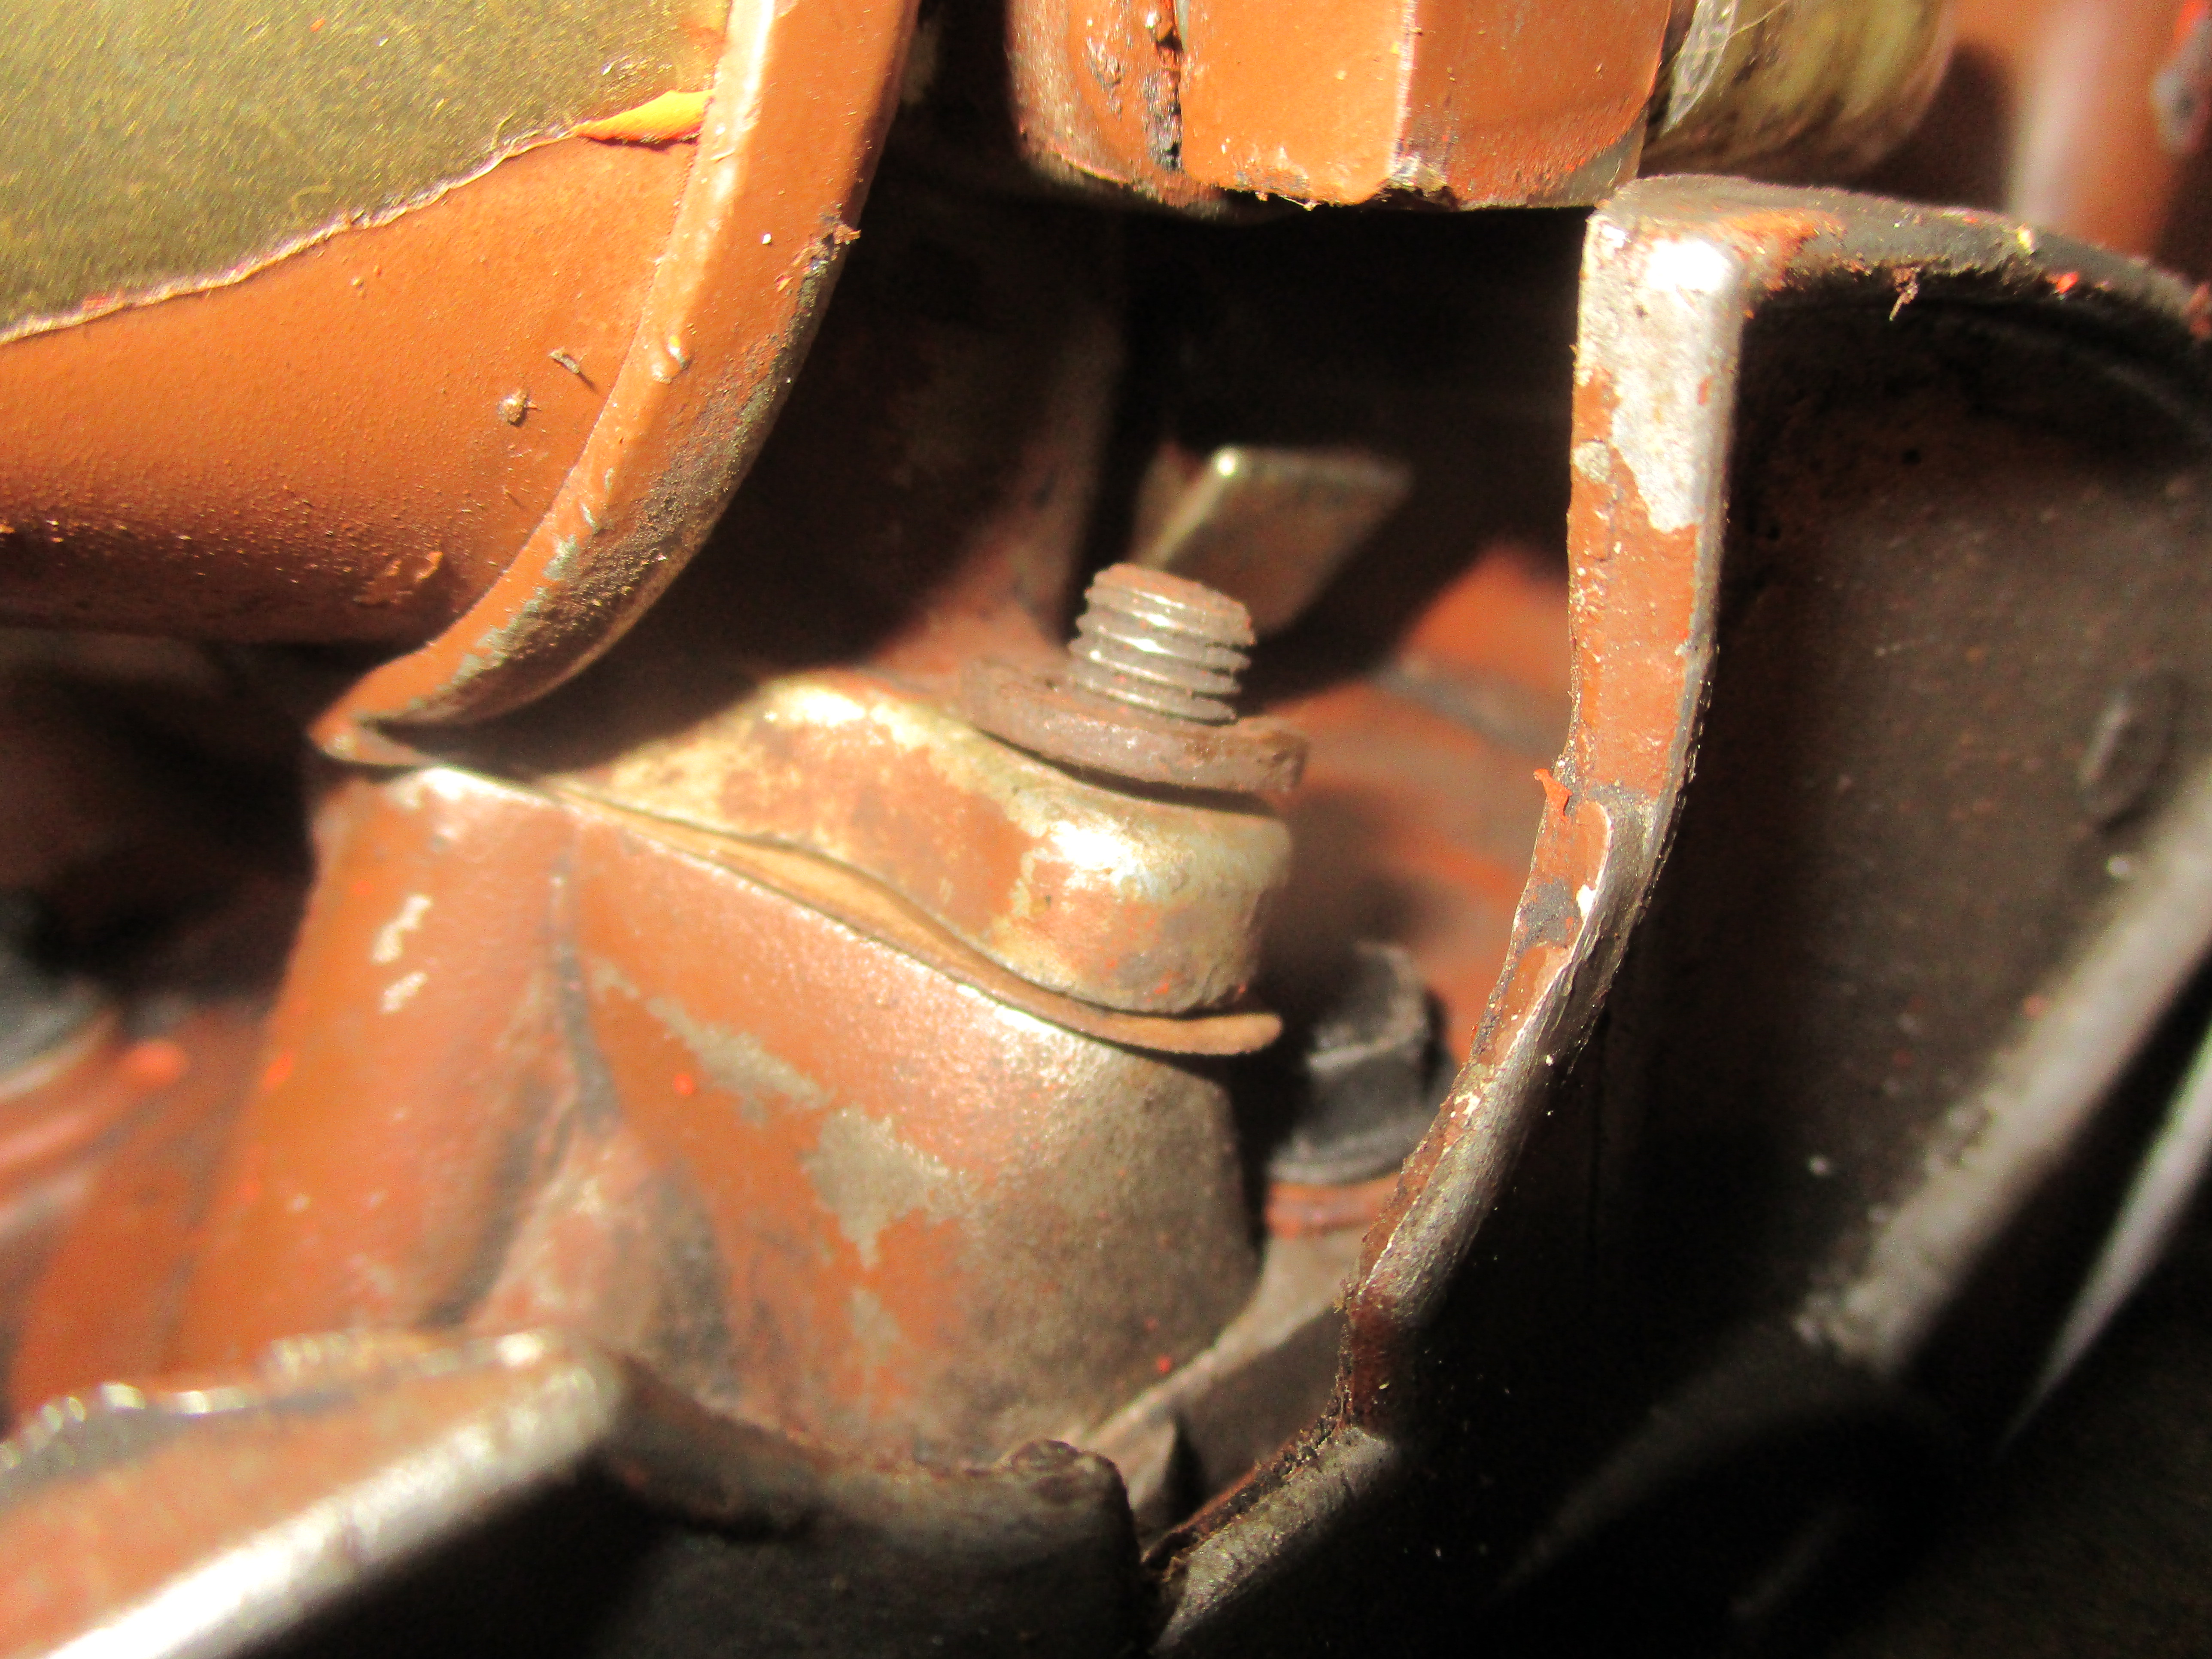
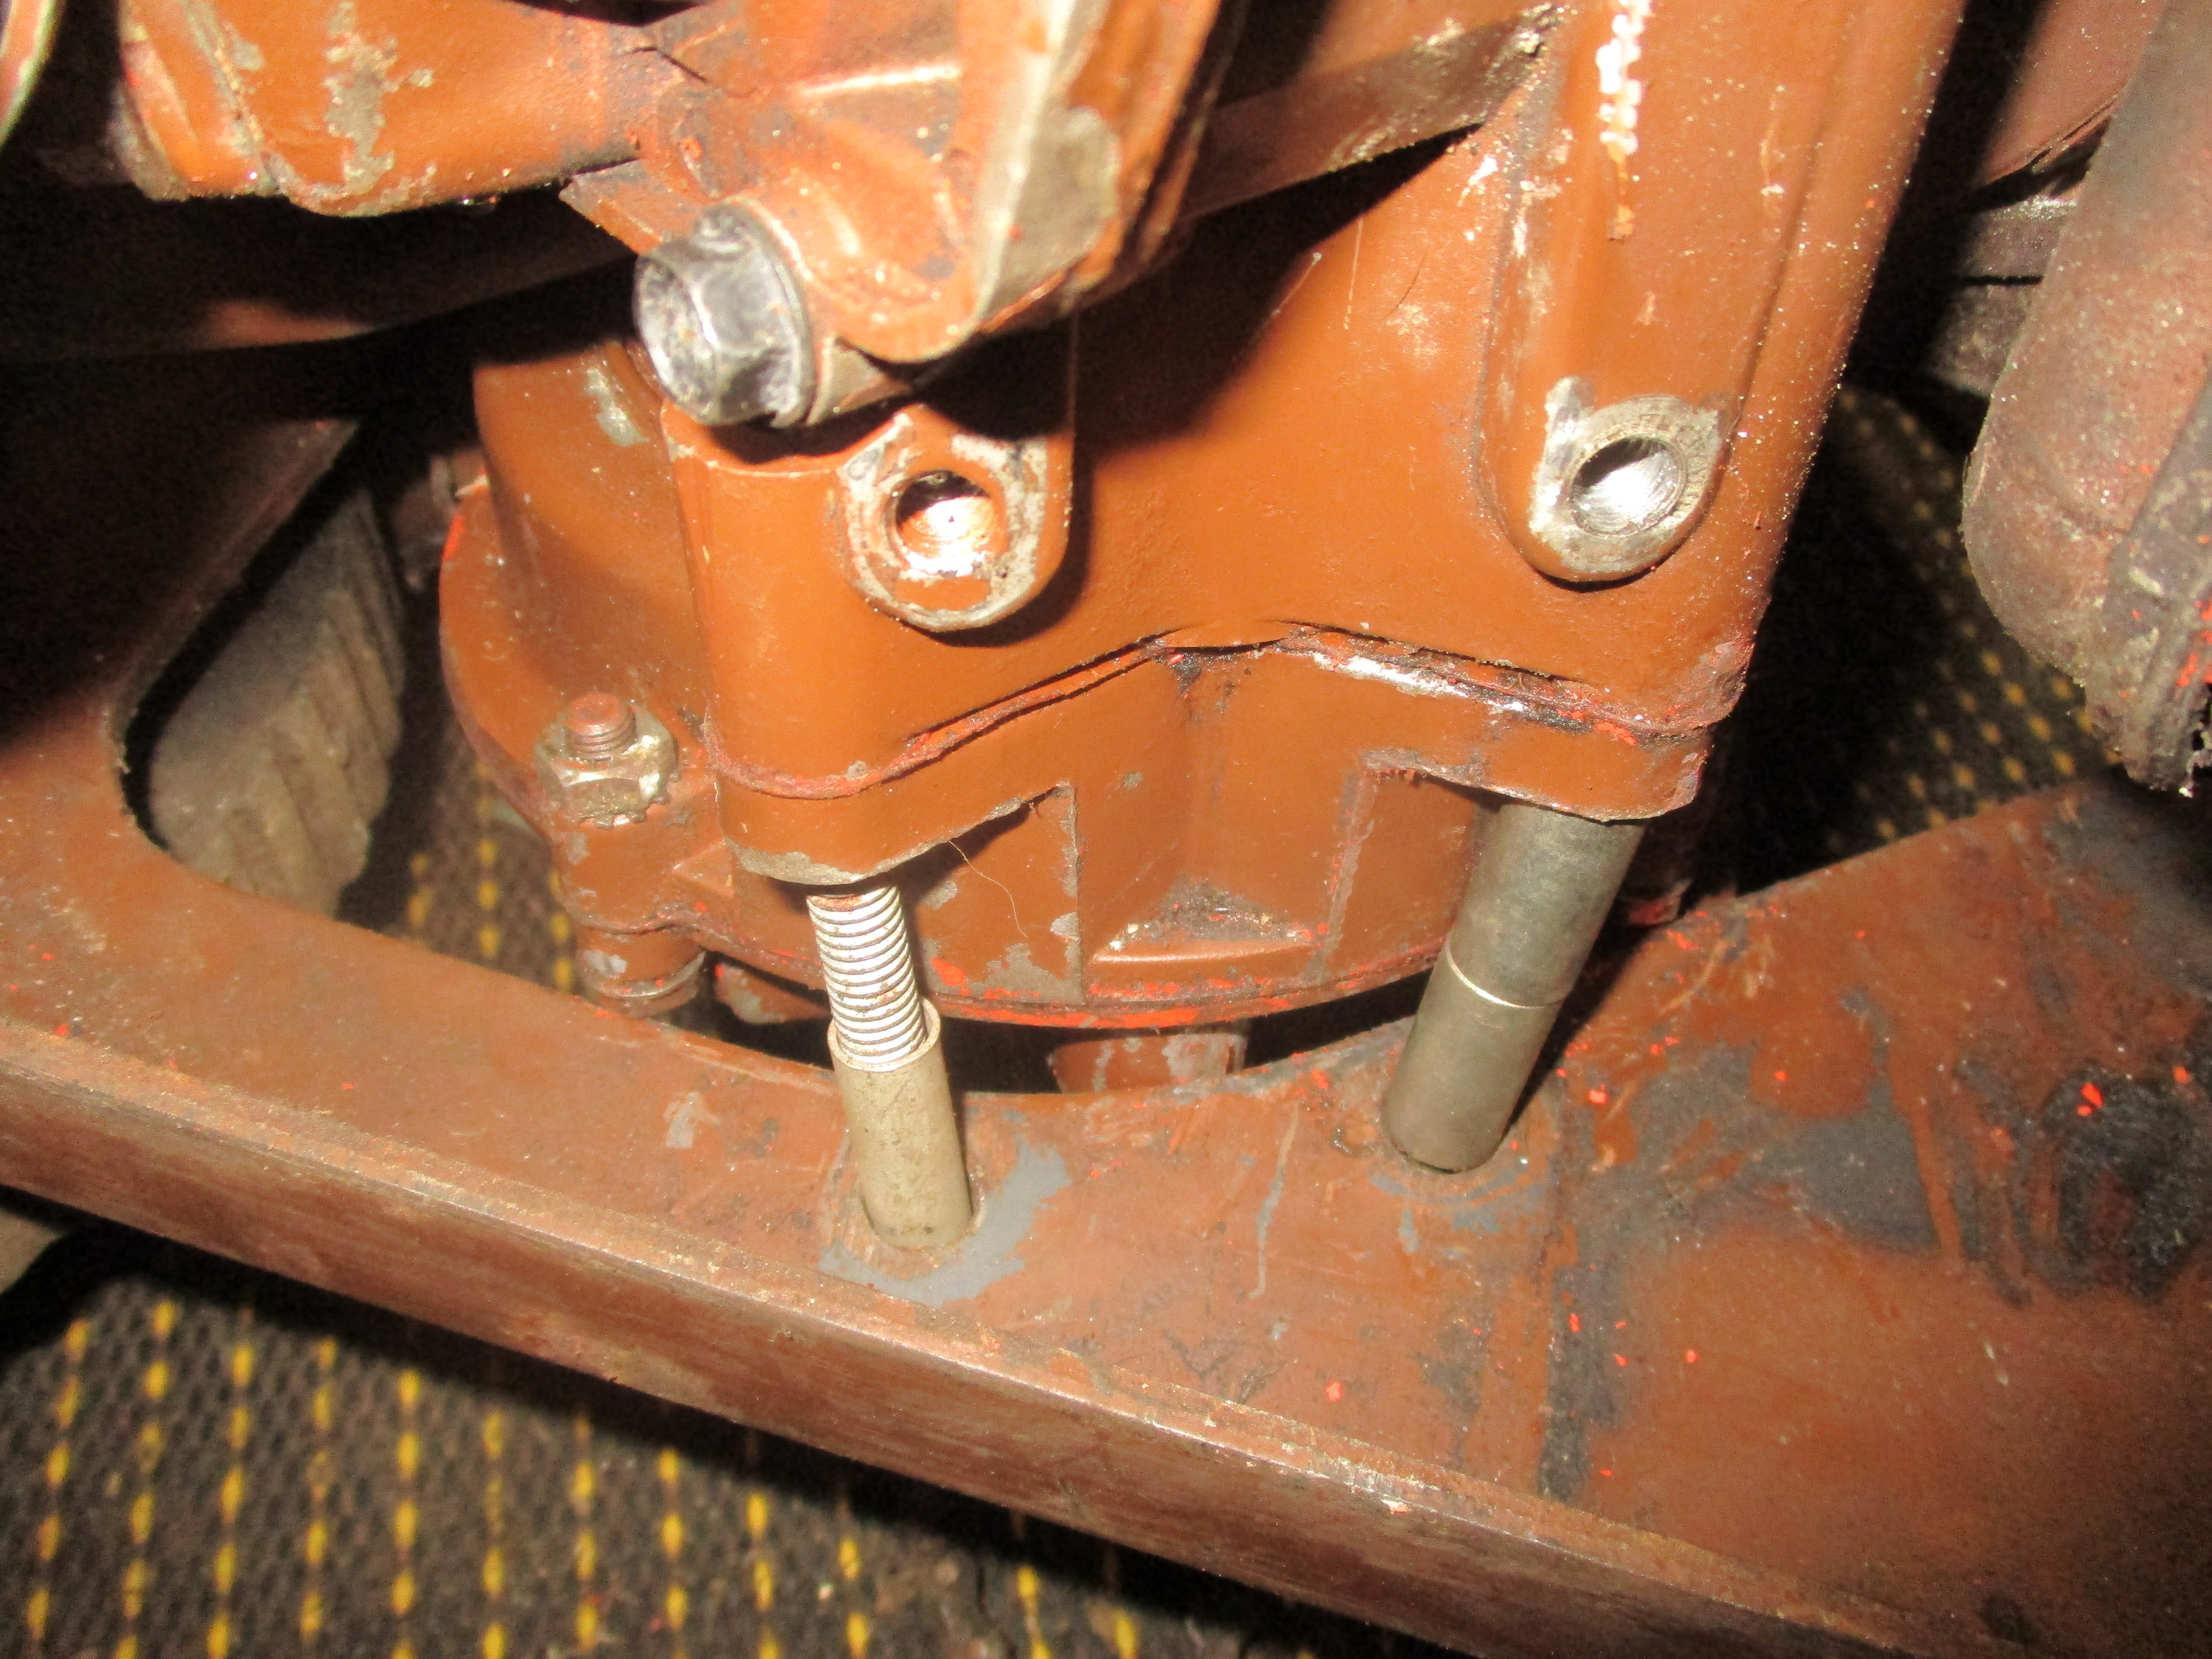
 The main engine mounting bolts were of a thicker size, still Whit. though.
 These top end screw or bolt holes on the fuel tank were much smaller though, I couldn't imagine spacers on these two as well.
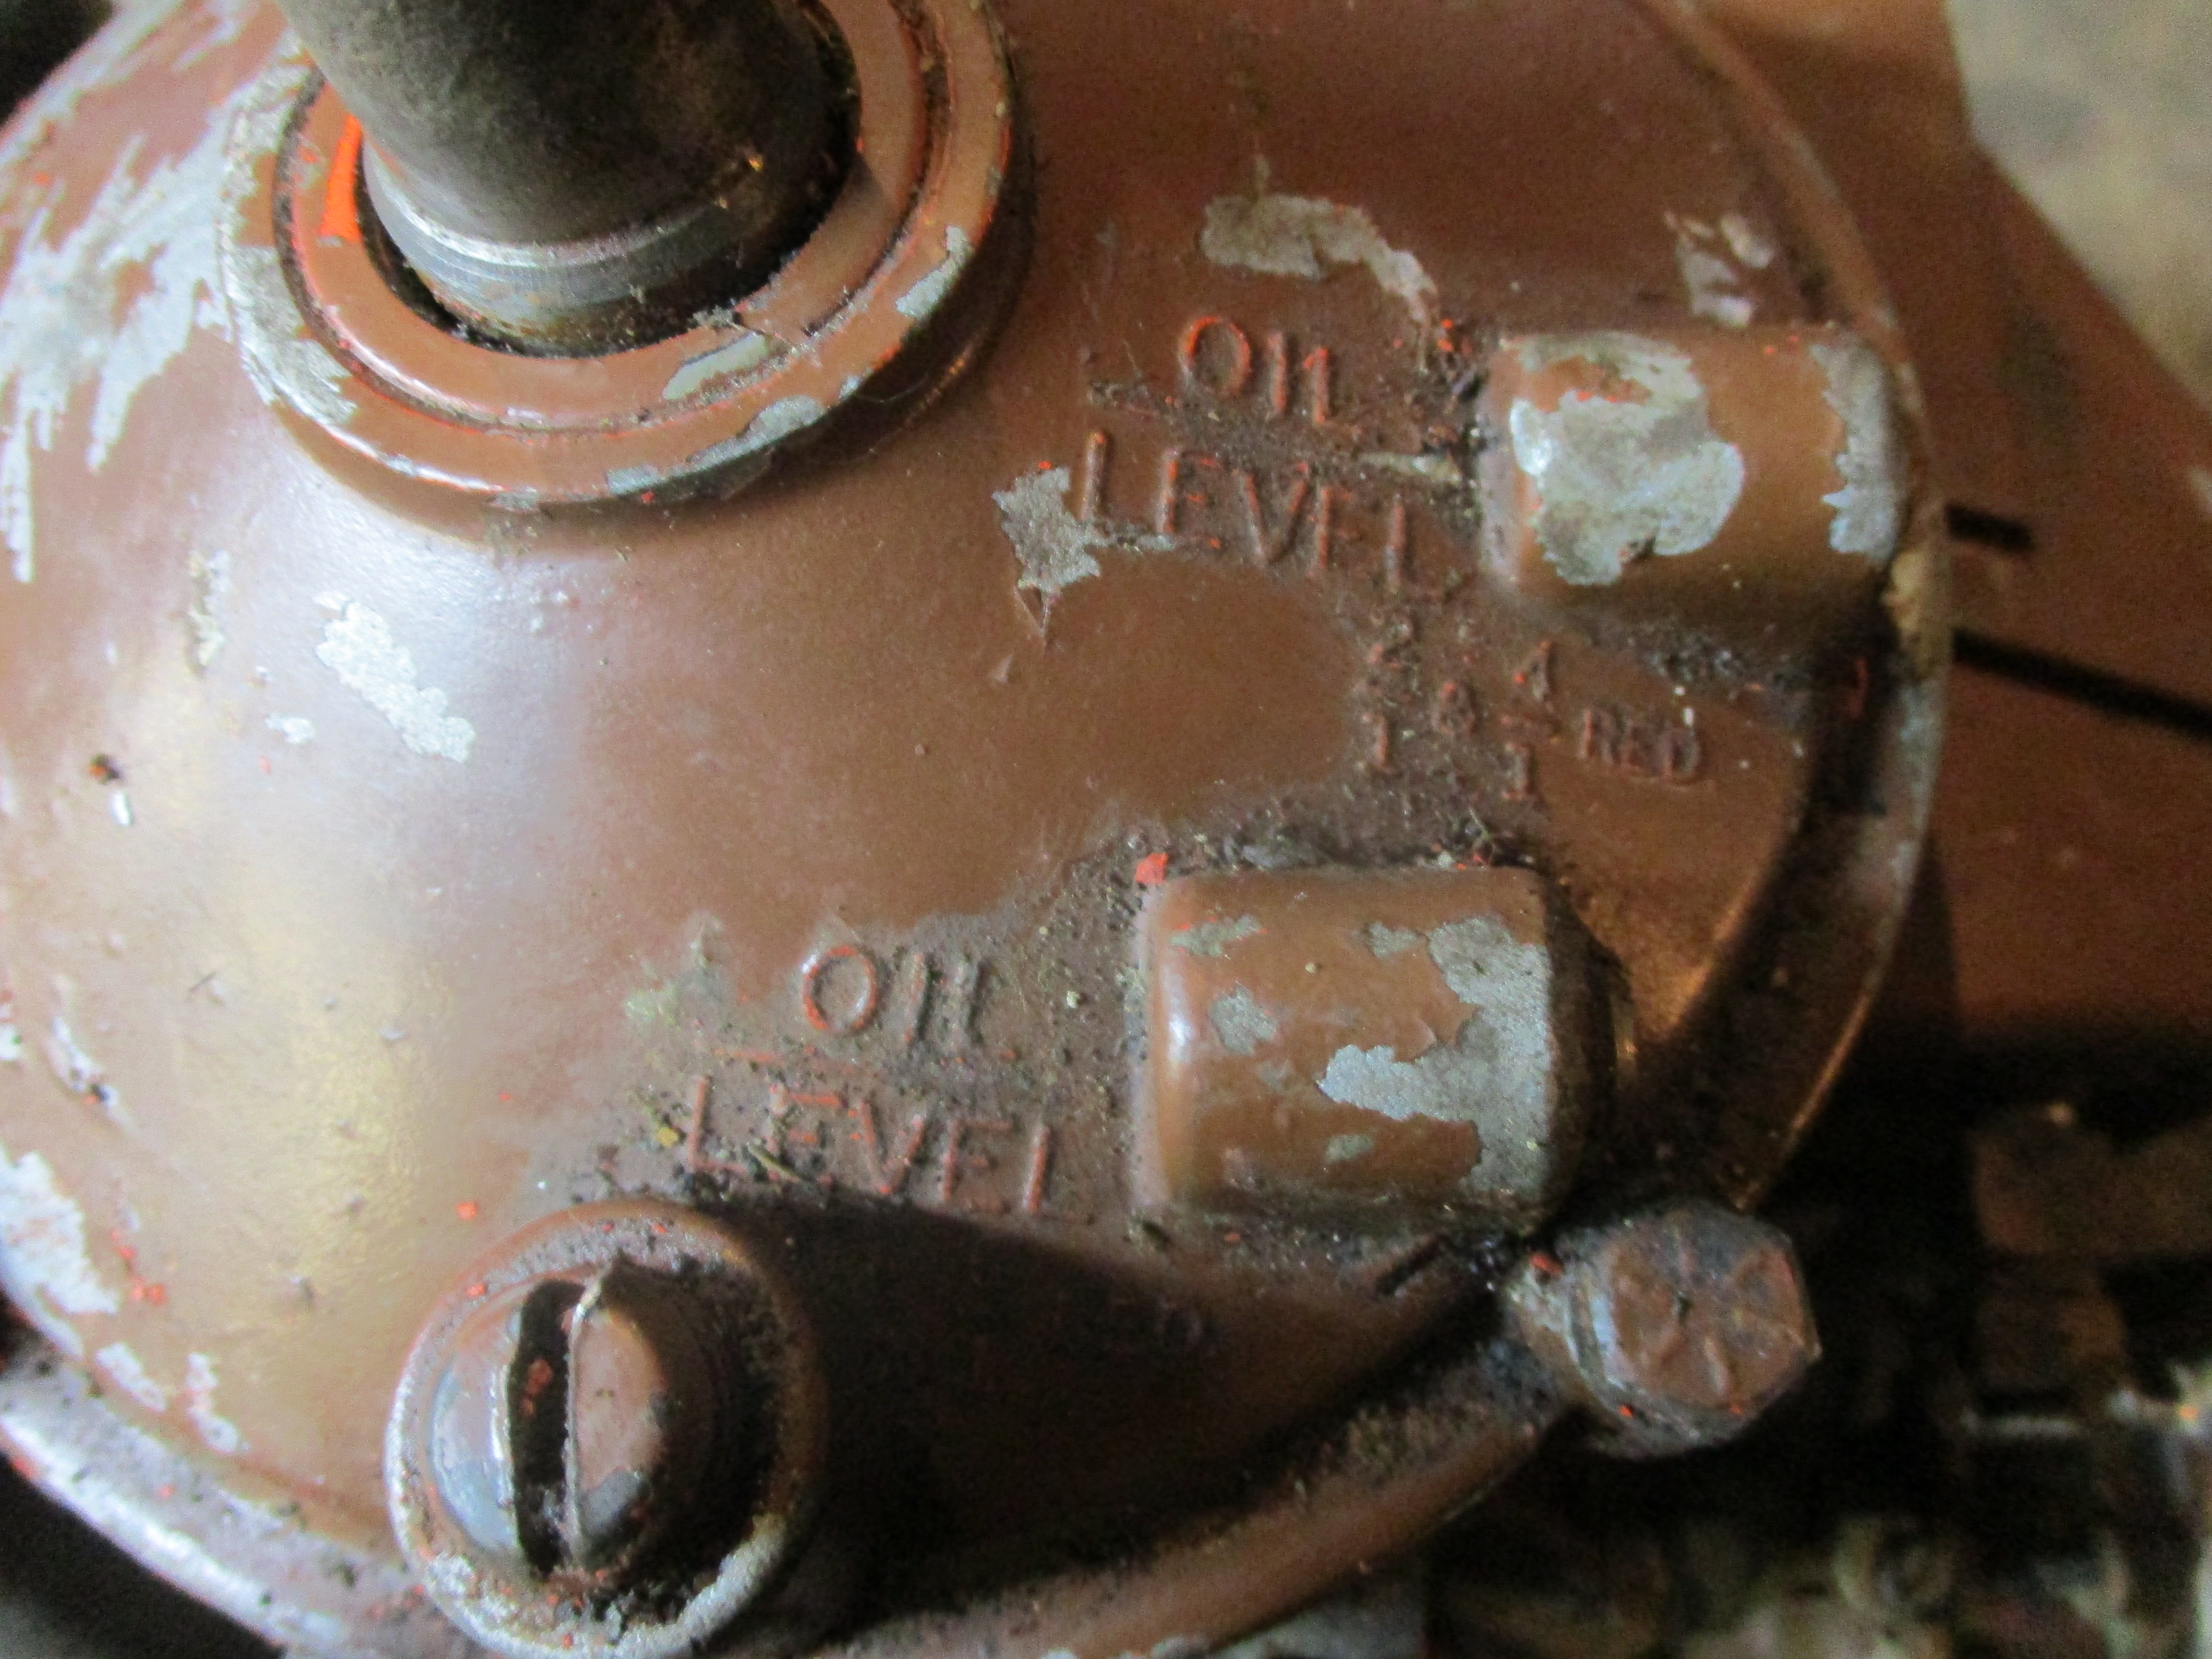 The level marks I struggled to get level, odd wording too. I took them as a help, but they seemed like the opposite.
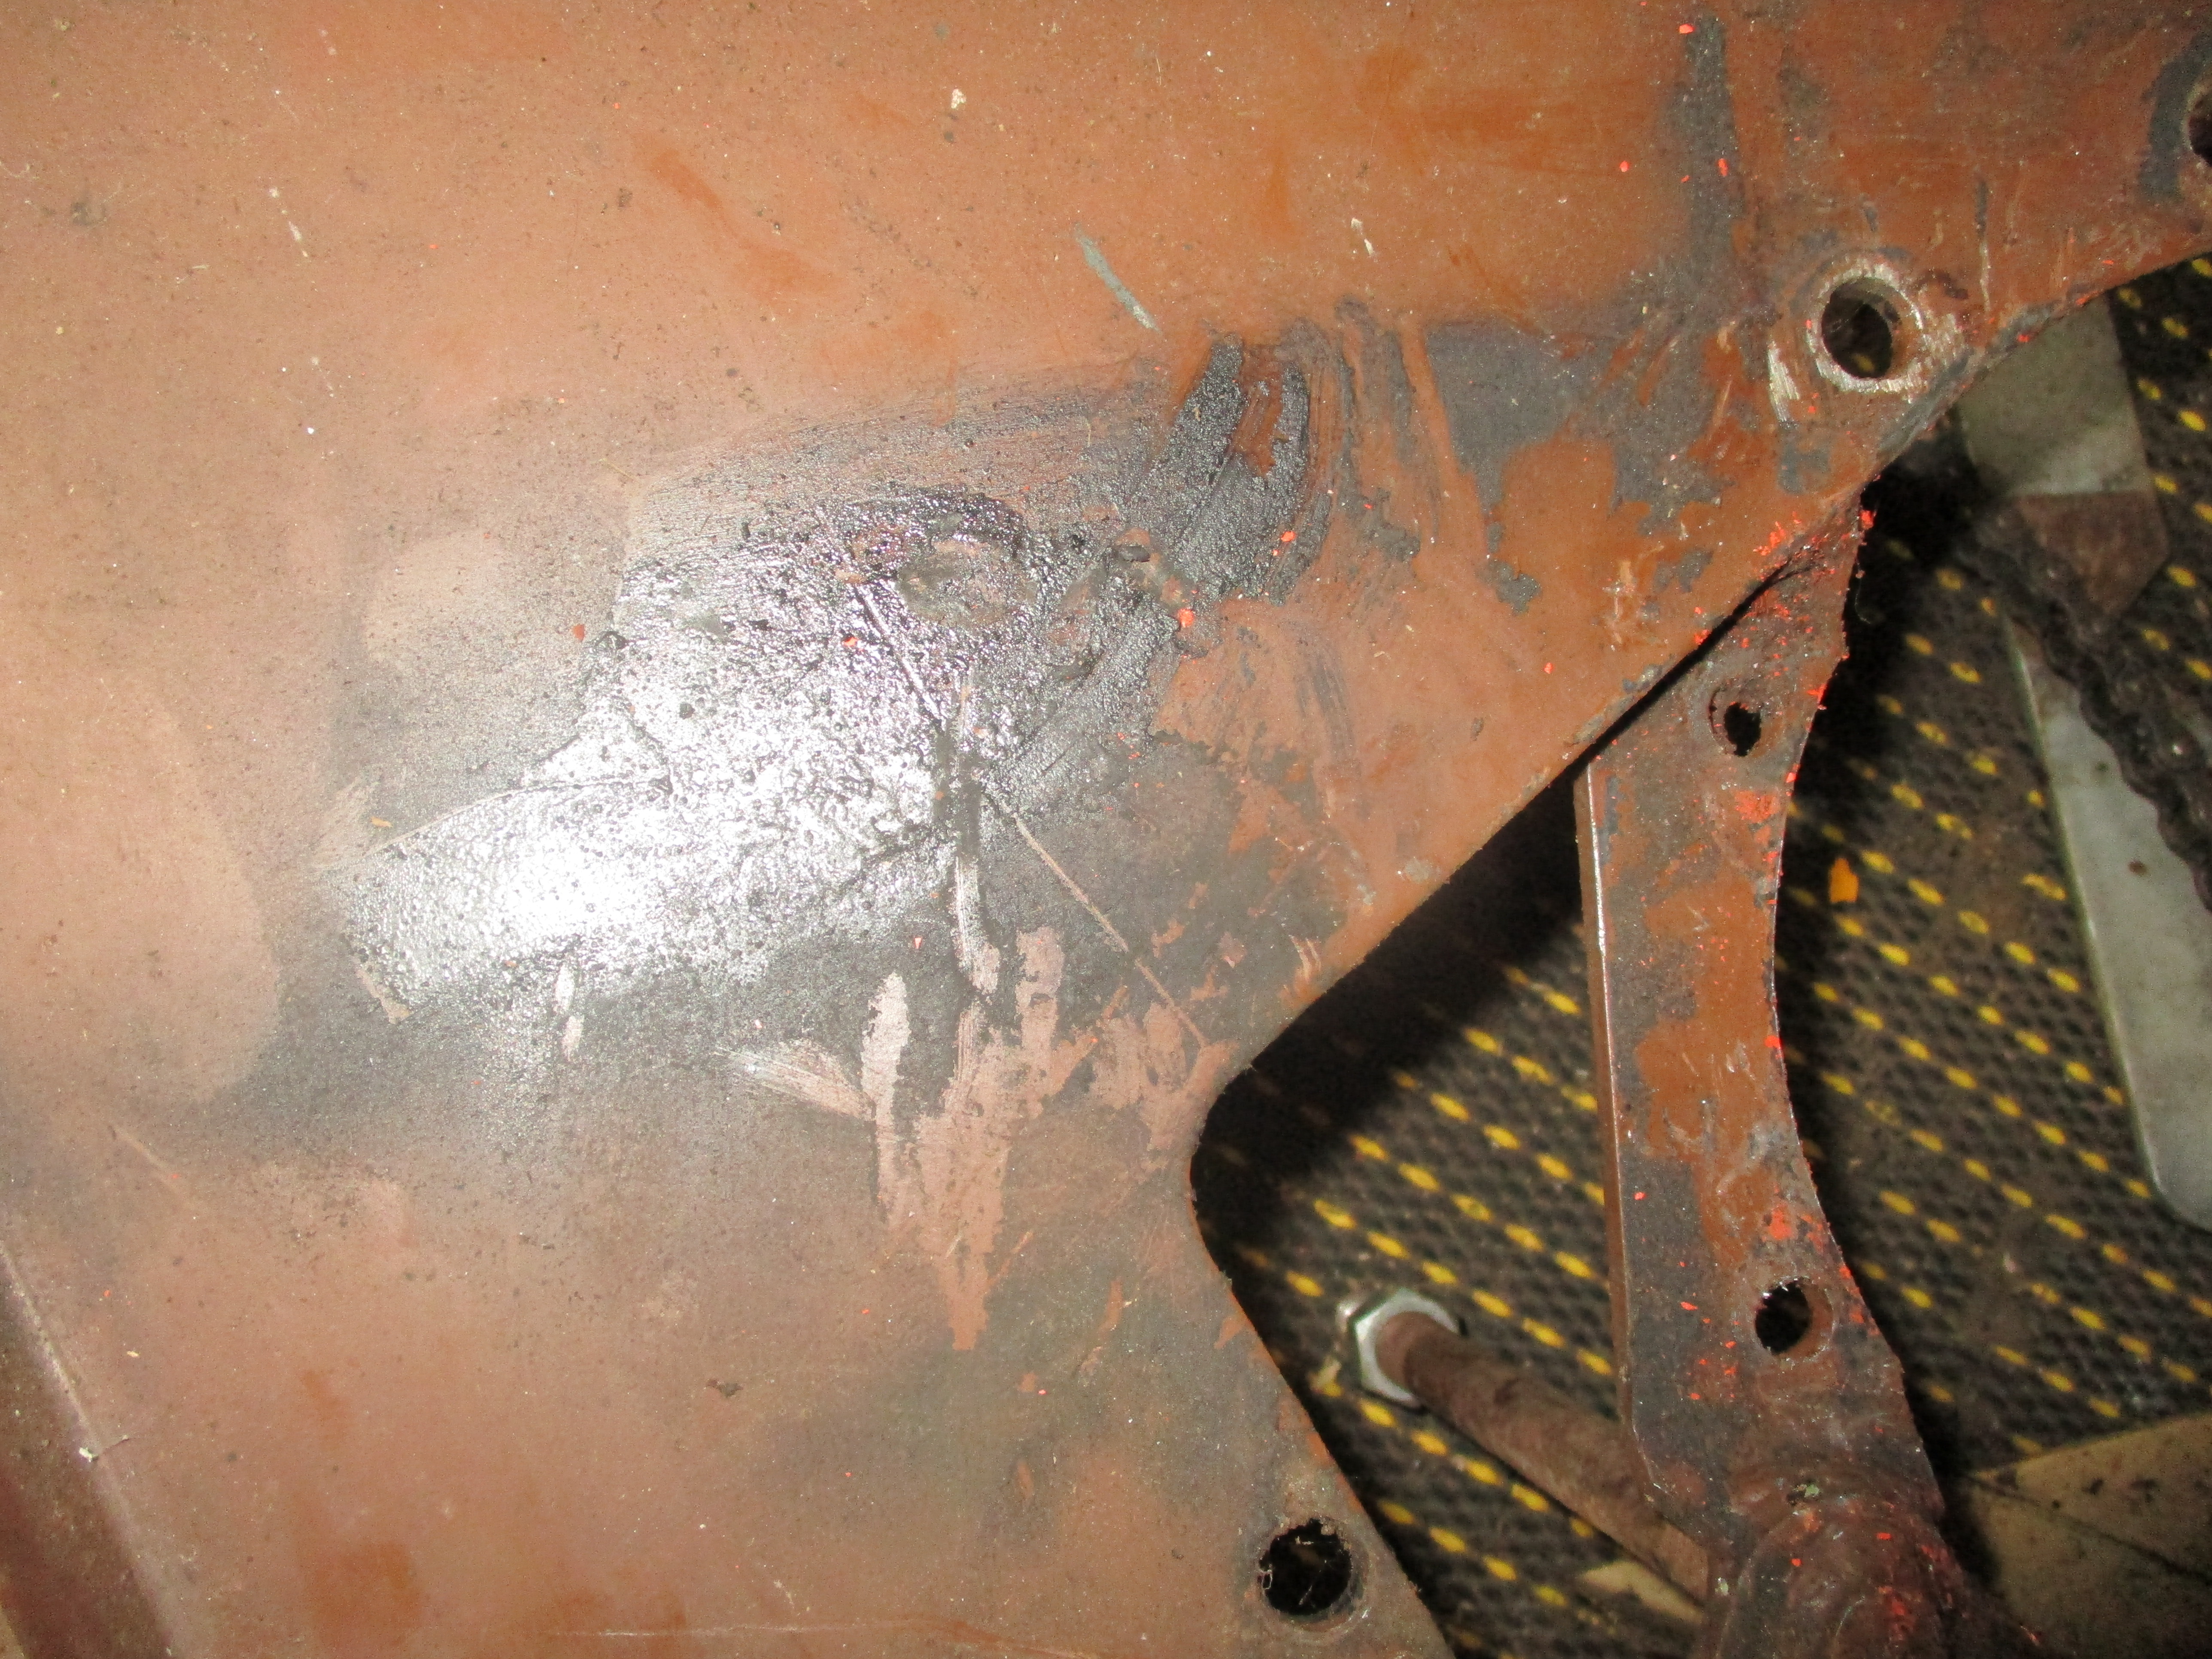 Too much oil in the mix has left the exhaust carbon marks here, proof that basic positioning is not too far off.

I next used much longer bolts and enough spacers to bring engine out about two inches, one wasn't enough.
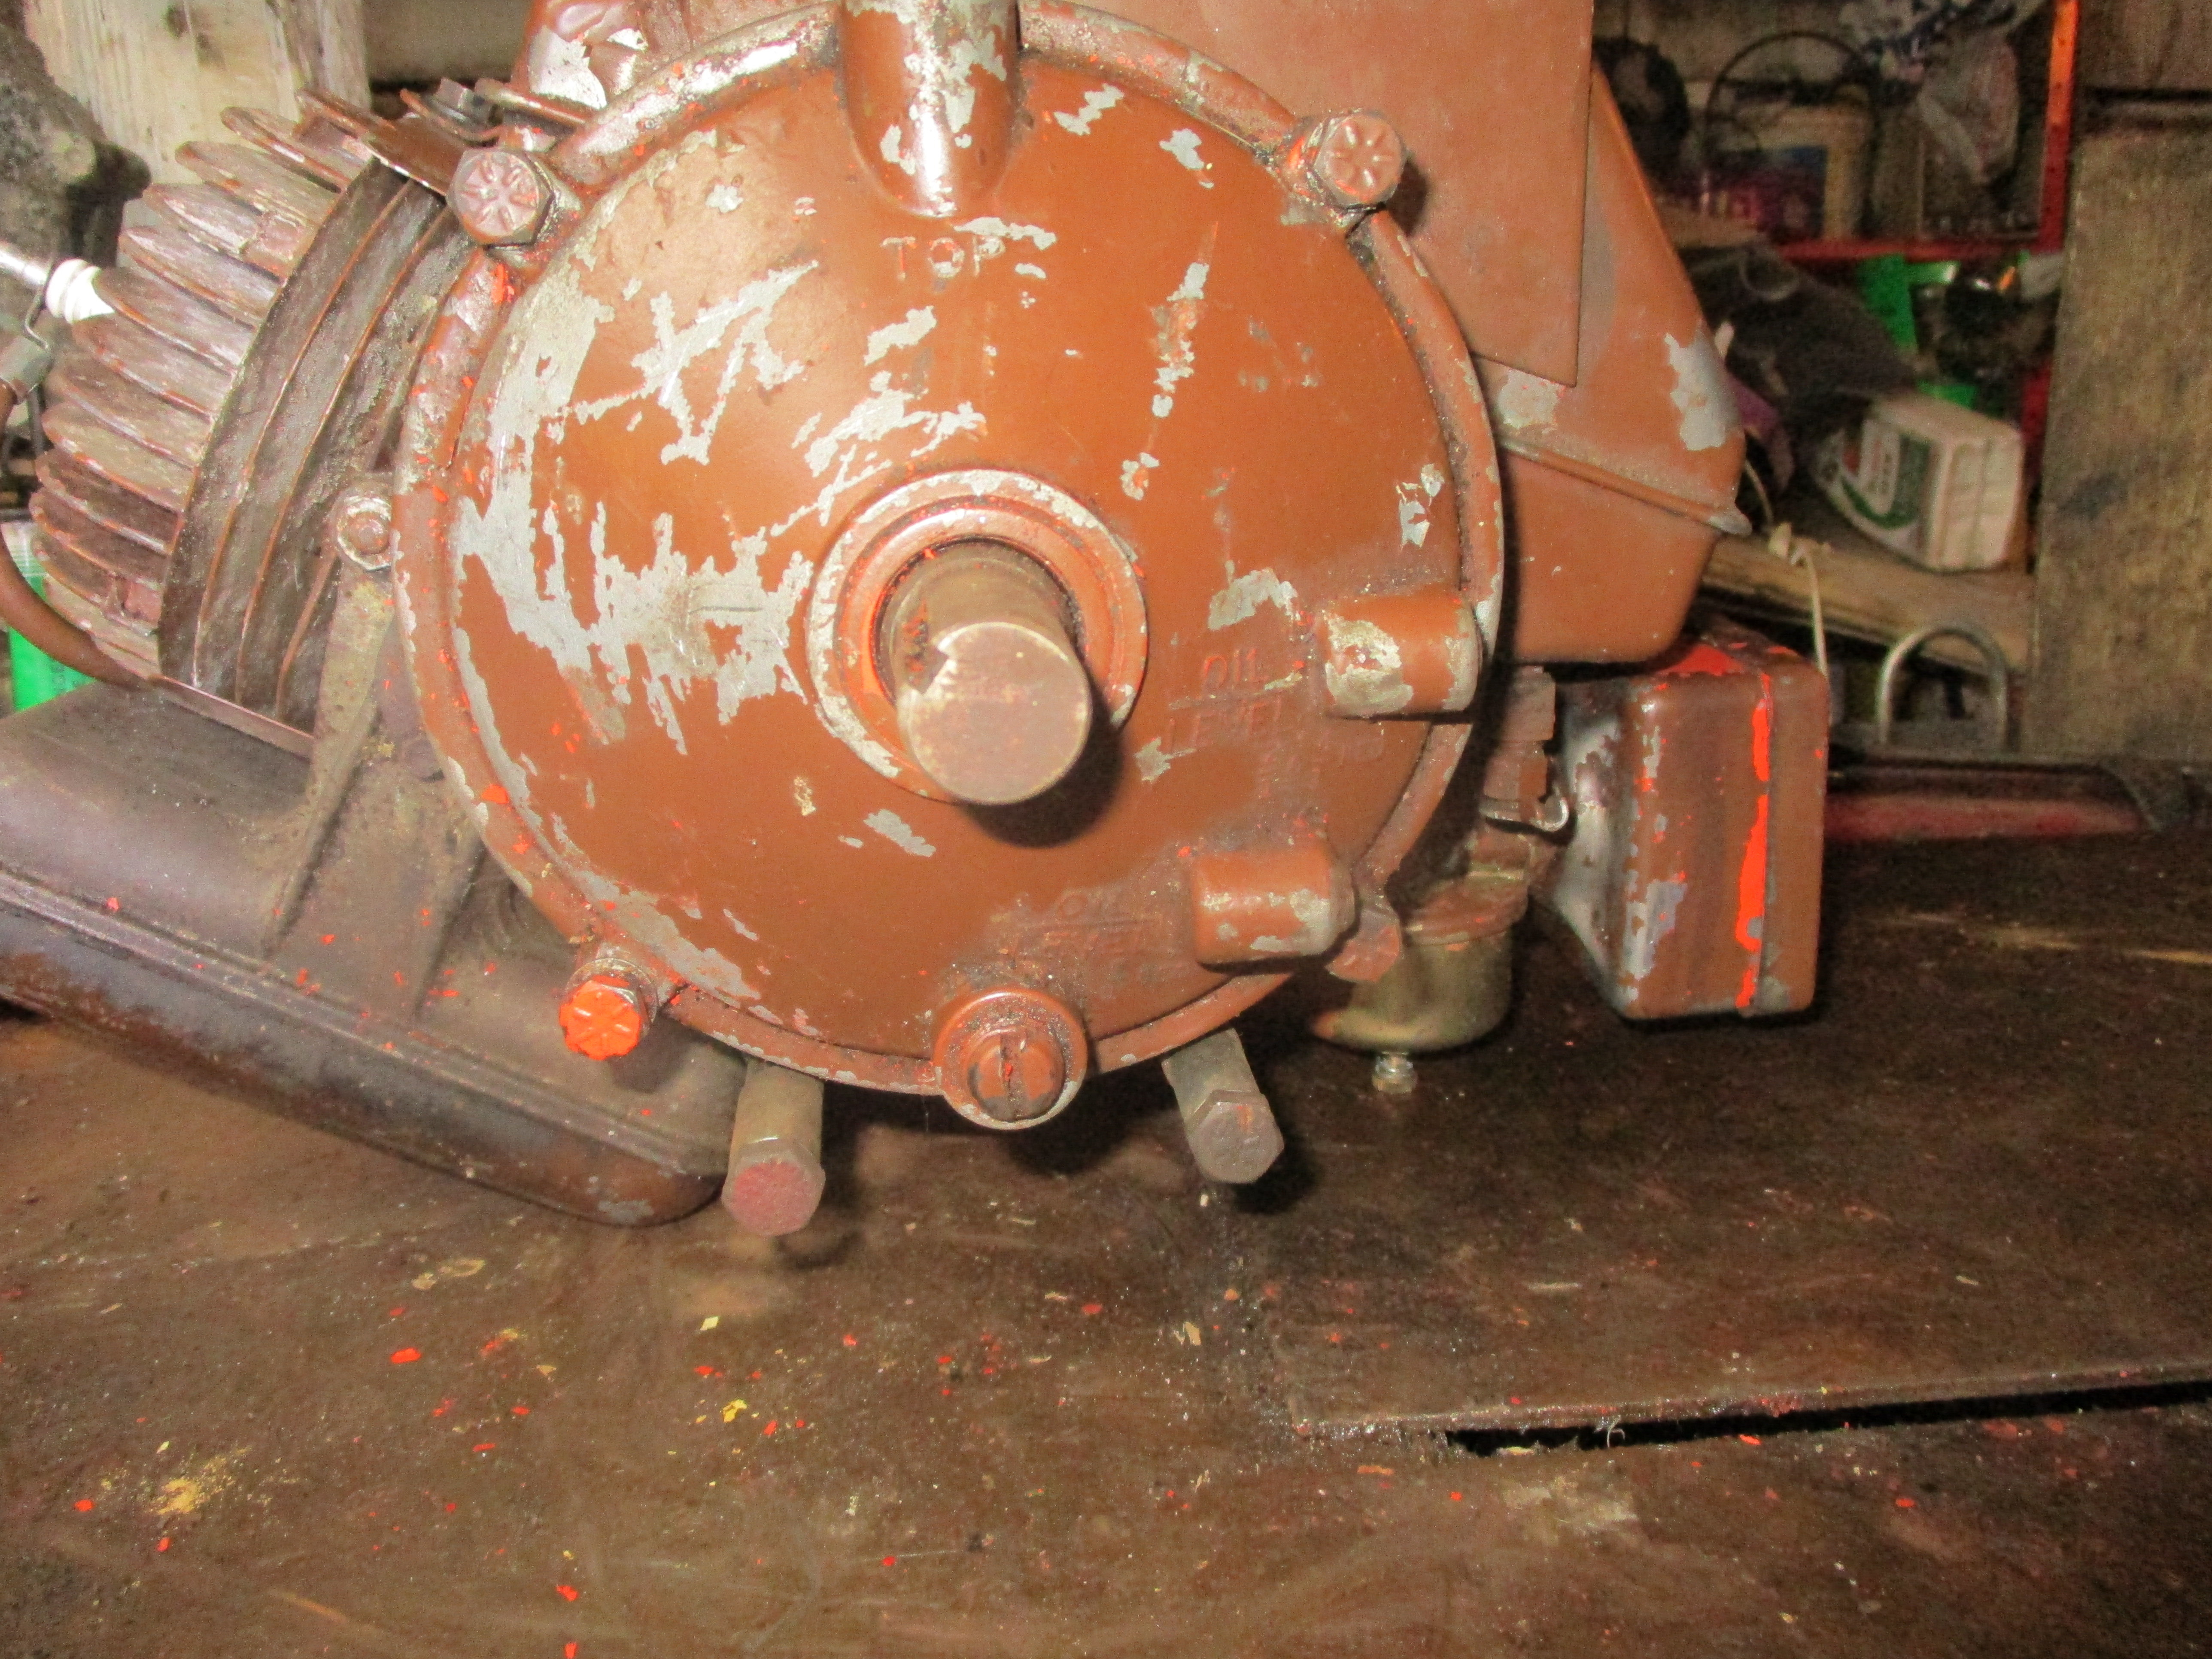
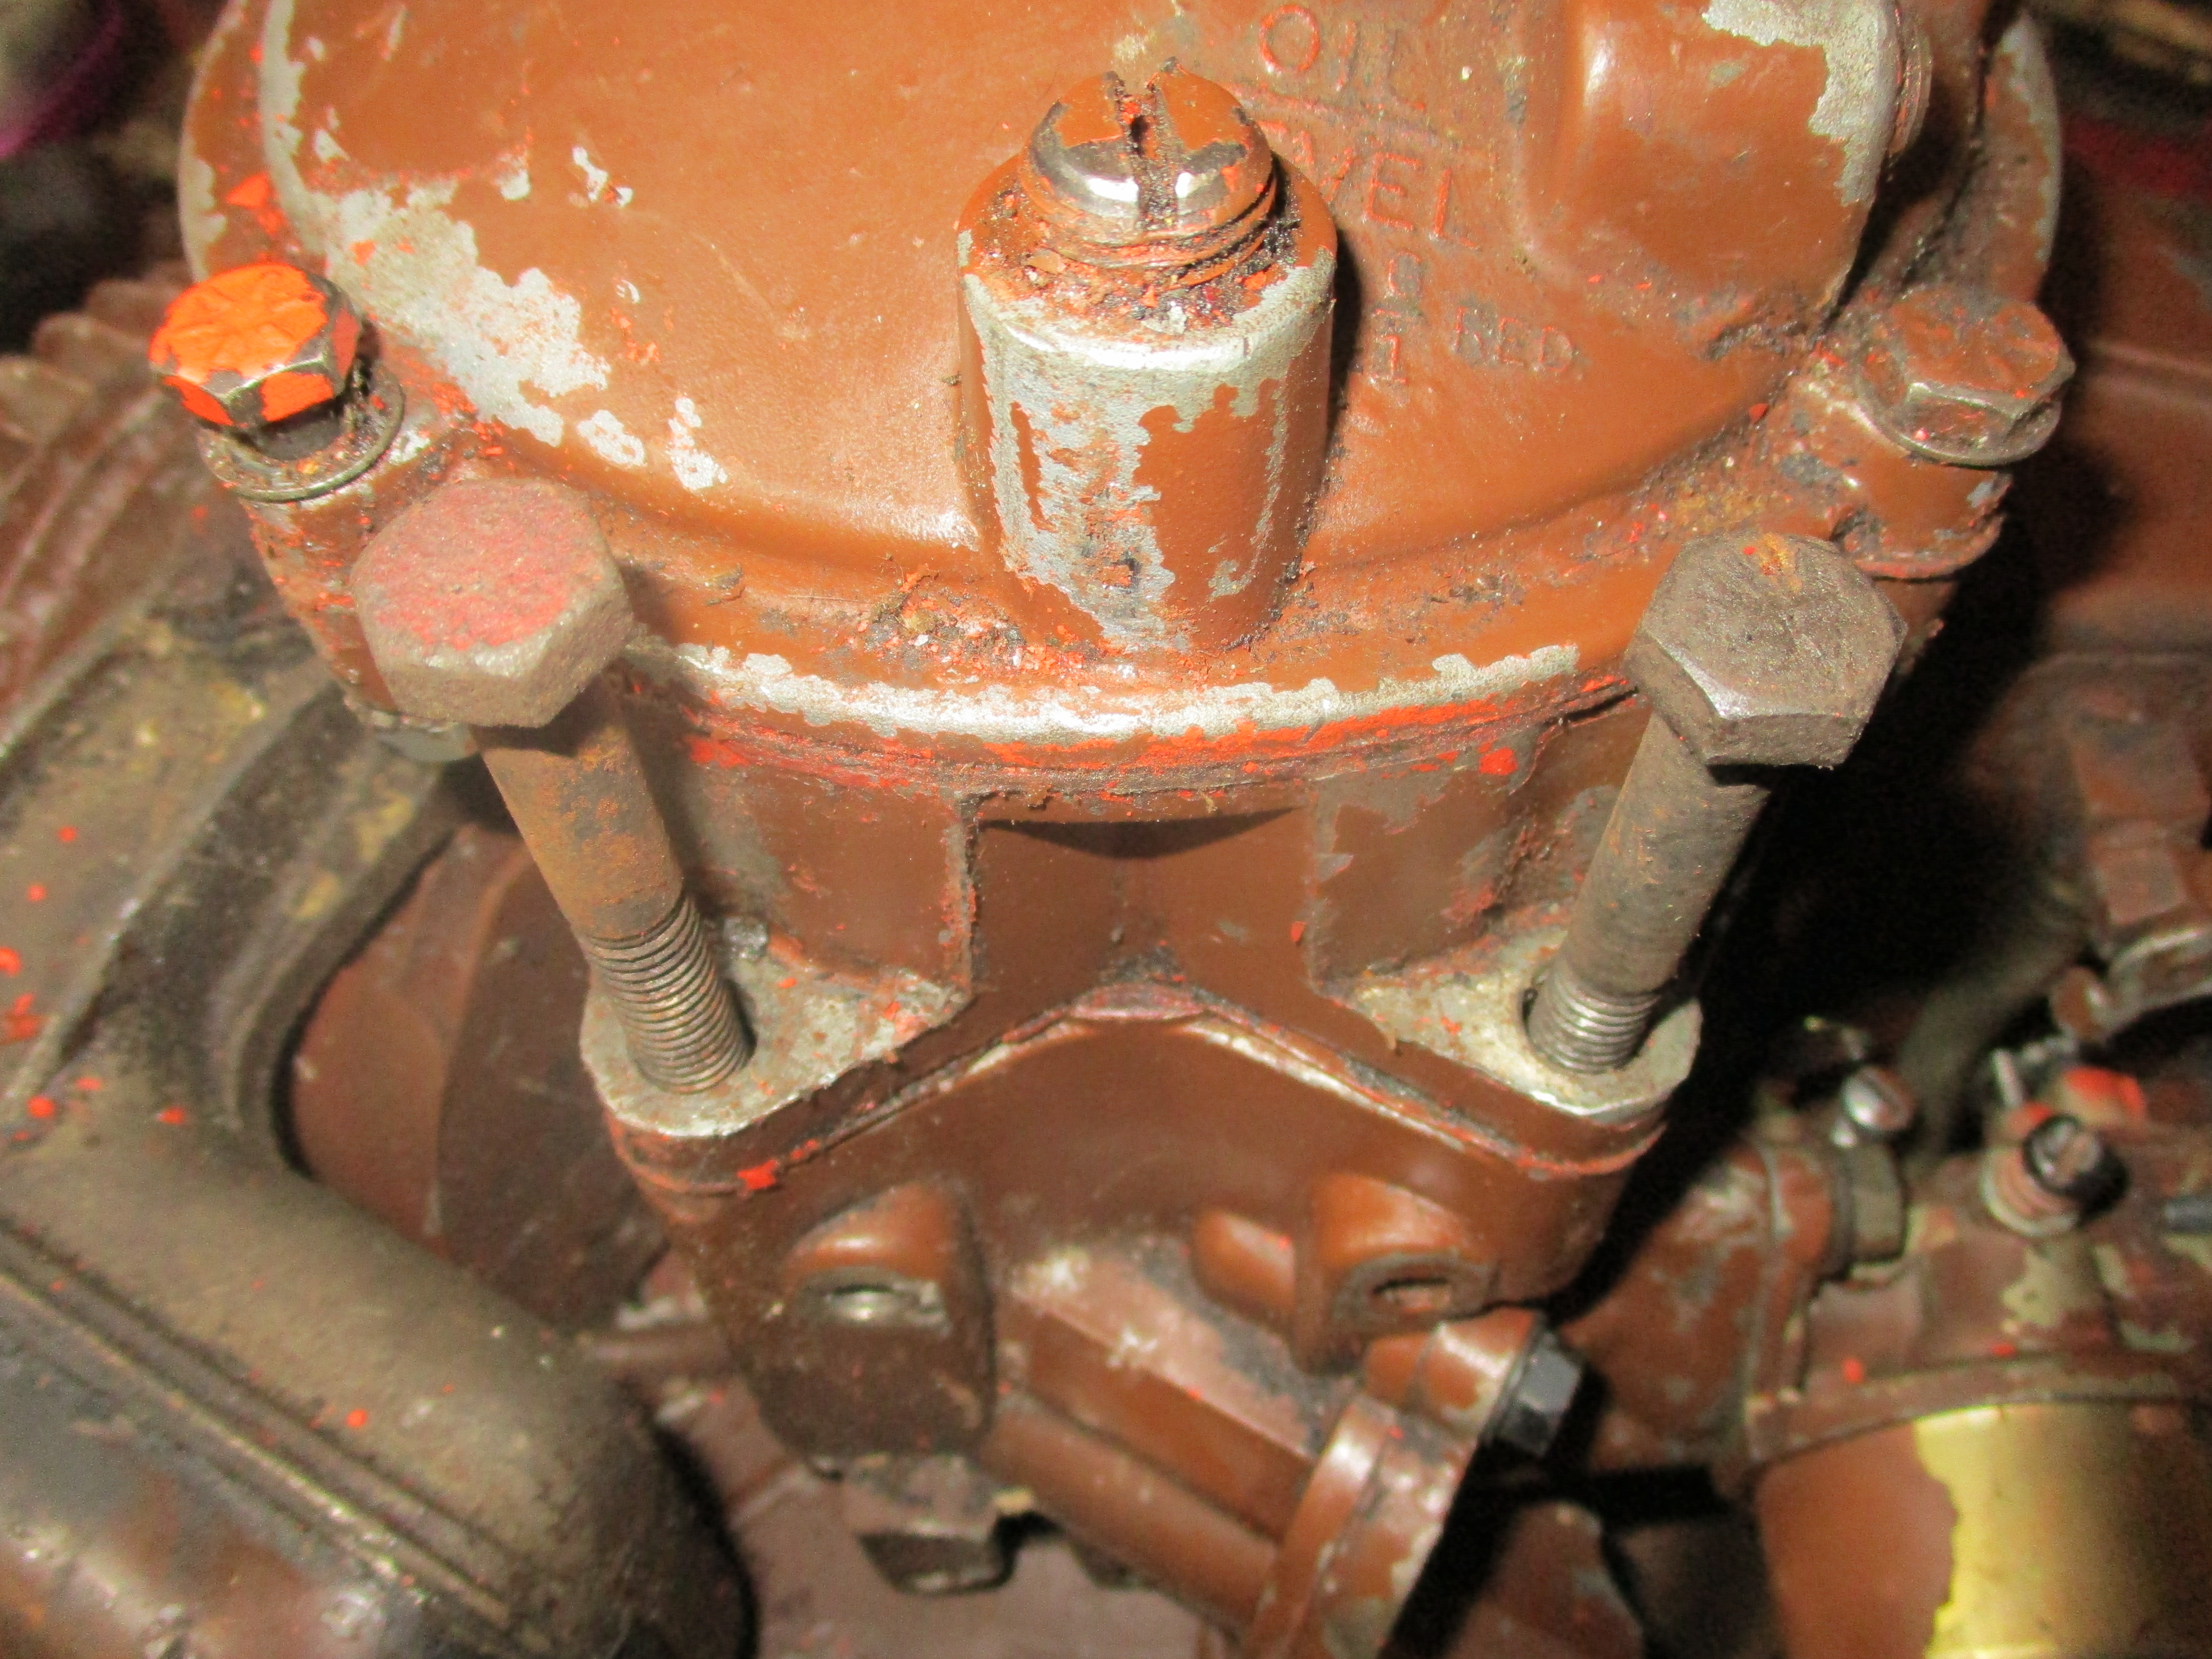
Engine needs to sit like this, for carb. and float etc. to work properly, but getting it to mount like this and engine not foul the wheel etc. seems almost impossible. One screw head is red, not much significance in tyhat surely.
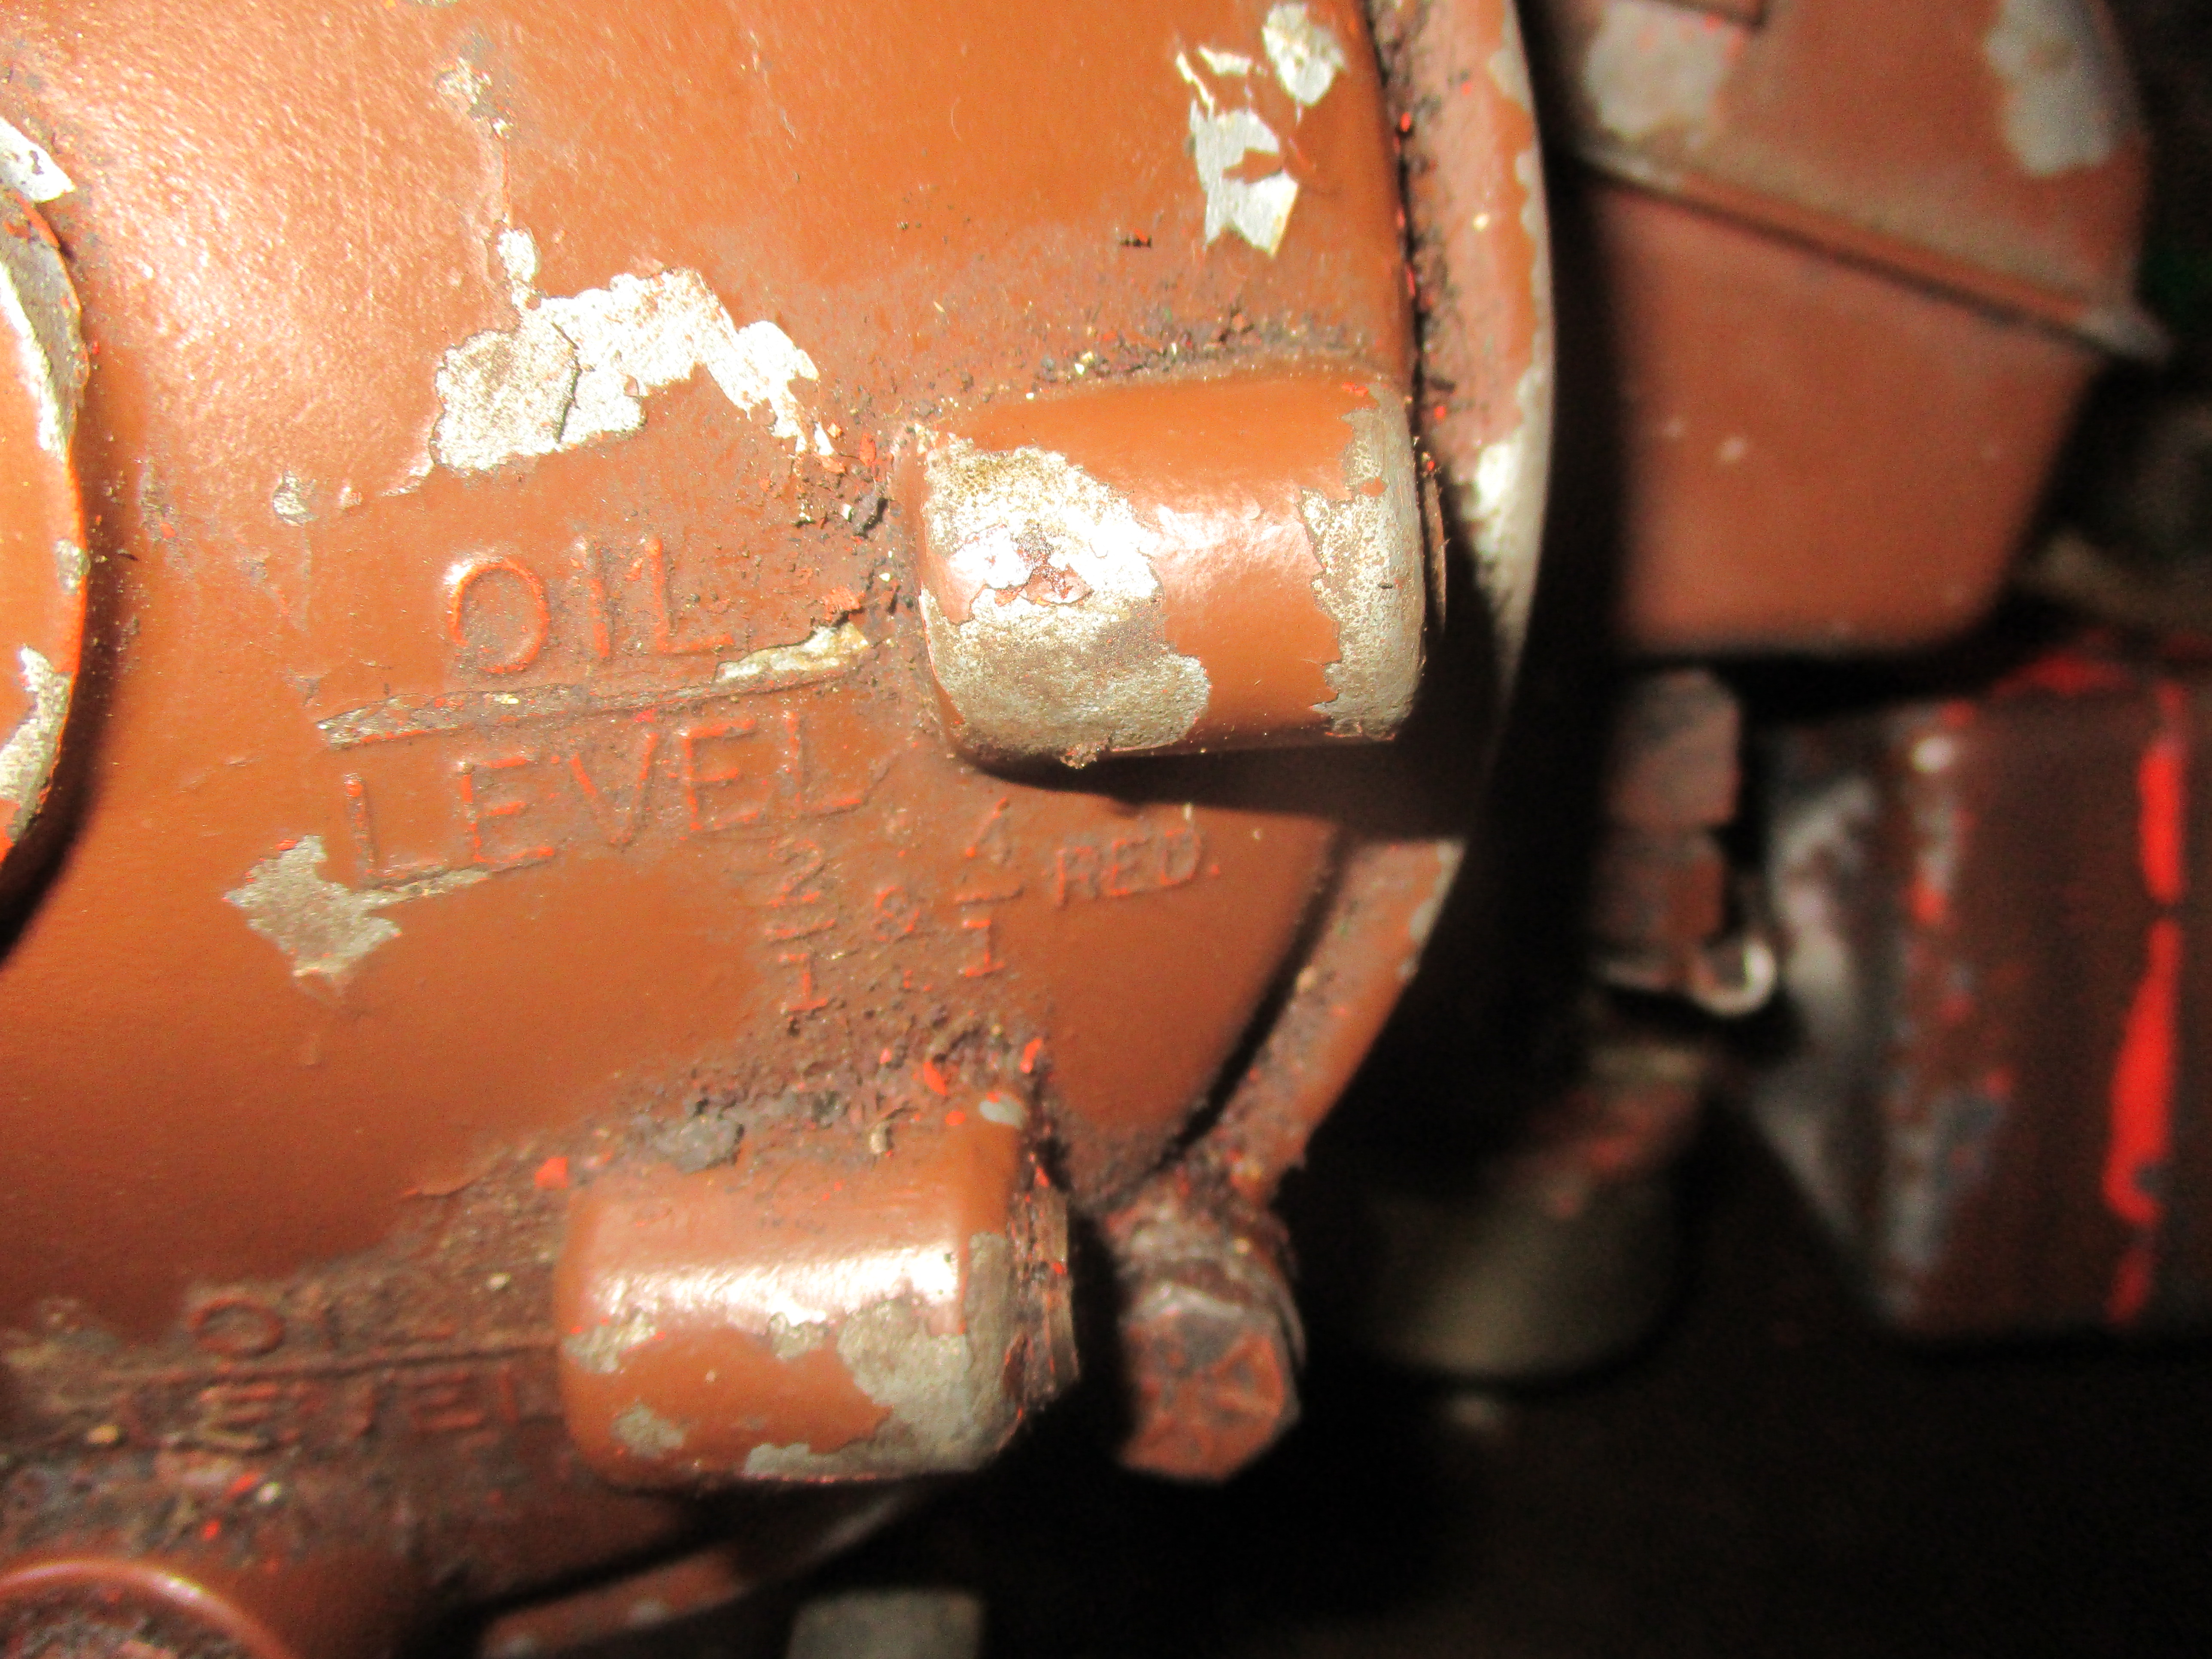
I don't understand the 2 over 1 and the 4 over 1 (red) references, not the red screw head surely, or maybe red oil of some kind?
 Then I noticed other tapped holes in the engine block.
 The bracket holes did respond too.
 So I removed the long Whit. bolts and the spacers again and tried to make the bracket line up instead.
The rear wheel was now fouling the cowling.
Useless.
With a fully pumped up compressor at 150 lbs per square inch, it took releasing fluid and three attempts with half inch impact wrench to get the self locking nut to come off that held the wheel on, once off though it was slightly lighter, I did think about removing the handles assy. too, but didn't. Another idea was to lay engine down on the pull starter side and then lay the frame onto it, but then I could see nothing, bench was better than working on the floor, handles then managed to send greenhouse heater flying to the floor, some jobs need two people...engine is one thing, trying to remember exactly where everything went is another.
I'm still bewildered by this
I'm still bewildered by this machine, today the only other way to go forward I felt was to remove again the cowling, carb, fuel tank etc. in an attempt to see just where or what was fouling the engine/frame going back together, a small clue was noticing only a very small gap between the mounted fuel tank and the gearbox housing, whereas the full eighth thickness of the frame metal needed to be inserted between, I believe.
But, even with all that lot off it was still a hard struggle to be able to see what was holding things up from both sides of machine. Still no holes properly lining up and still no idea whether or not any spacers were used between any corresponding holes on engine/frame.
All I could think to do was put engine all back together once again and get some fuel into it and mounted in vice jaws, see if it would start up or not, oil seal one side is covered by gearbox housing, I forgot to check the other on ignition side.
Three good pulls later she burst into life!
A further setback is a leak from float bow/tap/tank area, got rid of the WD40 I'd introduced into crankcase and half filled the shed with smoke, she ran for three ten to fifteen second sessions, so at least job is still worth pursuing.
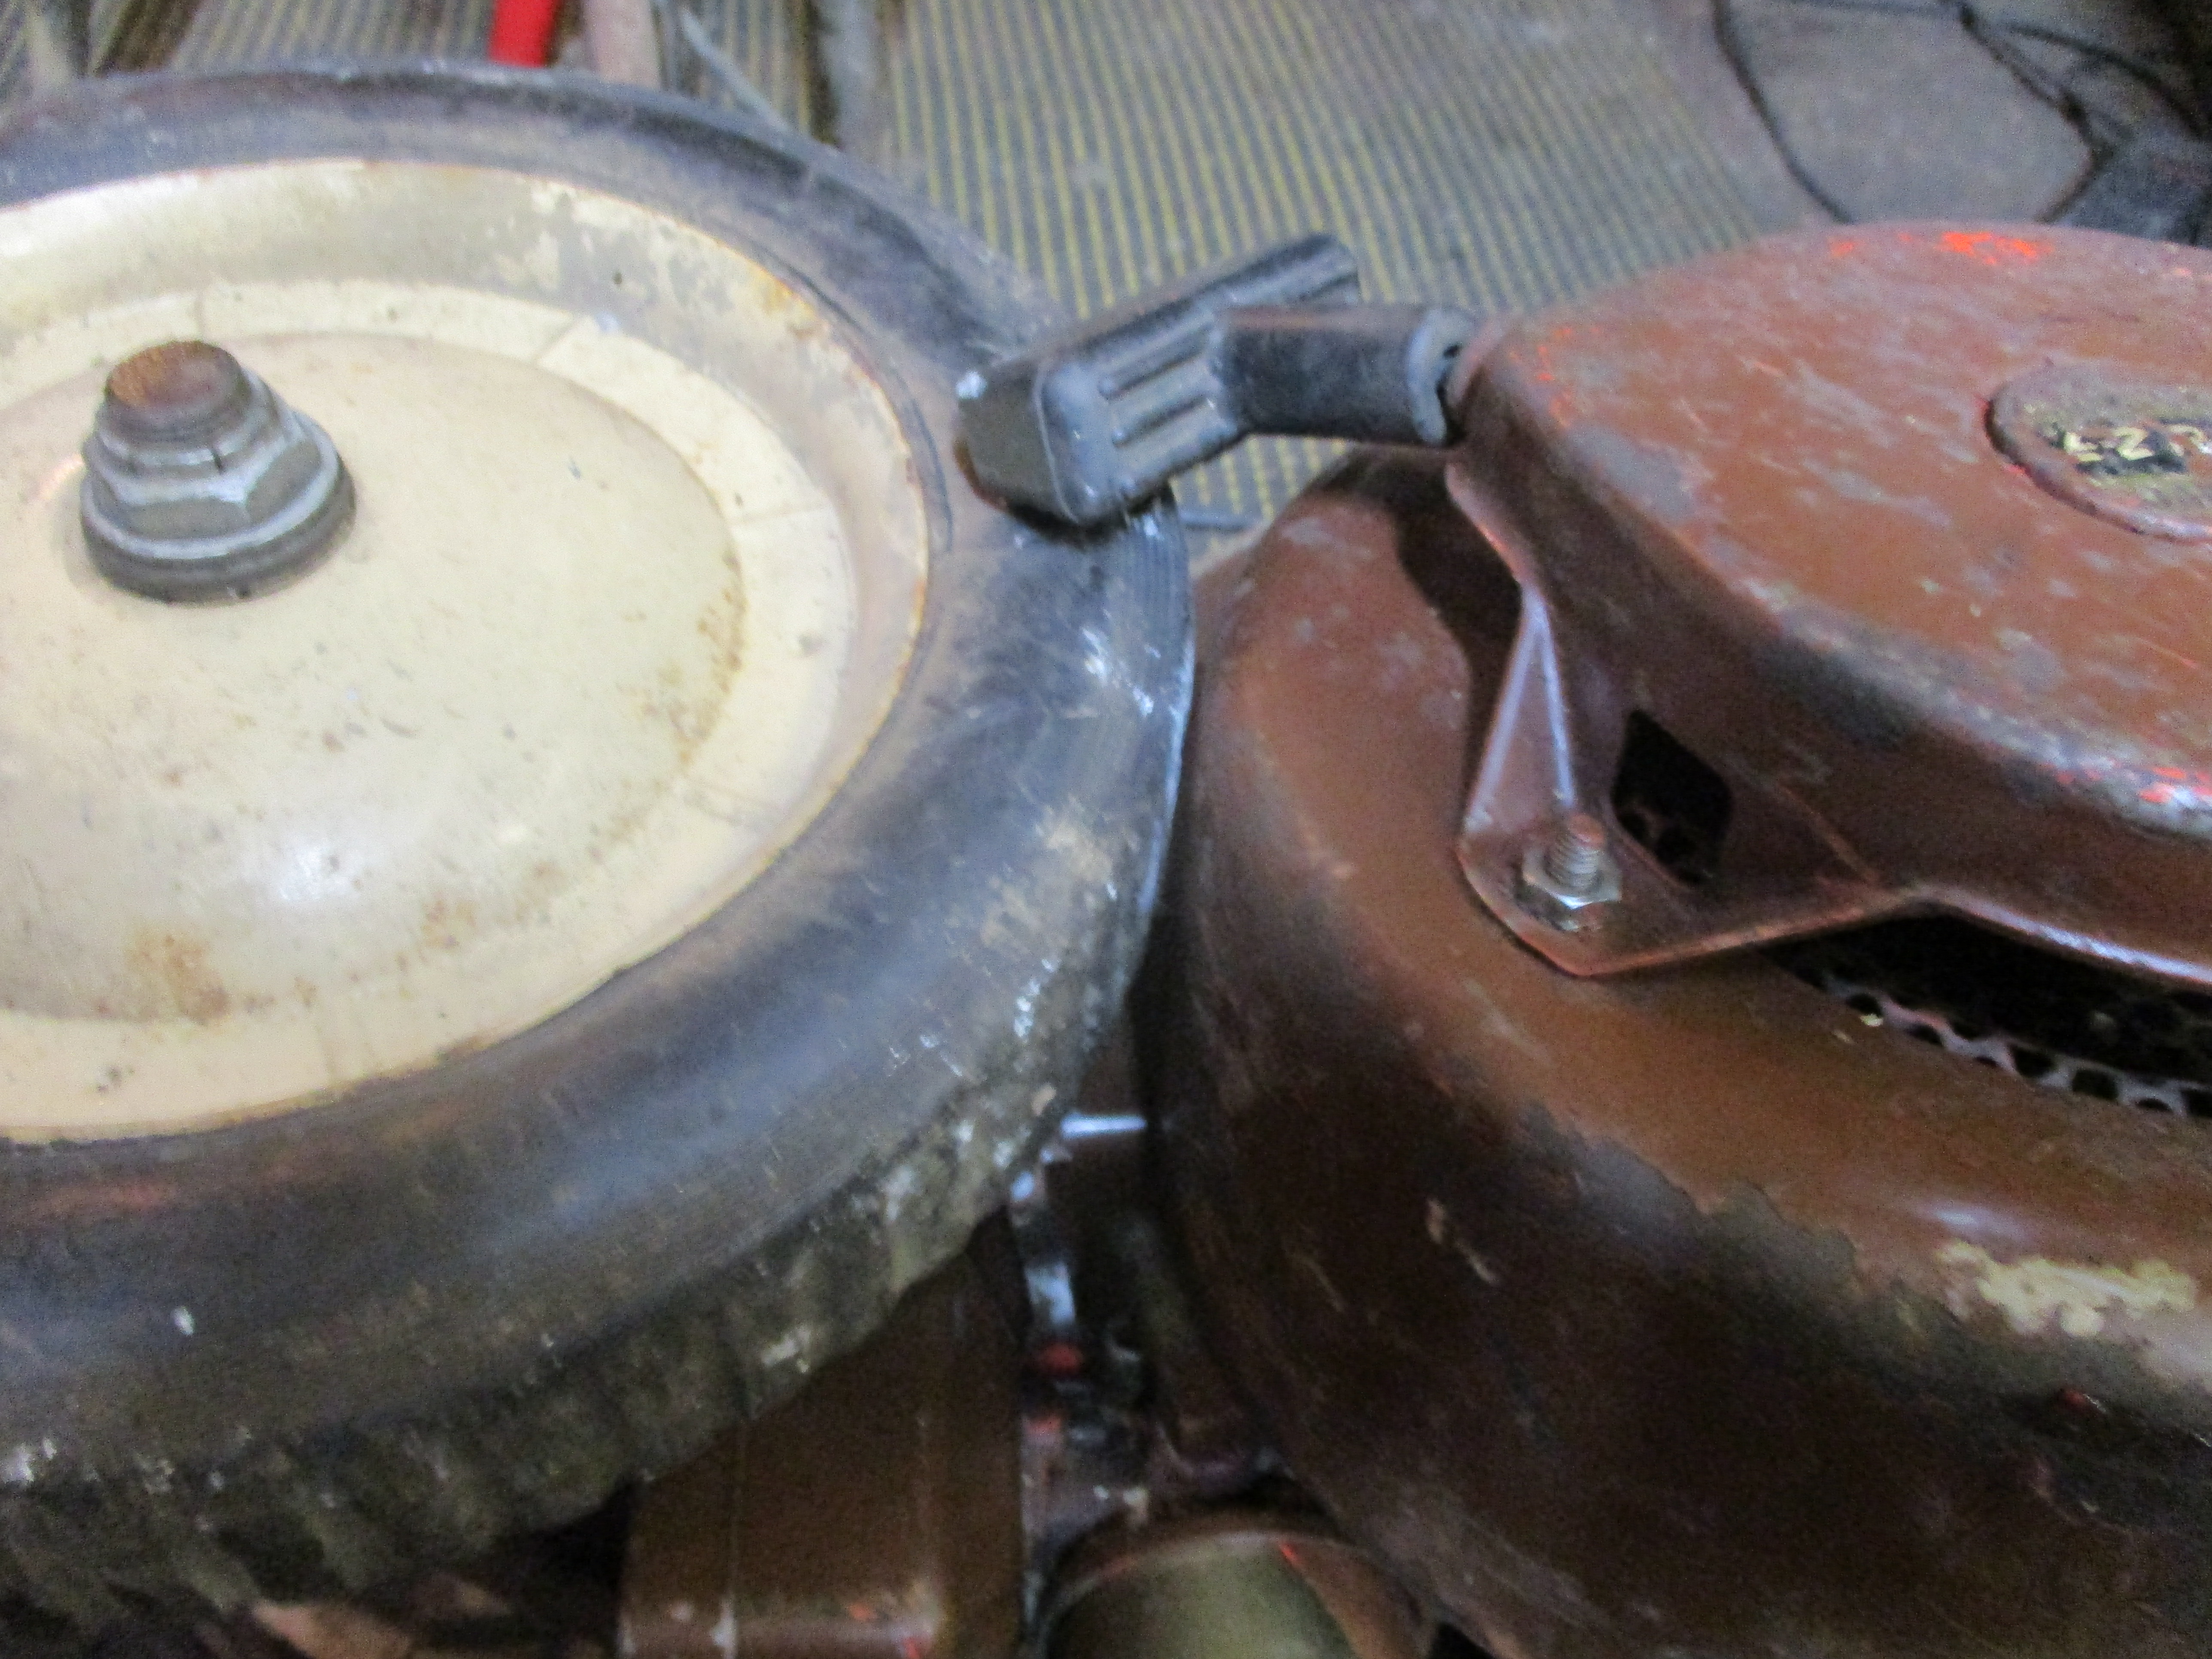
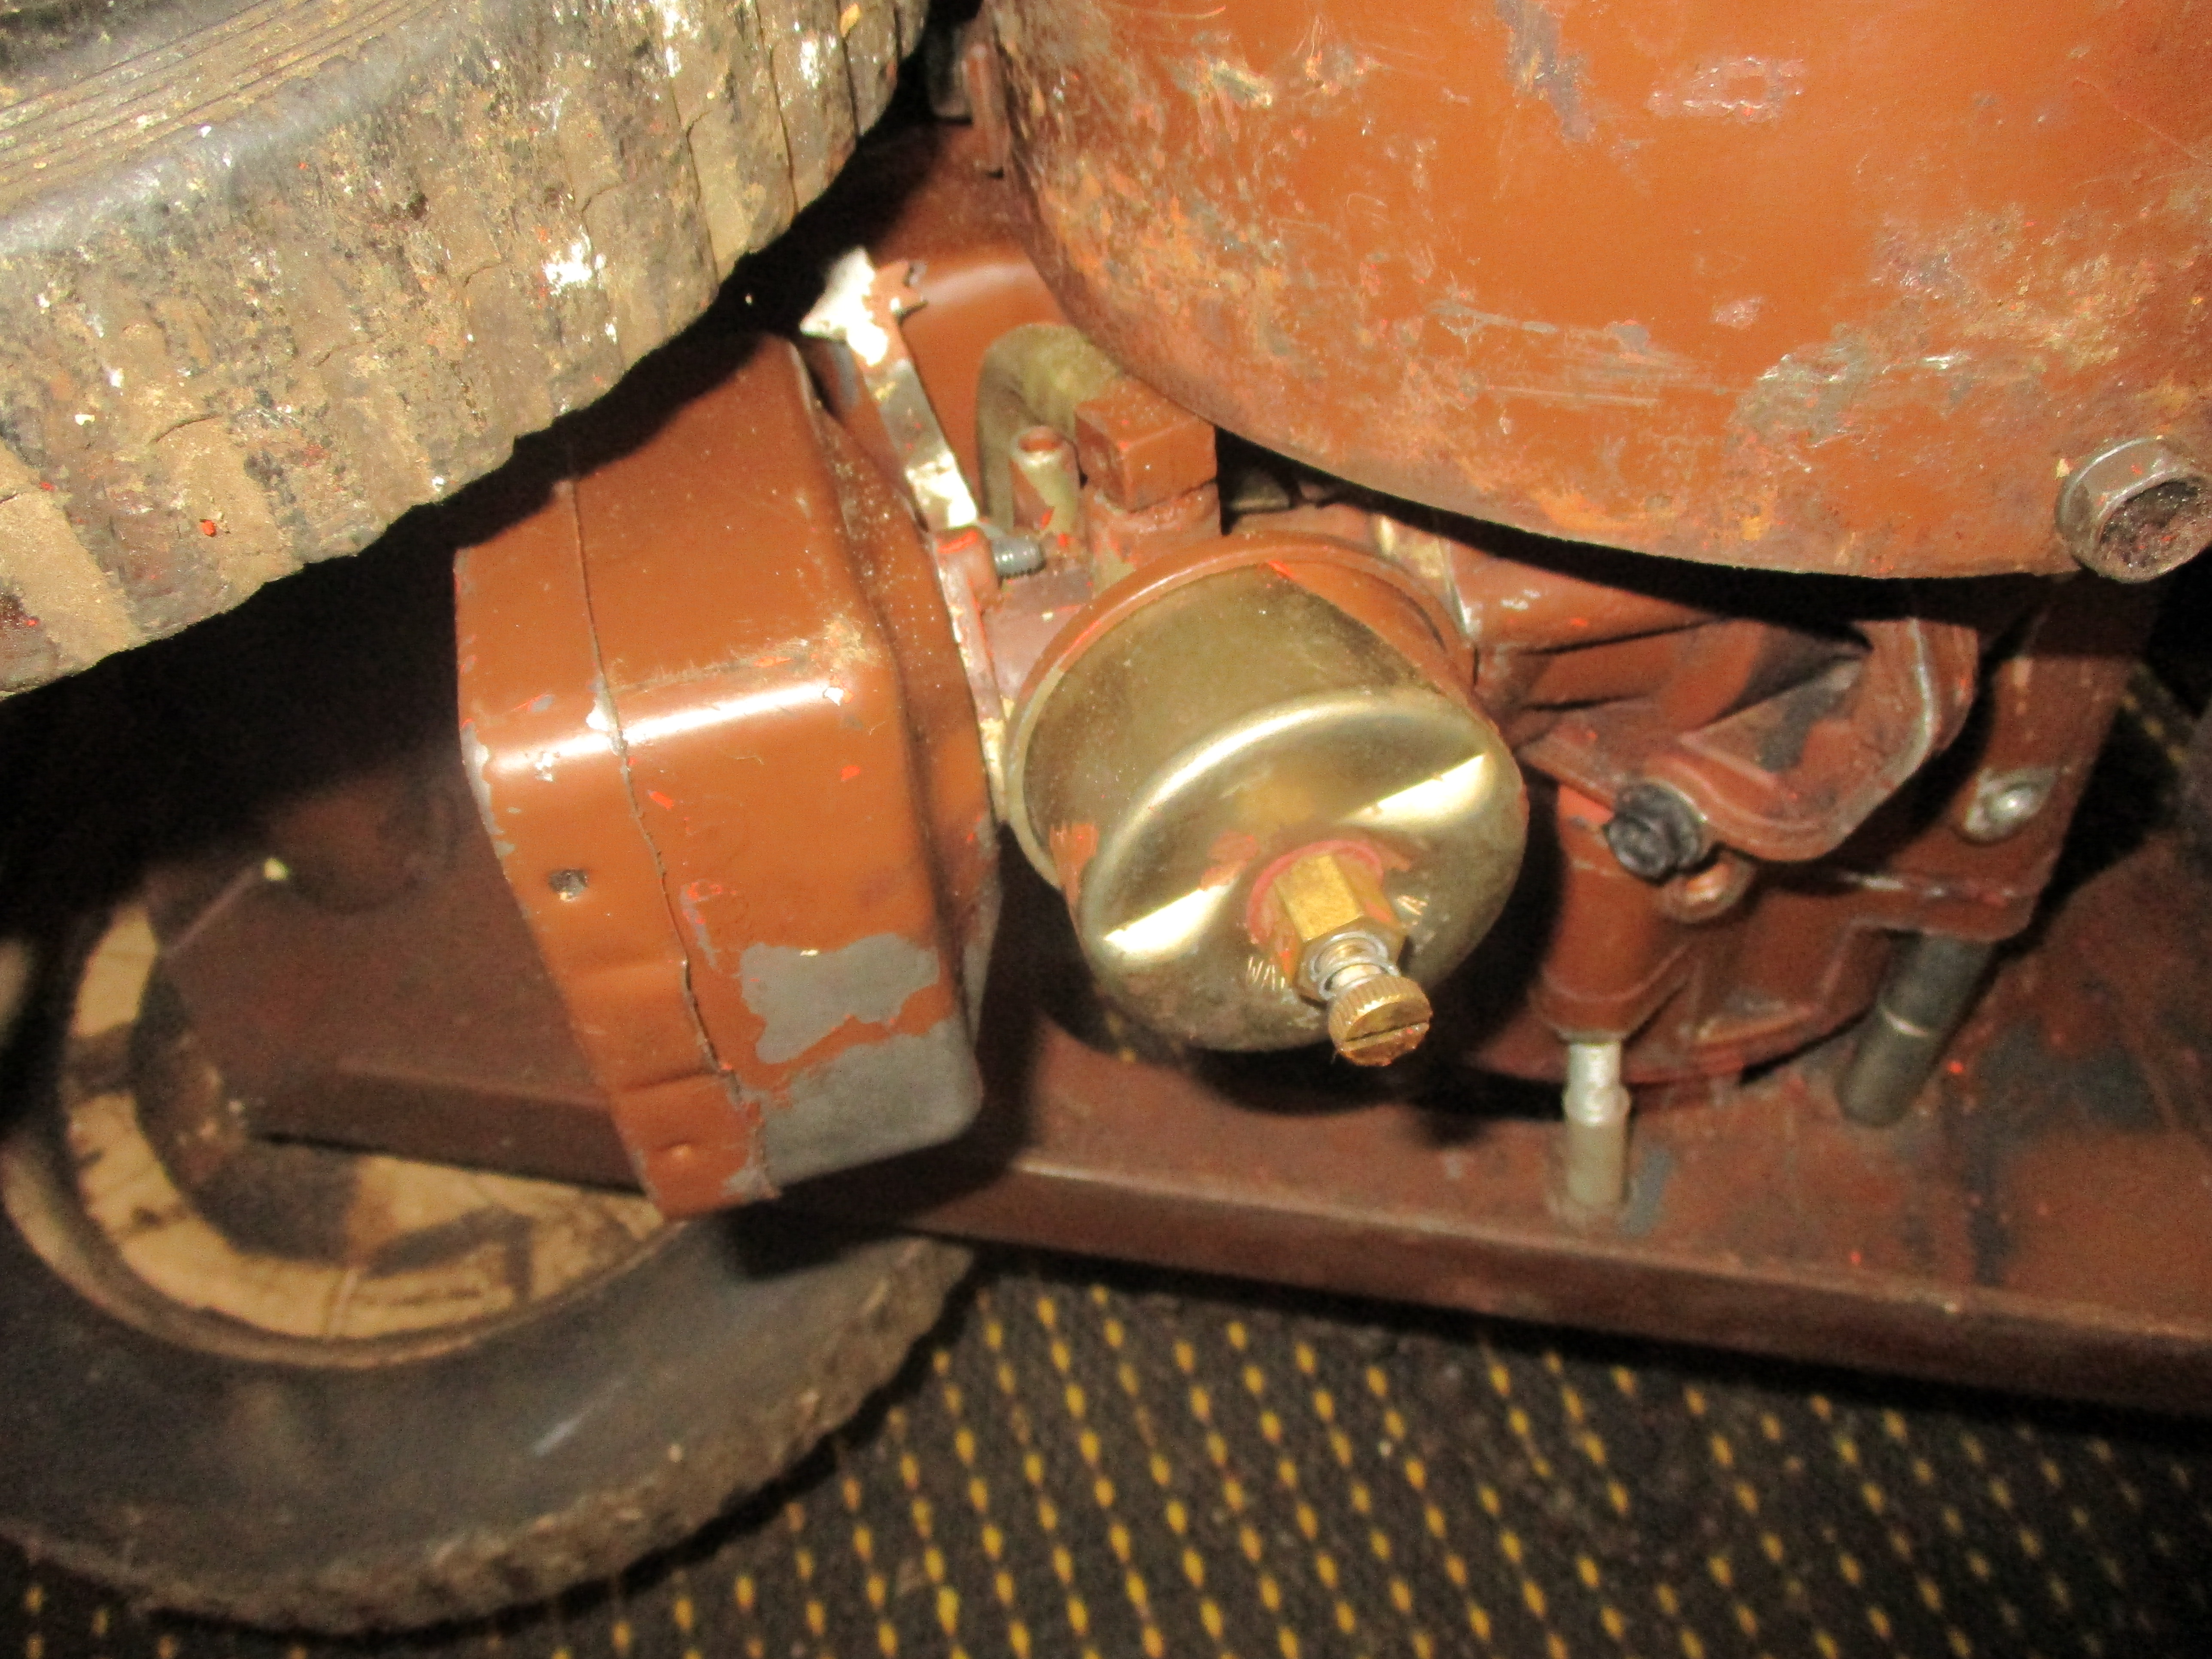
One thing I forgot to mention before is the operating method an eccentric spike on the end of gearbox shaft sits inside the 'U' formed by the shape of the structure of the operating arm, which in turn is caused to vibrate back and forth, that's about all that happens really, except of course there is a power take off to the large sprocket which engages one wheel by friction, upon engagement via the lever provided on the handlebars area.
Cannot say I ever came across
Cannot say I ever came across your particular machine, but worked on various Turfco machines. I must correct one mistake you are making, Aspera made engines under licence from Tecumseh and Lauson was a part of Tecumseh.